

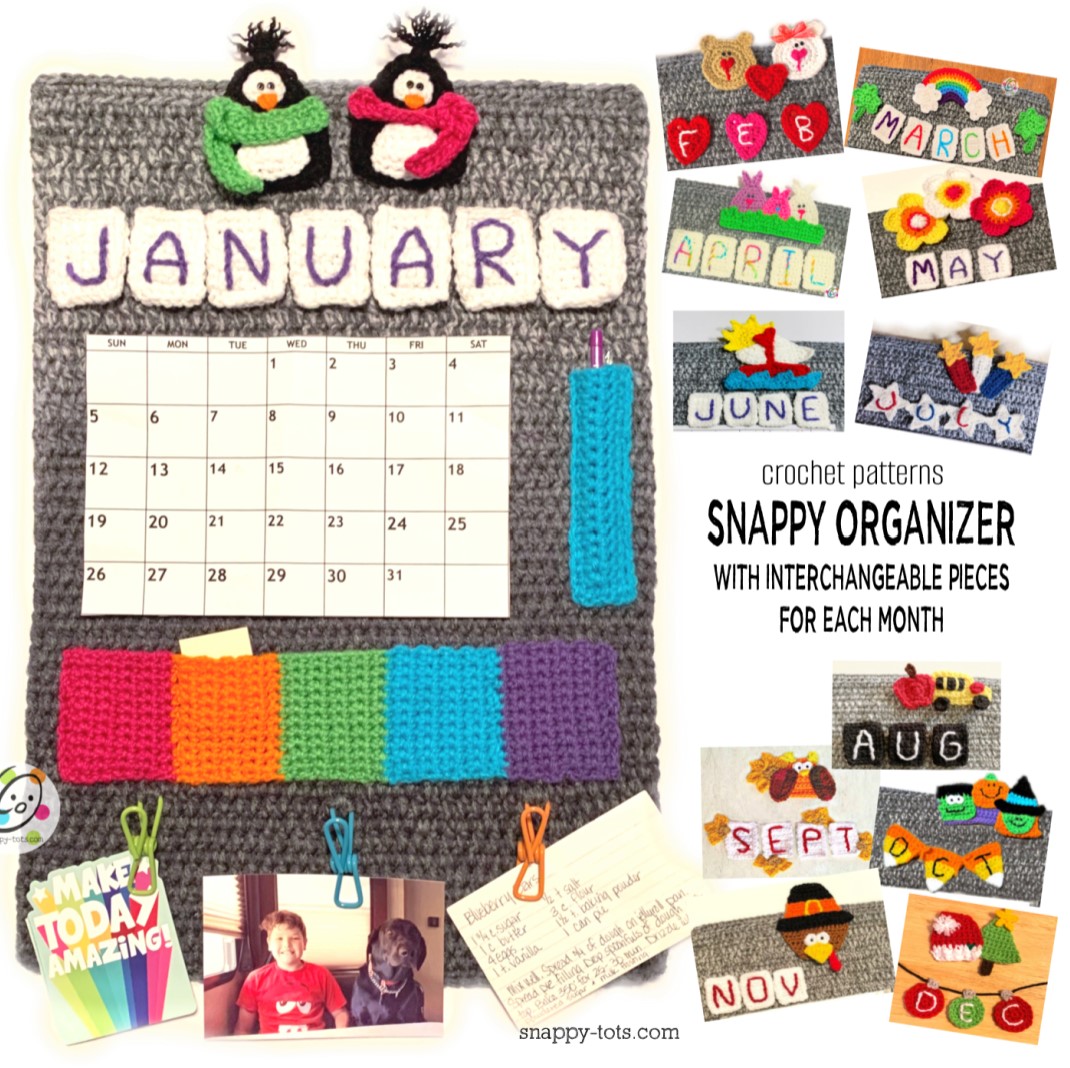
Snappy Organizer Month by Month
I have decided to post my Snappy Organizer here, on my blog, with the monthly sets throughout the year in hopes you will make one for a special gift or for yourself. The monthly packs would work on other calendars too, plus wreaths, seasonal appliques, and more.

This project was part of my “Seasonally Snappy” in 2020. If you joined that event you should already have these patterns. You should have received an email with a special coupon code to download these for free to your library. If you did not receive an email, but think you joined, the email might have gone to a junk folder or you have unsubscribed from my emails so it couldn’t be sent. Please send an email to [email protected].
About the Patterns
The pattern for the main “Snappy Organizer”, which includes January is available for free below, plus there are links to the monthly sets (posted on the 15th of each month for the next month). If you would like to work ahead, the packs of all of the monthly patterns are available to purchase.
All of these patterns are free to view and follow along here on my blog. Ad-free, downloadable pdfs of all of the patterns shown (divided into 4) are also available to purchase from my shops: Ravelry | Etsy
Links to the Free Patterns
- Snappy Organizer with January
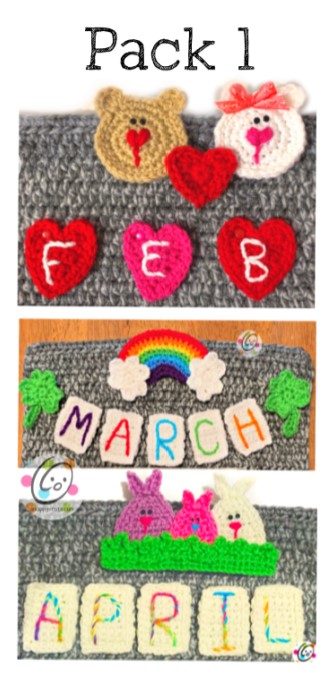
- February
- March
- April
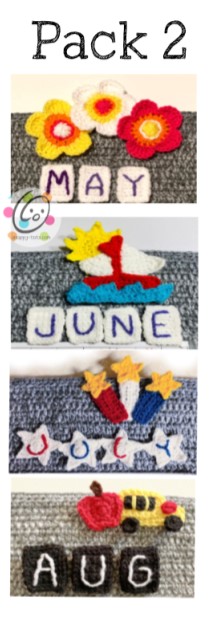
- May
- June
- July
- August
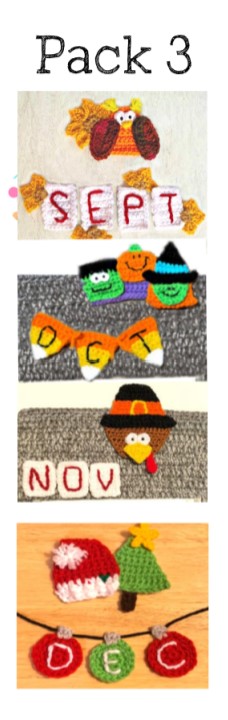
- September
- October
- November
- December
Snappy Organizer

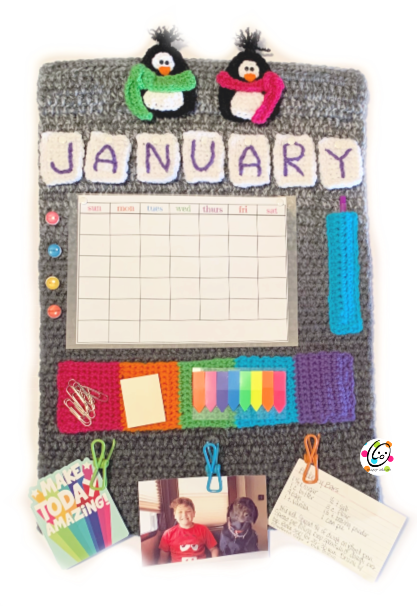
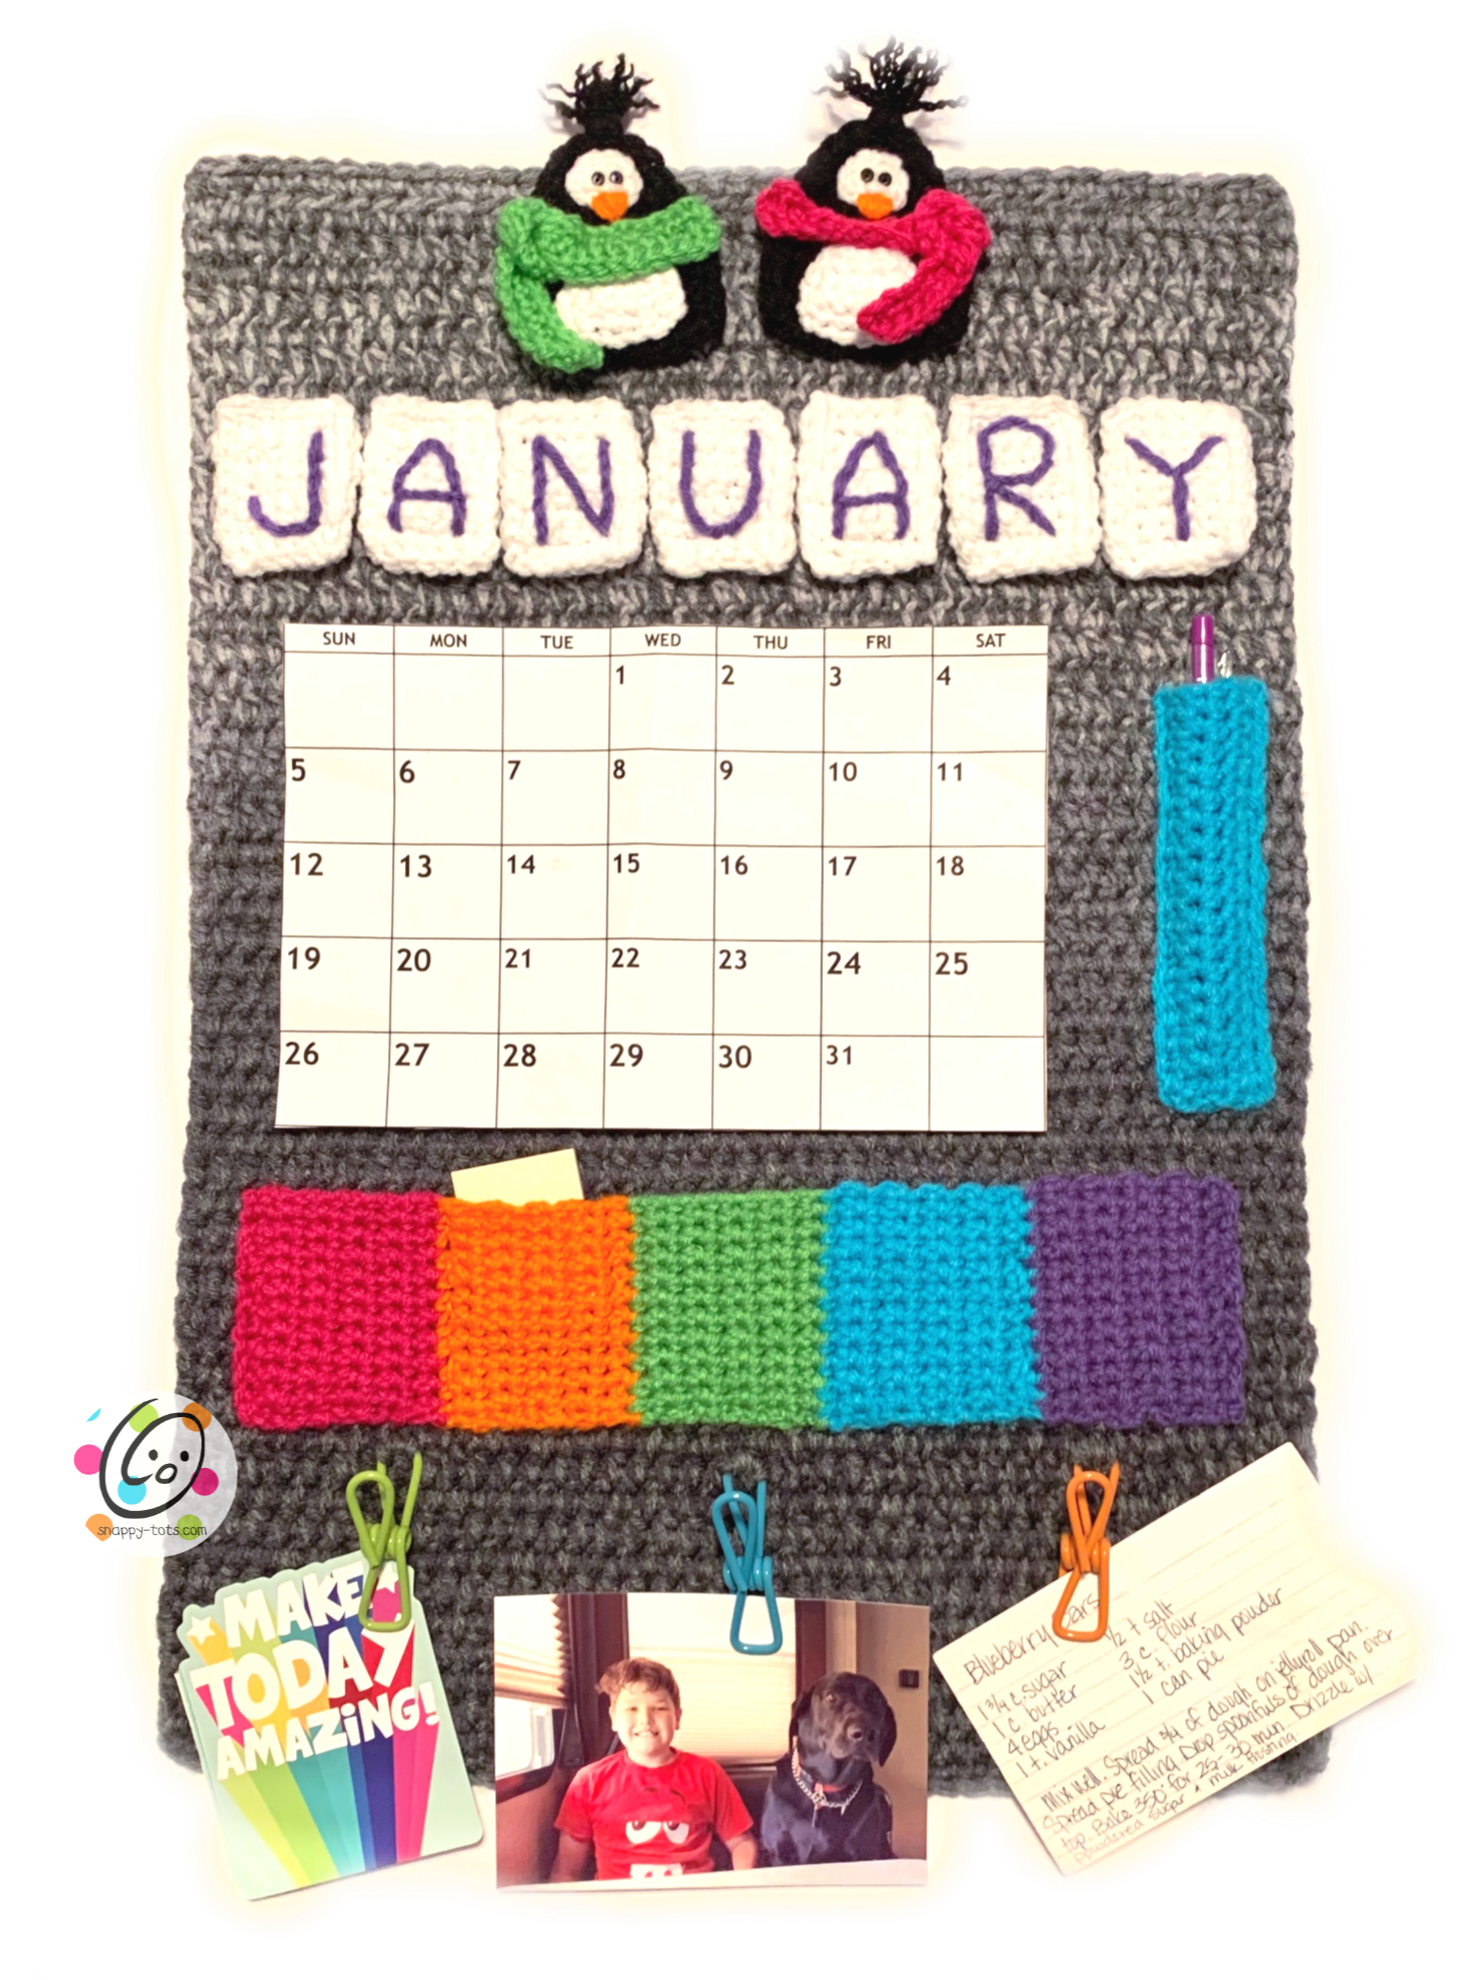
Materials and Details
- Yarn: 500-600 yards worsted weight yarn for main rectangle, less than 50 yards of misc colors for pockets Sample Colors: Base – Red Heart Grey + Red Heart Ombre Anthrite; Pockets – Red Heart Super Saver Shocking Pink, Pumpkin, Spring Green, Turqua, Medium Purple; White, Black
- Crochet Hooks: H (5mm), I (5.5mm)
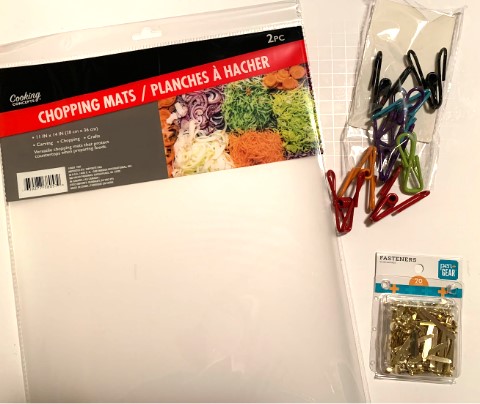
- Miscellaneous Supplies Yarn needle for weaving in ends, 4 tiny black buttons for penguin eyes, sewing needle, black thread, 2 large sew on snaps to attach penguins. Hanger: 15” long dowel x desired thickness plus a long piece of rope, jute or wire for hanging the organizer. Calendar Section: Thin plastic cutting board, cardstock or chipboard ( to place behind calendar), ¼” hole punch, 2 fasteners/brads for calendar (1.5-2” in length), 1 fastener/brad per letter tile (1.5-2” in length). NOTE: There are 3 different calendars at the end of this pattern you can print and use. Optional: 3 binder clips (for bottom section), calendar (up to 8×11”)
- Finished Measurements: 14.5” wide x 16-20” long
Tips
- Numbers at the beginning of each line may refer to steps and not indicate number of rows.
- Stitch count remains the same unless noted at end of row.
- If you have any questions about this pattern please contact [email protected].
- I could only find gold fasteners so I painted the tops white with some white nail polish my daughter had left behind.
Directions – Rectangle Base
The base can be made any length. For the main calendar plus pockets across the bottom, make the rectangle 16” long from starting edge. For the additional space to clip pictures or notes, make the rectangle 20” long from starting edge.
1. With an I hook and 2 strands ww yarn held together, ch 43, sc in the 2nd ch from hook and in each ch across. (42sts)
2. Ch 1, turn, hdc in the same st and in each st to end of row.
3. From this point on, work each st between the posts from the previous row. Ch 1, turn, hdc between each post to end of row. Make sure the st count remains the same (42sts).
4. Repeat the previous row until piece measures 16-20” long. See note above about length.
5. Ch 1, turn, sc in each st to end of row. Finish off and weave in ends.
Long Pocket Strip (multicolored in sample) Choose yarns of similar thickness for this piece. Pocket strip is approximately 13” long.
1. Leave a long yarn tail in the beginning for sewing pocket edges to base. With an H hook and pink yarn (or choice of color), ch 12, sc in the 2nd ch from hook and in each ch across. (11sts)
2. Ch 1, turn, sc in each st to end of row.
3. Repeat previous row for an additional 8 rows (10 total from starting edge). Finish off pink yarn, leaving a long yarn tail for sewing seam between colors for pocket division.
4. Change to orange yarn (or choice of color). Ch 1, turn, sc in each st to end of row.
5. Repeat previous row for an additional 9 rows (10 total rows of this color). Finish off orange yarn, leaving a long yarn tail for sewing seam between colors for pocket division.
6. Change to green yarn (or choice of color). Ch 1, turn, sc in each st to end of row.
7. Repeat previous row for an additional 9 rows (10 total rows of this color). Finish off green yarn, leaving a long yarn tail for sewing seam between colors for pocket division.
8. Change to turquoise yarn (or choice of color). Ch 1, turn, sc in each st to end of row.
9. Repeat previous row for an additional 9 rows (10 total rows of this color). Finish off turquoise yarn, leaving a long yarn tail for sewing seam between colors for pocket division.
10. Change to purple yarn (or choice of color). Ch 1, turn, sc in each st to end of row.
11. Repeat previous row for an additional 9 rows (10 total rows of this color). Finish off purple yarn, leaving a long yarn tail for sewing seam between colors for pocket division.
Place pocket strip on the rectangle base piece, with the top edge approximately 12.5” from top edge of rectangle base piece.
With a yarn needle, use the yarn tails to sew the sides, bottom and at each color change or just a few for longer pockets. Switch yarn tails for each color.
Pencil Pocket
1. Leave a long yarn tail in the beginning for sewing pocket edges to base. With an H hook and turquoise yarn (or choice of color), ch 19 sc in the 2nd ch from hook and in each ch across. (18sts)
2-5. Ch 1, turn, sc in each st to end of row.
Finish off and weave in end.
With a yarn needle, use the beginning yarn tail to sew the sides and bottom edge to the rectangle base piece. The top edge of the pocket is approximately 6.5” from top edge of rectangle base piece and 1” from the right side.
Letter Tiles Spell out each month, just the abbreviation, the season or different words such as “smile”, “be happy”.
Letter tiles are attached with a brad through the top center of each tile.
To spell out all of the months, you will need one of each letter except Q, W, X, Z and multiples of A (2), R (2), U (2), E (3), O (2).
Individual Tiles
1. With an H hook and white yarn (or choice of color), ch 7, sc in the 2nd ch from hook and in each ch across. (6sts)
2. Ch 1, turn, sc in each st to end of row.
3. Repeat the previous row for an additional 7 rows (9 rows total from starting edge).
4. This step is worked around the outer edge of the tile. Ch 1, turn, sl st in the next st and in each st across. Ch 1, pivot piece to work across the edges of the row. Evenly sl st to the corner. Ch 1, pivot piece to work across the bottom row. Sl st in each st across. Ch 1, pivot piece to work across the edges of the row. Evenly sl st to the corner. Finish off and weave in ends.
Casing For Letter Tiles (optional for hanging from a piece of jute)
Add the letter to the tile before adding this casing.
1. Leave a long tail in the beginning for sewing the casing. With an H hook and white yarn (or choice of color), ch 7, sc in the 2nd ch from hook and in each ch across. (6sts)
2-4. Ch 1, turn, sc in each st to end of row.
Finish off, leaving a long tail for sewing casing in place. Place one edge even with the back side of one tile, even with the top edge. With a yarn needle, use the yarn tail to sew the edges together. Sew the opposite long edge to the back of the tile, using the remaining yarn tail and a yarn needle. Do not sew the short ends. Thread a 16-18” piece of jute or crocheted chain through casings. Tie each end to the edges of the rectangle base to “hang” the tiles.
Embroidery / Letters With a yarn needle and yarn (colors of choice) stitch one letter to each tile.
Photo Clips If you made the longer, 20” rectangle base, there is room for clips across the bottom to hold photos, appointment reminders, notes, etc. Choose a clip with a hole so it can be sewn to the rectangle base. Use a yarn needle and matching yarn to securely sew each clip in place.
Rectangle Base Casing (optional) The organizer could be pinned directly to a bulletin board if desired. If not, add a casing to the top back for hanging purposes.
1. Leave one of the yarn strands long in the beginning to use for sewing casing edge to the rectangle base. With an I hook and 2 strands ww yarn held together, ch 43, sc in the 2nd ch from hook and in each ch across. (42sts)
2. Ch 1, turn, hdc in the same st and in each st to end of row.
3. Repeat previous row until casing is 2” from starting edge.
4. Ch 1, turn, sc in the same st and in each st to end of row. Finish off, leaving one of the yarn strands long to use for sewing casing edge to the rectangle base. Weave in the other strand.
Place one edge even with the back side of the rectangle base, even with the top edge. With a yarn needle, use the yarn tail to sew the edges together. Sew the opposite long edge to the back of the rectangle base, using the remaining yarn tail and a yarn needle. Do not sew the short ends. Slip the dowel into the casing. Use a piece of rope, jute or wire, wrapped around each edge of the dowel, to hang the organizer.
Penguins (make 2)
1. With an H hook and black yarn, ch 3, 2sc in 2nd ch from hook, 2sc. (4sts)
2. Ch 1, turn, sc in same st, sc 3.
3. Ch 1, turn, 2sc in same st, sc 2, 2sc in last st. (6sts)
4. Ch 1, turn, sc in same st, sc 5.
5. Ch 1, turn, 2sc in same st, sc 4, 2sc in last st. (8sts)
6. Ch 1, turn, sc in same st and in each st to end of row.
7. Repeat previous row for 4 more rows.
8. This step is worked around the outer edge of the penguin. Ch 1, pivot to work across the left edge of the penguin. sc 9 sts evenly up side. 2sc in next st (at top of penguin), 2sc in next st, sc 9 sts evenly down side. Finish off and weave in ends.
Eyes (make 2)
1. With an H hook and white yarn, ch 3, 2sc in the 2nd ch from hook, sc in the next ch. (3sts)
2. Ch 1, turn, sc in each st. Finish off, leaving a yarn tail for sewing in place.
With a yarn needle, use the yarn tail to sew one eye piece near the top of each penguin. With a sewing needle and black thread, sew the button eyes on top of each white eye piece.
Tummy (make 2)
1. With an H hook and white yarn, ch 7, sc in the 2nd ch from hook and in each ch across. (6sts)
2. Ch 1, turn, sc in each st to end of row.
3. Ch 1, turn, sc2tog, sc 2, sc2tog. (4sts)
4. Ch 1, turn, sc in each st to end of row.
5. Ch 1, turn, sc2tog, sc2tog. (2sts) Finish off, leaving a yarn tail for sewing to penguin body.
With a yarn needle, use the yarn tail to sew the belly to the body of the penguin. See main photo for placement.
Beak: With a yarn needle and orange yarn, take a few sts in the center front to create a beak.
Hair: Cut 3 strands of black yarn, 4” long, for each penguin. Fold in half and pull center loops through top of head. Pull the ends through the loops and tight against head. Pull the strands apart for a frizzing look.
With a yarn needle and black yarn, sew a large sew on snap to the back of each penguin. Sew the opposite side of the snap to the top area of the rectangle base near the center.
I positioned mine 5-5.25” inches from each outer edge. This will allow enough space for the penguins and future appliques.

Penguin Scarf (make 2)
1. With an H hook and bright colored yarn, ch 30, sc in the 2nd ch from hook and in each ch across. (29sts)
2. Ch 1, turn, sc in each st to end of row.
3. Ch 1, turn, sl st in each st to end of row. Finish off, leaving a long yarn tail for sewing the scarf to the penguin.
Tie a loose knot in the middle of the scarf piece. Use the yarn tail and a yarn needle to sew the scarf to the penguin. See main photos for placement.
Adding The Calendar
I have provided three different calendars for you to print and use on this piece (download links below). If you plan on writing on your calendar throughout the month, like I am, you will want to add something behind the calendar. I got some thin cutting boards from the local dollar store and cut one slightly larger than my calendar.
You could also use a few layers of cardstock, the cover of an old calendar, a piece of chipboard, etc.
Place your calendar paper on top of the plastic (or whatever you are using) and mark placement for the fasteners. I made two small holes in the plastic for the fasteners.
Pin To Save For Later


is this downloadable or something else? thank you.