

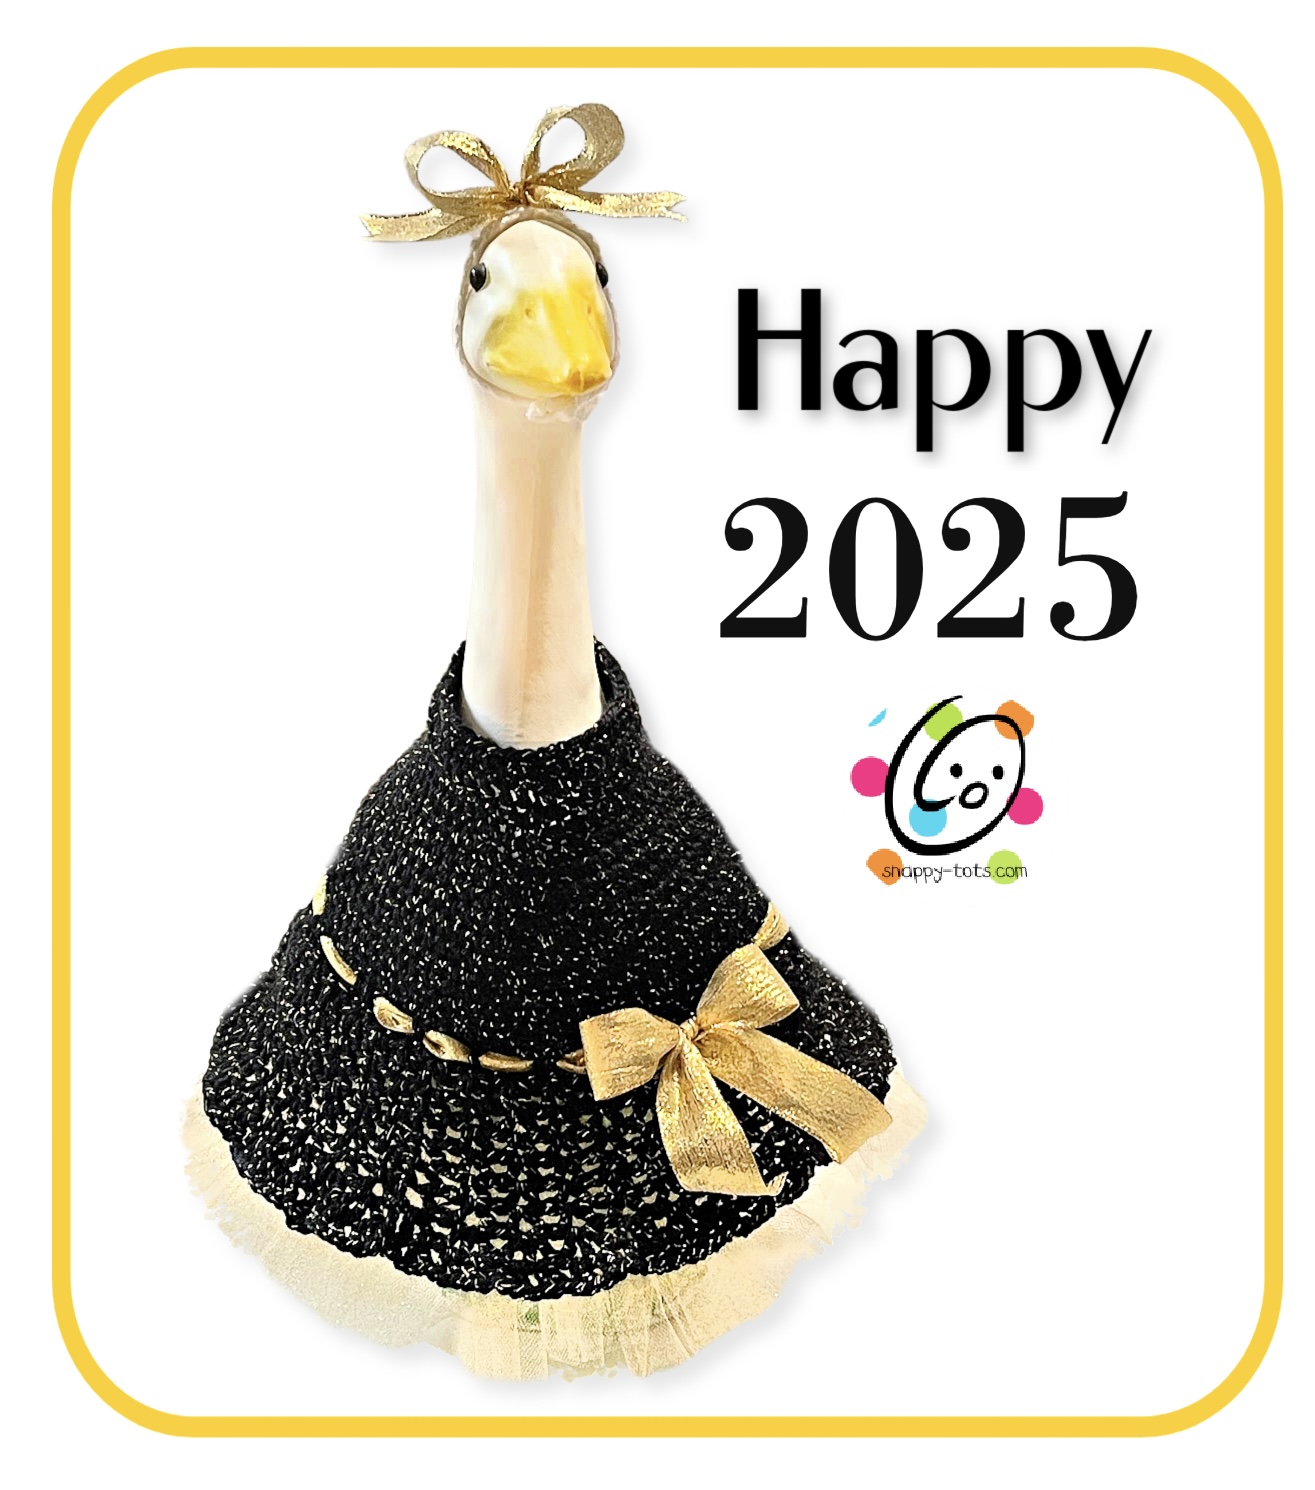
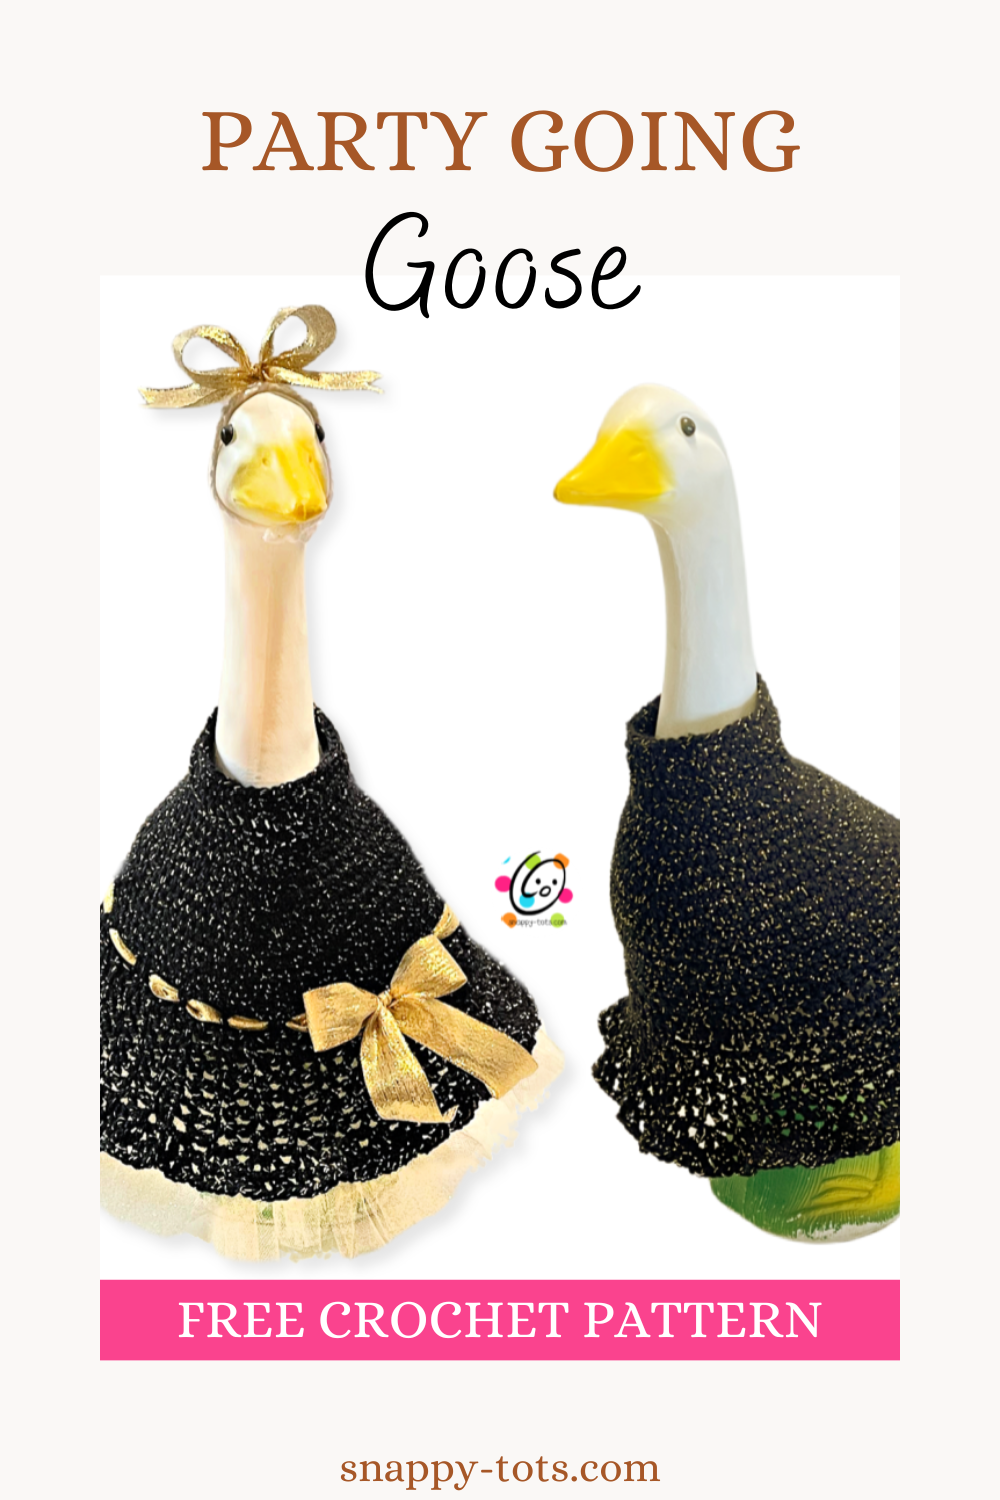
Free Pattern: Party Going Goose
When your goose needs a fancy dress to ring in the new year, a special occasion, or just when he/she wants to feel extra special, this is the perfect choice. My goose, “Ducke”, requested some glitter and Red Heart Metallic yarn did the trick (but we did have gold glitter all over the house for awhile… because Ducke kept twirling around in the dress… and from crocheting too).
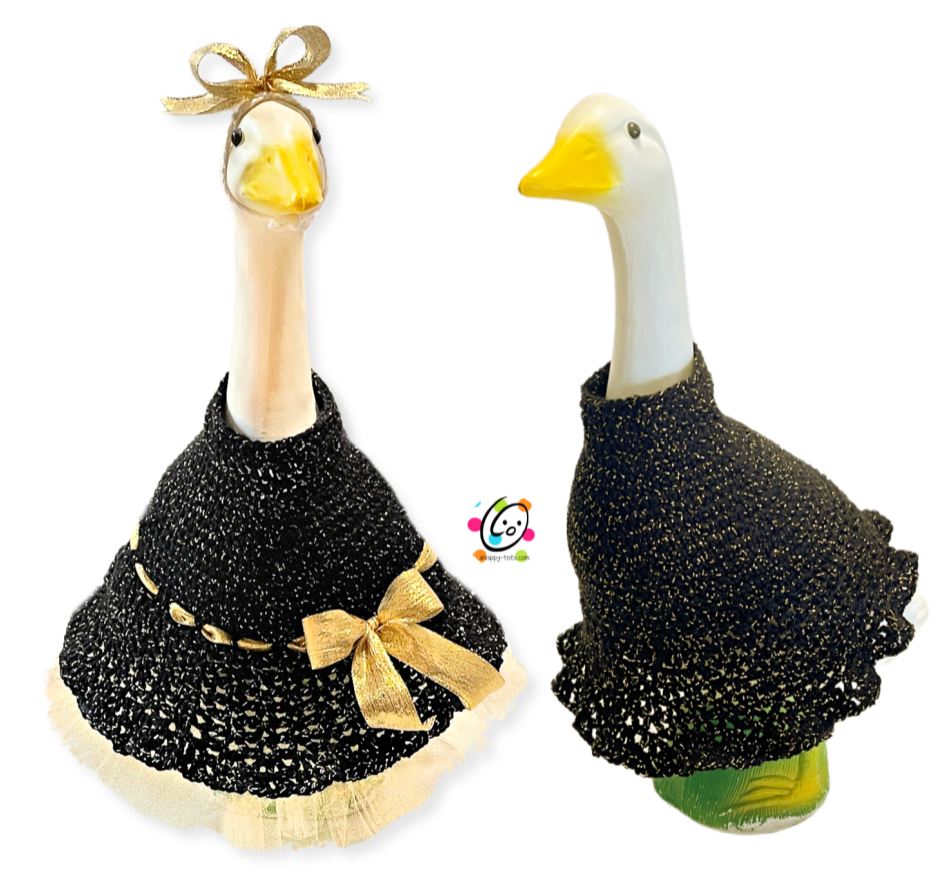
This can be made with or without the tulle underskirt. It is the perfect option for any special occasion. A small base for a headpiece is included too.
Where To Get The Goose
This is designed for a 23” goose statue like the one sold by Miles Kimball.
It is also available from Amazon: https://amzn.to/3AdRWSP
Does this fit a cement goose? I really don’t know for sure. You could compare your goose measurements with mine: I would LOVE a cement goose so I could find out, but I haven’t been able to locate one. I have had a few people try them and some have worked and some have been tight. I suggest going up one hook size, but I still can’t promise.
Party Going Goose Dress Crochet Pattern
The pattern is available to view here on the blog. A downloadable, ad-free pdf is available for a small fee. Ravelry | Etsy
Materials
- Yarn: 200 yards worsted weight yarn. Yarn used in the sample: Red Heart Super Saver Metallic Black/Gold
- Crochet Hook: I (5.5mm)
- Supplies: Yarn needle for weaving in ends, measuring tape, scissors
- Optional – Tutu version: 2 rolls of 6” x 12 Yd Glitter tulle in Gold; Hair and dress bows – 2.5 yards 1.5” gold ribbon (no wire)
Measurements
- Finished Measurements: (measured flat) : 18” across bottom edge x 13” long
- Gauge – 4” with an I hook = 14 hdc sts and 9.5 rows/rounds
Tips
- The first stitch of each row is worked into the same stitch as the turning chain unless noted.
- Numbers at the beginning of each line may refer to steps and not indicate number of rows.
- Stitch count remains the same unless noted at end of row/round.
- If you have any questions about this pattern please contact [email protected].
This is designed for a 23” goose statue like the one sold by Miles Kimball. Cement gooses tend to be larger than this plastic goose. I wish I had a cement goose, then I could compare the size for you. I have not been able to find one.
Dress This starts at the neck edge and is worked in rounds to the bottom edge.
Instructions are written for one color as shown in the main sample above. Substitute colors as desired.
1. With an I hook and worsted weight yarn, ch 40, sl st in the last ch from hook to form a circle. Make sure the chain is not twisted. (40sts)
2. Ch 1, sc in the same ch and in each ch to end of round, sl st in the first st to join. (40sts)
3. Ch 1, hdc in the same st and in each st to end of round, sl st to join.
4. Ch 1, *hdc 19, 2hdc in the next st*, repeat once, sl st to join. (42sts)
5. Ch 1, *hdc 20, 2hdc in the next st*, repeat once, sl st to join. (44sts)
6. Ch 1, *hdc 10, 2hdc in the next st*, repeat to end of round, sl st to join. (48sts)
7. Ch 1, *hdc 11, 2hdc in the next st*, repeat to end of round, sl st to join. (52sts)
8. Ch 1, *hdc 12, 2hdc in the next st*, repeat to end of round, sl st to join. (56sts)
9. Ch 1, *hdc 13, 2hdc in the next st*, repeat to end of round, sl st to join. (60sts)
10. Ch 1, *hdc 14, 2hdc in the next st*, repeat to end of round, sl st to join. (64sts)
11. Ch 1, *hdc 15, 2hdc in the next st*, repeat to end of round, sl st to join. (68sts)
12. Ch 1, *hdc 16, 2hdc in the next st*, repeat to end of round, sl st to join. (72sts)
13. Ch 1, hdc in the same st and in each st to end of round, sl st to join.
14. Ch 1, *hdc 35, 2hdc in the next st*, repeat once, sl st to join. (74sts)
15. Ch 1, hdc in the same st and in each st to end of round, sl st to join.
16. Repeat the previous round for an additional 3 rounds.
17. Ch 1, DC in the same st and in each st to end of round, sl st to join.
18. Choose one of the following options for the next round:
Regular dress without tullee: Ch 1, dc in the same st, dc 35, 2hdc in the next st, dc 36, 2hdc in the next st, sl st in the first st to join. (76sts)
Dress WITH tulle/tutu underskirt: Ch 1, *FPDC 36, 2FPDC around the next post*, repeat once, sl st in the first st to join. (76sts) This creates a ridge on the inside of the skirt to attach the tullee.
19. Ch 4 (counts as a dc, ch 1), dc in the same st, sk 1, *(dc, ch 1, dc) in the next st, sk 1*, repeat to end of round, sl st in the first space to join. (38 V sts)
20. Ch 4, dc in the same space, (dc, ch 1, dc) in each V st space to the end of the round, sl st in the first space to join.
21. Repeat the previous round for an additional 3 rounds.
22. Ch 5, dc in the same space, (dc, ch 2, dc) in each V st space to the end of the round, sl st in the first space to join.
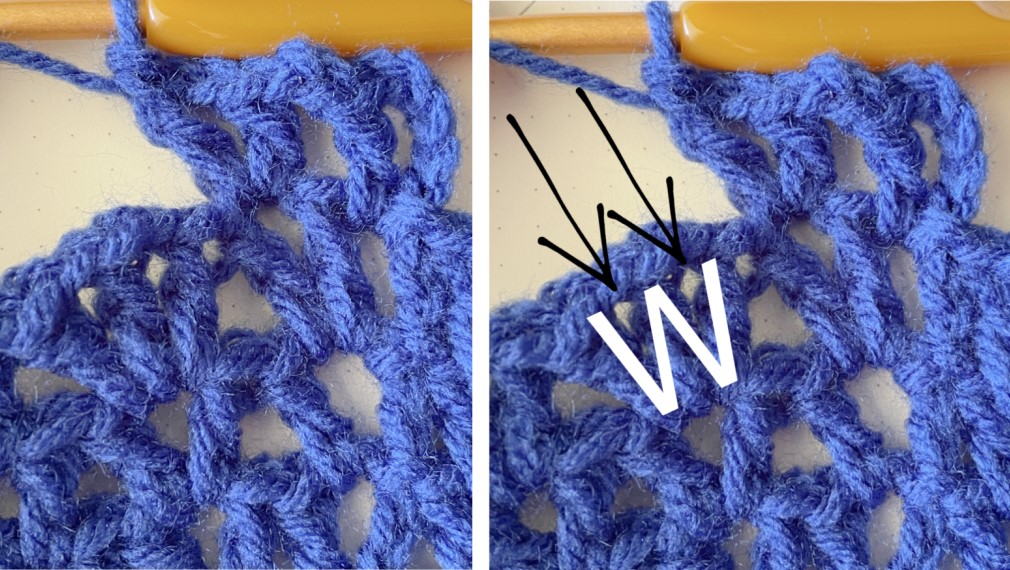
23. Ch 4, (dc, ch 1, dc) in the same space, (dc, ch 1, dc, ch 1, dc) in each V st space to end of the round, sl st in the first space to join. These clusters create a W shape. (38 W sts)
24. The repeat part of this step is worked across each W from the previous round. The photos below are the same. The one on the right marks the W shape and the arrows show the spaces for the repeat section.
Ch 5, dc in the same sp, ch 2, (dc, ch 2, dc) in the next space (second half of the W), *(dc, ch 2, dc) in the space of the first half of the W, ch 2, (dc, ch 2, dc) in the space of the second half of the W*, repeat to end of round, sl st in the first space to join.
Tips for step #24: You are basically working 2 v sts in a row with a ch 2 between them. This forms the W shape.
Make sure you aren’t adding an extra “ch 2”. The repeat is a (V st, ch 2, V st), NO ch 2, (V st, ch 2, V st) NO ch 2… and so on.
25. Ch 4, dc in the next st, *ch 1, dc between the next 2 posts*, repeat to end of round, sl st to join. Finish off and weave in ends.
Ribbon through dress: Use a crochet hook to pull one end of a long piece of ribbon (at least 52” long) through round #17 (dc round before V sts begin). Loosely work *under 2 posts, over two posts*, repeat to end of round. Pull through until 2 long ends, approximately 14” each, are even. Tie in a bow.
Note: On the sample, before tying the bow, I gently pulled each “over” section of the ribbon a little and flattened the ribbon to make it show up better.
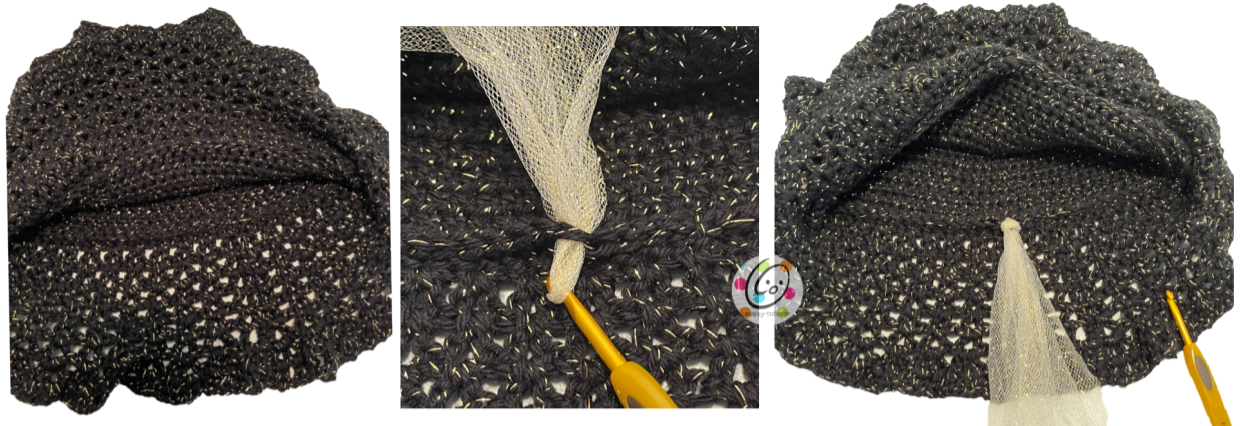
Tutu Cut 76 pieces of tulle (6” wide or similar) 14” long.
Lay the dress on a flat surface. Pull the skirt up (or turn the dress inside out) to work on the ridge created by the post sts on step 18 on the inside/wrong side.
Fold one piece of tulle in half. Use a crochet hook to pull the center loop through a st on the ridge far enough the tail end will fit through. I pull the loop towards the bottom of the skirt. I found this helped the tulle lay flat.
Pull the tail ends through until the loop is snug against the dress. If using glitter tulle it won’t slide as easily and will need some extra effort.
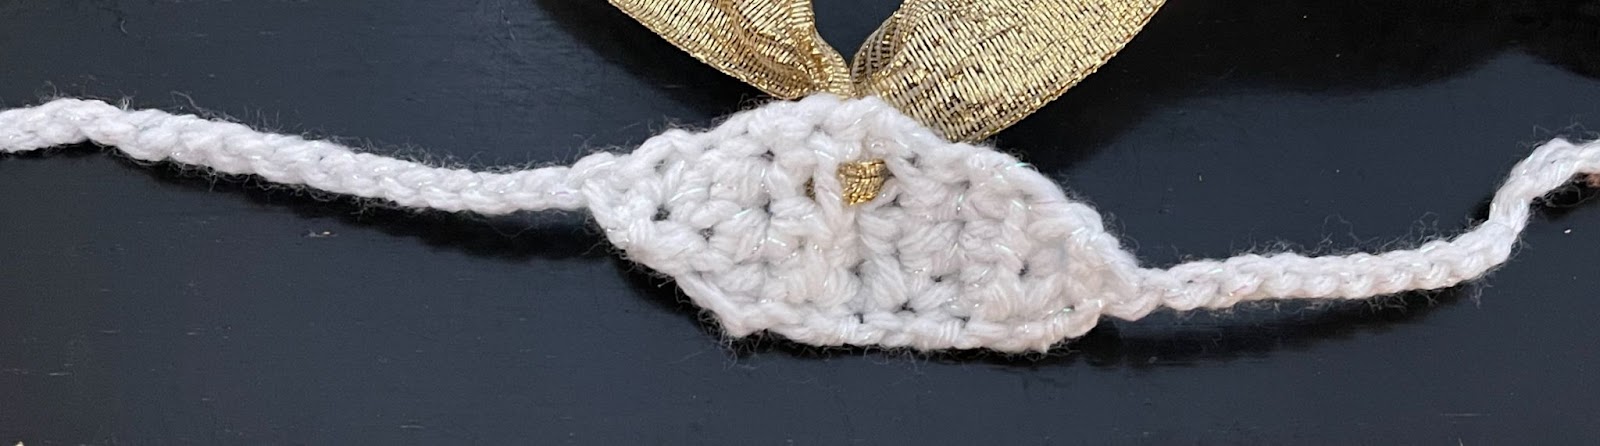
Headpiece This small piece with chin straps is a great place to attach hairbows.
1. With an I hook and white worsted weight yarn, ch 3, sc in the 2nd ch from hook, sc in the last ch. (2sts)
2. Ch 1, turn, 2sc in the same st, sc, (3sts)
3. Ch 1, turn, 2sc in the same st, sc 2. (4sts)
4. Ch 1, turn, hdc in the same st and in each st to end of row.
5. Repeat the previous row 4 more times.
6. Ch 1, turn, sc2tog, sc 2. (3sts)
7. Ch 1, turn, sc2tog, sc. (2sts)
8. Ch 1, turn, sc2tog. This step creates the first chin strap. Ch 30. Finish off and tie a knot in the end of the chain. Trim yarn tail as desired.
9. This step creates the second chin strap. Attach yarn to the beginning edge. Ch 30. Finish off and tie a knot in the end of the chain. Trim yarn tail as desired.
Cut a piece of ribbon 20” long. Fold the piece in half to find the center. Pull the center of the ribbon through the middle of the headpiece closer to one edge (see photo). Tie a bow.
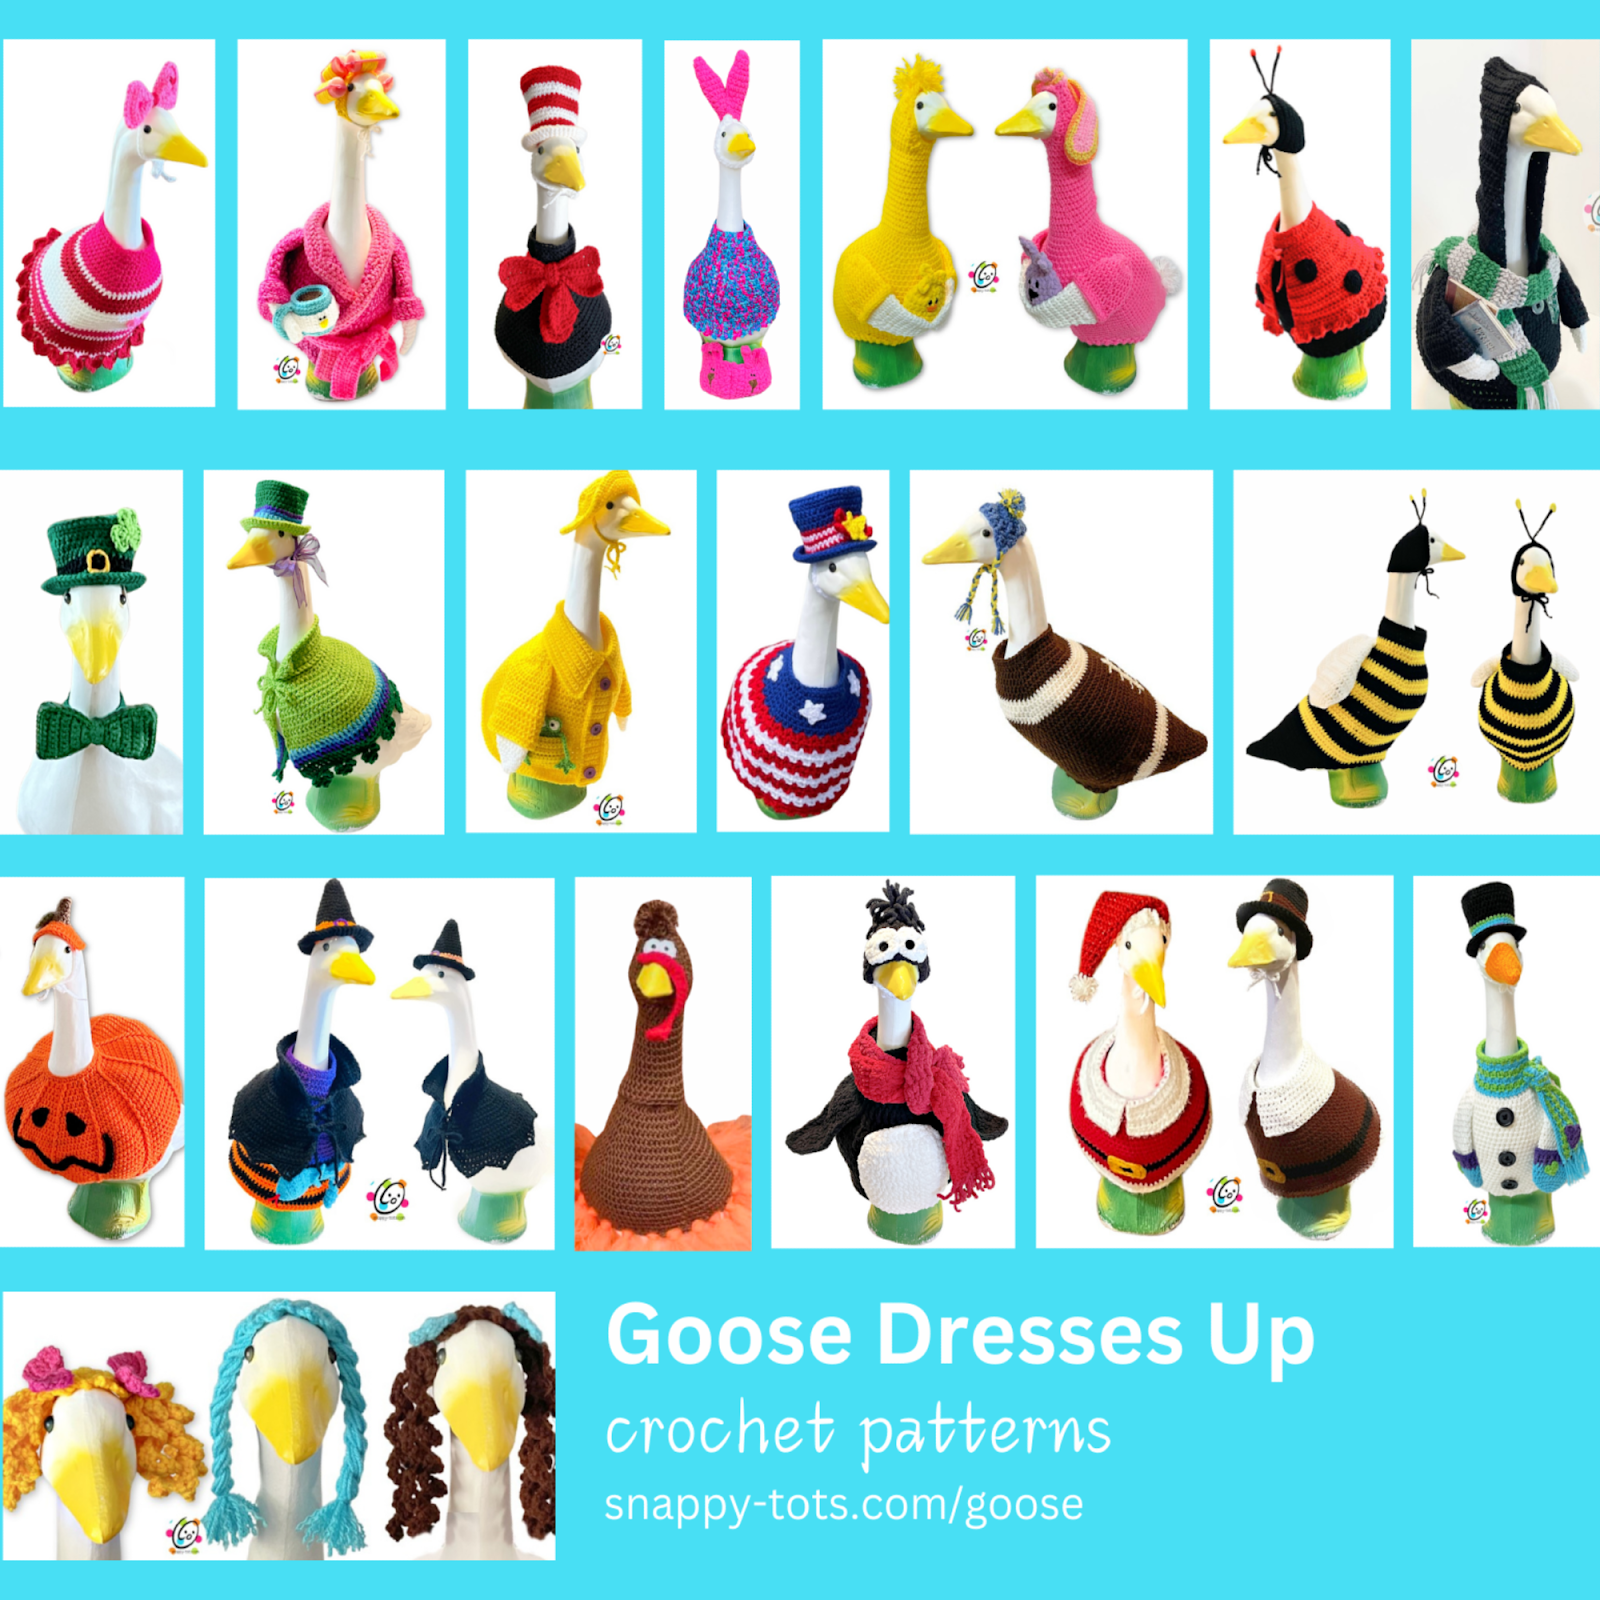
Please come check out my “Adventures of Ducke and Goose” for lots of clothes and accessories with TONS still to come… plus watch for lots of goose fun.
Pin To Save For Later


I made 3 of your outfits so far for a cement goose and they are very tight, especially around the “tummy”. The first 2 (pilgrim and santa suit) I really had to stretch. I made the two color one with the hoody (scarlet and gray of course) but I added 10 extra stitches around the tummy area and it worked just fine. Just add them in randomly but keep your count.