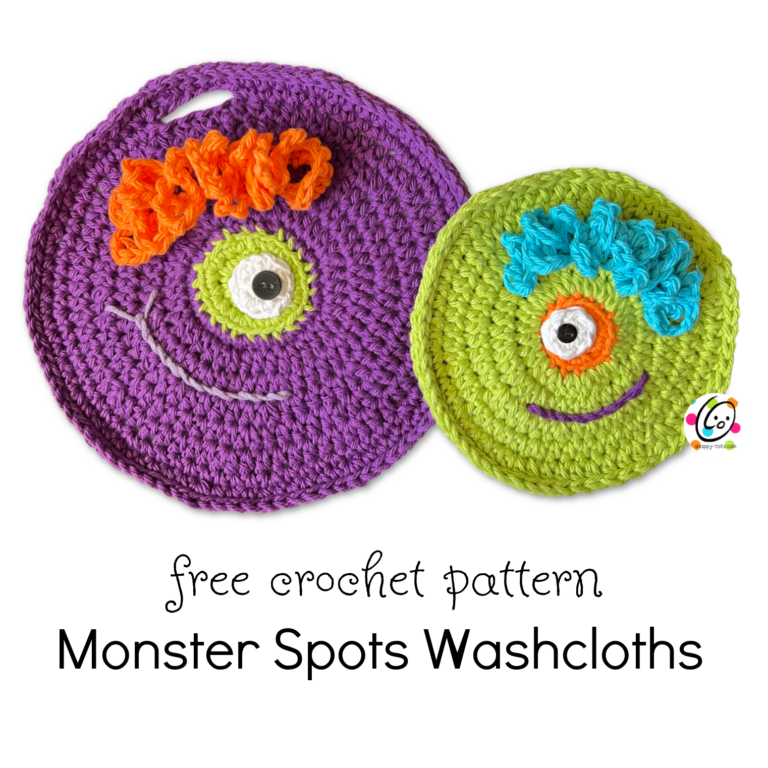
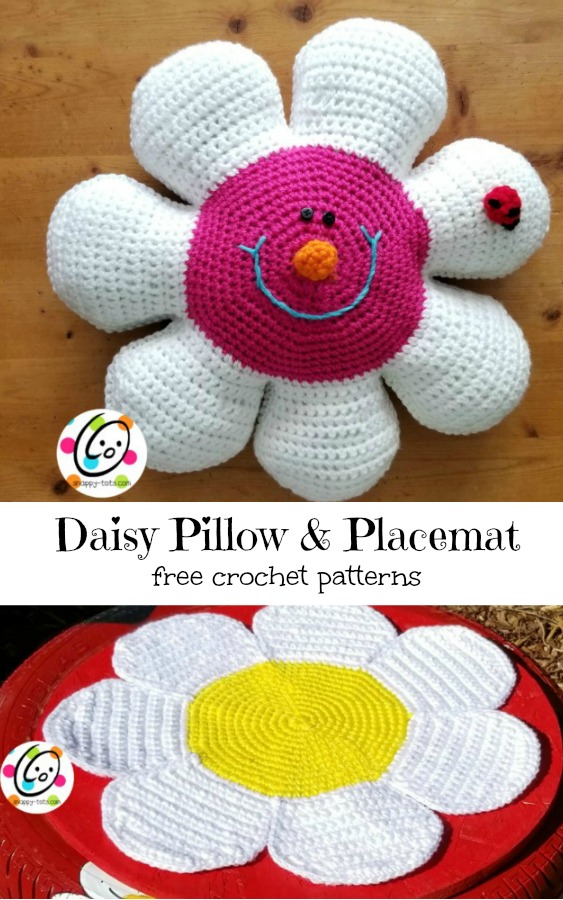
Free Pattern: Daisy Pillow and Placemat
Daisies are my favorite flower so when I wanted to add some cute pillows and a placemat to my new swing setting I decided to design snappy daisy.
It worked out great and can be made in any choice of colors. I have included instructions for making 2 sizes. Both sizes can be placemats and pillows.
This pattern was designed as part of the CAL Central Crochet event. You can join the group on Facebook to participate, see other creations and share pix of your own.
This is the last in the series of free softies. You can enter to win prizes. Link your projects to THIS POST to enter.
Please add the hashtag #CALCentral when sharing on social media.
Fairfield World generously donated the Poly-fil used to make these softies. They will also be donating a 5-lb Box of Poly-fil to the crocheter with the most votes.
Daisy Pillow and Placemat
An ad-free, downloadable PDF of these patterns with all of the photos is available too.
Description: Instructions included for making a daisy shaped placemat and/or pillow.
Skill Level: Easy. Basic crochet skills needed, plus must be able to read a crochet pattern.
Materials Yarn: worsted weight. Sample Colors: Red Heart Super Saver Bright Yellow, White, Royal, Cherry, Shocking Pink, Pumpkin, Turqua Crochet Hooks: H, I, J Miscellaneous: Yarn needle, sewing needle, thread, small buttons (optional for eyes), Fairfield Poly-fil stuffing (optional for pillow)
Details Flat Daisy Measurement: regular – 15” across; large – 18” across Gauge: Not important for this project
Tips First stitch of each row is worked into the same stitch as the turning chain. Numbers at the beginning of each line may refer to steps and not indicate number of rows.
Disclaimers This was designed as a decoration. If using as a toy for children please use caution.
Directions – Pillow and Placemat For the placemat version make one daisy. For the pillow version make two daisies. Regular size daisy – use an I hook and one strand ww yarn. Large size daisy – use a J hook and two strands ww yarn held together.
- With appropriate hook and worsted weight yellow yarn (or color choice for center), start with a magic circle of 8 sc sts (or preferred method for starting a circle of 8 sc sts), pull closed and place a marker for working in the round. (8sts)
- 2sc in each st to end of round. (16sts)
- *sc, 2sc in next st*, repeat to end of round. (24sts)
- *sc 2, 2sc in next st*, repeat to end of round. (32sts)
- *sc 3, 2sc in next st*, repeat to end of round. (40sts)
- *sc 4, 2sc in next st*, repeat to end of round. (48sts)
- *sc 7, 2sc in next st*, repeat to end of round. (54sts)
- *sc 8, 2sc in next st*, repeat to end of round. (60sts)
- *sc 9, 2sc in next st*, repeat to end of round. (66sts)
- *sc 10, 2sc in next st*, repeat to end of round. (72sts)
- *sc 11, 2sc in next st*, repeat to end of round. (78sts)
- Sc 6, *2sc in next st, sc 12*, repeat until 7 sts remain, 2sc in next st, sc 5, sl st in next st. (84sts) Finish off and weave in ends.
- This step starts the petals. With same size hook, attach white yarn to any st on the outer round of the center piece (2 strands for large version). Ch 1, sc in same st. sc 11. (12sts) 14-15. Ch 1, turn, sc in same st and in each st to end of row.
- Ch 1, turn. 2sc in same st. sc 10, 2sc in last st. (14sts)
- Ch 1, turn, sc in each st to end of row.
- Ch 1, turn. 2sc in same st. sc 12, 2sc in last st. (16)
- Ch 1, turn, sc in each st to end of row.
- Ch 1, turn. 2sc in same st. sc 14, 2sc in last st. (18)
- Ch 1, turn, sc in each st to end of row.
- Ch 1, turn, sc2tog, sc 14, sc2tog. (16sts)
- Ch 1, turn, sc2tog, sc 12, sc2tog. (14sts)
- Ch 1, turn, sc2tog, sc 10, sc2tog. (12sts)
- Ch 1, turn, sc2tog, sc 8, sc2tog. (10sts)
- Ch 1, turn, sc2tog, hdc, hdc, 2hdc in next st, 2hdc in next st, hdc, hdc, sc2tog. Finish off and weave in ends.
- Attach yarn to next empty st on the center piece. Repeat steps 13-26.
- Repeat step 27 until there are 7 petals.
- This step is worked around the outer edge of the flower. For both versions, regular and large, use an I hook and one strand ww yarn for this step. Choose a color that matches the petals.
Attach the yarn to the edge of any petal. The plan is to work sc sts, evenly spaced, along the edges of each petal. “evenly” without placing too many sts to make the edges ripple and not too few or the edges will pucker. *Sc evenly up the side of the petal. Where the petal “bends”, work 2sc together in one place to help the sts turn. Continue up, over and down the first petal. In the valley between the first and second petal, sc2tog by pulling up a st in the base of the first and second petals.* Repeat for each petal. Sl st to join at the end of the round. Finish off and weave in ends. For the placemat version the project is complete.
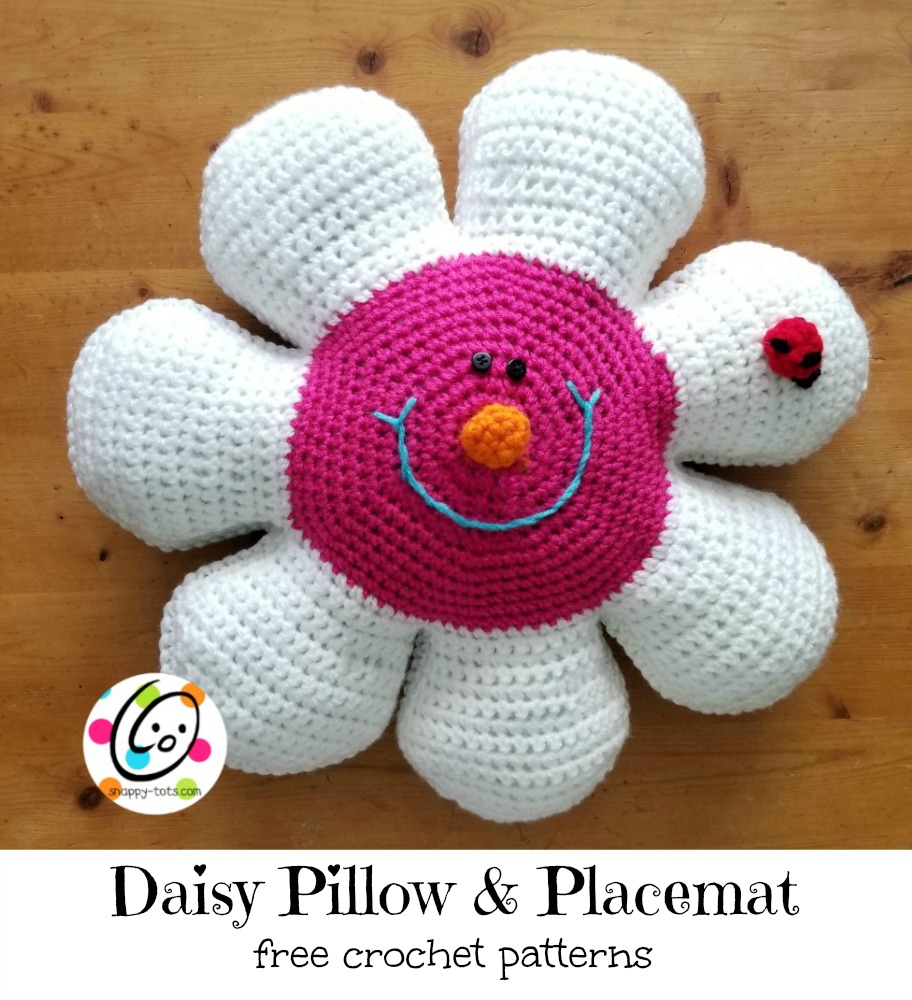
Face (optional) Nose
1. With an H hook and yarn color of choice (orange in sample), start with a magic circle of 5 sc sts (or preferred method for starting a circle of 5 sc sts), pull closed and place a marker for working in the round. (5sts)
2. 2sc in each st to end of round. (10sts)
3. Sc in each st to end of round. Sl st in next st. Finish off, leaving a long tail for sewing in place. Add a little stuffing to the nose before sewing in place. With a yarn needle and yarn tail, sew outer edge of nose to center of daisy.
Smile: With a yarn needle and yarn color of choice, stitch smile in place. Eyes: With a sewing needle and thread, sew two buttons above the nose.
Ladybug With red yarn, follow instructions for nose. With a yarn needle and black yarn, stitch black spots on body. Take a few stitches in the daisy to create the head.
Pillow
Follow instructions above and make two daisies. The edging will make it easier to sew the pillow pieces together. Stack daisies on top of each other with wrong sides together. Attach matching yarn to a stitch on the side of one pedal. Match up the stitches of both layers and work into both sts to seam petals together. Add stuffing before finishing last petal. Do not stuff too firmly or it will stretch the stitches. Ch 1, sc in each stitch around entire flowers, sl st to join at end.