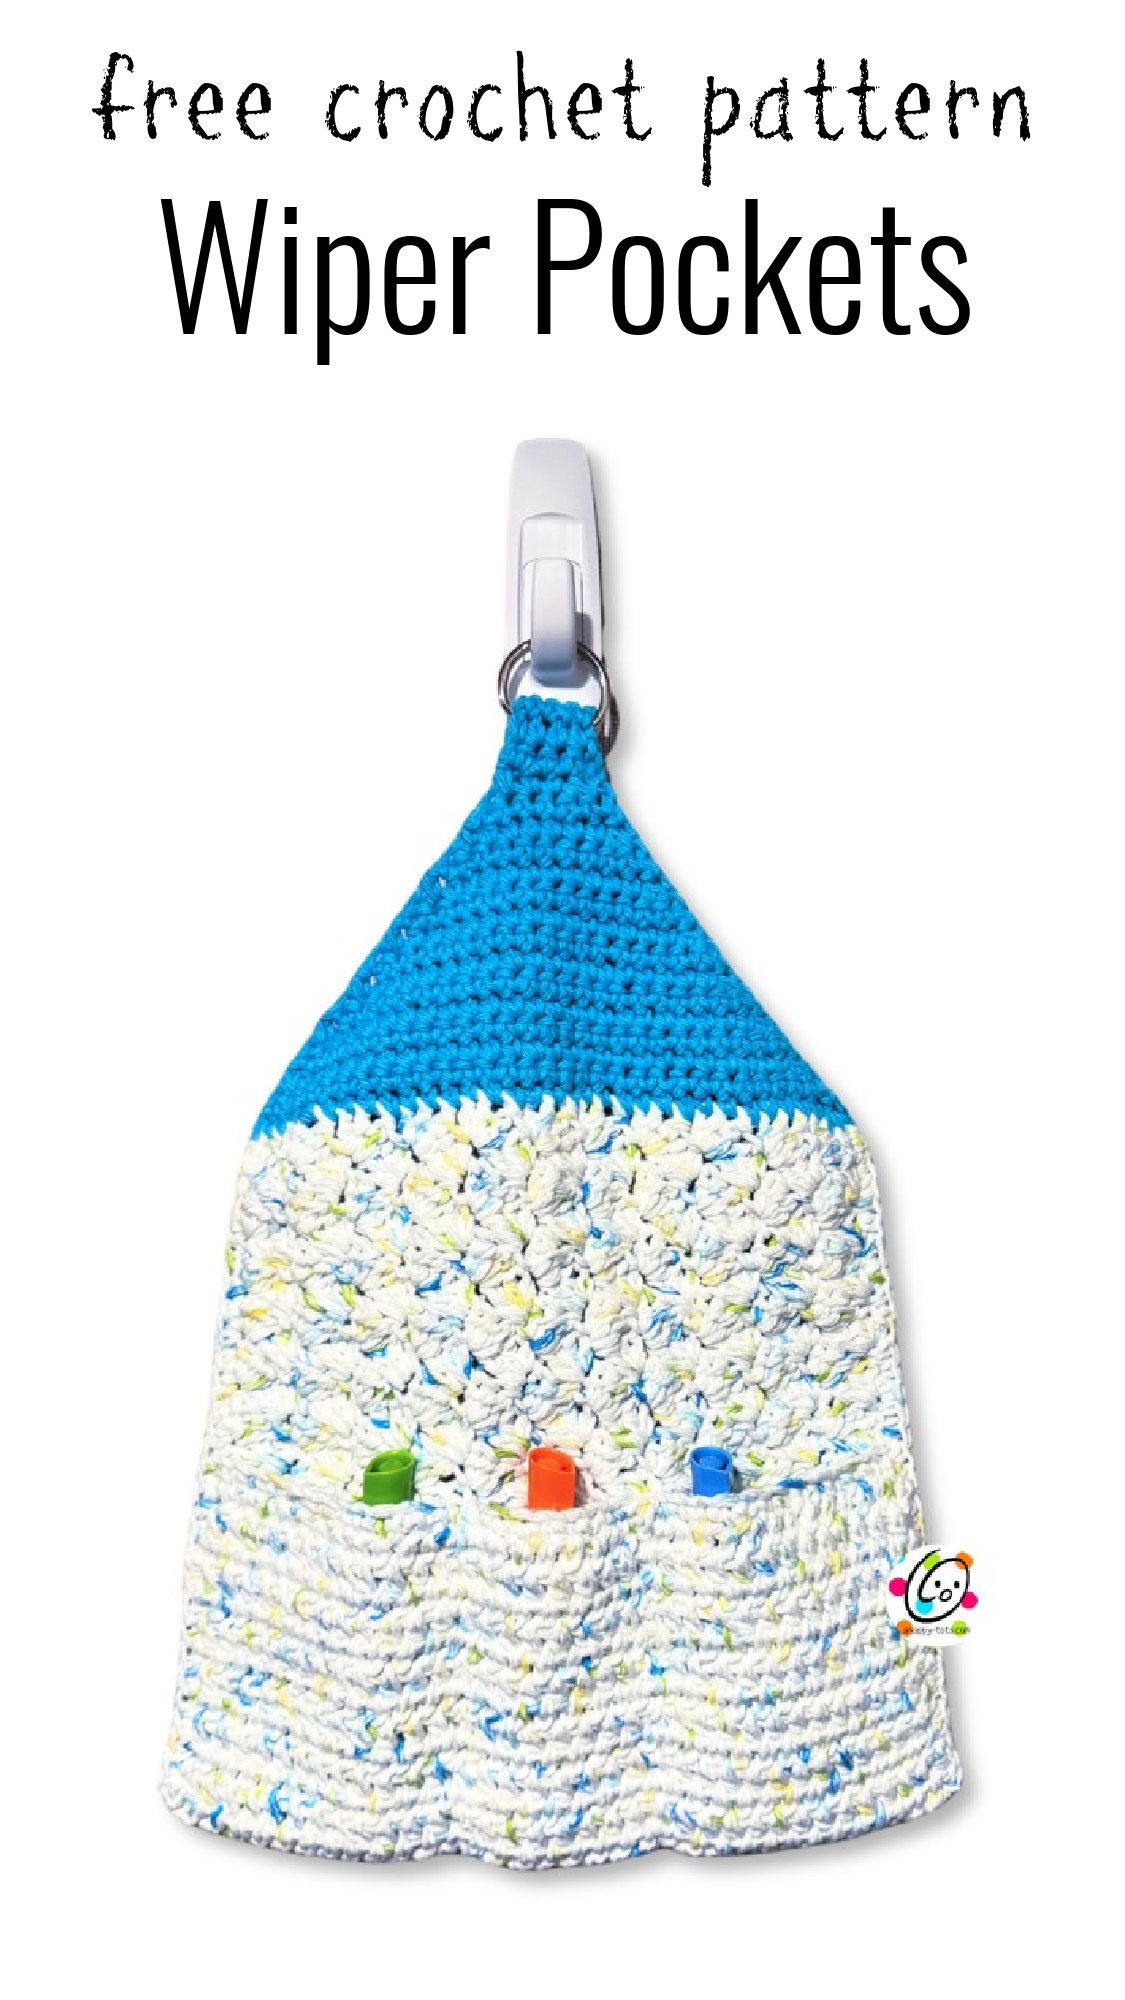
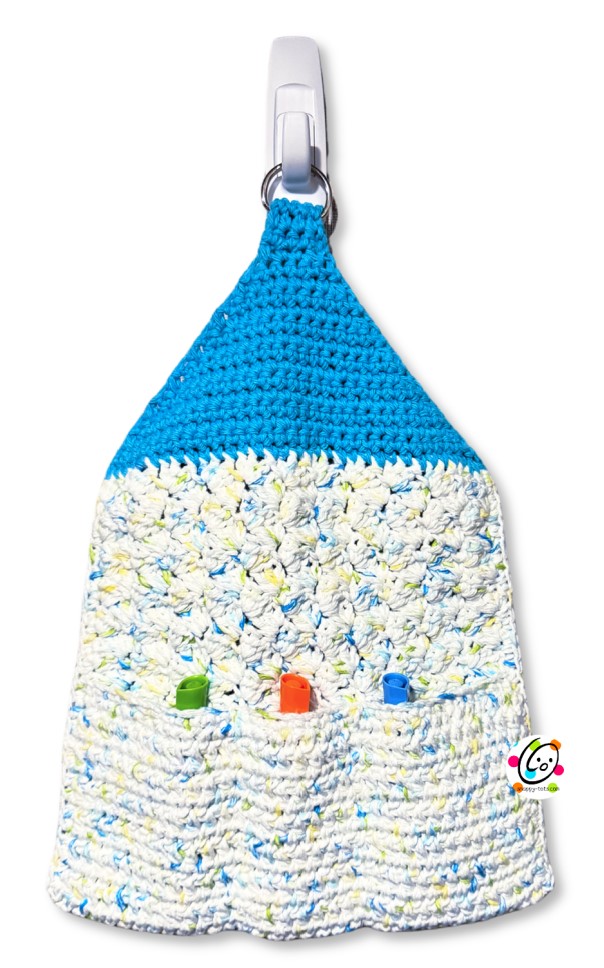
Free Pattern: Wiper Pockets
There are several white boards in my house. I kind of have an addiction. I use them for our family monthly calendar, large weekly plan, and a few in my office. A few years ago I made some whiteboard cleaners that we use all the time. I thought it would be great if I had one that could also hold the markers.
This is part of my “Weekly Wash” for 2025. Each Wednesday from March – November a new crochet pattern for a dishcloth, scrubbie, towel, or similar will be released. I hope you will enjoy these patterns too. The patterns are free to follow along on my blog, plus several of them have a paid pdf for a small fee.
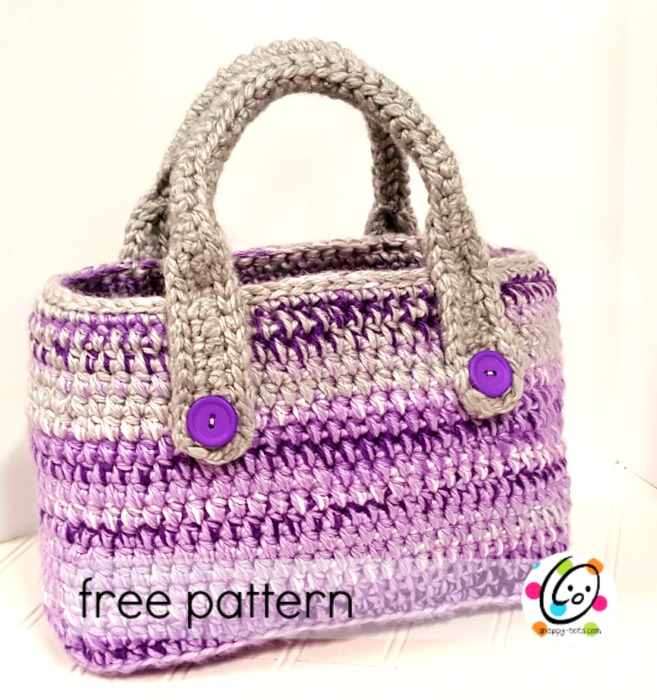
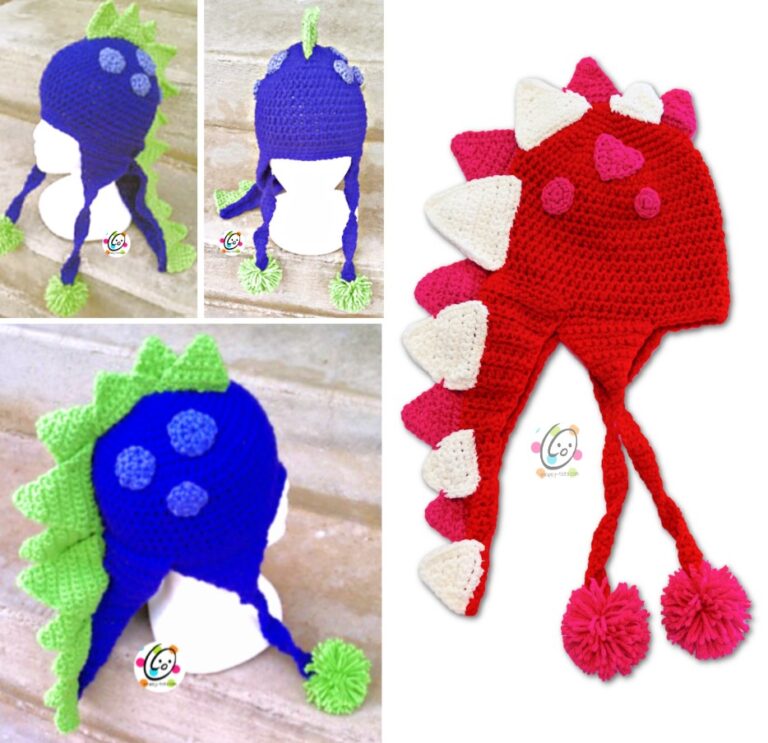
Similar Patterns You Might Enjoy
Wiper Pockets Crochet Pattern
The crochet pattern for this project is available for free below. Ad ad-free downloadable version is available to purchase for a small fee: Ravelry | Etsy
Materials and Details
- Yarn: Worsted weight Cotton 100-120 yds
- Crochet Hooks: H, I
- Miscellaneous: Yarn needle for weaving in ends, large D-ring (bottom width 1 ⅜” – 1 ½”) or 3/4” button, sewing needle, thread
- Finished Measurements: 14.5” long x 10.5” across bottom edge
- Gauge: Not necessary for this project
Reminders
- Increases and regular sts: 2hdc in the next st = an increase. Work 2 hdc in the next st hdc 2 = work one hdc in each of the next 2 sts. St count does not increase.
Tips
- The first stitch of each row is worked into the same stitch as the turning chain unless noted.
- Numbers at the beginning of each line may refer to steps and not indicate the number of rows.
- Stitch count remains the same unless noted at the end of row/round.
- If you have any questions about this pattern please contact [email protected].
Directions
1. With an I hook and worsted weight cotton yarn, ch 35, sc in 2nd ch from hook and in each ch across. (34sts)
2. Ch 1, turn, hdc in the same st and in each st to end of row.
3. Ch 1, turn, hdc between each of the posts to end of row. Note: This is done by inserting the hook right below the st, between the posts. Make sure the st count stays the same.
4. Repeat the previous step for an additional 11 rows.
5. Ch 1, turn, sc between each of the posts to the end of the row.
6. Ch 1, turn, sc in each st to end of row (this is worked IN the stitch for regular stitch placement).
Note: These two rows, steps 5-6, will be at the bottom of the pouch to create the fold.
7. Ch 1, turn, (sc, hdc, dc) in the first st, *sk 2, (sc, hdc, dc) in the next st*, repeat until 3 sts remain, sk 2, sc in the last st.
8. Repeat the previous step for an additional 23 rows.
9. Finish off the current yarn and change to a contrasting yarn for the top section. Ch 1, turn, sc2tog, sc in each st until 2 sts remain, sc2tog. (32sts)
10. Ch 1, turn, sc2tog, sc in each st until 2 sts remain, sc2tog. (30sts)
11. Repeat the previous step until 4 sts remain.
At this point, choose between the D-Ring Version (to hang on a hook as shown in main sample) or Button Tab Version (to wrap around a bar or handle).
Continue with desired version:
D-Ring Version
Ch 1, turn, sc 4. (4sts) Repeat previous row 5 more times. Finish off, leaving approximately 12” of yarn. Slip the flat edge of a D ring over the end strip of the cloth. Fold the strip over the flat edge.
With a yarn needle and yarn tail, sew the two layers together. Skip to “Assembly”.
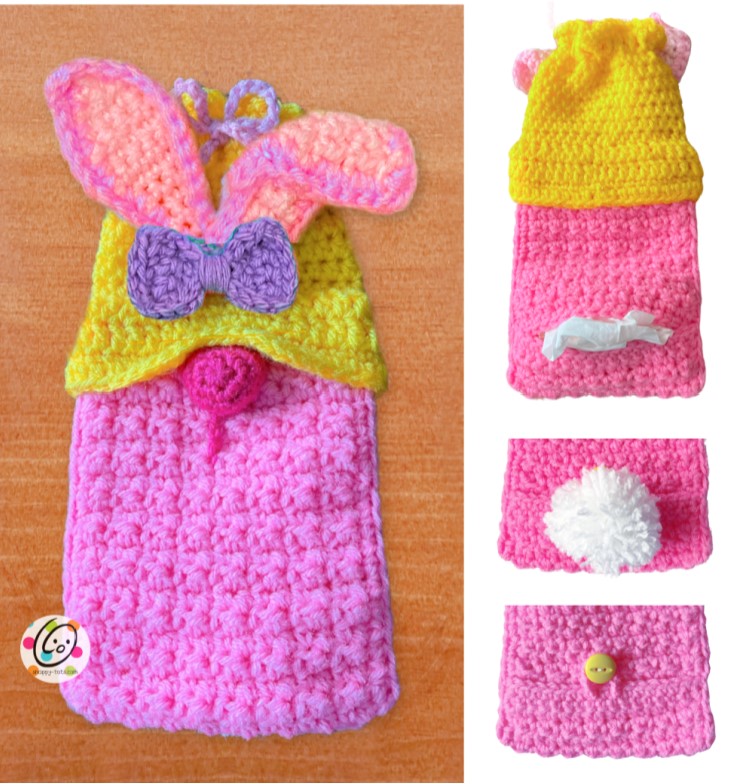
Button Tab Version
Ch 1, turn, sc 4. (4sts) Repeat previous row 14 more times, or until tab section is desired length. Ch 1, turn, sc 2, ch 4, sc 2. Ch 1, turn, sk 2 sts, work 3sc around ch from previous row, sl st in last st of row. Finish off and weave in end.
With a sewing needle and thread, sew the button to the cloth before the top starts to narrow.
Contine to “Assembly”.
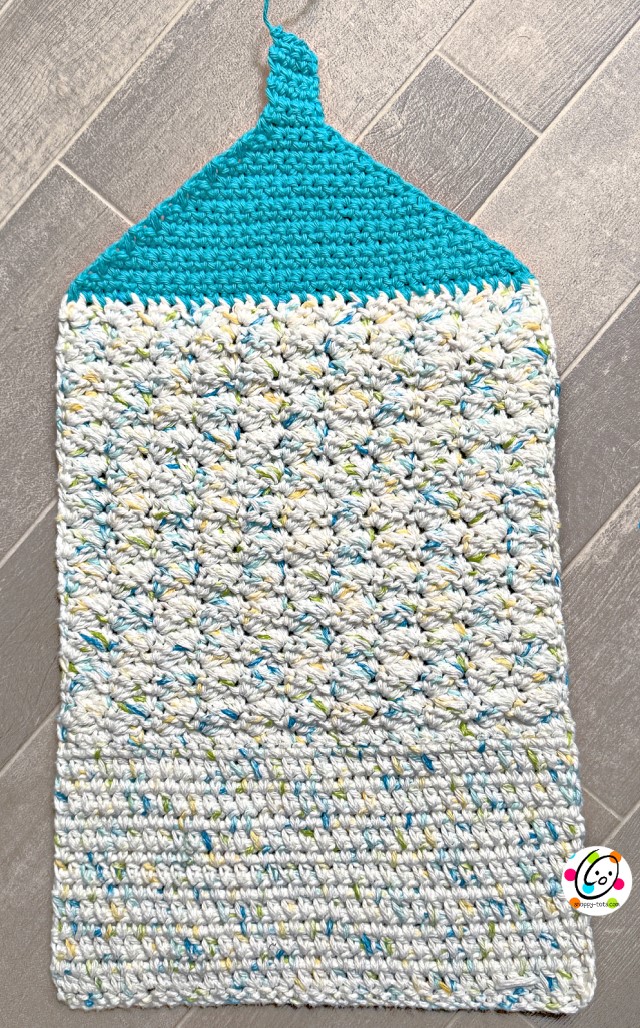
Assembly
Find the 2 rows of sc between the hdc rows and clusters. Fold the piece at this point and pin the layers together to hold.
The hdc rows are probably wider than the cluster rows. Grab the edges of the cluster section and carefully tug the sides to loosen the clusters.
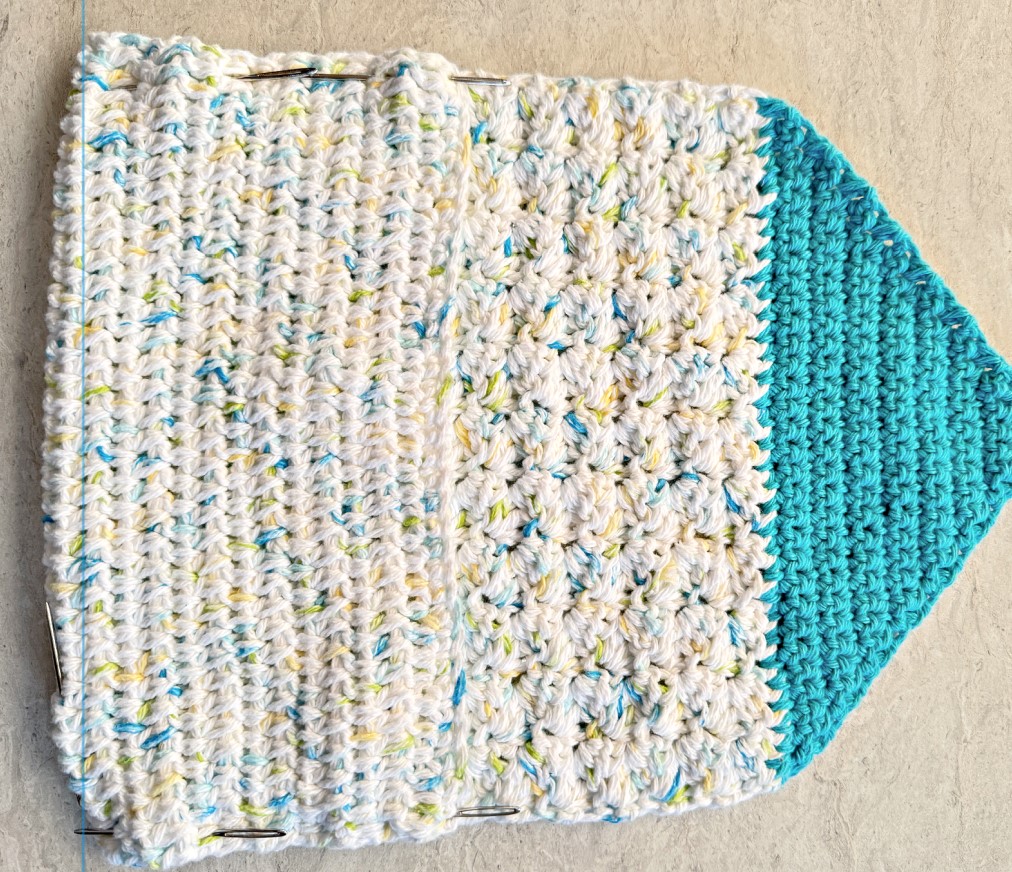
Pin the edges, using the rows to make sure the top edge of the pocket is straight.
With an I hook and matching yarn, start at the color change on the left edge. See photo.
Ch 1, sc evenly spaced down the side of the piece, working through both layers (pocket and back) when you reach that point.
At the bottom corner, finish off and weave in ends.
Turn the piece to work across the opposite edge. Start at the bottom corner with an I hook and matching yarn. Ch 1, sc evenly spaced up the side of the piece, working through both layers and the main piece until you reach the color change.
Finish off and weave in ends.
Pockets: Divide how many pockets you want and how big you want them. With a yarn needle and matching yarn, sew straight lines through both layers (pocket and back). Repeat for additional divisions.
Pin To Save For Later