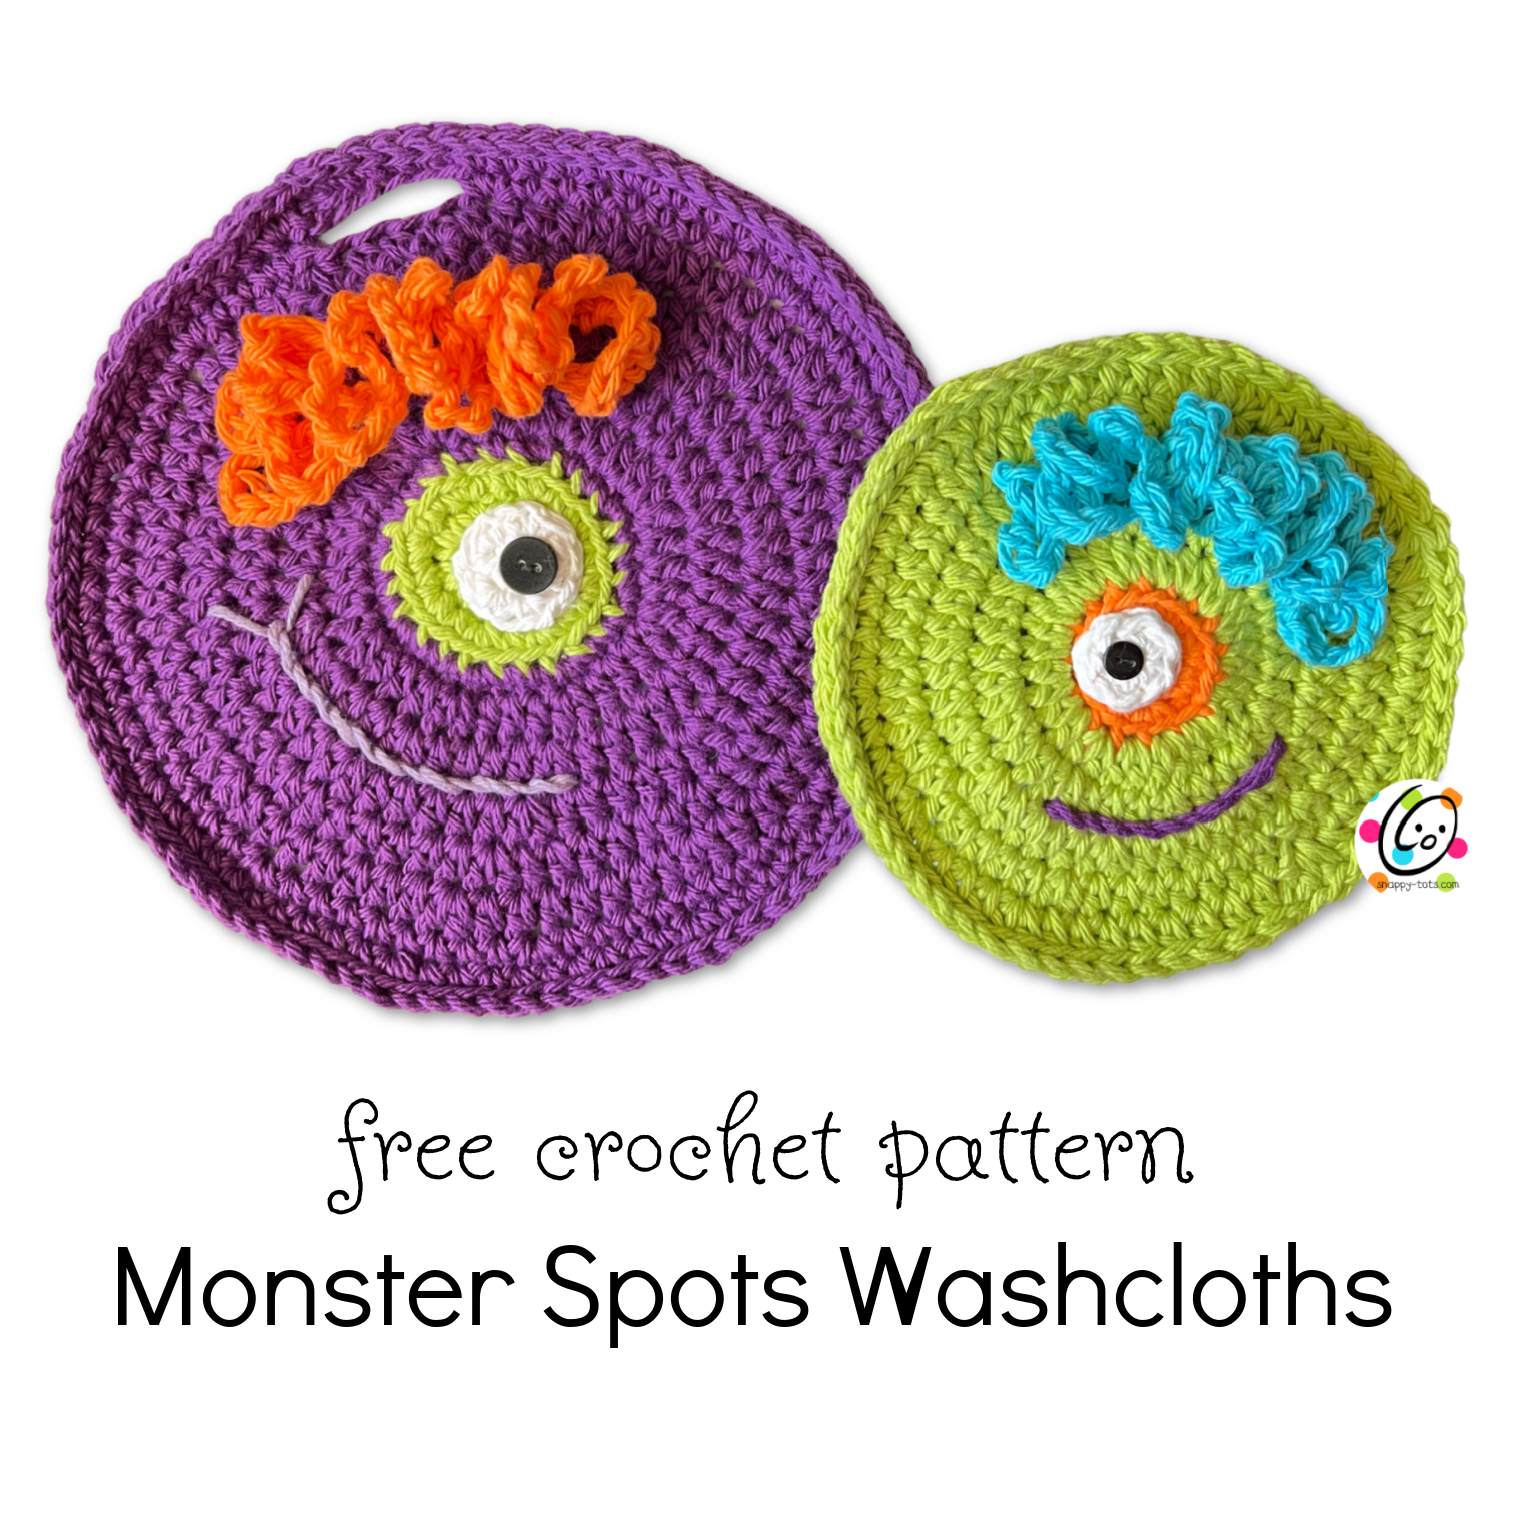
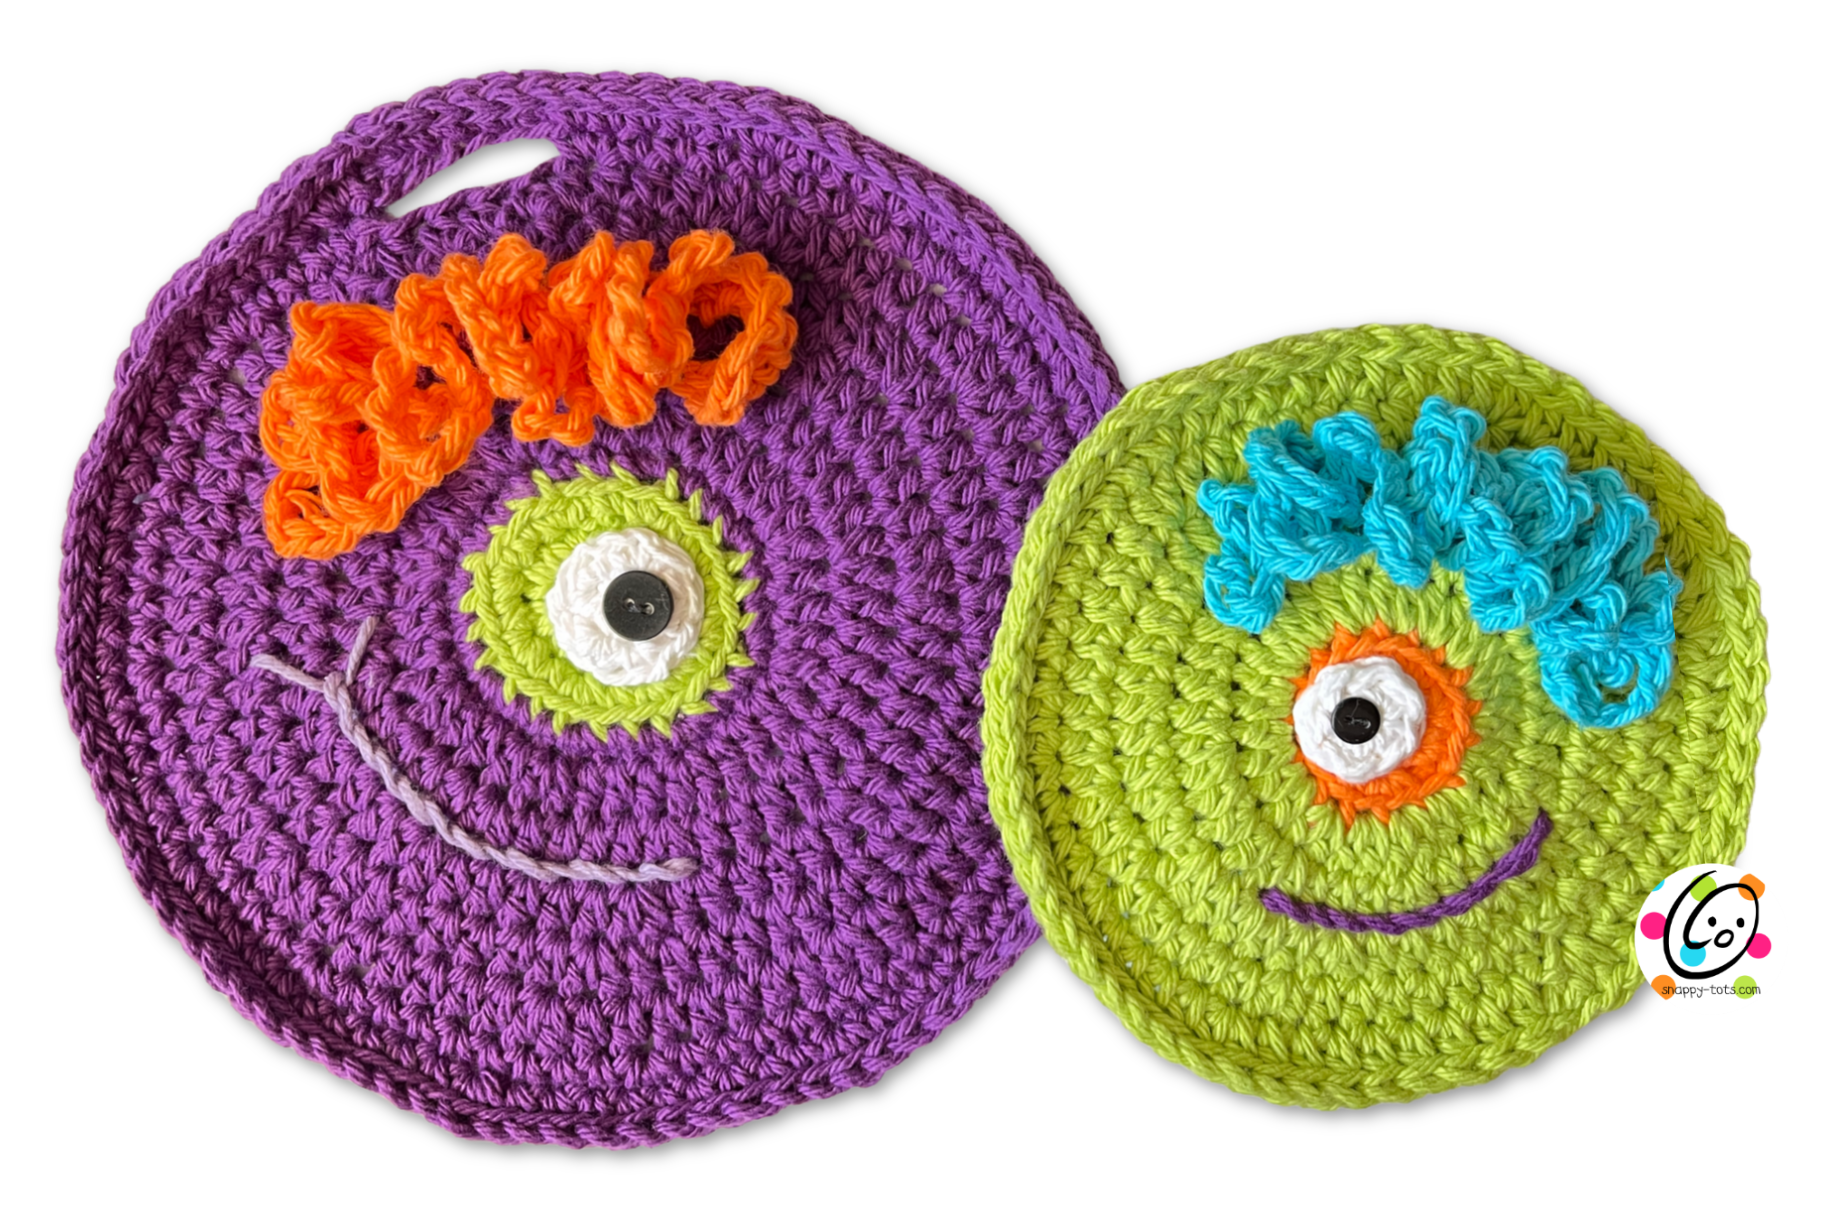
Weekly Wash #31: Monster Spots Washcloths
I’ve been wanting to make some more cloths to go with my monster cloths. Last year I made some circular “Cleaning Spots” to hang by whiteboards and people seemed to love those so I decided monster versions would be fun.
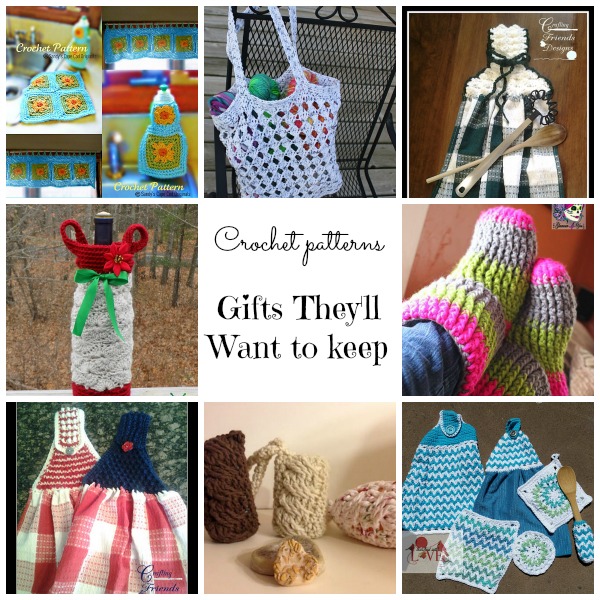
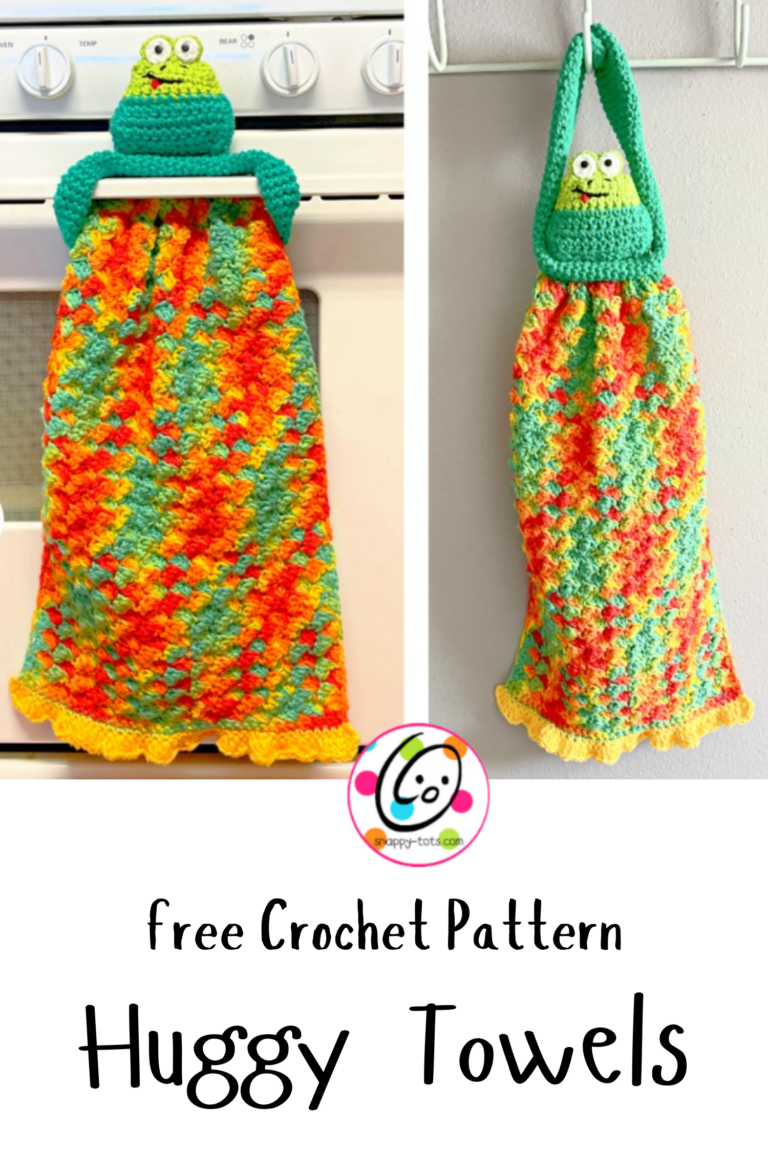
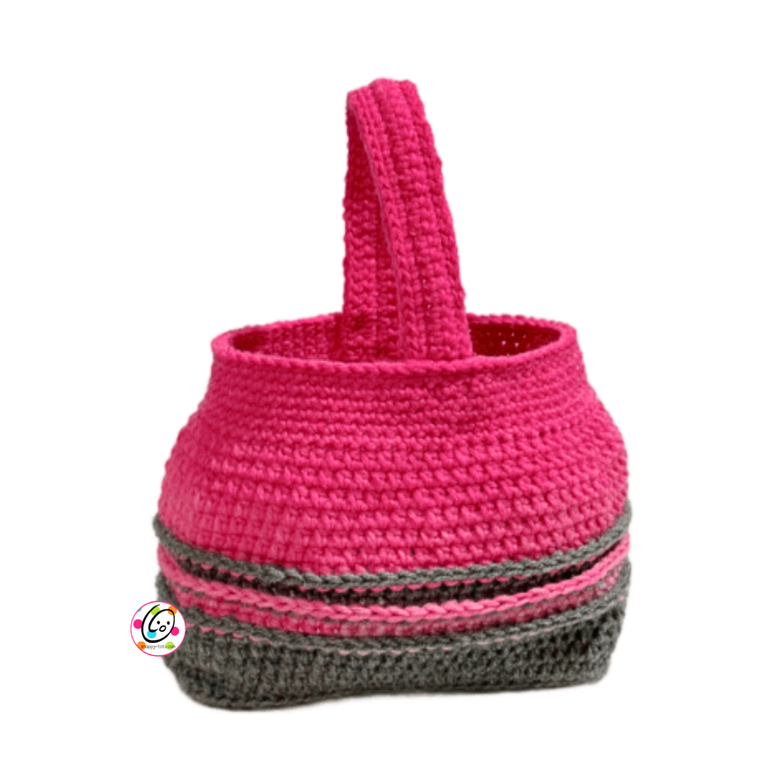
Similar patterns you might enjoy:
Monster Spots Washcloths Crochet Pattern
The crochet pattern for these cloths is available for free below.
Materials
- Yarn: Lily Sugar N Cream worsted weight 100% cotton yarn in choice of colors. Less than 100 yards per cloth
- Crochet Hook: H (5mm)
- Miscellaneous: yarn needle to weave in ends, 2 small black buttons for eyes, sewing needle, black thread
- Gauge: not necessary for this project
- Measurement: Large – 8″ across; Small – 5.5″ across
Large Cloth
1. With an H hook and color for the center/nose (green in sample), start with a magic circle of 8 sc sts (or preferred method for starting a circle of 8 sc sts), pull closed and sl st to join. (8sts)
2. Ch 1, 2sc in each st to end of round, sl st to join. (16sts)
3. Ch 1, sc in the same st, 2sc in the next st, *sc in the next st, 2sc in the next st*, repeat to end of round, sl st to join. (24sts)
4. Change to a contrasting yarn (purple in sample). Work this round in BLO. Ch 1, sc in the same st, sc, 2sc in the next st, *sc 2, 2sc in the next st*, repeat to end of round, sl st to join. (32sts)
5. Ch 1, hdc in the same st, hdc 2, 2hdc in the next st, *hdc 3, 2hdc in the next st*, repeat to end of round, sl st to join. (40sts) 3.5″ across
6. Ch 1, hdc in the same st, hdc 3, 2hdc in the next st, *hdc 4, 2hdc in the next st*, repeat to end of round, sl st to join. (48sts) 4.25″ across
7. Ch 1, hdc in the same st, hdc 4, 2hdc in the next st, *hdc 5, 2hdc in the next st*, repeat to end of round, sl st to join. (56sts) 5″ across
8. Ch 1, hdc in the same st, hdc 5, 2hdc in the next st, *hdc 6, 2hdc in the next st*, repeat to end of round, sl st to join. (64sts) 6″ across
9. Ch 1, hdc in the same st, hdc 6, 2hdc in the next st, *hdc 7, 2hdc in the next st*, repeat to end of round, sl st to join. (72sts) 7″ across
10. For this round, choose one of the following options:
- With hanger opening (as shown in sample) – Ch 1, sc in the same st, sc 3, 2sc in the next st, *sc 8, 2sc in the next st,* repeat until 4 sts remain, ch 6, sk 4, sl st in the first st to join. (76sts + 6 ch) Skip to step #11.
- Without hanger opening – Ch 1, sc in the same st, sc 3, 2sc in the next st, *sc 8, 2sc in the next st,* repeat until 4 sts remain, sc 4, sl st in the first st to join. (80sts) Continue to step #11.
11. Do not ch 1. Loosely sl st in each st around. Finish off and weave in ends.
Large Cloth Features
White Eyepiece
1. With an H hook and white yarn, start with a magic circle of 5 sc sts (or preferred method for starting a circle of 5 sc sts), pull closed and sl st to join. (5sts)
2. Ch 1, 2sc in each st to end of round, sl st to join. (10sts)
If you made the hanger version, make sure to center the eyes with the hanger at the top.
With a yarn needle, use the yarn tail to sew the white eyepiece to the center of the cloth. See main sample for placement.
With a sewing needle and black thread, sew a black button on top of the white eyepiece.
Mouth: With a yarn needle and a long piece of contrasting yarn, stitch a smile in place. Tip: Use the lines from the rounds as a guide.
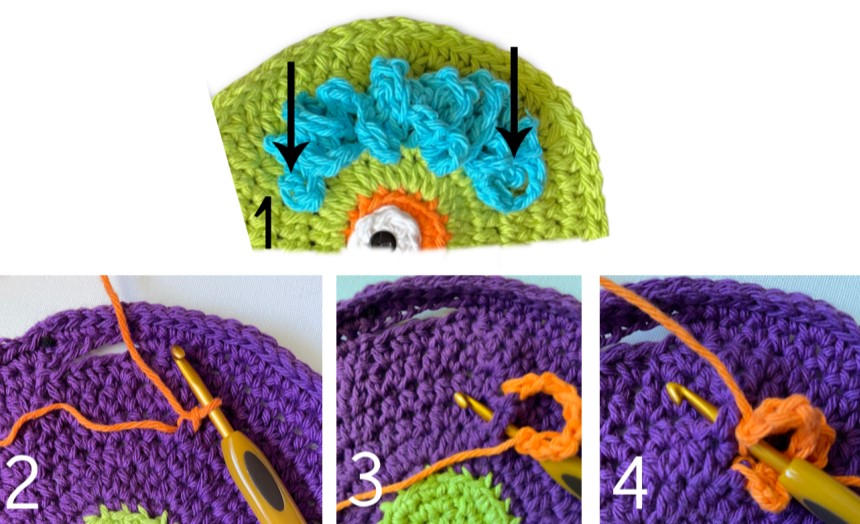
Hair: With an H hook and contrasting yarn (orang in sample), attach yarn around a post 2 rounds above the eyes and to the right. The arrows in photo #1 below show where the hair starts and stops. See photo #2 to see the first sl st.
Ch 8, sl st around a post one round below (photo #3), ch 10, sl st around the next post on the first round (photo #4), *ch 8, sl st around the next post on the 2nd round, ch 10, sl st around the next post on the first round*, repeat across the width of the eyes.
Small Cloth
1. With an H hook and color for the center/nose (orange in sample), start with a magic circle of 8 sc sts (or preferred method for starting a circle of 8 sc sts), pull closed and sl st to join. (8sts)
2. Ch 1, 2sc in each st to end of round, sl st to join. (16sts)
3. Change to a contrasting yarn (lime green in sample). Work this round in BLO. Ch 1, 2hdc in each st to end of round, sl st to join. (32sts)
4. Ch 1, hdc in the same st, hdc 2, 2hdc in the next st, *hdc 3, 2hdc in the next st*, repeat to end of round, sl st to join. (40sts)
5. Ch 1, hdc in the same st, hdc 3, 2hdc in the next st, *hdc 4, 2hdc in the next st*, repeat to end of round, sl st to join. (48sts)
6. Ch 1, hdc in the same st, hdc 6, 2hdc in the next st, *hdc 7, 2hdc in the next st*, repeat to end of round, sl st to join. (54sts)
7. Ch 1, hdc in the same st, hdc 7, 2hdc in the next st, *hdc 8, 2hdc in the next st*, repeat to end of round, sl st to join. (60sts) 6″ across
8. Do not ch 1. Loosely sl st in each st around. Finish off and weave in ends.
Small Cloth Features
White Eyepiece
1. With an H hook and white yarn, start with a magic circle of 5 sc sts (or preferred method for starting a circle of 5 sc sts), pull closed and sl st to join. (5sts)
2. Ch 1, 2sc in each st to end of round, sl st to join. (10sts)
With a yarn needle, use the yarn tail to sew the white eyepiece to the center of the cloth. See main sample for placement.
With a sewing needle and black thread, sew a black button on top of the white eyepiece.
Mouth: With a yarn needle and a long piece of contrasting yarn, stitch a smile in place. Tip: Use the lines from the rounds as a guide.
Hair: With an H hook and contrasting yarn (turquoise in sample), attach yarn around a post 2 rounds above the eyes and to the right. The arrows in photo #1 below show where the hair starts and stops. See photo #2 to see the first sl st.
Ch 6, sl st around a post one round below (photo #3), ch 8, sl st around the next post on the first round (photo #4), *ch 6, sl st around the next post on the 2nd round, ch 8, sl st around the next post on the first round*, repeat across the width of the eyes.
Pin To Save For Later