

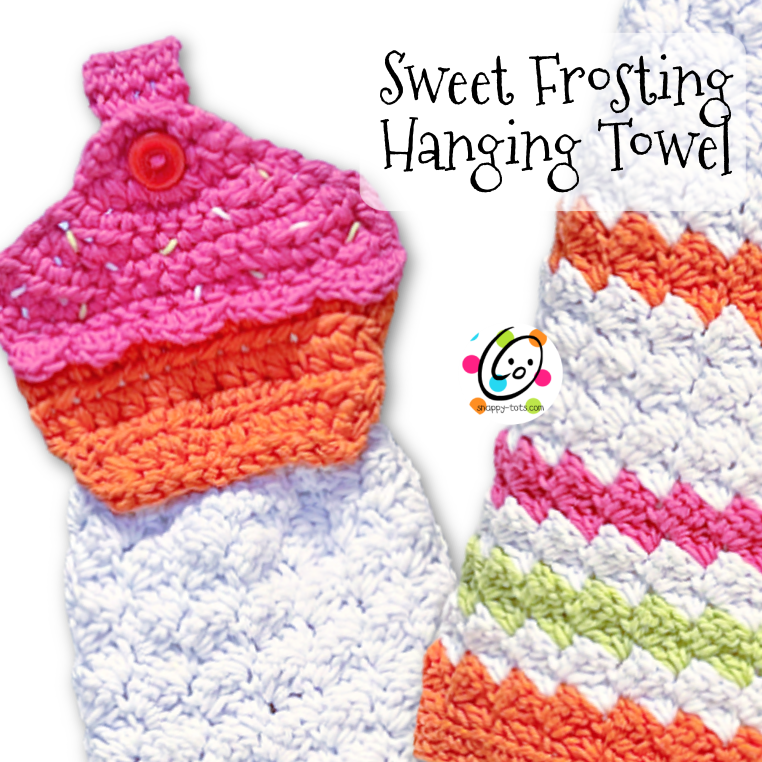
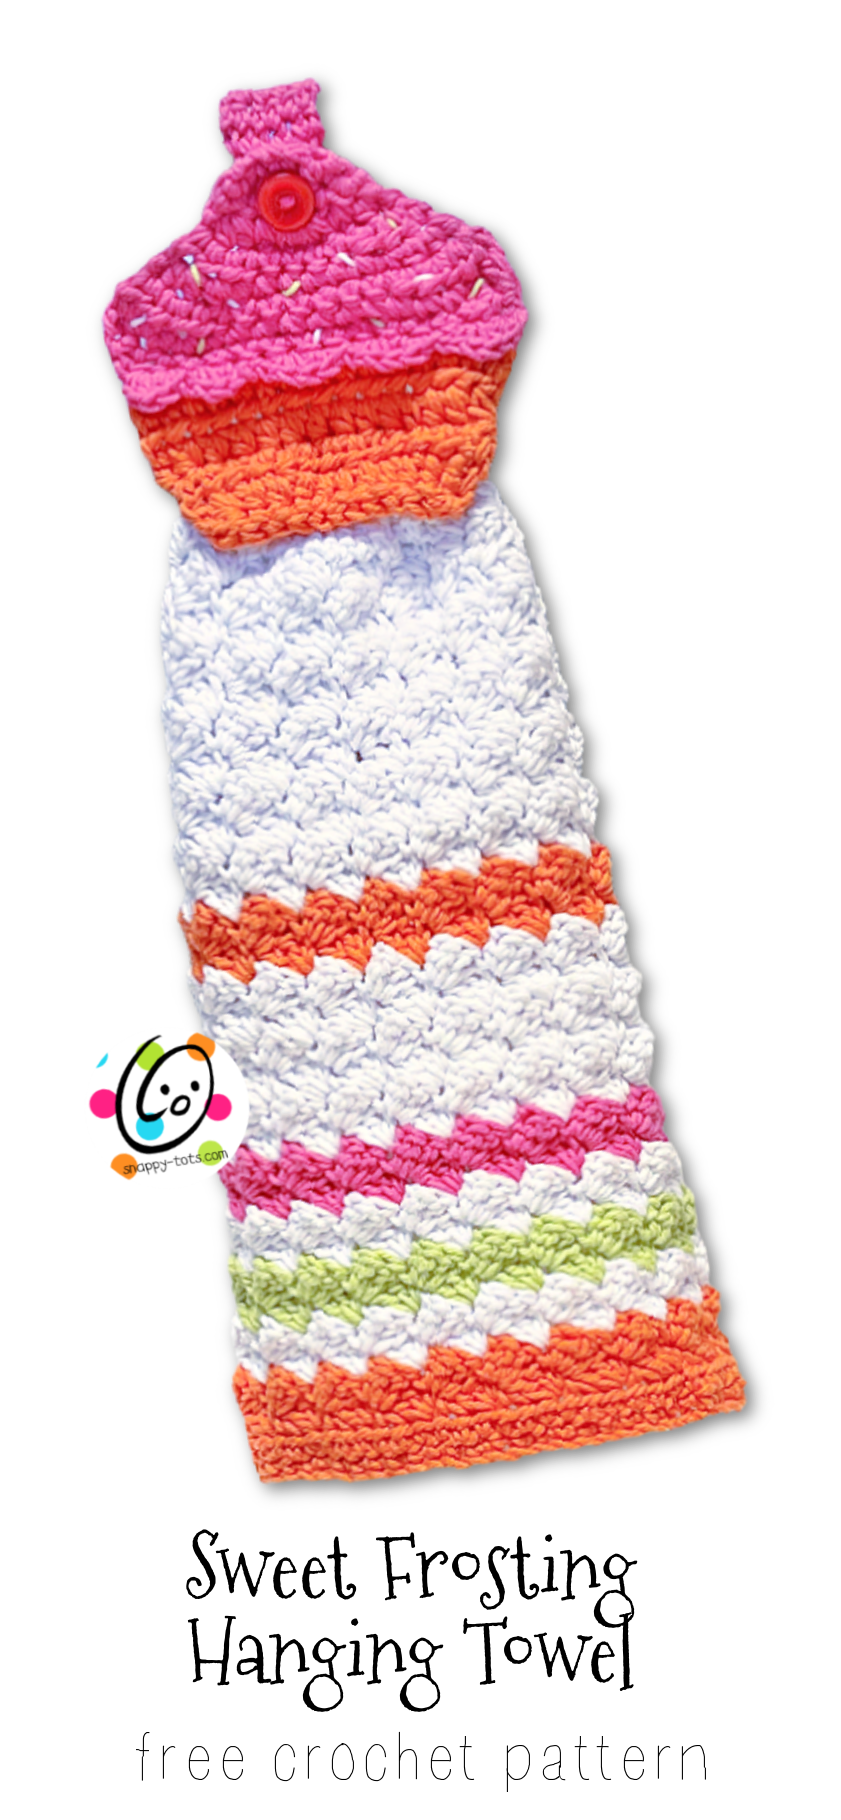
Weekly Wash #21: Sweet Frosting Hanging Towel
I really like this stitch combo and the texture it creates. Last spring, when I created the “Sweet Frosting Dishcloth” I knew it wanted to be part of a cupcake set. Something about this just says “cupcake” to me.

I hope you will enjoy making that cloth and this towel to match.
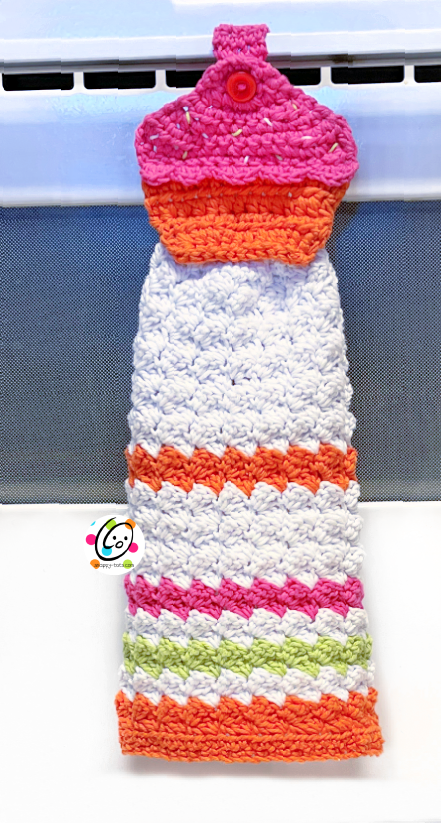
Sweet Frosting Hanging Towel
The crochet pattern for this dishcloth is available for free below. A downloadable, ad-free pattern that includes the instructions and all pictures is also available to purchase from my Ravelry Shop.
Materials
- Yarn: 250 yards Lily Sugar N Cream worsted weight 100% cotton yarn in choice of colors.
- Crochet Hook: H (5mm), I (5.5mm)
- Miscellaneous: yarn needle to weave in ends, ⅝” button, sewing needle, thread
- Gauge: not necessary for this project
- Measurement: Towel – 12″ wide x 13″ long (or desired length); Cupcake – 5” x 5”
Tips
- The first stitch of each row is worked into the same stitch as the turning chain.
- Numbers at the beginning of each line may refer to steps and not indicate the number of rows.
- Stitch count remains the same unless noted at end of row/round.
- If you have any questions about this pattern please contact [email protected].
Directions
1. With an I hook and orange yarn (or choice of color), ch 43, sc in 2nd ch from hook and in each ch across. (42sts)
2. Ch 2, turn, hdc in the same st and in each st to end of row.
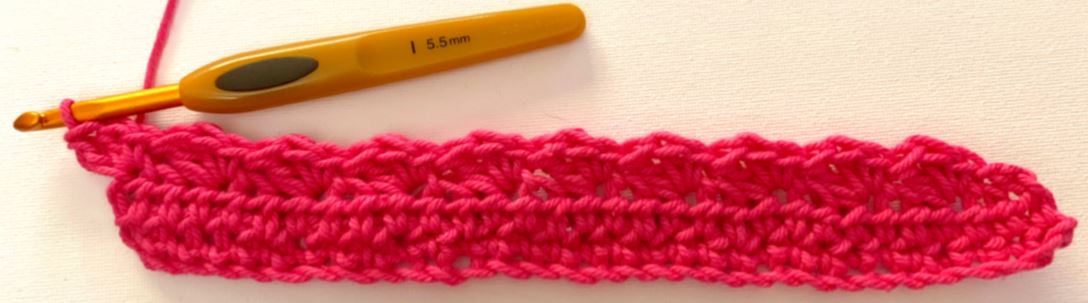
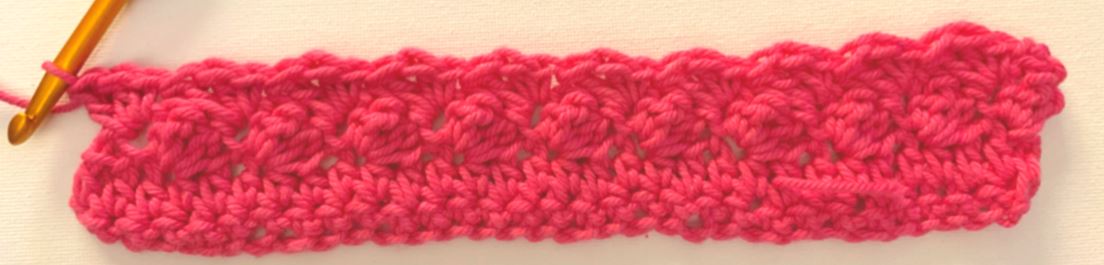
3. Ch 2, turn, sk 2, (sc, 2dc) in next st, repeat to end of row. (14 clusters) The photo below has fewer sts, but should still look similar.
4. Ch 2, turn, sk 2, (sc, 2dc) in next st, repeat to end of row. (14 clusters)
5. Cut yarn and change to white yarn. Ch 2, turn, sk 2, (sc, 2dc) in next st, repeat to end of row.

6. Ch 2, turn, sk 2, (sc, 2dc) in next st, repeat to end of row.
7. Cut yarn and change to green yarn. Ch 2, turn, sk 2, (sc, 2dc) in next st, repeat to end of row.
8. Ch 2, turn, sk 2, (sc, 2dc) in next st, repeat to end of row.
9. Cut yarn and change to white yarn. Ch 2, turn, sk 2, (sc, 2dc) in next st, repeat to end of row.
10. Ch 2, turn, sk 2, (sc, 2dc) in next st, repeat to end of row.
11. Cut yarn and change to pink yarn. Ch 2, turn, sk 2, (sc, 2dc) in next st, repeat to end of row.
12. Ch 2, turn, sk 2, (sc, 2dc) in next st, repeat to end of row.
13. Cut yarn and change to white yarn. Ch 2, turn, sk 2, (sc, 2dc) in next st, repeat to end of row.
14. Ch 2, turn, sk 2, (sc, 2dc) in next st, repeat to end of row.
15. Repeat the previous row for an additional 4 rows.
16. Cut yarn and change to orange yarn. Ch 2, turn, sk 2, (sc, 2dc) in next st, repeat to end of row.
17. Ch 2, turn, sk 2, (sc, 2dc) in next st, repeat to end of row.
18. Cut yarn and change to white yarn. Ch 2, turn, sk 2, (sc, 2dc) in next st, repeat to end of row.
19. Ch 2, turn, sk 2, (sc, 2dc) in next st, repeat to end of row.
20. Repeat the previous row for an additional 7 rows.
21. Ch 2, turn, hdc in the same st and in each st across.
22. Ch 1, *sc2tog*, repeat to end of row. (21sts)
23. Ch 1, *sc2tog*, repeat until 1 st remains, sc in the last st. (11sts) Finish off, leaving a long tail.

Fold in the outer edges of the top row. With a yarn needle, use the yarn tail to sew the top edges together to hold the folds in place. Set aside.
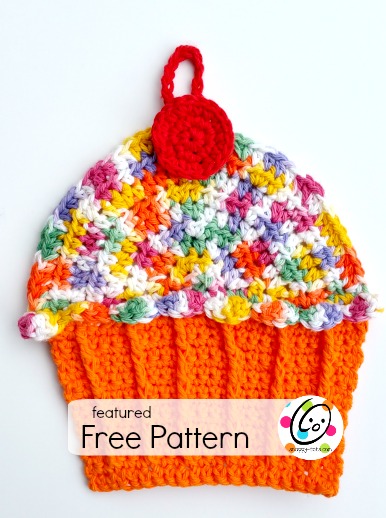
Cupcake
This project starts at the top of the cupcake and works towards the bottom.
1. With an I hook and two strands variegated yarn (or choice of color for top section), ch 5, 2sc in 2nd ch from
hook, sc 2, 2sc in the last ch. (6sts)
2. This step creates a buttonhole. Ch 1, turn, sc 2, ch 2, sk 2, sc 2.
3. Ch 2, turn, 2hdc in same st, sc, 3sc around the chain, sc, 2hdc in the last st. (9sts)
4. Ch 2, turn, 2hdc in same st, hdc, sc 5, hdc, 2hdc in last st. (11sts)
5. Ch 2, turn, 2hdc in same st, hdc, sc 7, hdc, 2hdc in last st. (13sts)
6. Ch 2, turn, 2hdc in same st, 2hdc in next st, hdc, sc 7, hdc, 2hdc in next st, 2hdc in last st. (17sts)
7. Ch 2, turn, hdc2tog, sc, 13, hdc2tog. (15sts)
8. Ch 2, turn, hdc2tog, sc, 11, hdc2tog. (13sts)
9. Cut one strand and continue with one strand. This step creates the scalloped edge along the bottom of the top/frosting section.
Ch 1, turn. Work this step in FLO. (sc, hdc) in same st, (hdc, sc) in next st, sl st in same st, *ch 1, (sc, hdc) in
next st, (hdc, sc) in next st, sl st in next st*, repeat until 2 sts remain, (ch 1, sc, hdc) in next st, (hdc, sc, sl st) in
last st. Finish off the yarn.
10. With right side facing, pull scallops forward and attach 2 strands pink yarn (or desired color for bottom
section) to first st. Ch 1, 2sc in same st, sc 11, 2sc in last st. (15sts)
11. Ch 2, turn, hdc in same st and in each st to end of row.
12. Ch 2, turn, hdc2tog, hdc 11, hdc2tog. (13sts)
13. Ch 2, turn, hdc in same st and in each st to end of row.
14. Ch 2, turn, hdc2tog, hdc 9, hdc2tog. (11sts)
15. This step creates a textured edge across the bottom. Ch 1, turn, *sl st in FLO of next st, sl st in BLO of next st*,
repeat to end of row. Finish off and weave in ends.
If the middle section of your cupcake cinches in at the sides (where the scallops are attached), grab each
side and give a tug.
Sprinkles: Use a yarn needle and pieces of yarn that match the cloth to stitch sprinkles randomly across the cupcake. See the main photo.
Hanger
1. With an H hook and matching yarn, ch 6, sc in 2nd ch from hook, sc 4. (5sts)
2. Ch 1, turn, sc 5.
3. Repeat the previous row until the hanger is approximately 6” or desired length. Finish off, leaving a yarn tail
at one end for sewing to cloth.
With a yarn needle and yarn tail, sew one short end to the back of the cupcake where the two colors meet.
With a sewing needle and thread, sew the button to the opposite end of the hanger tab.
Lay the cupcake on top of the right side of the cloth so it overlaps approximately 2” of the top edge of the cloth. Use a yarn needle and matching yarn to sew the cupcake to the cloth.
Pin To Save For Later

Your legacy begins with today. Make it epic! Play Now Here -> is.gd/bXFjuK