

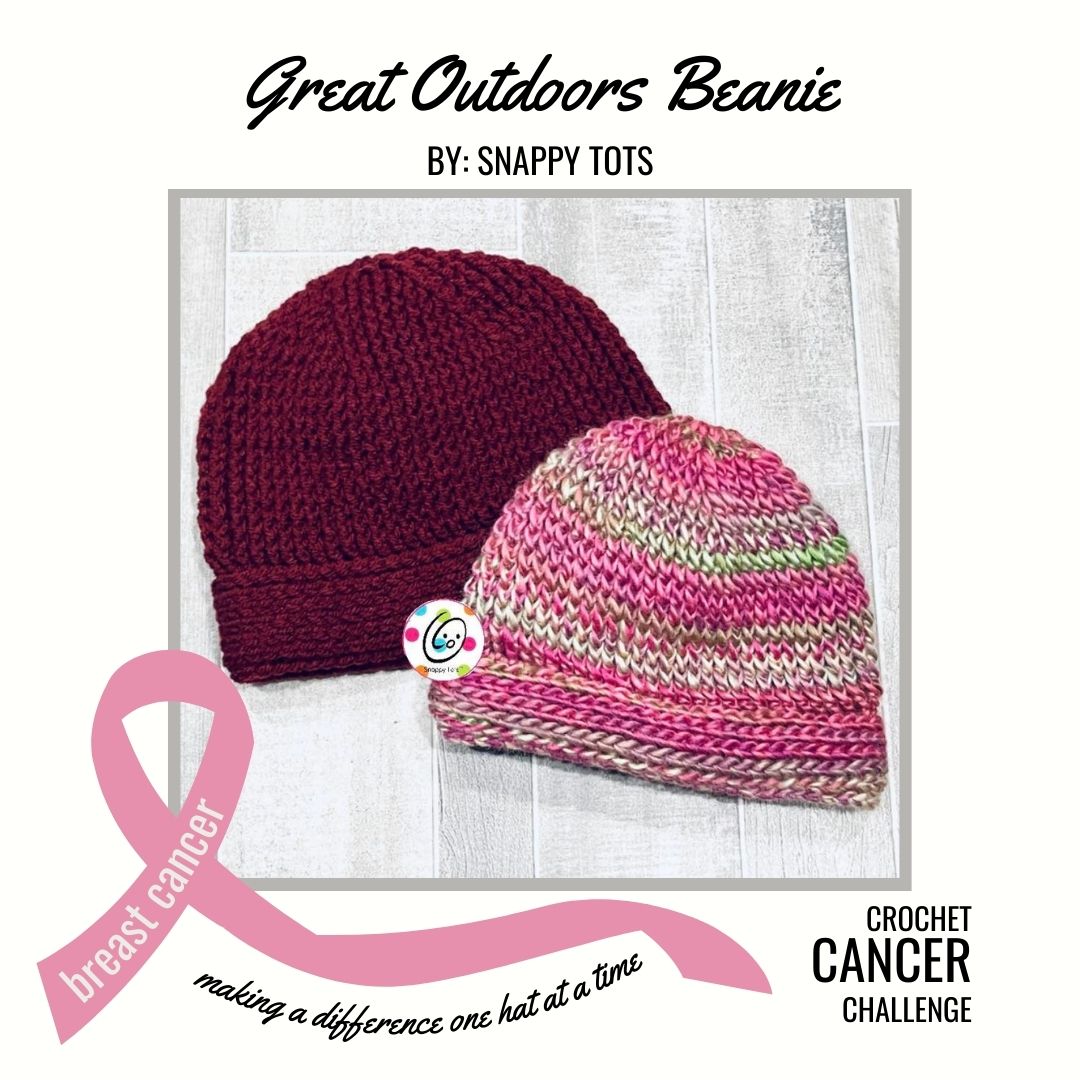
Free Pattern: Great Outdoors Beanie
The month of October has become “beanie month” for many of us because of a GREAT event hosted by “Sweet Potato 3”. In 2022, the ninth year of the Crochet Cancer Challenge I designed two beanies. Please read on to find out about those beanies and to get the patterns or quick jump to each: Great Outdoors Beanie | Debbie’s Cloche
From the original post: I am extra excited for this year because I have been lucky enough to design TWO hats! My “Debbie’s Cloche“, designed for my mother in law who is currently battling stage 4 lung cancer is an easy cloche I would love for you to try. You can find out about that pattern at this link.
My Hat Contribution And Meaning
This year our family was hit hard by this awful disease. In March my mother in law was diagnosed with stage 4 lung cancer. I knew then that I wanted to design a hat for her. In July, while at the hospital with her, we ran into my former mother in law (and the grandmother of my two oldest “kids”). She was also there going through chemo. She had already gone through chemo treatments for breast cancer once and had beat it. Unfortunately it came back. This time the struggle was extra hard for her. She lost her husband of over 32 years just weeks before at the beginning of the summer and she said this time was much harder without him.
Sadly, in September, she passed away. A couple of days before I was able to visit with her, along with my daughter and son in law. We had a very nice visit with her and several members of the family. I know she will be missed by a large family that loved her dearly. Knowing she is reunited with her husband, riding their horses, helps a little. I have a lot of great memories of her and the things that stood out the most were her creativity, artistic talent, and her love of the outdoors. When I asked her daughter in law what her favorite color was she had the most wonderful response, “… I asked (her) once what her favorite color was. She thought for a moment and said she loved all the colors. (My brother) showed her all his different iris varieties and asked her to pick her favorite. She picked the yellow one. Now that doesn’t mean yellow is her favorite color. I know she loves the colors of a sunset against the high desert mountains. She loved the colors of green trees against our bright blue skies. The colors of aspens aspens and pines next to a cool mountain stream.” That says it all.
I wanted to design a beanie that both her and her husband would wear and would keep them warm in the fall, winter, and spring trips to the mountains. I would like to think they would have enjoyed these. I will be making more of these to give to some of her family members to remember her and her courageous fight.
Both of my mother in laws have been strong examples of courage and strength!
For Jan…
Other Beanie Patterns You Might Enjoy
The following hats were designed for this event in previous years. The crochet patterns for these beanies can be found in my shop. Eventually all of these patterns will also be added to my blog to follow along for free, but purchasing the pattern is a great way to get a downloadable, ad free version.
CLICK HERE for these patterns and more.

Great Outdoors Beanie Crochet Pattern
The pattern is available to follow along for free below and includes sizes for children ages 5-10 Years, Teen/Small Adult, and Adult. An ad-free, downloadable pdf is available to purchase for a small fee: Ravelry | Etsy
Materials
- Yarn: 150-200 yards worsted weight in choice of colors. Solid color hat: 200 yards Red Heart Super Saver in Claret; Pink variegated hat: 150 yards Red Heart Boutique in Floral
- Crochet Hook: I (5.5mm)
- Miscellaneous: yarn needle
Measurements
- Gauge: 4” with an I hook = 15 FPDC sts and 13 rounds
- Sizes: Child Large/Preteen, Teen/Small Adult, Large Adult
Tips
- The first stitch of each row is worked into the same stitch as the turning chain unless noted.
- Numbers at the beginning of each line may refer to steps and not indicate the number of rows.
- The samples shown are size adult.
Directions
- All sizes start the same.
- Please note measurements at the end of the round starting on step 3. Try to match this within ½”. Adjust hook size if needed.
- Solid Color Beanie/single yarn (as written): Continue working in the round, placing a stitch marker at the beginning of the round. Do not join at the end of each round until noted in the pattern.
- Striped Beanie: If you would like to change colors anywhere in the beanie, please start each round with a ch 1 and sl st in the first st of the round to join. This way colors can be changed at the end of any round.
Work the following instructions until the desired size is noted at the end of the step. Skip to step #11.
1. With an I hook and worsted weight yarn, start with a magic circle of 8 sc sts (or preferred method for starting a circle of 8 sc sts), pull to close. Place a marker for working in the round. (8sts)
2. 2hdc in each stitch to end of round. (16sts)
3. *FPDC around the next post, hdc in the next st, FPDC around the post of the same st (see note below)*, repeat to end of round. (24sts) 2.5” across
Note: Instead of working a regular FPDC increase on this round (2 FPDC around the next post), a regular hdc is worked IN the st and a FPDC is worked around the post (previous round, NOT the hdc just worked). This makes the transition from hdc rounds to FPDC rounds much smoother. This is done only on this round.
4. *FPDC 3, 2 FPDC around the next post*, repeat to end of round. (30sts) 3” across
5. *FPDC 4, 2 FPDC around the next post*, repeat to end of round. (36sts) 3.5” across
6. *FPDC 5, 2 FPDC around the next post*, repeat to end of round. (42sts) 4.25” across
7. *FPDC 6, 2 FPDC around the next post*, repeat to end of round. (48sts) 5” across
8. *FPDC 7, 2 FPDC around the next post*, repeat to end of round. (54sts) 5.75” across, Child/preteen
9. *FPDC 8, 2 FPDC around the next post*, repeat to end of round. (60sts) 6.5” across, Teen/Adult
10. *FPDC 9, 2 FPDC around the next post*, repeat to end of round. (66sts) 7” across, Large Adult
11. Body of hat: Remove marker and continue to FPDC around each post untill hat is 1 ½” (Child/Preteen) to 2” (Teen/Adult, Large Adult) shorter than desired length (see size chart at end of pattern).
12. Choose one of the following options:
Solid colored beanie – This step lowers the height of the round. FPHDC around the next post, sc in the next st, sl st in the next st. This is the new beginning of the round.
Striped beanie – If you have been joining at the end of each round, skip this step and continue to step 13.
13. Ch 1, hdc in the same st and in each st to end of round, sl st in the first st to join. Stitch count remains the same. (54, 60, 66 sts)
14. Ch 1, BPHDC around each post to end of round, sl st in the first st to join.
15. Ch 1, FPHDC around each post to end of round, sl st in the first st to join.
16. Ch 1, BPHDC around each post to end of round, sl st in the first st to join. Child/Preteen size: After this round is complete, skip to step 19.
17. Ch 1, FPHDC around each post to end of round, sl st in the first st to join.
18. Ch 1, BPHDC around each post to end of round, sl st in the first st to join.
19. Ch 1, FPSC around each post to end of round, sl st in the first st to join.
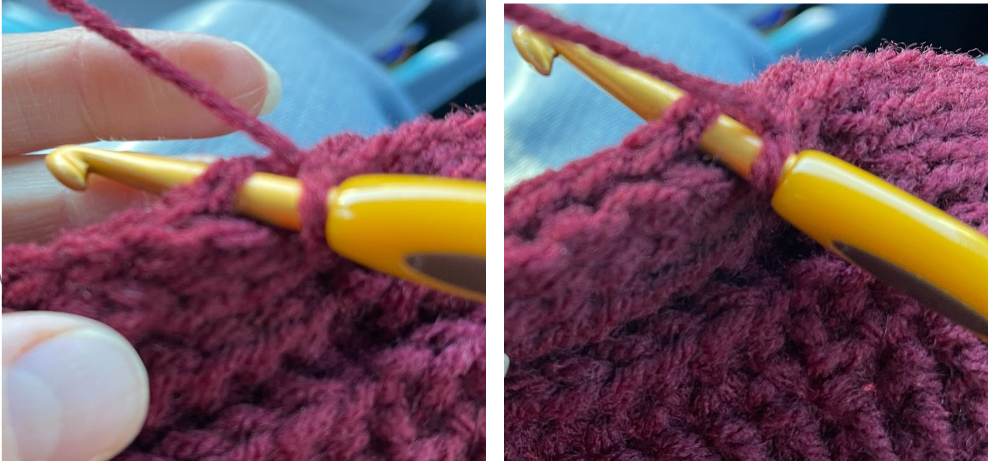
20. This step finishes off the bottom edge and helps prevent it from rollling under. The stitches are worked into the remaining sts from step 18, NOT the top of the previous round. See photos below. Both are photos of the same step, just a slightly different view.
Ch 1, sc in the same st and in each st to end of round, sl st in the first st to join. Finish off and weave in ends.
Pin To Save For Later


