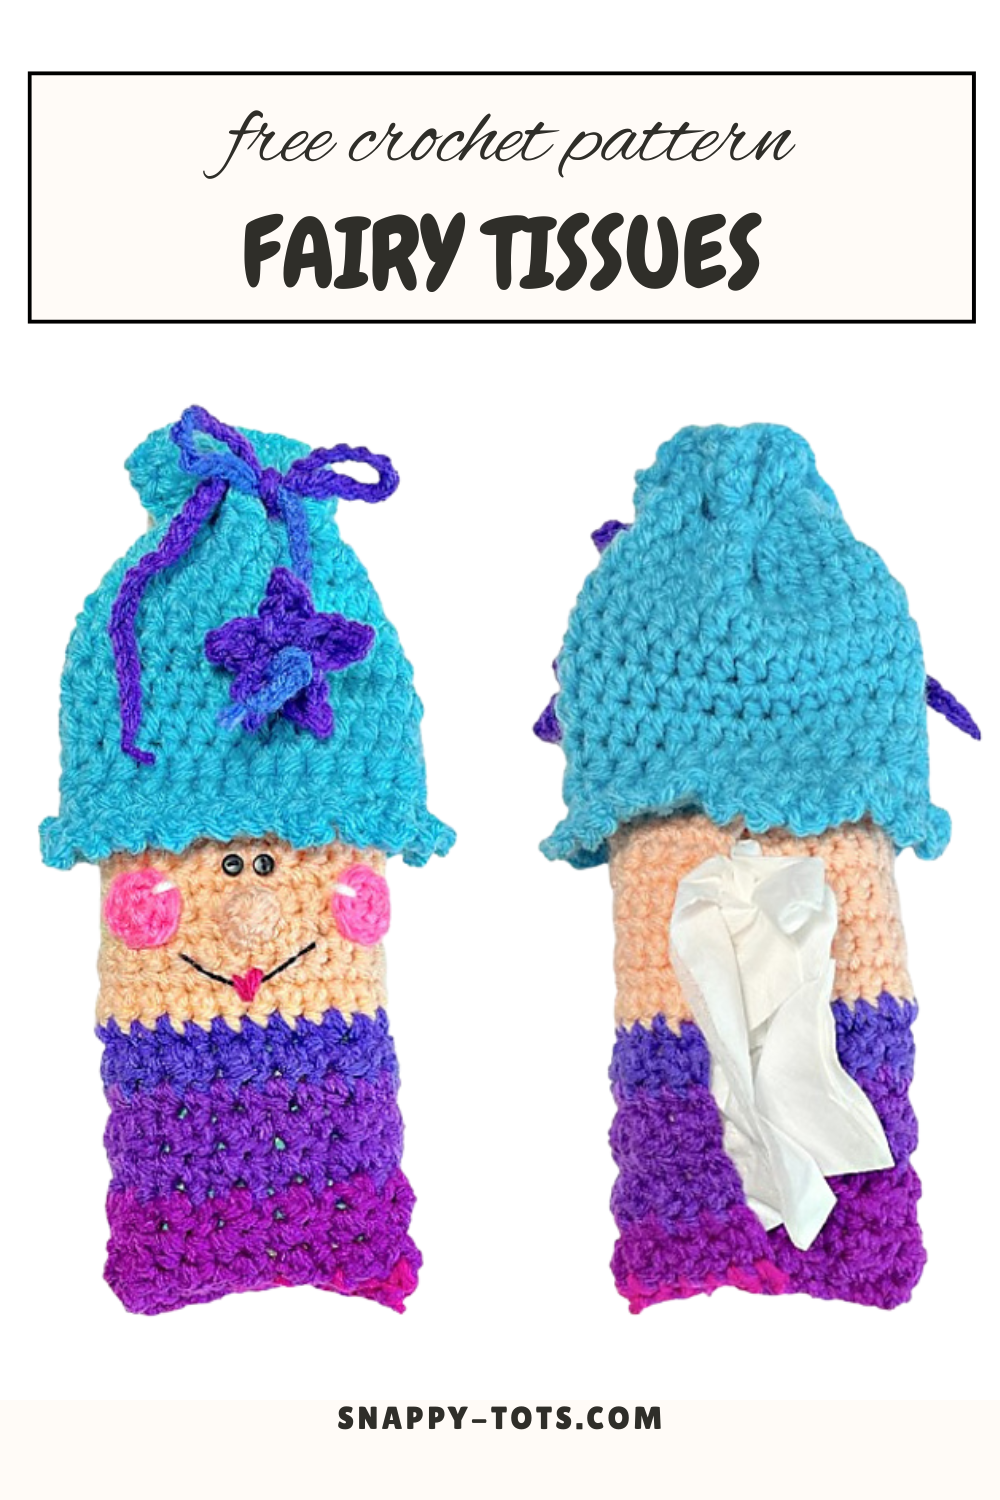
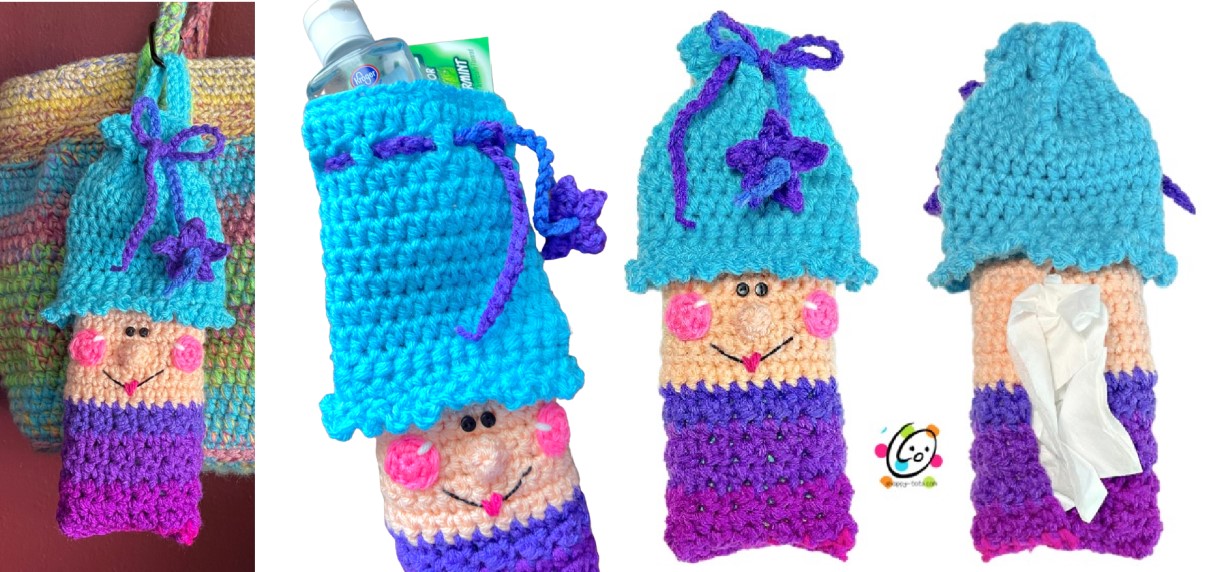
Crochet Pattern: Fairy Tissues
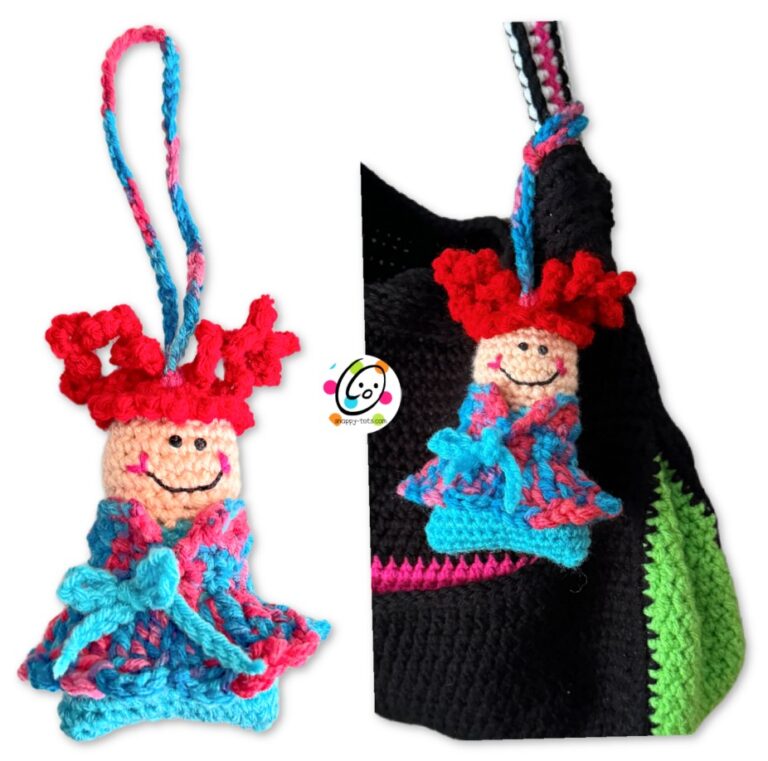
Tissues are something everyone can use and little tissue covers have been a personal favorite to make for gifts. I have designed a few fun ones, with more to come I am sure. When I designed my “Fairy G Pillow and Bag” I thought it would be fun to make a little version to match.
The pattern for this cutie is available to follow along on this post for free. You can get an ad-free downloadable pattern for just $1 as part of a fun blog event…. scroll down for more info on how you can get 15 patterns for just $1.
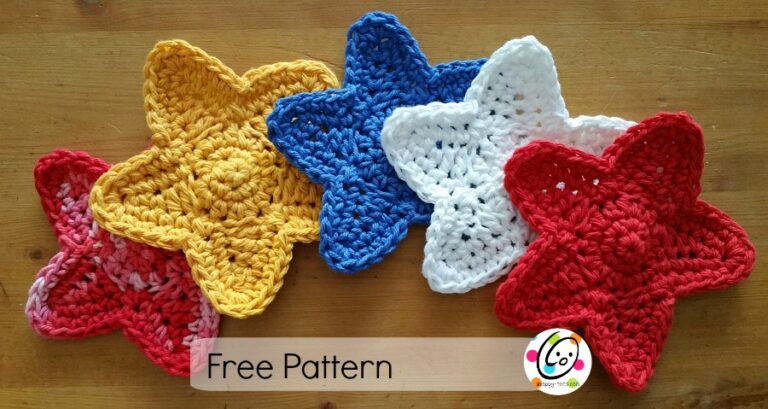
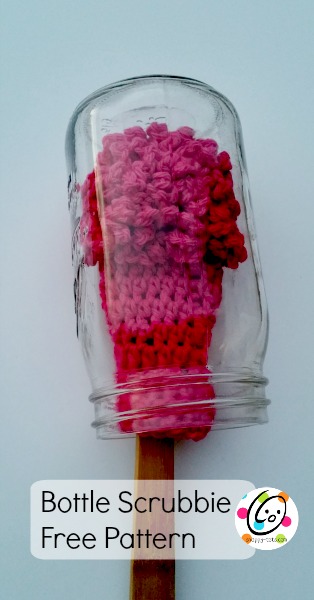
Similar Fairy and Tissue Patterns
Fairy Tissues Crochet Pattern
The pattern is available to follow along for free below. An ad-free, downloadable pdf is available to purchase for a small fee from my shops: Ravelry | Etsy
Materials
- Yarn: 125-170 yards ww yarn
Yarn used in the main sample: Hair – RHSS Turqua
Face I Love This Yarn Lt Peach
Dress – RHSS Grape Fizz; Wings – 40 yds RHSS White; Small amounts of dusty pink (cheeks), RHSS Shocking Pink (drawstring), Dark Pink, Blue, Lavender (stars) - Crochet Hook: H (5mm)
- Notions: Yarn needle for weaving in ends, 2 small black buttons for eyes (⅛”), black thread, sewing needle, black embroidery floss, small pack of tissues
- Optional: Measuring tape, scissors
Measurements
- Finished Measurements: 9.5” x 4” at widest point
- Gauge: not needed for this project
Tips
- The first stitch of each row is worked into the same stitch as the turning chain unless noted.
- Numbers at the beginning of each line may refer to steps and not indicate the number of rows.
- Stitch count remains the same unless noted at end of row/round.
- If you have any questions about this pattern please contact [email protected].
Directions

This project starts by creating a rectangle for the tissue holder. It is worked back and forth in rows.
1. Leave a long yarn tail in the beginning. This will be used later to sew the edges together. With an H hook and yarn for the face section (lt peach in sample), ch 26, sc in the 2nd ch from hook and in each ch across. (25sts)
2. Ch 1, turn, sc in the same st and in each st to end of row.
3. Repeat the previous row for an additional 8 rows.
4. Finish off the current yarn and change to yarn for the bottom/skirt section. Ch 1, turn, sc in the same st,
*hdc, sc,* repeat to end of row.
5. Ch 1, turn, hdc in the same st, *sc in the next st, hdc*, repeat to end of row.
6. Repeat steps 4-5 three more times.
7. Ch 1, turn, sc in the same st, *hdc, sc,* repeat to end of row. Finish off and weave in ends.
Face
Nose: With an H hook and yarn to match the face, create a magic circle of 4 sc sts (or preferred method of creating a circle of 6 sc sts), pull closed and sl st to join. (4sts) Finish off, leaving a yarn tail for sewing in place.
With a yarn needle, use the yarn tail to sew the nose to the center front of the face section.
Eyes: With a sewing needle and black thread, sew 2 buttons above the nose.
Smile: With a yarn needle and black embroidery floss stitch the mouth in place.
Lips: With a yarn needle and pink yarn, stitch a heart over the middle of the mouth.
Cheeks (make 2)
With an H hook and ww yarn (Shocking Pink in sample), create a magic circle of 6 sc sts (or preferred method of creating a circle of 6 sc sts), pull closed and sl st to join. (6sts) Finish off, leaving a yarn tail for sewing in place.
With a yarn needle, use the yarn tail to sew the cheeks at both ends of the smile.
With a yarn needle and white yarn, add one st on the outer edge of each cheek.
Body Piece Assembly
After the face is sewn in place, fold the long edges/sides so the meet together in the middle and pin together. Match up the sts from each edge as best as possible. Pin the bottom layers together too.
With a yarn needle, use the beginning yarn tail to sew the top 3 sts of the face section together. Leave the top circle and remaining sts open.
For the bottom edge, start at one side. With a yarn needle and yarn to match the bottom section, sew the bottom layers together and the bottom 3 sts of the long edges. By sewing the top and bottom stitches of the long edges together it creates a slit/opening for the tissues to be removed.
Hair/Top
1. With an H hook and ww yarn (Turquoise in sample), ch 28, sl st in the last ch from hook to join in a circle. Make sure the chain is not twisted. (28sts)
2. Ch 1, sc in the same st and in each st to end of round, sl st to join.
3. Ch 1, hdc in the same st and in each st to end of round, sl st to join.
4. This step creates holes for the drawstring. Ch 1, hdc in the same st, ch 1, sk 1, *hdc, ch 1, sk 1*, repeat to end of round, sl st to join.
5. Ch 1, hdc in the same st and in each st to end of round, sl st to join.
6. Repeat the previous step for an additional 6 rounds.
7. Ch 1, *BPHDC around each of the next 12 posts from the previous round, BPHDC2tog*, repeat once, sl st to join. (26sts)
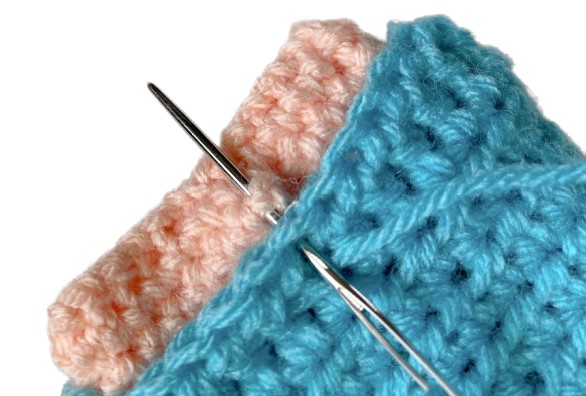
Turn the hair piece inside out and slip it over the tissue holder so the bottom edge of the hair is at the top of the face section. Pull the hair piece down to line up with the second row of the face. See photo at right.
Use a yarn needle and matching yarn to sew the edge of the hair to the face/tissue piece.
MAKE SURE you use the bottom edge of the hair, NOT the ridge from the post sts.
Pull hair back to the right side.
Scalloped Edge of Hair
1. With the top of the fairy towards you, use an H hook to attach matching yarn (Turquoise in sample) to a st on the ridge at the bottom edge of the hair section, above the eye on the right.
2. Ch 1, *sc2tog, sc 5*, repeat to end of round, sl st to join. (24sts)
3. *ch 2, sl st in the next st,* repeat 3 more times, *ch 4, sl st in the next st,* repeat to end of round. Finish off and weave in ends.
Drawstring: With an H hook, ch 75. Finish off and tie a knot in each end of the drawstring.
Starting on the front of the hair, pull one end of the drawstring in and out of the holes created on step 3. Pull the ends until even. Tie in a bow.
Star (make 1)
With an H hook and ww yarn, ch 5, sl st in the last ch from hook to join in a circle. *ch 3, sl st in the 2nd ch from hook, hdc in the 3rd ch from hook, sl st around the beginning circle*, repeat 4 more times. Finish off and weave in ends.
Slip the star over one end of the drawstring.
Tie a knot just below the star, towards the end of the drawstring. Do not pull the knot really tight. Tie another knot over the first one.
Hanger (optional)
This is added to the top, back of the fairy’s hair so it can hang from a bag or hook.
1. Leave a yarn tail in the beginning for sewing. With an H hook and ww yarn, ch 20, sc in the 2nd ch from hook and in each ch across. (19sts)
2. Ch 1, turn, sl st in each st to end of row. Finish off, leaving a tail for sewing in place.
With a yarn needle, use the yarn tails to sew each end to the bag.
Pin To Save For Later