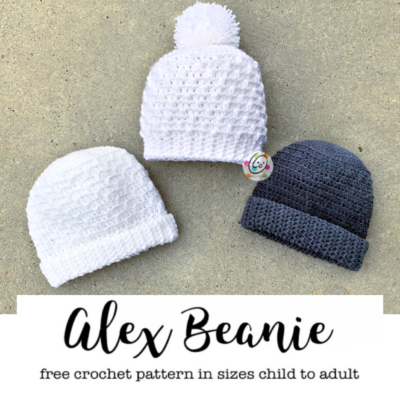
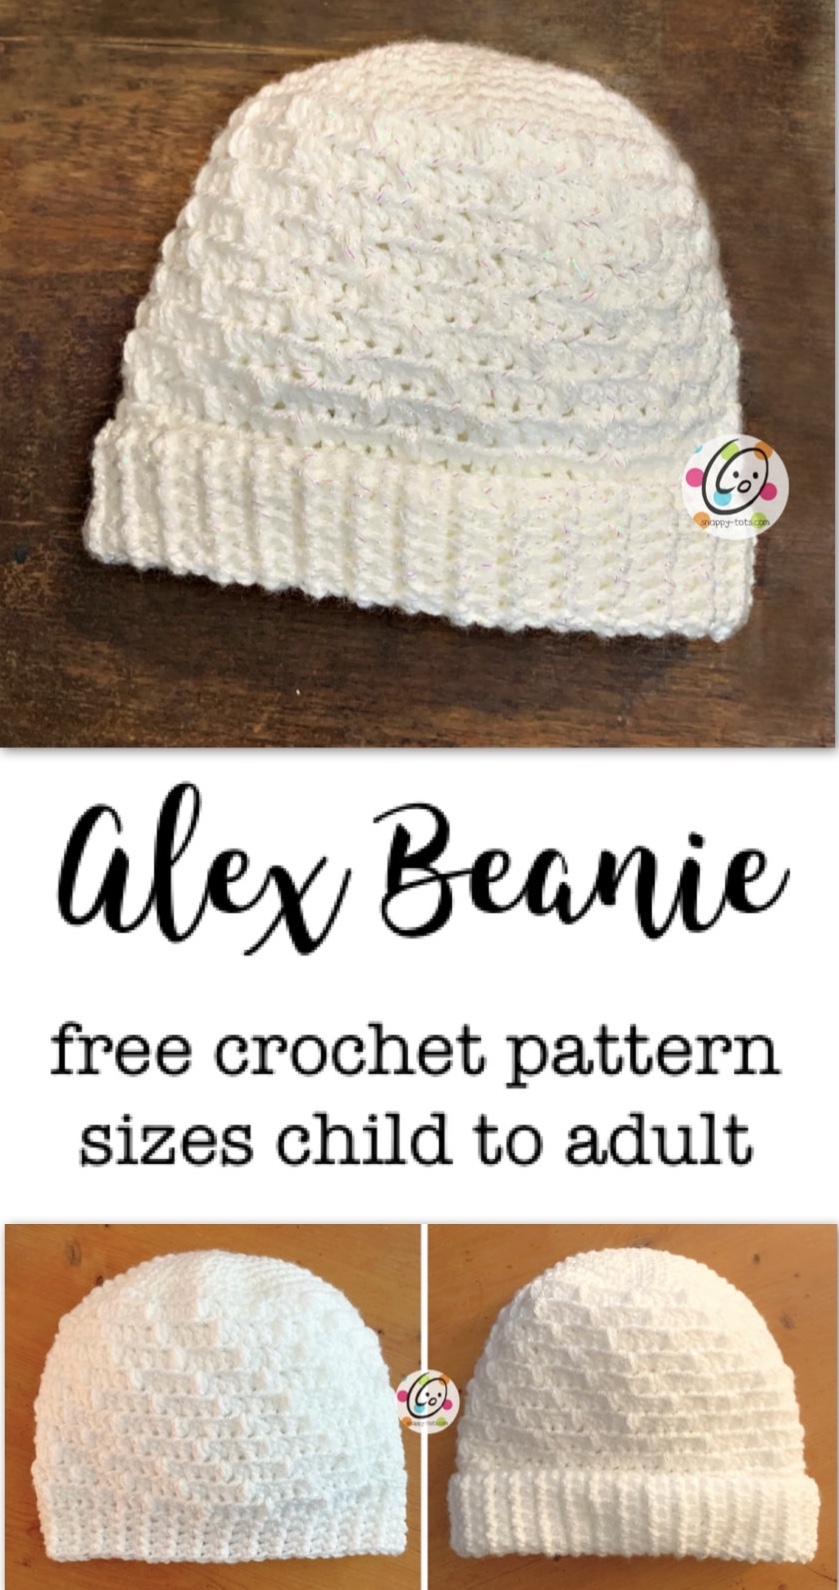
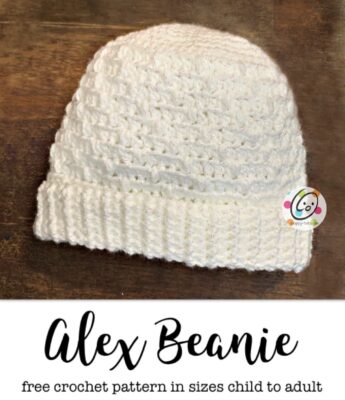
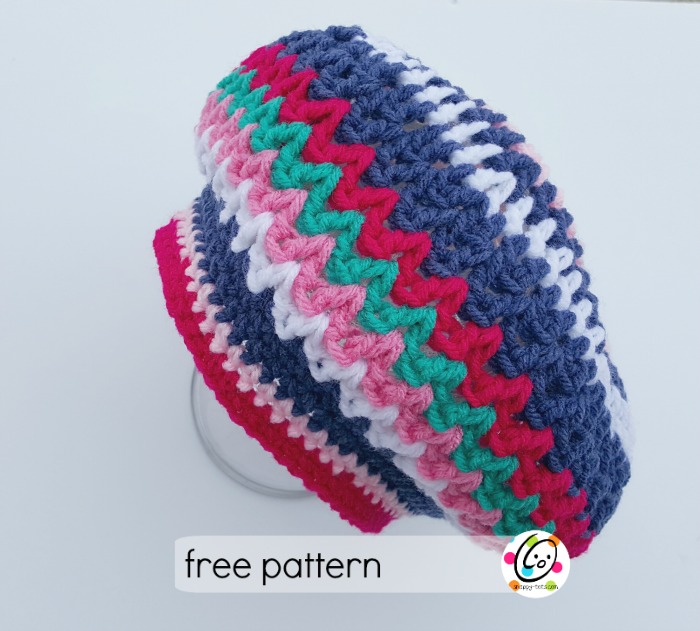
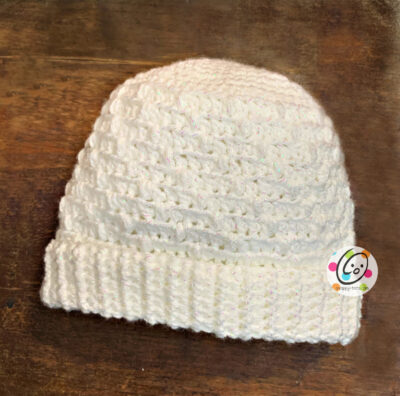
Free Pattern: Alex Beanie
October is cancer awareness month and Sweet Potato 3 is once again hosting the annual Cancer Awareness Challenge.
I am honored to be involved in this event again. This year each designer is honoring those affected by a specific cancer in hopes of bringing more awareness to those. Each hat can be made in any color and can be given to anyone affected by cancer, not just the one featured with that pattern.
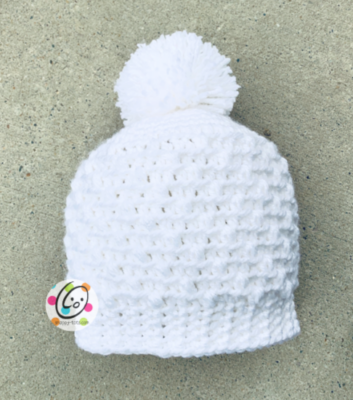
White Is For Lung Cancer
For more information about this form of cancer, please visit LungCancer.org.
I chose to design this beanie for a young lady, Alex, who recently lost her grandmother to cancer.
When designing this beanie I asked several snappy friends what they would like to see in a beanie. Some things mentioned were: easy enough for beginners, quick to make, soft and not too thick, a bottom cuff, texture.
I tried to meet all those requests and after several trials I am really happy with this beanie. I have included instructions for a regular bottom band and a cuff so you can choose.
When creating “texture” I tried to stay away from post stitches to make this an easier hat. I am really tickled that I was able to create a stretchy band without the use of post sts. It’s also lighter weight and while it does fit nicely, it doesn’t have a snug fitting band that chemo patients said was uncomfortable. I hope you will like this pattern and the finished beanie.
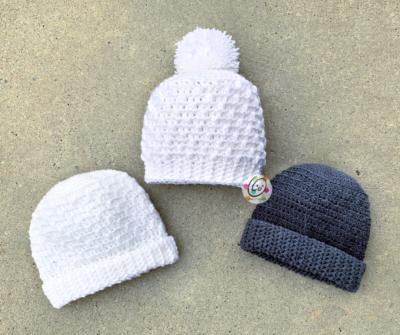
I have added a bulky version and one without puff stitches (by request from my youngest son).
Where To Get The Pattern
The pattern to make this beanie is free below or you can download the ad-free PDF from my shop for a small fee: Ravelry | Etsy
Alex Beanie Pattern
Materials and Details
- Yarn: 150 yards worsted weight yarn in color(s) of choice.
- Sample: Red Heart With Love Metallic White
- Crochet Hook: I (5.5mm)
- Miscellaneous: yarn needle
- Sizes: 2-4 yrs, 5- Preteen, Teen-Adult
- Gauge: I hook and 4” = 12.5 hdc sts and 9 rounds
Tips
- The number at the beginning of each line refers to the step and not the number of rows.
- The first stitch of each row is worked into the same st as the turning chain.
- Stitch counts remain the same unless noted at end of row.
- When working the BLO sts, I suggest holding the base of the st to prevent it from stretching too much. I did NOT work into the BLO AND the 3rd st, but you could if you prefer to.
Special Stitch
Puff Stitch: puff st
Note: This is a “skinny” puff st. There is not a “ch 1” after the puff st like in some puff sts.
YO, insert hook in next st and pull up a loop, YO, insert hook in same st and pull up a loop, YO and pull through all 5 loops on hook.
Instructions for Child: 2-4 Years
Help Tips:
- Rounds start with 8 increases each to form a flatter top, and then switch to 6 increases each starting on round #3.
- Hat is worked in the round. Do not join at the end of each round. Place a marker to keep track of the beginning of the round.
- For a more masculine version, see notes at the end of the pattern.
1. With an I hook and yarn (color of choice), start with a magic circle of 8 sc sts (or preferred method for starting a circle of 8 sc sts). Place marker to keep track of beginning of round. (8sts)
2. 2sc in each stitch to end of round. (16sts)
3. *sc, 2sc in next st*, repeat to end of round. (24sts)
4. *sc 3, 2sc in next st*, repeat to end of round. (30sts) 2.5”
5. *sc 4, 2sc in next st*, repeat to end of round. (36sts) 3.25”
6. *sc 5, 2sc in next st*, repeat to end of round. (42sts) 3.75”
7. Sc 2, *2sc in next st, sc 4*, repeat to end of round. (50sts) 4.25”
8. Hdc in each st to end of round.
9. For this step, only the 3 hdc sts are worked in BLO. The puff st is worked into a full st. *hdc in BLO of next 3 sts, puff st in next st (see “special sts” on page 1)*, continue to repeat this pattern until piece measures 1” shorter than desired length.
TIPS for this step:
- the puff st in the repeating pattern should not line up, but will create a diagonal.
- Each round will end with a partial repeat. Just keep going. This is different from working regular rounds that end with the exact amount of sts. Forget that and just keep doing the repeat.
10-12. *sc in BLO, sc in FLO*, repeat to end of round.
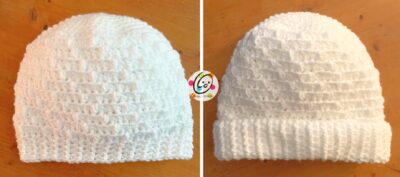
Choose from one of the following options (see photos above):
Band Version: Finish off here and weave in ends.
Folded Cuff Version: Repeat step 12 until “band” is 2.75” long. Finish off and weave in ends. Fold up cuff.
Instructions for Large Child: 5 yrs – Preteen
Help Tips:
- Rounds start with 8 increases each to form a flatter top, and then switch to 6 increases each starting on round #3.
- Hat is worked in the round. Do not join at the end of each round. Place a marker to keep track of the beginning of the round.
- For a more masculine version, see notes at the end of the pattern.
1. With an I hook and yarn (color of choice), start with a magic circle of 8 sc sts (or preferred method for starting a circle of 8 sc sts). Place marker to keep track of beginning of round. (8sts)
2. 2sc in each stitch to end of round. (16sts)
3. *sc, 2sc in next st*, repeat to end of round. (24sts)
4. *sc 3, 2sc in next st*, repeat to end of round. (30sts) 2.5”
5. *sc 4, 2sc in next st*, repeat to end of round. (36sts) 3.25”
6. *sc 5, 2sc in next st*, repeat to end of round. (42sts) 3.75”
7. *sc 6, 2sc in next st*, repeat to end of round. (48sts) 4.25”
8. *sc 7, 2sc in next st*, repeat to end of round. (54sts) 4.75”
9. Hdc in each st to end of round.
10. For this step, only the 3 hdc sts are worked in BLO. The puff st is worked into a full st. *hdc in BLO of next 3 sts, puff st in next st (see “special sts” on page 1)*, continue to repeat this pattern until piece measures 1” shorter than desired length.
TIPS for this step:
- the puff st in the repeating pattern should not line up, but will create a diagonal.
- Each round will end with a partial repeat. Just keep going. This is different from working regular rounds that end with the exact amount of sts. Forget that and just keep doing the repeat.
11-14. *sc in BLO, sc in FLO*, repeat to end of round.
Choose from one of the following options (see photos above):
Band Version: Finish off here and weave in ends.
Folded Cuff Version: Repeat step 14 until “band” is 3” long. Finish off and weave in ends. Fold up cuff.
Instructions for Teen/Adult
Help Tips:
- Rounds start with 8 increases each to form a flatter top, and then switch to 6 increases each starting on round #3.
- Hat is worked in the round. Do not join at the end of each round. Place a marker to keep track of the beginning of the round.
- For a more masculine version, see notes at the end of the pattern.
1. With an I hook and yarn (color of choice), start with a magic circle of 8 sc sts (or preferred method for starting a circle of 8 sc sts). Place marker to keep track of beginning of round. (8sts)
2. 2sc in each stitch to end of round. (16sts)
3. *sc, 2sc in next st*, repeat to end of round. (24sts)
4. *sc 3, 2sc in next st*, repeat to end of round. (30sts) 2.5”
5. *sc 4, 2sc in next st*, repeat to end of round. (36sts) 3.25”
6. *sc 5, 2sc in next st*, repeat to end of round. (42sts) 3.75”
7. *sc 6, 2sc in next st*, repeat to end of round. (48sts) 4.25”
8. *sc 7, 2sc in next st*, repeat to end of round. (54sts) 4.75”
9. Sc 6, *2sc in next st, sc 5*, repeat to end of round. (62sts)
10. Hdc in each st to end of round.
11. For this step, only the 3 hdc sts are worked in BLO. The puff st is worked into a full st. *hdc in BLO of next 3 sts, puff st in next st (see “special sts” on page 1)*, continue to repeat this pattern until piece measures 1.5” shorter than desired length.
TIPS for this step:
- the puff st in the repeating pattern should not line up, but will create a diagonal.
- Each round will end with a partial repeat. Just keep going. This is different from working regular rounds that end with the exact amount of sts. Forget that and just keep doing the repeat.
12-15. *sc in BLO, sc in FLO*, repeat to end of round.
Choose from one of the following options (see photos above):
Band Version: Finish off here and weave in ends.
Folded Cuff Version: Repeat step 15 until “band” is 3.5” long. Finish off and weave in ends. Fold up cuff.
Tips For A More Masculine Version
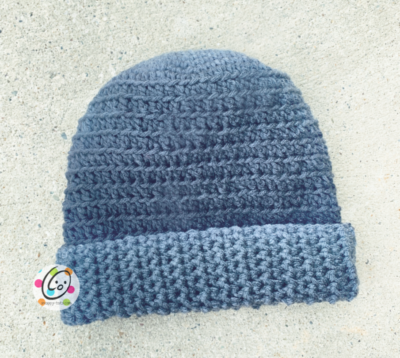
My husband and youngest son said they would prefer to not have the puffs in the hat. They also wouldn’t wear a hat with a wide band at the bottom but would like the cuff.
Use the main pattern for desired size, with these changes if desired.
If you would rather not have the puffs in your pattern they can easily be left out by doing one of the following options:
- work a regular hdc in BLO of every st until the hat is the desired length.
- work a regular hdc in FLO where the pattern calls for the puff st.
For the bottom of the hat, I would either work the “cuff” option (both my husband and son did like that option) or I would work the repeated section until the hat is the desired length, finishing with one round of “sc in BLO, sc in FLO”. Finish off and weave in ends. This will give the hat a finished edge without adding a wide band.
Tips For A Bulky Weight Version
I used a K hook and 150 yards Red Heart With Love Chunky yarn (#5 bulky weight).
I followed the instructions for one size smaller hat. I wanted an adult size so I used size Large Child: 5 yrs – Preteen.
I made a giant pom out of the same yarn (yardage included in the 150 yards). I then pulled the strands apart to add bulk to the pom.
If you have any questions, comments or suggestions please email [email protected].
I hope you will enjoy this pattern and I would love to see what you make. Please share pix as a ravelry project or tag me in social media posts by adding #snappytots.
I hope you have a wonderful day!
Please Pin To Save For Later