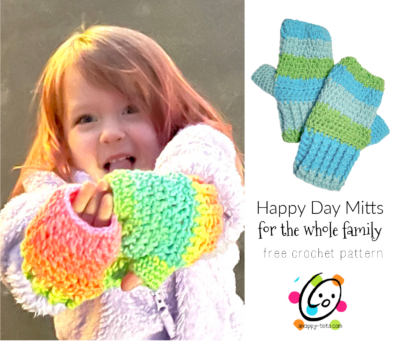
Free Pattern: Happy Day Fingerless Mitts

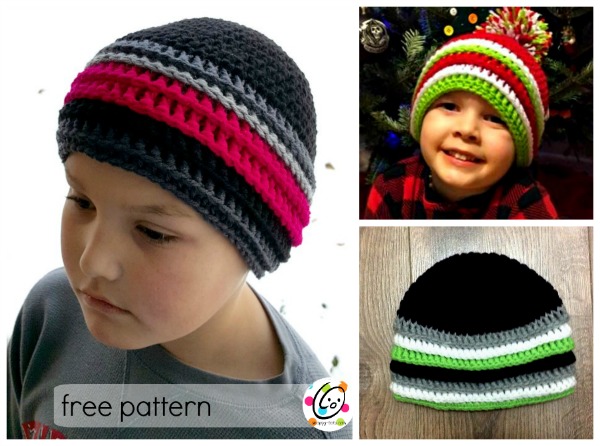
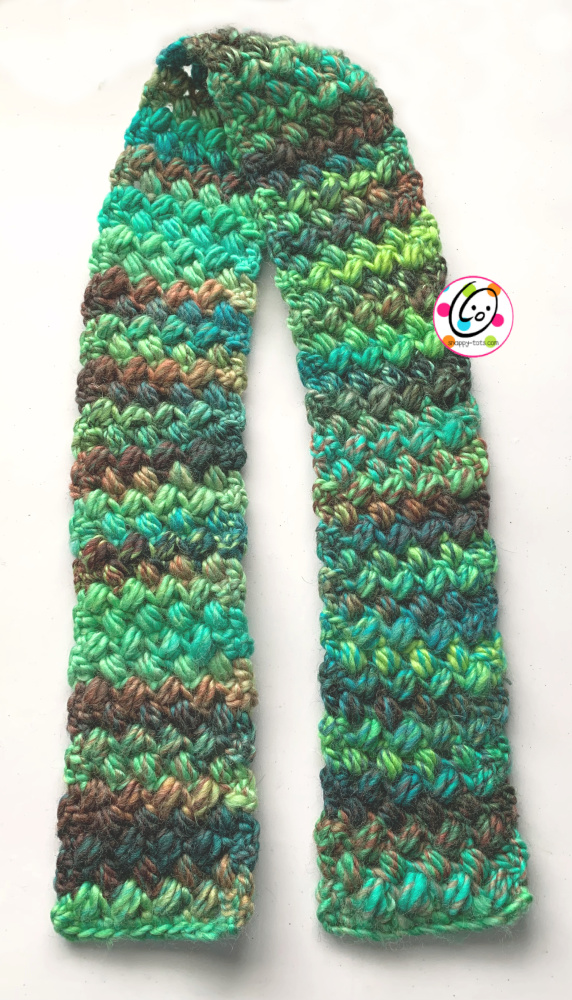
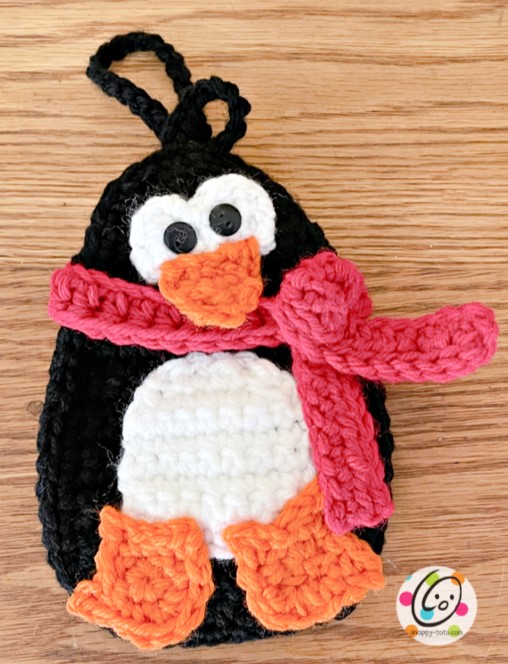
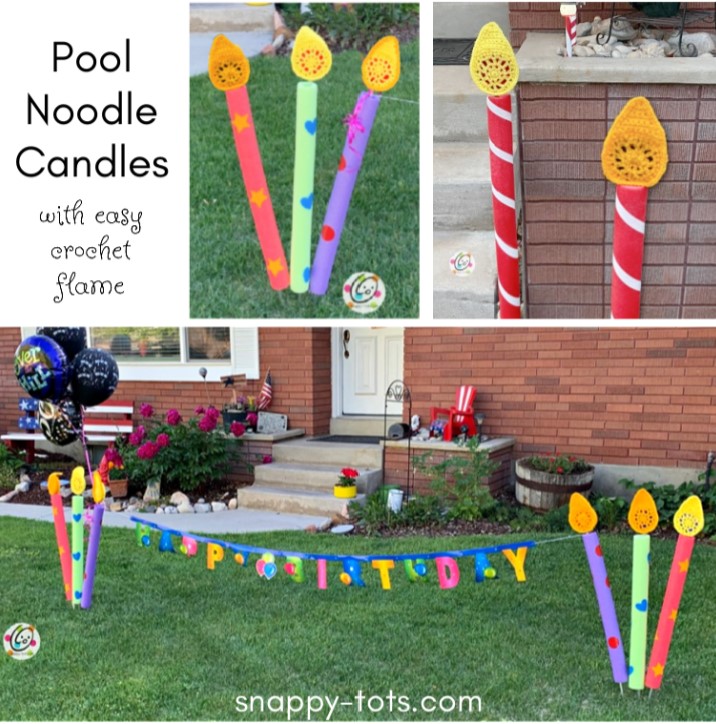
Matching Patterns
Happy Day Fingerless Mitts Free Crochet Pattern
This pattern is available for free below. An ad-free, downloadable PDF of this pattern with all of the photos is available to purchase from my Ravelry Shop: Click HERE
Materials
- Yarn: 200 yards worsted weight
- Crochet Hooks: I (5.5mm)
- Miscellaneous Supplies: Yarn needle, measuring tape, scissors
Details
Gauge: 4 inches with I hook = 13 hdc and 10.5 rounds
Sizes: 2-3T, 4-8, 8-12, teen/adult, adult large
Tips
- The first stitch of each row is worked into the same stitch as the turning chain unless noted.
- Numbers at the beginning of each line may refer to steps and not indicate the number of rows.
2-3 Years (make 2)
- The pattern is worked from fingers to wrist. Change colors as desired.
- Reminder: *sc, hdc, dc* = sc in the next st, hdc in the next st, dc in the next st. The st count should not increase.
1. With an I hook and ww yarn, ch 18. Sl st in first st of round, making sure chain is not twisted. (18sts)
2-5. Ch 1, sc in the same st, hdc in the next st, dc in the next st, *sc, hdc, dc,* repeat to end of round, sl st in the first st to join.
6. This step starts the opening for the thumb. Ch 1, hdc in the same st, hdc in the next st, dc in the next st, *sc, hdc, dc*, repeat until 3 sts remain, s, hdc 2. Do not join.
7. Ch 1, turn, hdc in the same st and in each st to end of row. Do not join.
8. Ch 1, turn, hdc in the same st and in each st to end of row, sl st in the first st of the round to join. (18sts)
9-11. These rounds create the ribbed cuff. Ch 2, *FPDC around the next post, BPDC around the next post*, repeat to end of round, sl st to join.
Add additional rounds for a longer cuff if desired.
Finish off and weave in ends.
Thumb
1. With an I hook, attach matching yarn to any stitch on thumb opening. Ch 1, sc 8 sts evenly around opening, sl st to join. (8sts)
2-4. Ch 1, sc in the same st and in each st to end of round, sl st to join.
Finish off and weave in ends.
4-8 Years (make 2)
- The pattern is worked from fingers to wrist. Change colors as desired.
- Reminder: *sc, hdc, dc* = sc in the next st, hdc in the next st, dc in the next st. The st count should not increase.
1. With an I hook and ww yarn, ch 21. Sl st in first st of round, making sure chain is not twisted. (21sts)
2-6. Ch 1, sc in the same st, hdc in the next st, dc in the next st, *sc, hdc, dc,* repeat to end of round, sl st in the first st to join.
7. This step starts the opening for the thumb. Ch 1, hdc in the same st, hdc in the next st, dc in the next st, *sc, hdc, dc*, repeat until 3 sts remain, s, hdc 2. Do not join.
8. Ch 1, turn, hdc in the same st and in each st to end of row. Do not join.
9. Ch 1, turn, hdc in the same st and in each st until 1 st remains, 2hdc in the last st, sl st in the first st of the round to join. (22sts)
10. The following rounds create the ribbed cuff. Ch 2, *FPDC around the next post, BPDC around the next post*, repeat to end of round, sl st to join.
11. Repeat the previous round for an additional 3 rounds. Add additional rounds for a longer cuff if desired.
Finish off and weave in ends.
Thumb
1. With an I hook, attach matching yarn to any stitch on thumb opening. Ch 1, sc 10 sts evenly around opening, sl st to join. (10sts)
2-4. Ch 1, sc in the same st and in each st to end of round, sl st to join.
5. Ch 1, *sc2tog, sc 3*, repeat once, sl st to join. (8sts) Finish off and weave in ends.
8-12 years (make 2)
- The pattern is worked from fingers to wrist. Change colors as desired.
- Reminder: *sc, hdc, dc* = sc in the next st, hdc in the next st, dc in the next st. The st count should not increase.
1. With an I hook and ww yarn, ch 24. Sl st in first st of round, making sure chain is not twisted. (24sts)
2-6. Ch 1, sc in the same st, hdc in the next st, dc in the next st, *sc, hdc, dc,* repeat to end of round, sl st in the first st to join.
7. This step starts the opening for the thumb. Ch 1, hdc in the same st, hdc in the next st, dc in the next st, *sc, hdc, dc*, repeat until 3 sts remain, s, hdc 2. Do not join.
8-9. Ch 1, turn, hdc in the same st and in each st to end of row. Do not join.
10. Ch 1, turn, hdc in the same st and in each st to end of row, sl st in the first st of the round to join. (24sts)
11. The following rounds create the ribbed cuff. Ch 2, turn, *FPDC around the next post, BPDC around the next post*, repeat to end of round, sl st to join.
12. Ch 2, *FPDC around the next post, BPDC around the next post*, repeat to end of round, sl st to join.
13. Repeat the previous round for an additional 3 rounds. Add additional rounds for a longer cuff if desired.
Finish off and weave in ends.
Thumb
1. With an I hook, attach matching yarn to any stitch on thumb opening. Ch 1, sc 12 sts evenly around opening, sl st to join. (12sts)
2. Ch 1, sc in the same st and in each st to end of round, sl st to join.
3. Repeat the previous round for an additional 3 rounds.
4. Ch 1, *sc2tog, sc 4*, repeat once, sl st to join. (10sts) Finish off and weave in ends.
Teen/ Adult (make 2)
- The pattern is worked from fingers to wrist. Change colors as desired.
- Reminder: *sc, hdc, dc* = sc in the next st, hdc in the next st, dc in the next st. The st count should not increase.
1. With an I hook and ww yarn, ch 27. Sl st in first st of round, making sure chain is not twisted. (27sts)
2-7. Ch 1, sc in the same st, hdc in the next st, dc in the next st, *sc, hdc, dc,* repeat to end of round, sl st in the first st to join.
8. This step starts the opening for the thumb. Ch 1, hdc in the same st, hdc in the next st, dc in the next st, *sc, hdc, dc*, repeat until 3 sts remain, s, hdc 2. Do not join.
9-11. Ch 1, turn, hdc in the same st and in each st to end of row. Do not join.
12. Ch 1, turn, hdc in the same st and in each st until 1 st remains, 2hdc in the last st, sl st in the first st of the round to join. (28sts)
13. The following rounds create the ribbed cuff. Ch 2, *FPDC around the next post, BPDC around the next post*, repeat to end of round, sl st to join.
14. Repeat the previous round for an additional 6 rounds. Add additional rounds for a longer cuff if desired.
Finish off and weave in ends.
Thumb
1. With an I hook, attach matching yarn to any stitch on thumb opening. Ch 1, sc 12 sts evenly around opening, sl st to join. (12sts)
2. Ch 1, sc in the same st and in each st to end of round, sl st to join.
3. Repeat the previous round for an additional 4 rounds.
Finish off and weave in ends.
Adult Large (make 2)
- The pattern is worked from fingers to wrist. Change colors as desired.
- Reminder: *sc, hdc, dc* = sc in the next st, hdc in the next st, dc in the next st. The st count should not increase.
1. With an I hook and ww yarn, ch 30. Sl st in first st of round, making sure chain is not twisted. (30sts)
2-8. Ch 1, sc in the same st, hdc in the next st, dc in the next st, *sc, hdc, dc,* repeat to end of round, sl st in the first st to join.
9. This step starts the opening for the thumb. Ch 1, hdc in the same st, hdc in the next st, dc in the next st, *sc, hdc, dc*, repeat until 3 sts remain, s, hdc 2. Do not join.
10-12. Ch 1, turn, hdc in the same st and in each st to end of row. Do not join.
13. Ch 1, turn, hdc in the same st and in each st to end of round, sl st in the first st of the round to join. (30sts)
14. The following rounds create the ribbed cuff. Ch 2, turn, *FPDC around the next post, BPDC around the next post*, repeat to end of round, sl st to join.
15. Ch 2, *FPDC around the next post, BPDC around the next post*, repeat to end of round, sl st to join.
16. Repeat the previous round for an additional 6 rounds. Add additional rounds for a longer cuff if desired.
Finish off and weave in ends.
Thumb
1. With an I hook, attach matching yarn to any stitch on thumb opening. Ch 1, sc 14 sts evenly around opening, sl st to join. (14sts)
2. Ch 1, sc in the same st and in each st to end of round, sl st to join.
3. Repeat the previous round for an additional 6 rounds.
Finish off and weave in ends.
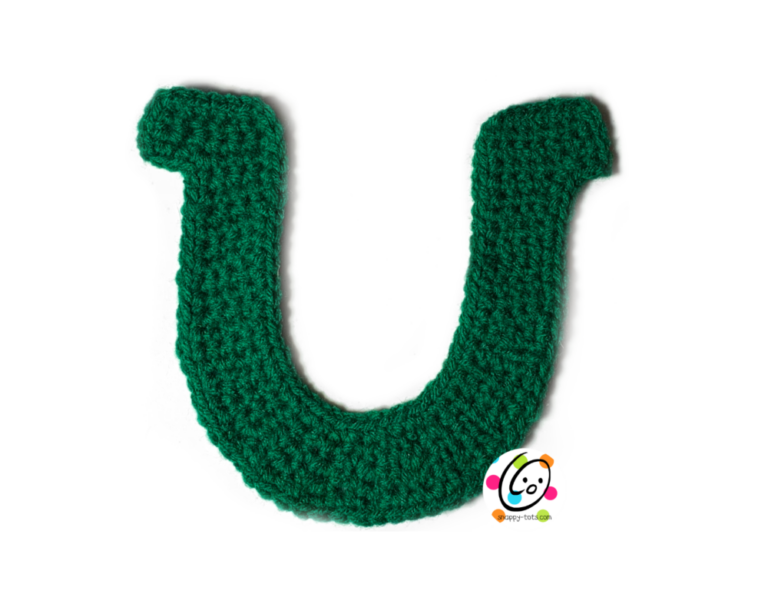
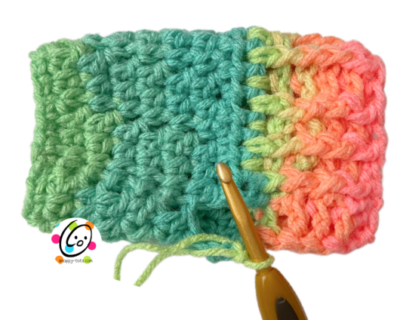
Help Photo
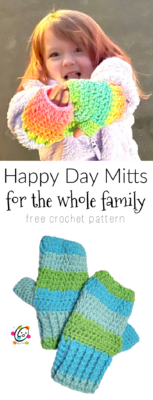
Pin To Save For Later