Free pattern: Happy Day Scarf
This year I am working on gift sets each month, one per week. I thought a set with a fun and colorful scarf, beanie and mitts would be a great gift for lots of people. This scarf could be made in almost any size from a variety of yarns. It is also made from basic stitches so even beginners could give it a try.
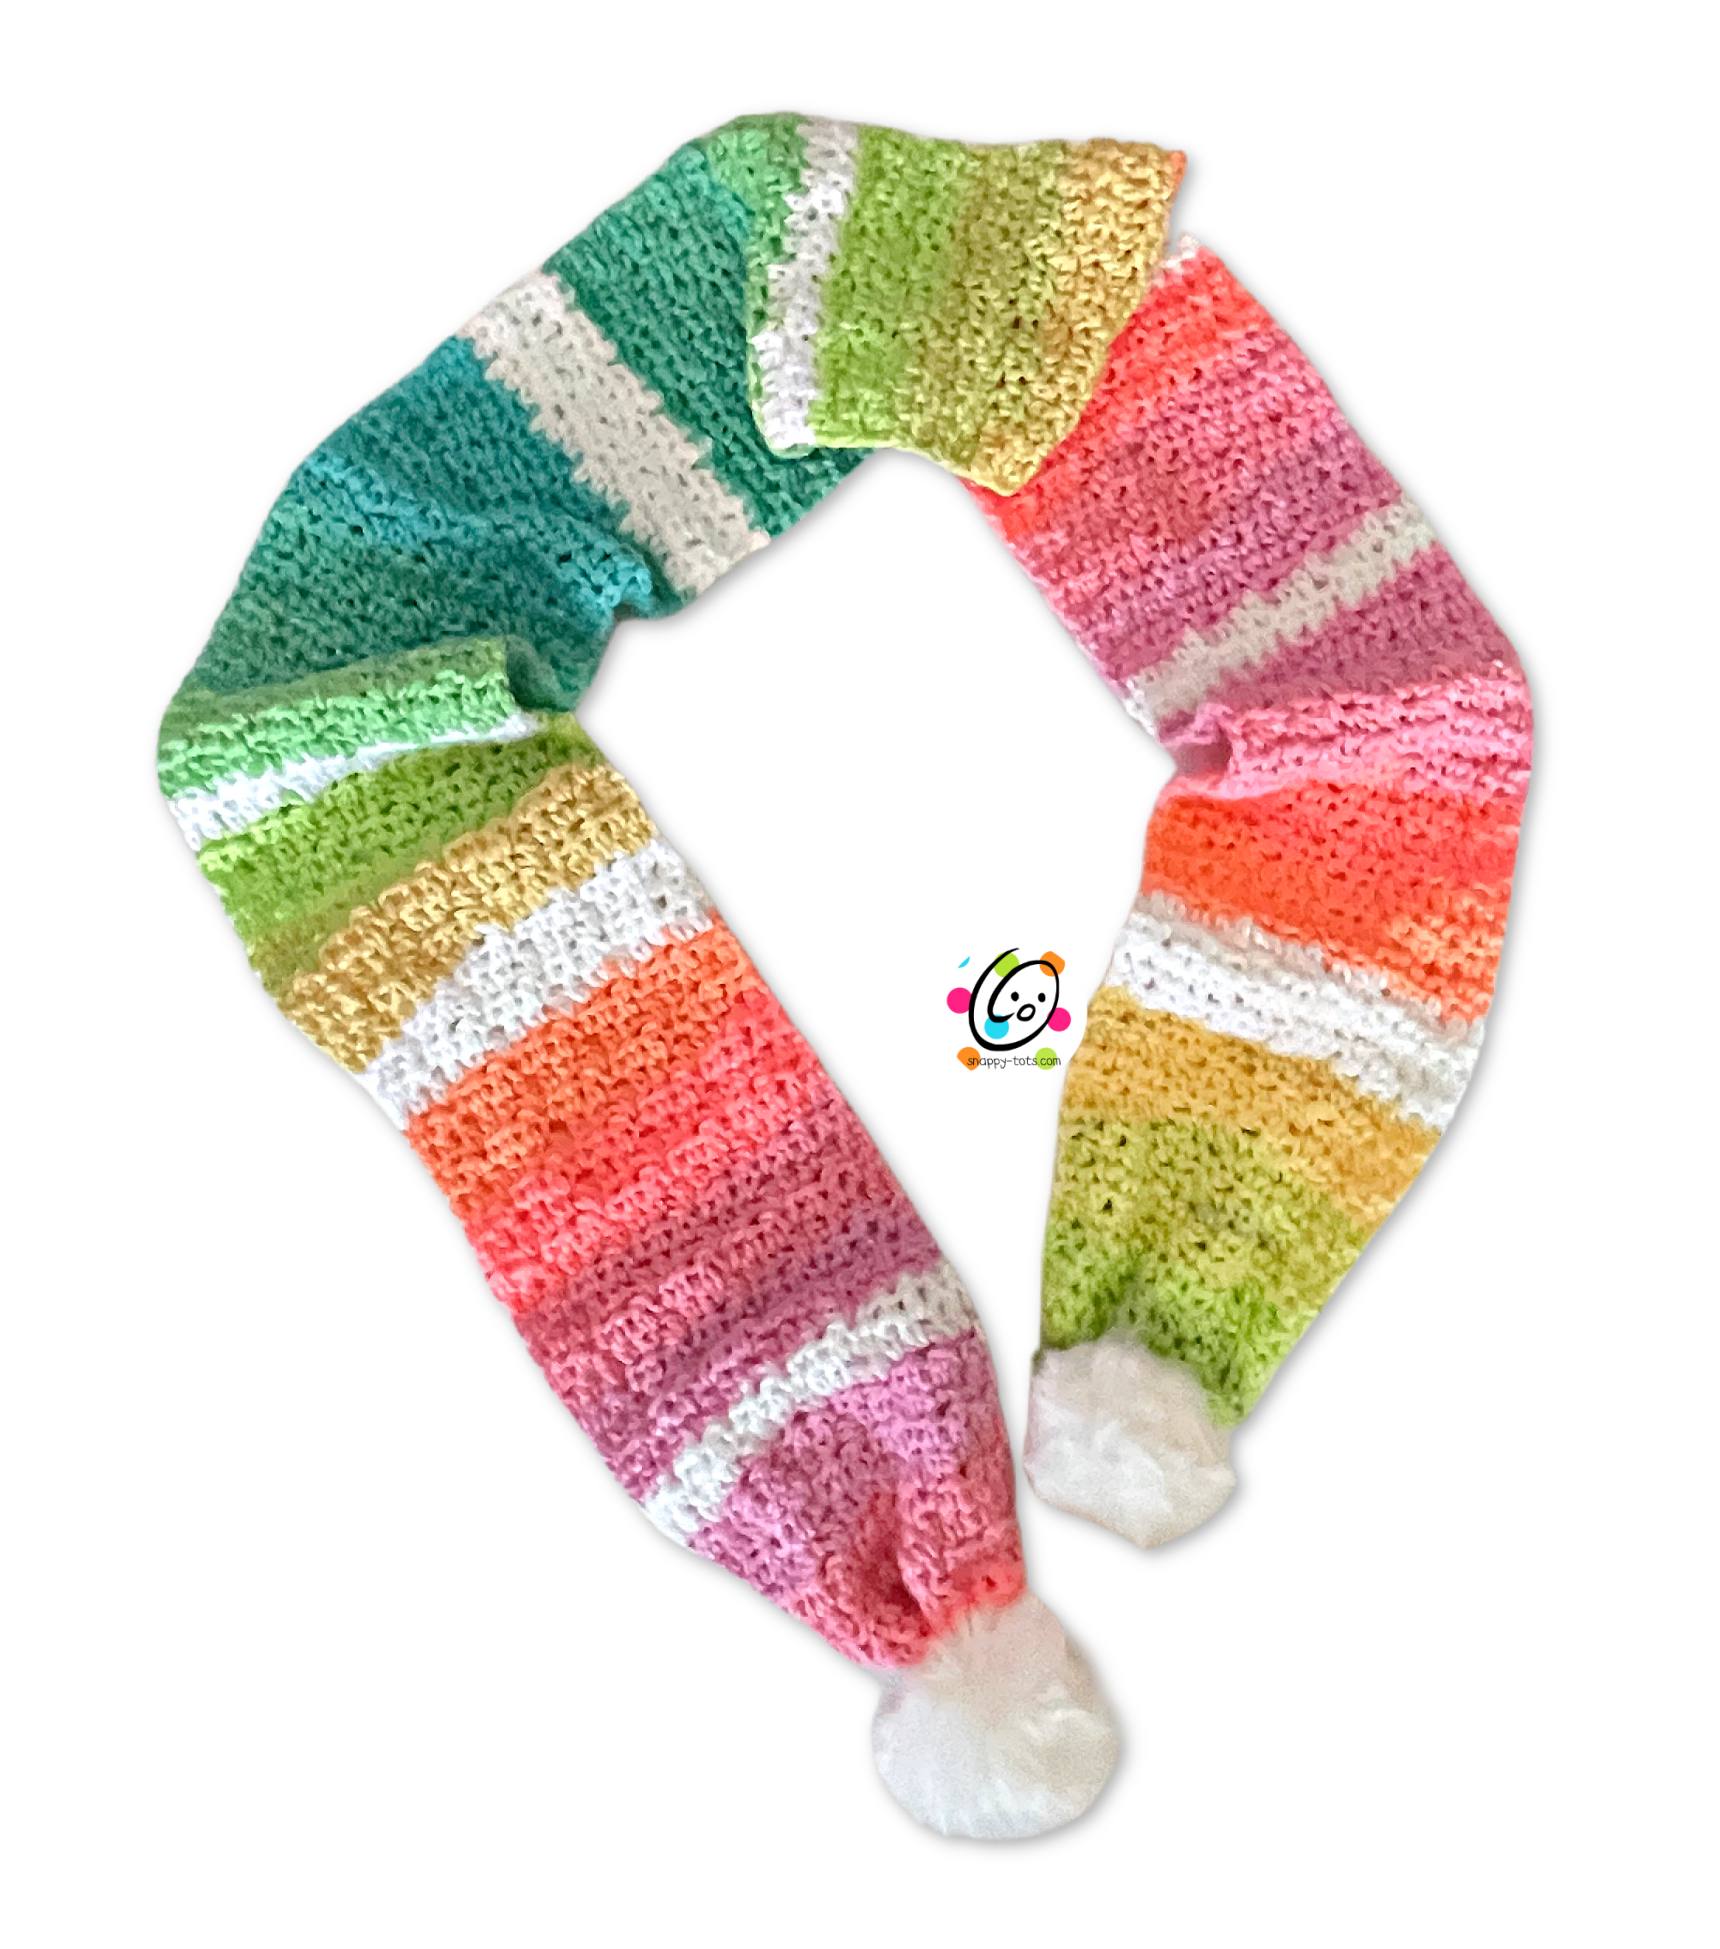
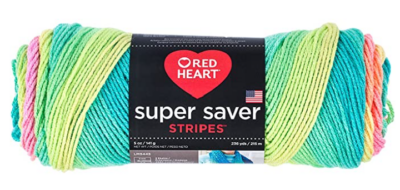
As written, the scarf used 1.5 skeins of RHSS Retro Stripes and about 100 yards of white yarn.
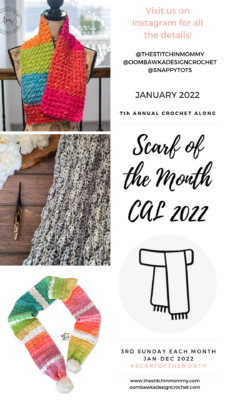
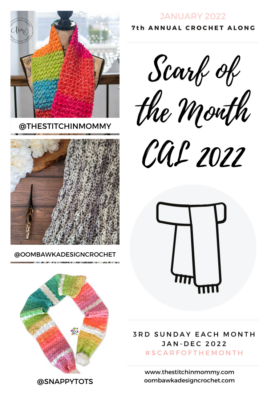
This pattern is part of the 2022 Scarf and Hat of the Month cal with The Stitchin Mommy and Oombawka Design Crochet. Each month three scarf patterns are released and you get can get the patterns for free for a limited time.
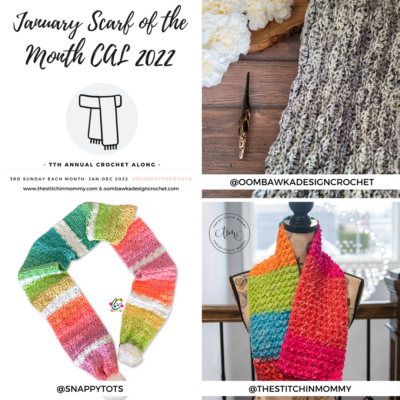
The pattern for my scarf is available free below and you can get the other two scarf patterns at the following links:
- Simply Sublime Scarf by The Stitchin Mommy
- Drifter Scarf by Oombawka Design Crochet
Matching Patterns
Happy Day Scarf Free Crochet Pattern
The pattern for this scarf is available for free below.
Get this pattern for free until 2/5/22. Click here to add it to your cart and check out. No coupon code needed.
Materials & Details
- Yarn: 400 yards ww yarn. Sample yarn: 1.5 skeins (300 yards) RHSS Retro, 100 yards RHSS White
- Crochet Hook: I (5.5mm)
- Notions: Yarn needle for weaving in ends, 2 medium pompoms
- Gauge: 4” of the pattern = 11 rows and 13.5 sts
- Measurements: 5″ wide x 60″ long or preferred length.
Tips
- Numbers at the beginning of each line may refer to steps and not indicate the number of rows.
- The stitch count remains the same for the entire scarf. Work only one st per stitch.
- If you have any questions about this pattern please contact [email protected].
Directions
1. With an I hook and worsted weight yarn, ch 17, sc in the 2nd ch from hook and in each ch across. (16sts)
2. Ch 1, turn, hdc in the same st, hdc, *sc, hdc, dc*, repeat until 2 sts remain, hdc 2. (16sts)
3. Repeat the previous row, changing colors as desired until the scarf measures 60″ or preferred length.
4. Finish off, leaving a long yarn tail in the end. Use a yarn needle to weave the yarn tail in and out of the sts of the last row. Pull yarn tail to gather in the edge. Tie a knot to secure the gather.
Use the remaining yarn to sew a pompom to each end of the scarf.
Color Changes
In the sample, I worked the following amount of rows per color:
- Retro Yarn – 12 rows
- White Yarn – 2 rows
- Retro Yarn – 16 rows
- White Yarn – 4 rows
- Retro Yarn – 12 rows
- White Yarn – 2 rows
- Retro Yarn – 20 rows
- White Yarn – 4 rows
- Retro Yarn – 12 rows
- White Yarn – 2 rows
- Retro Yarn – 16 rows
- White Yarn – 4 rows
- Retro Yarn – 12 rows
- White Yarn – 2 rows
- Retro Yarn – 20 rows
- White Yarn – 4 rows
- Retro Yarn – 12 rows
Pin To Save For Later