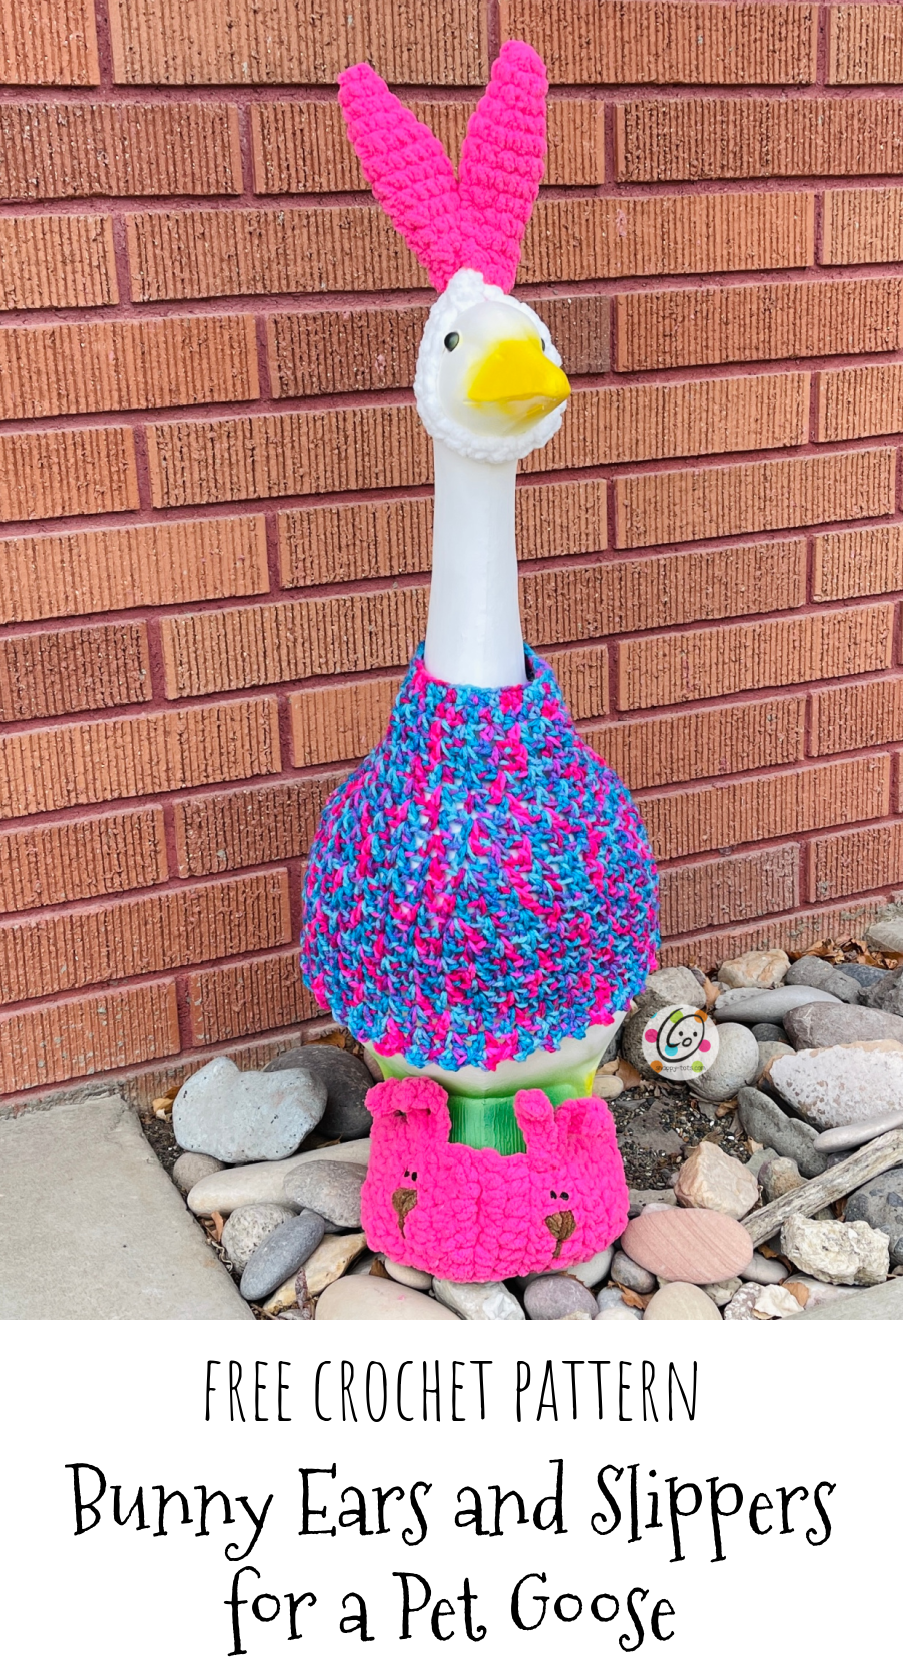
Free Pattern: Bunny Ears and Slippers for a Goose
Every time Easter is near the start of April it totally takes me by surprise. This year was no different. Once St. Patrick’s Day was over the geese twins started giving me that look… well? What are we going to wear now? “We are skipping straight to spring…you can have a new spring dress”. Well, every time I passed “naked Ducke”, I had flashbacks to when my kids were little (not that they were naked)… “you need a cute little Easter hat!” Well, one night, while finishing some little bunny slippers for a gnome, those thoughts came back and I got an idea for a bunny set…
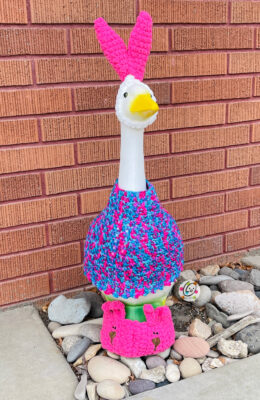
Goose' spring top (shown in the photo above) is part of her new spring wardrobe and comes with a matching sun hat. The pattern will be released soon.
I chose Bernat Blanket yarn to give these a “squishy soft, fluffy” look. Other yarns could be substituted, just check the size of your project if using something smaller than a super bulky weight yarn (or equivalent combo).
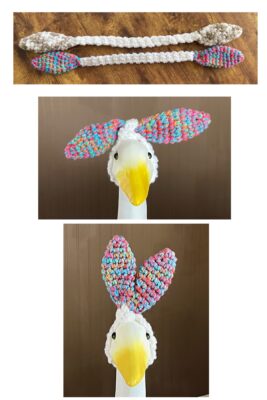
Second pair of ears: for “Ducke’s” ears I decided to try worsted weight yarn in case you are wondering if it would work. I held three strands ww yarn together and used the same k hook. For the most part they are the same size as the blanket yarn version (see the top photo below). I suggest adding a few more rows to the center section because mine were a little short.
About The Goose
In case you missed their official introduction right before St. Patrick’s Day, my parents and I now have pet geese that live on our front porches. Mine is named Ducke (pronounced Duke… I kept calling him a duck by mistake so my youngest son decided this was a good name for him) and Goose (pronounced Goose) lives at my parent’s house. Aren’t they adorable! I have wanted one to come live at my house since I first saw them years ago while in the midwest. I have never seen them in my area.

Their top hat and bow tie patterns, plus future Goose attire, can be found on their page: Ducke and Goose
My parent’s goose, Goose, is very spoiled and gets to go inside each night. My father carries him in and then back out in the morning after he has slept in the warm house. Ducke stays on guard all night on the porch at my house.
These two were ordered from Amazon and from Miles Kimball (the Miles Kimball listed price is cheaper, but there is shipping so if you have amazon prime they end up about the same price in the end). Since they are plastic (shh, told tell them that), I filled mine with gravel. There is a plug in the bottom.
“Bunny Ears and Slippers for a Goose” Pattern
The patterns for both of these pieces are available for free below. A downloadable pdf for this set is not currently available.
Materials
- Yarn: Bernat Blanket yarn in Pink (100 yards) and White (20 yards), small amount of brown for the nose. Note: similar weight yarns could be substituted.
- Crochet Hook: K (6.5mm)
- Notions: Yarn needle, sewing needle and matching thread, 3/4″-7/8″ button for the slipper closure, 4 small black buttons for eyes.
Bunny Ears
1. With a K hook and Bernat Blanket yarn, create a magic loop of 5 sc sts (or preferred method for starting a circle of 5 sc sts), pull closed and place marker for working in the round. (5sts)
2. 2sc in the next st, sc 4. (6sts)
3. *2sc in the next st, sc 2*, repeat once. (8sts)
4. *2sc in the next st, sc 3*, repeat once. (10sts)
5. *2sc in the next st, sc 4*, repeat once. (12sts)
6-8. Sc in each st to end of round.
9. *sc2tog, sc 4*, repeat once. (10sts)
10. Sc in each st to end of round.
11. *sc2tog, sc 3*, repeat once. (8sts)
12. Sl st in the next st. Flatten the top edge. Flatten the remaining sts to create two layers. Work through both layers. Ch 1, sc in each st across. (4sts)
13. Ch 1, turn, sc2tog, sc2tog. (2sts)
14. Ch 1, turn, sc 2. Finish off and weave in end.
15. Repeat steps 1-13, creating a second ear.
16. Ch 1, turn, sc 2. At this point, I changed to white yarn to make the chin strap that connects the two ears. This is so it wouldn’t be as noticeable against the white goose.
17. Ch 1, turn, sc 2.
18. Repeat step 17 for an additional 30 rows or until the white, chin strap section measures 12″. Finish off the white yarn, leaving a 12″ tail.
19. Use a yarn needle and the yarn tail to sew the chin strap end to the flat end of the other ear.
Wrap the ears around the goose’ head and tie a loose knot on top of the head. You have to squish the ears a bit to get them through to tie the knot. After the knot is tied, play with the ears a little to get the placement you want. For floppy ears, leave them as is.
Upright Ears: If you would like the ears to stand (as in the sample), overlap the ears a little and use a yarn needle and matching yarn to stitch the ears together right above the knot.
The ears can easily be slipped on and off of the goose instead of untying them.
Bunny “Slippers”
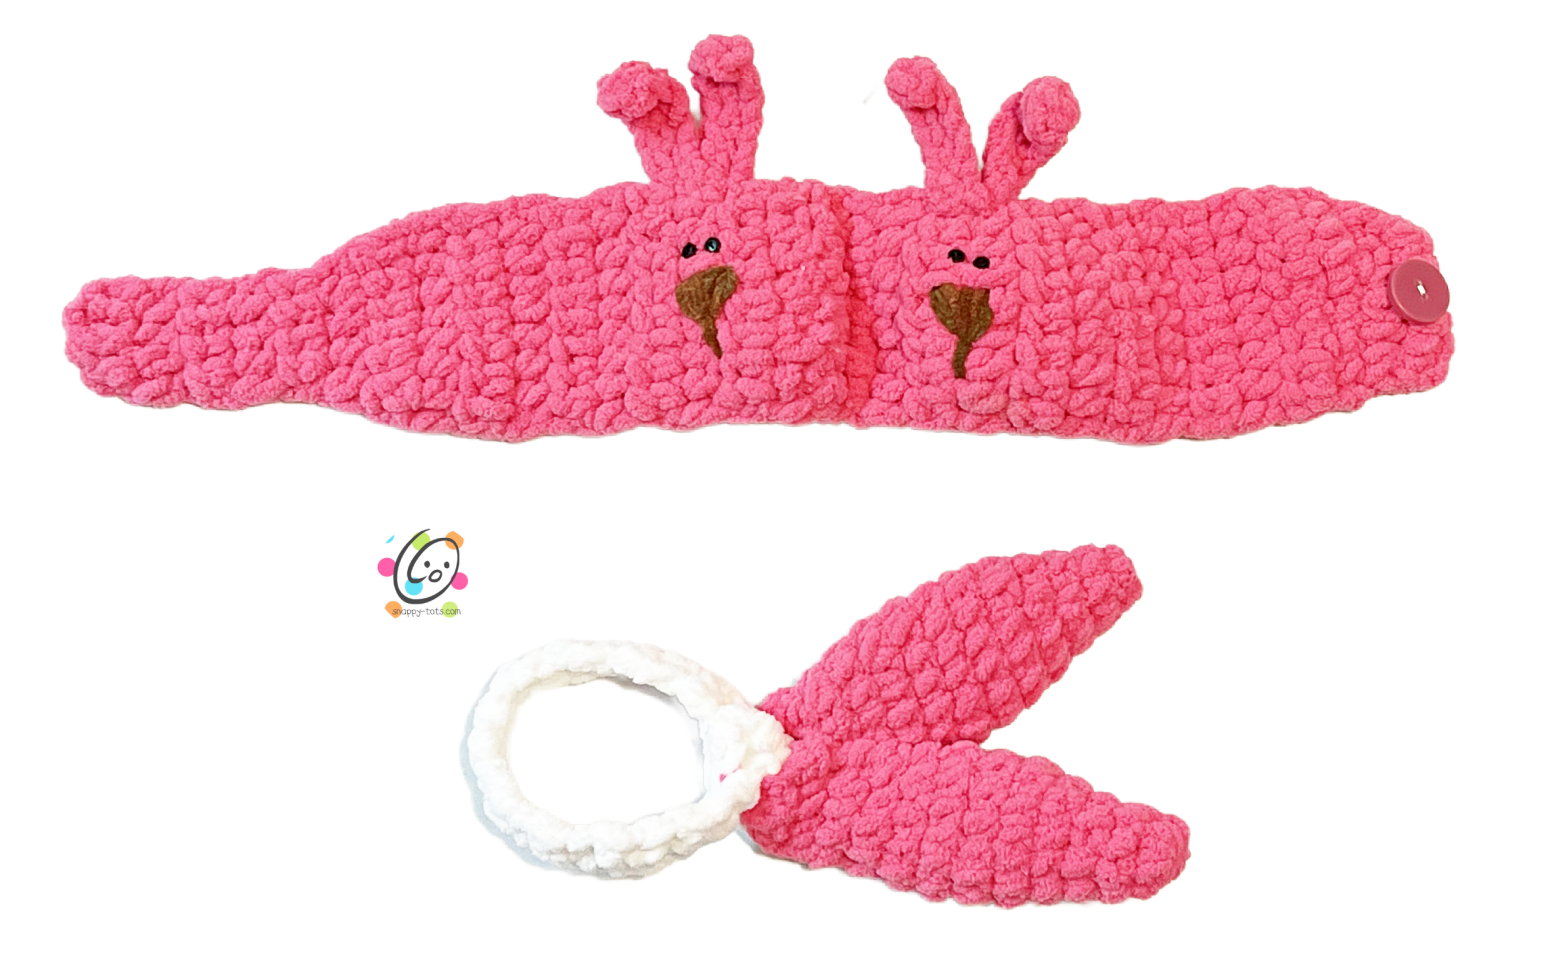
Please be aware that these “slippers” are very unique to these type of geese and are actually a band that wraps around their “feet” (base). The finished piece is 18″ long and designed to overlap at the ends with a button to slip between the posts. Please measure your goose and see if the length needs to be adjusted.
- With a K hook and Bernat Blanket yarn, ch 7, sc in the 2nd ch from hook and in each ch across. (6sts)
- Ch 1, turn, 2hdc in the same st, hdc 4, 2hdc in the last st. (8sts)
- Ch 1, turn, hdc in the same st and in each st across.
- Repeat the previous row for an additional 21 rows. Note: Adjust the amount of rows at this point if a shorter or longer band is needed for your goose.
- Ch 1, turn, hdc2tog, hdc 4, hdc2tog. (6sts)
- Ch 1, turn, hdc2tog, hdc 2, hdc2tog. (4sts)
- Ch 1, turn, hdc in the same st and in each st across.
- Repeat the previous row for an additional 4 rows. Finish off and weave in ends.
With a sewing needle and matching thread, sew the button approximately 1″ from end you just finished. This will slip between the sts of the opposite end to hold the band around the goose base.
“Slipper” division: If you will notice in the sample, there is an indent in the front of the slipper band to create the appearance of two slippers. The location of this indent is about 1″ off of center, closer to the wider/ beginning edge of the band. Fold the band at the indent point, with the right sides together (the button is on the right side). With matching yarn and a yarn needle, and working from the wrong side, sew across the folded edge to hold it in place. The deeper you sew on the fold the deeper your indent will be.
Bunny Features
- Once the indent is sewn, open the band and find placement for the bunny faces. The faces are approximately 2″ on either side of the indent.
- Use a yarn needle and a long piece of brown blanket yarn to stitch a triangle nose and short line straight down from the point.
- With a sewing needle and black thread, sew two black buttons above the nose for eyes.
- Ears: The ears are added to the top edge of the band, centered above each face. With a K hook and matching yarn, sl st in the edge of the band. *ch 6, 2hdc in the 2nd ch from hook, hdc in the next ch, sc in each of the next 3 chs, sl st in the same st on the band*, sl st in the next 2 sts on the band, repeat for the second ear. Finish off and weave in ends. Add the ears to the second bunny.
Please Share Your Geese
I would LOVE to meet your goose if you have one. Please share a picture in the comment section below (if possible). Or you can send a photo to [email protected] or share online and add #snappytots to your post. THANK YOU
Pin To Save For Later