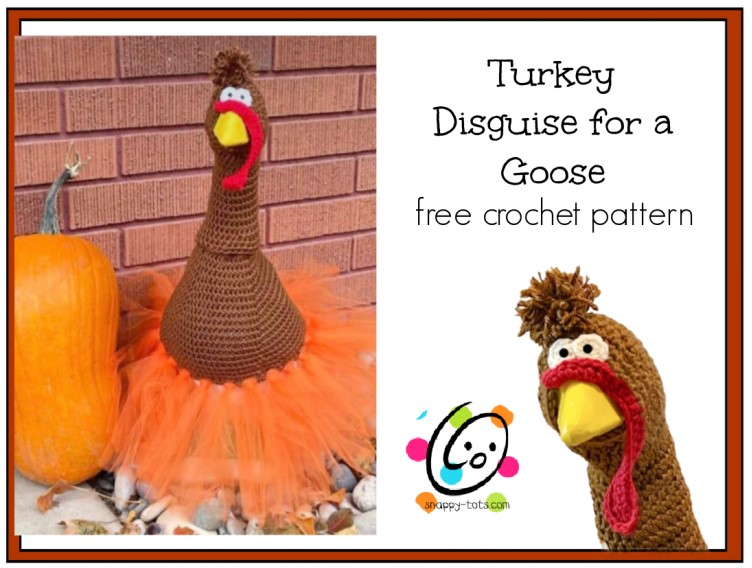
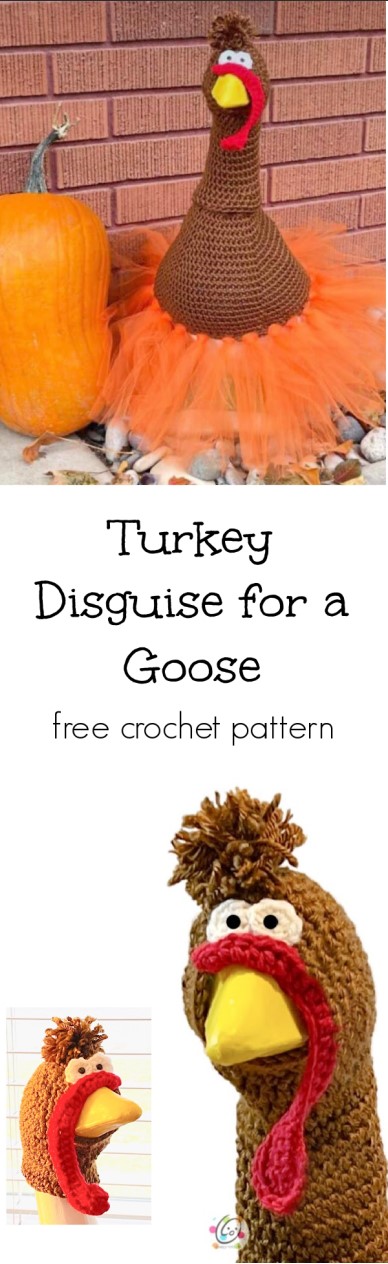
Free Pattern: Goose Turkey Disguise
Our geese love dressing up for the different seasons and holidays.
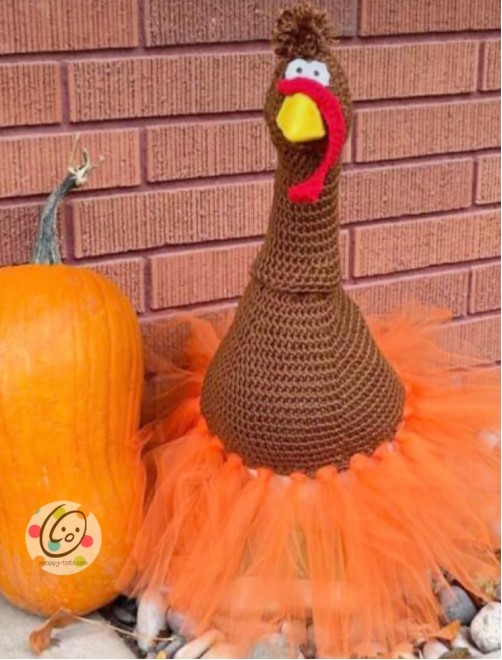
I had designed an elaborate turkey costume for my parent’s Goose and it is super cute.
It was getting close to Thanksgiving last year and Ducke (my goose) kept asking for his costume. I didn’t have time to make another one so I tried a simpler version. I had just finished my Christmas Tutu so I made a brown one to match. I LOVE how this turned out. I think it would be really cute with different fall colors for the tutu. I just didn’t have any.
More Goose Clothes
Watch for more fancy outfits to come each month. You can find the latest “Ducke and Goose” patterns at THIS LINK and find more goose outfits and accessories at THIS LINK.
Where To Get The Goose
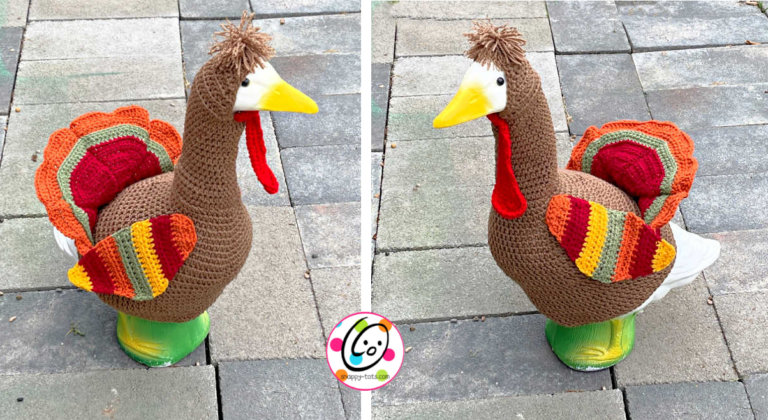
This is designed for a 23” goose statue like the one sold by Miles Kimball: https://amzn.to/3AdRWSP
Outfit
This hood works great with my tutu pattern. The pattern is free on my blog at this link: https://snappy-tots.com/free-pattern-goose-tutu/
Goose Turkey Disguise Crochet Pattern
The pattern is available to view here on the blog. An ad-free, downloadable pdf is available to purchase for a small fee from Ravelry
This can be made in any length on the neck or attached to a dress.
Materials
- Yarn: 100 yards ww brown yarn; Small amounts of red, white
- Crochet Hook: H (5mm), I (5.5mm)
- Supplies: Yarn needle for weaving in ends, 2 small black buttons, sewing needle, black thread.
- Gauge: 2” with an I hook = 7 hdc sts and 5 rounds
Tips
- The first stitch of each row is worked into the same stitch as the turning chain unless noted.
- Numbers at the beginning of each line may refer to steps and not indicate the number of rows/rounds.
- Stitch count remains the same unless noted at end of row/round.
- If you have any questions about this pattern please contact [email protected].
This is designed for a 23” goose statue like the one sold by Miles Kimball: https://www.mileskimball.com/buy-large-white-goose-23-h-310493
Contact & Snappy Spots
Please visit Snappy Tots online for giveaways, new release announcements, events and fun.
Blog: http://snappy-tots.com
Shop: http://shop.snappy-tots.com
Facebook: http://www.facebook.com/snappytots
Pinterest: http://www.pinterest.com/snappytots
Instagram: http://www.instagram.com/snappytots
Twitter: http://www.twitter.com/snappytots
If you have any questions, comments or suggestions please email [email protected].
Directions
This starts at the bottom edge and is worked in rounds to the top of the head and forward.
1. With an I hook and brown yarn, ch 30, sl st in the last ch from hook to form a circle. Make sure the chain is not twisted.
2. Place a marker for working in the round. Sc in the same ch and in each ch to end of round, do not join. (30sts)
3. Hdc in the next st and in each st to end of round.
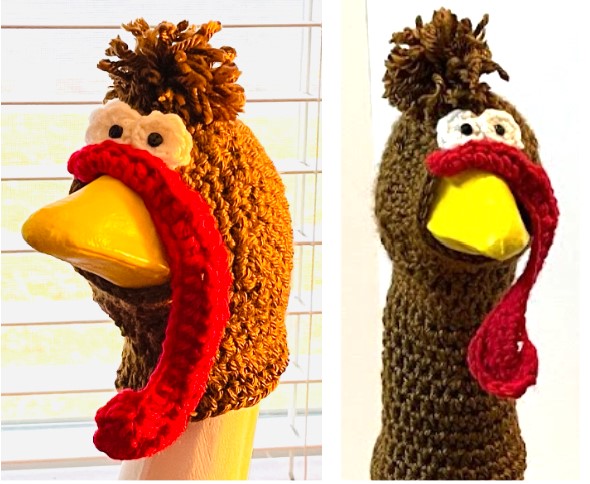
4. Repeat the previous round for an additional 5 rounds for the short version (photo below left) or 10 rounds for the long version (photo below right). Tip: If this will be sewn to the top edge of a sweater/dress, check length to see if more or less rounds are needed.
5. Ch 1, TURN, hdc in the same st, hdc 24. (25sts) Leave the remaining sts unworked.
6. Ch 1, turn, sc2tog, hdc 21, sc2tog. (23sts)
7. Ch 1, turn, hdc in the same st and in each st across.
8. Ch 1, turn, sc2tog, hdc 19, sc2tog. (21sts)
9. Ch 1, turn, hdc in the same st and in each st across.
10. Ch 1, turn, sc2tog, hdc 17, sc2tog. (19sts)
11. Ch 1, turn, sc2tog, hdc 15, sc2tog. (17sts)
12. Ch 1, turn, sc2tog, sc 13, sc2tog. (15sts)
13. Ch 1, turn, sc2tog, sc 11, sc2tog. (13sts)
14. Ch 1, turn, sc2tog, sc 9, sc2tog. (11sts)
15. Ch 1, turn, sc2tog, sc 7, sc2tog. (9sts)
16. Ch 1, turn, sc2tog, sc 5, sc2tog. (7sts)
17. This step is worked around the outer edge of the opening. Ch 1, sc 12 evenly down the side of the opening. Sc2tog at the corner (pick up a st from the side and the bottom row), sc 4, sc2tog (pick up a st from the current row and from the side), sc 12 evenly up the side of the opening, sc2tog, sc 4, sc2tog, sl st to join. (35sts)
18. Ch 1, *sc2tog, sc 5*, repeat to end of round, sl st to join. (30sts)
19. Ch 1, *sc2tog, sc 4*, repeat to end of round, sl st to join. (25sts)
20. Ch 1, sc 10, sc2tog, sc 11, sc2tog, sl st to join. (23sts)
21. Ch 1, sc in the same st and in each st to end of round, sl st to join. Finish off and weave in ends.
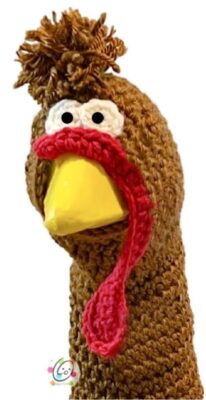
Eyes (make 2)
With an H hook and white yarn, create a magic circle of 8 sc sts (or preferred method of creating a circle of 8 sc sts), pull to close and sl st to join. Finish off, leaving a long tail for sewing in place. (8sts)
With a yarn needle, use the yarn tails to sew the bottom edge of each eye to the hood. Leave the top half unsewn so the eyes will stand away from the hood slightly when on the goose.
With a sewing needle and black thread, sew a black button on top of each eye piece.
Pompom “Hair”: Cut a piece of brown yarn 12” long. This will be used to tie around the middle of the pompom. Set aside.
- Wrap a strand of yarn around the palm of your hand 20 times.
- Carefully slide the loops off your hand.
- Use the 12” piece to wrap around the middle of the yarn loops and snugly tie a knot.
- Hold onto the ends of this piece of yarn.
- Trim the loops and pom as desired.
- Use the yarn tails to tie it to the top of the hood.
- Pull the top half of the yarn pieces apart for a frizzy look.
Waddle
1. With an H hook and red yarn, ch 25, 5dc in the 3rd ch from the hook, dc 2, hdc 20. (27sts)
2. Turn, sl st in the same st and in the next 9 sts, 2sc in each of the next 3 sts, sc 10, 2hdc in each of the next 3 sts, sc, sl st to join. Finish off and weave in ends. Tip: if the 5dc in one ch at the beginning has left a hole, use a yarn needle and the yarn tail to weave in and out of sts around the opening and pull to close.
Fold the top (skinny) 1/3 of the length of the waddle in half. With a yarn needle and matching yarn, sew the edges together. Sew the first part of this section below the eyes so it lays across the goose’ beak.
Pin To Save For Later