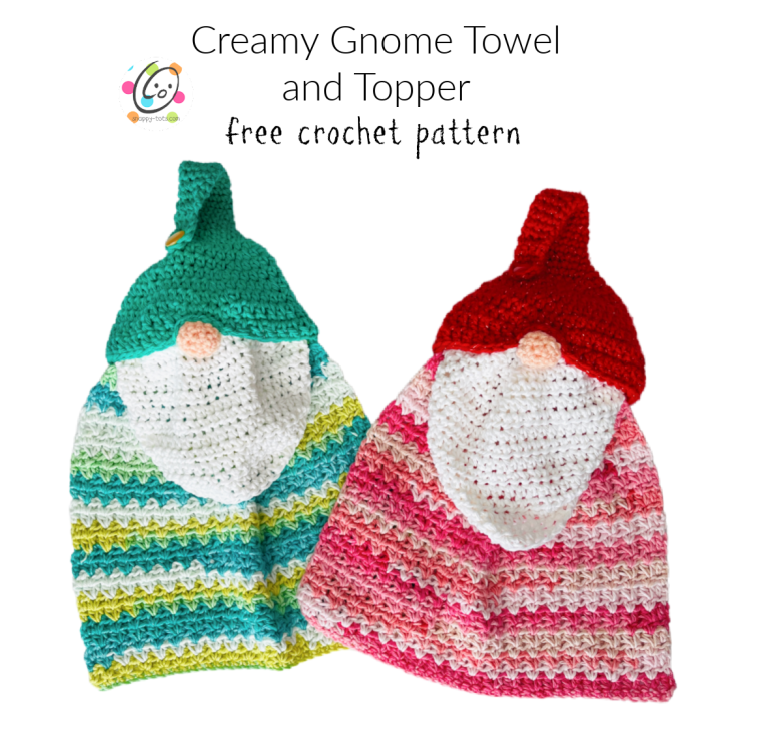
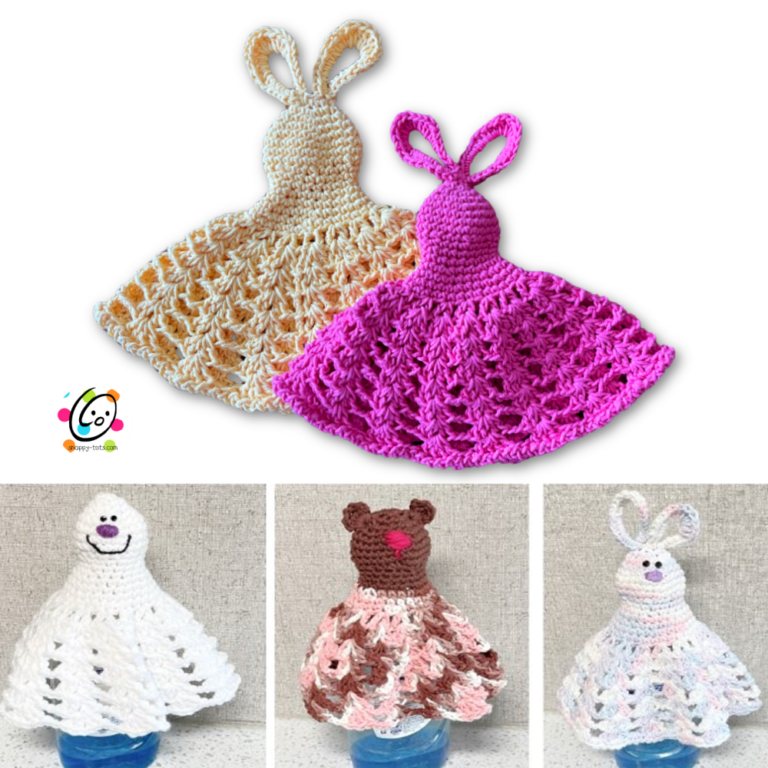
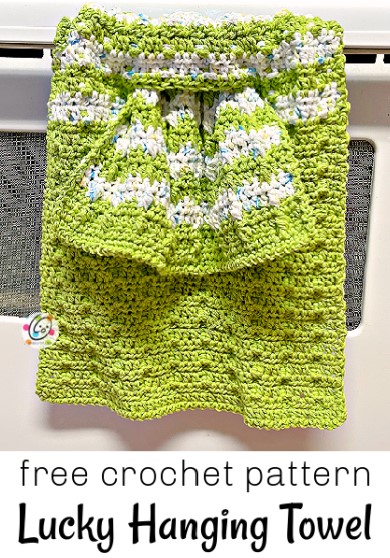
Free Pattern: Creamy Gnome Hanging Towel
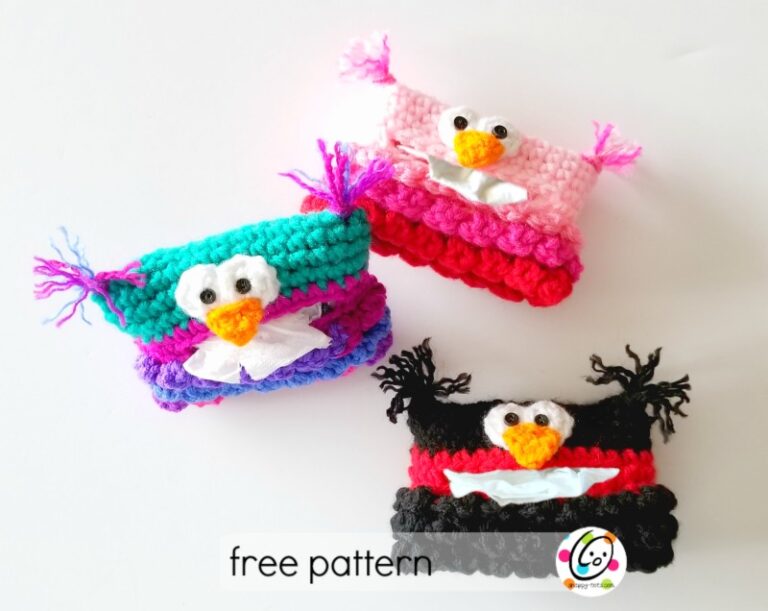
I’m a sucker for pattern requests (and I totally appreciate them!). Last December, I released a fun gnome tissue holder, “Tissues For My Gnomes“.
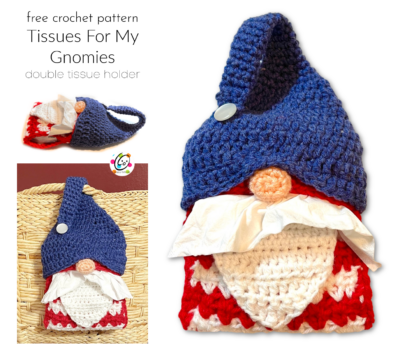
As soon as he was finished he started telling me he would be a super cute hanging towel. Well, he wasn’t the only one who thought so. Many snappy peeps asked me to make a hanging towel version… and it is finally here!
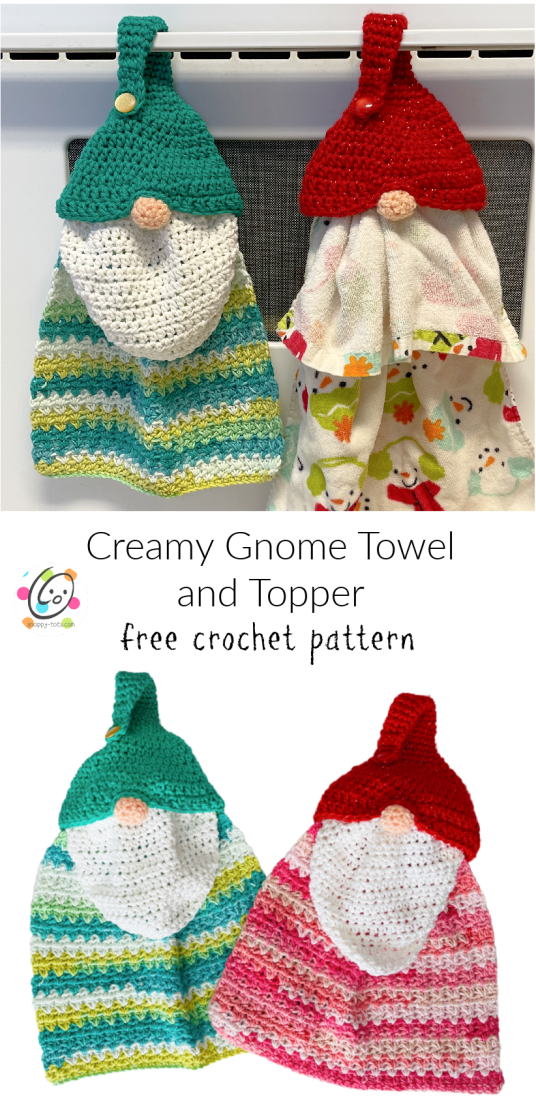
You can either sew the hat directly to the towel or sew a loop inside to hold it.
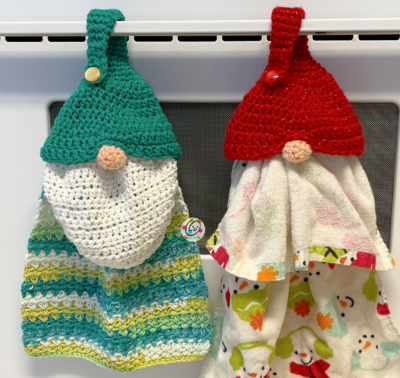
I think it would be cute throughout the year. You could add your favorite appliques or even slip one of my interchangeable flowers over the button.
Free Patterns To Dress Up Your Gnome Towel
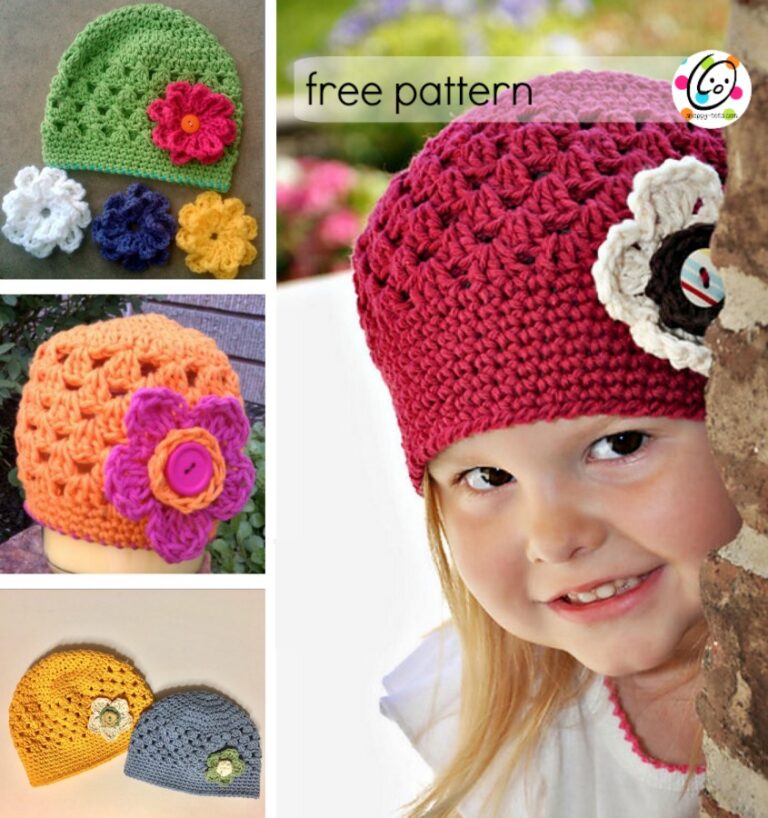
- Fast and Fun Flower (large slip over flower)
- Small Hearts and Flowers (applique and slip over versions)
- Lucy Headbands (includes a slip over shamrock and flower)
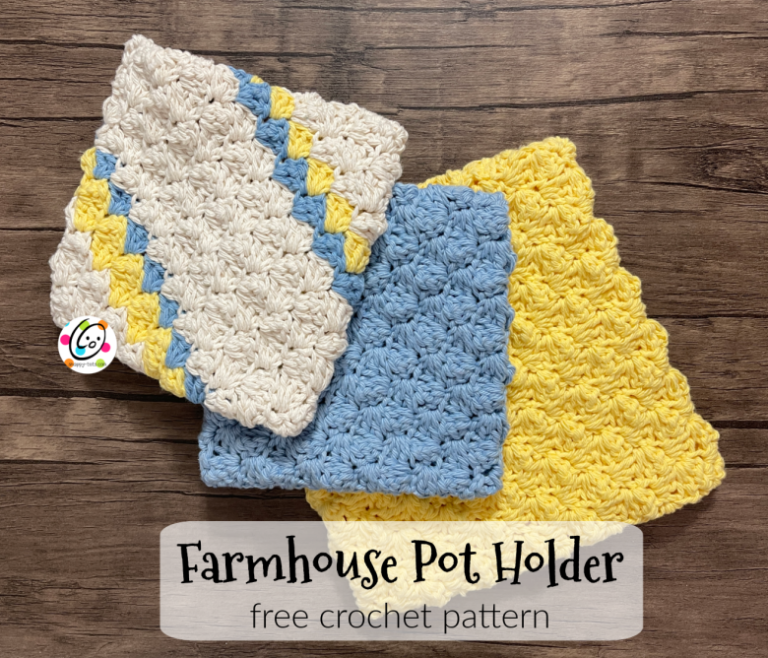
Matching Free Cloth Patterns
Spring Into Spring Blog Hop
This pattern is part of a fun crochet pattern event, “Spring Into Spring Blog Hop“, organized by Jo’s Crafty Hook. I hope you will visit the event page each day in March to get the patterns and meet some fun designers.

On March 5th Click the button below to return to the roundup to get the pdf of this pattern for free.

Then, come back here and click the button below to go to Ravelry and download the pattern for free. Sorry for making you do a short little trip back and forth, but hey, you’re getting your steps in, right? (dang, I wish internet surfing counted as exercise)

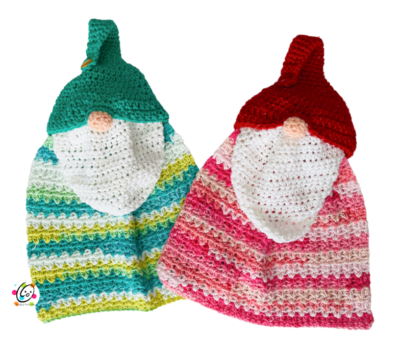
Creamy Gnome Towel And Topper Crochet Pattern
The pattern is available to view below. A downloadable, ad-free PDF of this pattern with all of the photos is available to purchase from my pattern shop: Ravelry
Materials & Details For The Hat/Hanger
- WW Yarn, cotton or acrylic: 75 yards ww yarn for hat (red or green in samples), 20 yards ww yarn for nose (light peach in sample)
- Crochet Hook: H (5mm), I (5.5mm)
- Notions: Measuring tape, yarn needle, scissors, ¾ button, sewing needle, thread
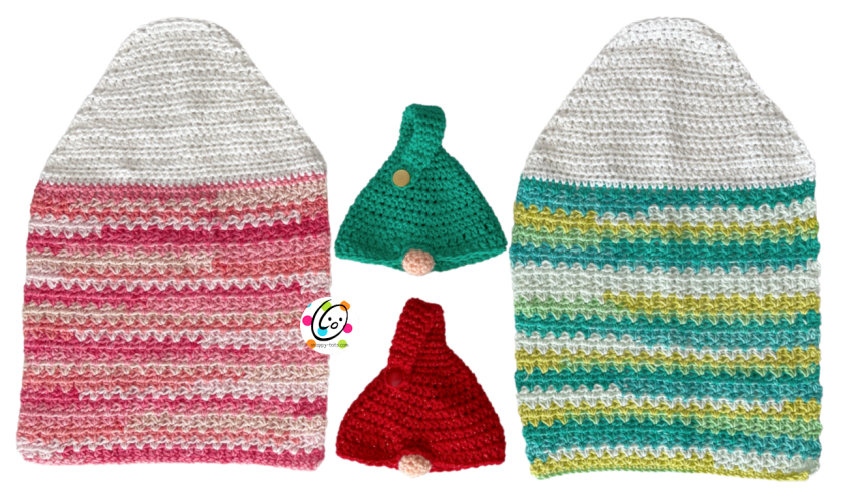
- Finished Measurements: 6.5” wide x 7” tall (when buttoned in place)
Materials & Details For Towel
- WW Cotton Yarn: 150 yards for main section of towel (variegated in sample), 30 yards for beard section (white in sample)
- Crochet Hook: I (5.5mm)
- Notions: Measuring tape, yarn needle, scissors, tape measure
- Finished Measurements: 12” wide x 18” long (before folded)
Tips – Please read before you begin the project.
- The first stitch of each row is worked into the same stitch as the turning chain.
- Numbers at the beginning of each line may refer to steps and not indicate the number of rows.
- Stitch count remains the same unless noted at end of row/round.
- If you have any questions about this pattern please contact [email protected].
Assembly Options
This design was based on my “Tissues For My Gnomies” pattern. When it was finished, I knew it would be cute as a hanging towel. The hat could be sewn overlapping the top of the folded towel, plus I have included instructions for a crocheted loop to be added to the inside of the hat for an interchangeable hanger.
Directions
Towel
This piece starts at the flat, bottom edge of the cloth.
1. With an I hook and cotton yarn (variegated in sample), ch 41, sc in 2nd ch from hook and in each ch across. (40sts)
2. Ch 1, turn, hdc in the same st, *sk 1, 2hdc in next st*, repeat until 1 st remains, hdc in the last st.
3. Ch 1, turn, hdc in same st, 2hdc between each pair from the previous row, hdc in last st.
Tip: Think of each 2hdc from previous row as a V. Work the 2hdc in the middle of the V.
4. Repeat the previous step for an additional 29 rows.
5. Finish off the current yarn and change to white yarn for the beard. Ch 1, turn, hdc in the same st and in each st to end of row.
6. Ch 1, turn, hdc in the same st and in each st to end of row.
7. Ch 1, turn, hdc2tog, hdc in each st until 2 sts remain, hdc2tog. (38sts)
8. Repeat the previous row until there are 12 sts.
9. Ch 1, turn, sc2tog, sc, hdc 6, sc, sc2tog. (10sts) Finish off and weave in ends. Set aside.
Nose
1. With an H hook and light peach yarn, start with a magic circle of 6 sc sts (or preferred method for starting a circle of 6 sc sts), pull closed and place marker for working in the round. (6sts)2. 2sc in each st to end of round. (12sts)
3. Sc in each st to end of round.
4. *sc2tog, sc 4*, repeat once. (10sts) Finish off, leaving a long tail.
Lightly stuff the nose. With a yarn needle, weave the yarn tail in and out of the remaining sts and pull to close. Secure end. Set aside.
Hat
This project starts at the tip of the hat.
1. With an I hook and ww yarn (color of choice), ch 6, sl st in the last st from hook to create a circle. Ch 1, sc in each ch to end of round, sl st in the first st to join. (6sts) This creates a buttonhole at the tip of the hat.
2. Ch 1, sc in the same st, sc 2. (3sts) Leave remaining sts unworked.
3. Ch 1, turn, sc in the same st, sc 2. (3sts)
4. Ch 1, turn, 2sc in the same st, sc 2. (4sts)
5. Ch 1, turn, sc in the FLO of each st. Do not turn the piece. Continue working around into the back loops of the same row. Sc 4. Place a marker for working in the round. (8sts)
6-8. Sc in each st to end of round.
9. 2sc in the next st, sc 7. (9sts)
10-12. Sc in each st to end of round.
13. 2sc in the next st, sc 8. (10sts)
14-16. Sc in each st to end of round.
17. 2sc in the next st, sc 9. (11sts)
18-19. Sc in each st to end of round.
20. 2sc in the next st, sc 10. (12sts)
21. *2sc in the next st, sc 3*, repeat to end of round. (15sts)
22. *2sc in the next st, sc 4*, repeat to end of round. (18sts)
23. *2sc in the next st, sc 5*, repeat to end of round. (21sts)
24. *2hdc in the next st, hdc 6*, repeat to end of round. (24sts)
25. *2hdc in the next st, hdc 7*, repeat to end of round. (27sts)
26. *2hdc in the next st, hdc 8*, repeat to end of round. (30sts)
27. *2hdc in the next st, hdc 9*, repeat to end of round. (33sts)
28. *2hdc in the next st, hdc 10*, repeat to end of round. (36sts)
29. *2hdc in the next st, hdc 5*, repeat to end of round. (42sts)
30. *2hdc in the next st, hdc 20*, repeat to end of round. (44sts)
31. Sc in the next st, sl st in the next st. This is the next st of the round. Ch 1, sc in the same st, sc 3, hdc, dc 38, hdc, sl st to join.
32. Sl st 4, hdc, dc 37, hdc, sc, sl st to join. Finish off, leaving a long tail for sewing in place.
Fold the tip of the hat down to find button placement. See the main photo. With a sewing needle and thread, sew the button in place.
Assembly
Option 1: Sew hat to towel
Fold the towel at the color change between the main cloth part and the beard. Gather the towel and slip inside of the hat so the edges of the hat overlap the towel evenly around. Pin in place. With a yarn needle and yarn to match the hat, sew the hat to the towel.
Option 2: Interchangeable Towel
Hanger: With an I hook and yarn to match the hat, ch 36, sc in the 2nd ch from hook and in each ch across. Ch 1, turn, sl st in each st across. Finish off, leaving a long tail for sewing inside the hat. Set aside.
Adding the hanger: Turn the main part of the hat inside out. The hanger will be sewn to the inside of the hat where it narrows for the tail.
With a yarn needle, use the yarn tail from the hanger to sew the two ends of the hanger together to form a circle. Sew this point to the inside of the hat. Tip: It will be less noticeable if you sew this to the part of the hat that will be at the back, opposite of the indented area for the nose.
Fold the hat back to the right side.
Attaching the nose: With a yarn needle and yarn to match the hat, sew the side of the nose in place.
Tip: I chose to put the beginning circle of the nose as the front. The indented hat section is then sewn to the edges of the nose.
Pull the towel through the hanger until the color change, with the white on top. Pull the edges of the hat down over the towel edges.
Pin To Save For Later