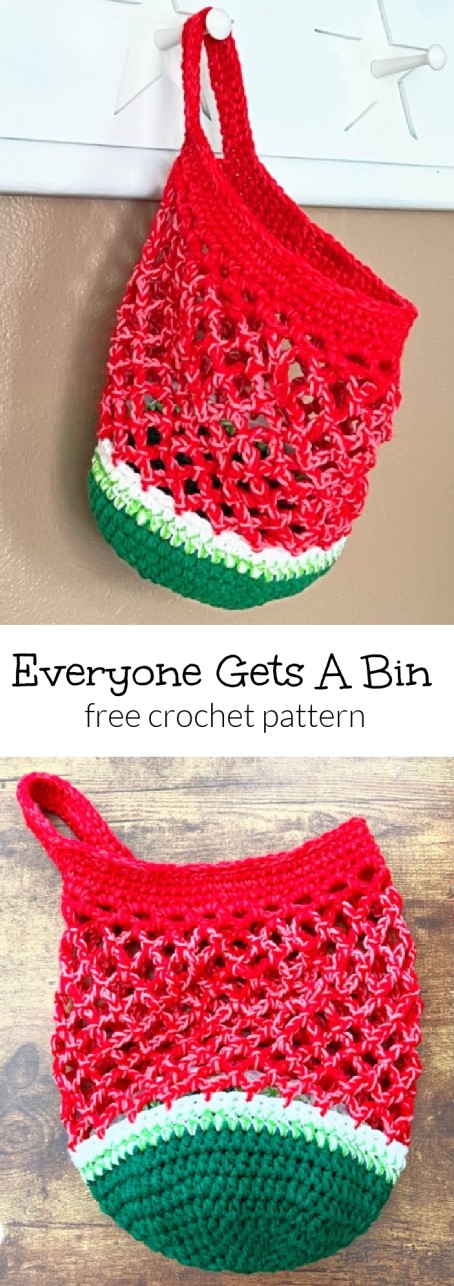
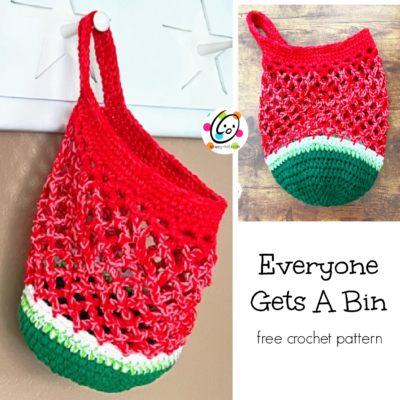
Free Pattern: Everyone Gets A Bin
I can never have enough containers. It seems like I am always finding uses for another little bag. I’ve seen little bags that hang from hooks and wanted my own version. I think there are so many ways these bags can be used and they are quick to whip up so they would be great for craft fairs too.
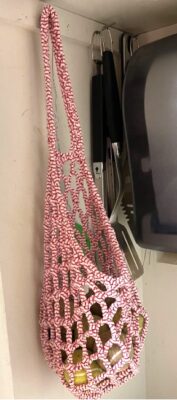
Years ago I made a similar bin out of t-shirt yarn and an 11mm hook and it has been fabulous! We use it to store tennis balls for our lab (photo at right). It holds a TON of them!
I used one skein of Loops and Threads T-Shirt yarn/100 yards. I don’t think it is available. I did not add the extra rounds of sc to the top of mine because I only had one skein. If you can’t find t-shirt yarn and would like to make a bigger version, see my note under “tips” below.
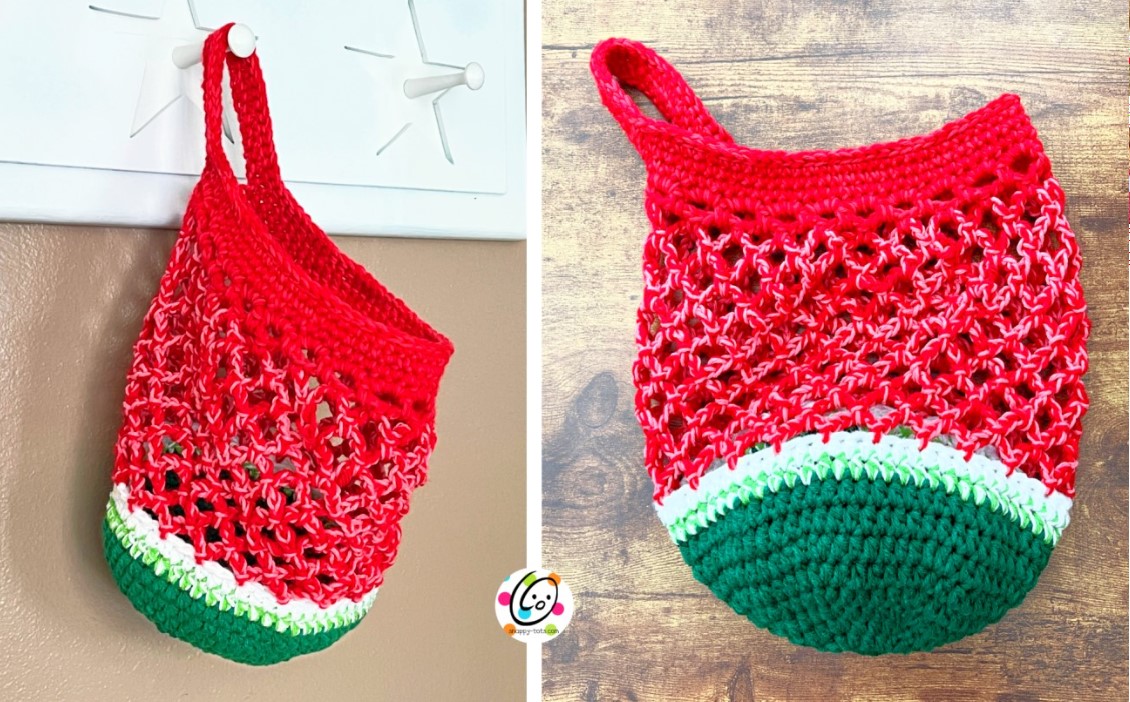
Everyone Gets A Bin Crochet Pattern
Scroll down to view the free pattern or purchase an ad-free, downloadable PDF version from my Ravelry Shop.
Materials
- Worsted Weight Yarn in cotton or acrylic – 2 strands held together. 400 yards total
- Sample yarns: I chose to make mine with one strand cotton yarn and one strand acrylic yarn. The cotton gives it extra strength and acrylic adds a richer color that holds up in the sun better (in case you want to hang this outside). Green Base: 150 yards (75 yards RHSS Paddy Green + 75 yards dark green cotton White Stripe: 50 yards (20 yards RHSS Spring Green + 30 yards white cotton Red Section: 200 yards (125 yards RHSS Cherry + 75 yards pink cotton Seeds (optional): small amount of black
- Crochet Hook: J (6mm)
- Optional Crochet Hooks for custom sizes: H (5mm), I (5.5mm), K (6.5mm), P (11mm)
- Notions: Yarn needle, scissors
Measurements
- Finished Measurements: Flat – 12” long x 11” wide at widest point (10” wide at top)
- Gauge: not needed for this project.
Tips – Please read before you begin the project.
- The first stitch of each row is worked into the same stitch as the turning chain.
- Numbers at the beginning of each line may refer to steps and not indicate number of rows.
- Stitch count remains the same unless noted at end of row/round.
- If you have any questions about this pattern please contact [email protected].
Different Sizes Length: Add more rounds to the open weave section. Smaller bins: Use an H or I hook and one strand of ww yarn for a smaller version. Bigger bins: Use thicker yarn or 3 strands of ww yarn and a K hook (or size for thicker yarn) for a larger bin. T-shirt bin: If you can find some t-shirt yarn, try making one with a P (11mm) hook. I really like ours, but I haven’t found any more of the yarn and I am not motivated enough to make t-shirt yarn.
Directions
This project starts at the base and is worked holding 2 strands of ww yarn together for the entire piece. Change colors as desired. Instructions are written for color changes shown in the main melon sample.
For the majority of this piece, we will be working in continuous rounds. I suggest placing a marker at the beginning of each round to keep track. I use a scrap of yarn.
1. With a J hook and 2 strands dark green ww yarn, start with a magic circle of 8 sts (or preferred method for starting a circle of 8 sc sts), pull closed and place marker for working in the round. (8sts)
2. 2sc in each st to end of round. (16sts)
3. *hdc, 2hdc in next st*, repeat to end of round. (24sts)
4. *hdc 2, 2hdc in next st*, repeat to end of round. (32sts)
5. *hdc 3, 2hdc in next st*, repeat to end of round. (40sts)
6. *hdc 4, 2hdc in next st*, repeat to end of round. (48sts) 5.75” across
7. *hdc 5, 2hdc in next st*, repeat to end of round. (56sts) 6.5” across
8. *hdc 6, 2hdc in next st*, repeat to end of round. (64sts) 7.25” across
9-10. Hdc in each st to end of round.
11. Sc in the next st, sl st in the next st. Finish off the current yarns. Change to 1 strand white + 1 strand lime green. Ch 1, hdc in each st to end of round, sl st in the first st to join.
12. Finish off the lime green yarn and pick up another strand of white yarn. Ch 1, hdc2tog, hdc in each st to end of round, sl st in the first st to join. (63sts) Finish off the current yarns.
13. With a J hook, attach 2 strands to any st (1 strand red + 1 strand pink in sample). *ch 5, sk 2, sl st in the next st*, repeat to end of round, sl st in the first space to join. (21 spaces)
14. *ch 5, sl st in the next space*, repeat to end of round.
15. Repeat step #14 for an additional 8 rounds (or until desired length).
16. Finish off the pink yarn and pick up another strand of red yarn. *ch 3, sc in the next space*, repeat to end of round.
17. *ch 3, sc in the next space*, repeat to end of round.
18. 3sc in each space to end of round. (63sts)
19. Sc2tog, sc in the next st, sc2tog, sc in the next st, sc2tog, sc in each st to end of round. (60sts)
20. This step starts the handle. Sl st in the next st, ch 26, sk 4, sl st in the next st, sc in each st to end of round.
21. Note: I skipped the sl sts from the previous round when working this round. You can choose to work into those sl sts if you want. Your st count will be 58 or 60sts each round.
Sc in each ch across the handle, sc in each st to end of round. (58/60sts)
22. Sc in each st to end of round.
23. Sl st in each st to end of round. Finish off and weave in ends.
Seeds (optional)
I chose not to add seeds to my melon. Hey, it’s a seedless melon. If you would like to add seeds to yours, I suggest using a long piece of black ww yarn and a yarn needle to take a few sts on the band section (top rim) for each seed.
Pin To Save For Later