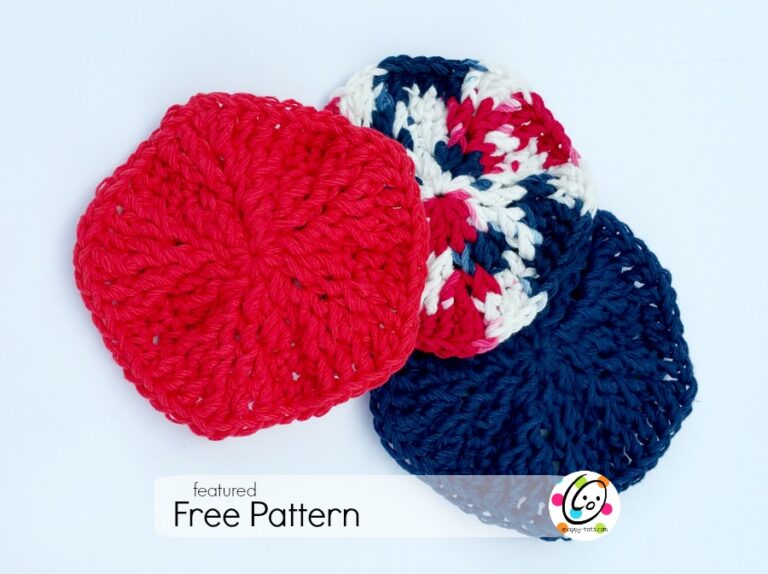
Weekly Wash #7: Twisted Scrubbie
Crocheted poufs are one of those things that I really like the finished project, but making them takes WAY longer than I want to spend on something I am going to use to wash the dishes or arm pits. Some even take an enormous amount of yarn and can be tricky to make.
After trying a few things, I created this “Twisted Scrubbie” that takes less than an hour and is easy enough for beginners. Wouldn’t it be great for someone to have a project to practice sts on that they could use in the end and feel great about too?

Twisted Scrubbie Pattern
This pattern is available for free below.
Materials and Details
- Yarn: 100 yards cotton in choice of colors. Samples were created with Sugar N Cream, Red Heart Scrubby.
- Crochet Hook: H (5mm), I (5.5mm)
- Miscellaneous: Yarn needle
- Finished Measurements: 3-4”
Tips
- Numbers at the beginning of each line may refer to steps and not indicate number of rows.
- Stitch count remains the same unless noted at end of row.
- If you have any questions about this pattern please contact [email protected].
Directions
Plain Cotton Version
See “help photos” at the end of this pattern if needed.
1. With an H hook and ww yarn, ch 10, sc in the 2nd ch from hook and in each ch across. (9sts)
2. Ch 2, turn, hdc in the same st and in each st to end of row.
3. Repeat previous row until 24-36” long. The longer the strand, the bigger your scrubbie will be.
4. Do not finish off. Fold piece in half, matching the long edges. Ch 1. Working through both edges at the same time (to sew them together), sc evenly to end of row. Sl st in the first st of the row to join in a circle.
5. This step creates the hanger. Ch 50, sl st in same st on main piece. Cut yarn, leaving a long yarn tail (at least 24”) for next step.
6. With a yarn needle, use the yarn tail to sew the short ends together. Weave the needle back up through the seam to finish at the base of the hanger.
7. This step will gather the circle. Weave the yarn needle in and out of the top edge sts, gathering the yarn AS YOU GO. Be careful to pull gently so the yarn doesn’t break. Gather as much as possible. Secure the yarn at the end (at the hanger) with a knot. Cut the yarn and weave in ends.
Continue to “twist” section below the scrubbie version instructions.
Scrubbie Version
See “Help Photos” at the end of this pattern if needed.
1. With an I hook and ww yarn + scrubbie yarn (held together), ch 10, sc in the 2nd ch from hook and in each ch across. (9sts)
2. Ch 2, turn, hdc in the same st and in each st to end of row.
3. Repeat previous row until 24-36” long. The longer the strand, the bigger your scrubbie will be.
4. Do not finish off. Fold piece in half, matching the long edges. Ch 1. Working through both edges at the same time (to sew them together), sc evenly to end of row. Sl st in the first st of the row to join in a circle.
5. This step creates the hanger. Ch 50, sl st in same st on main piece. Cut yarn, leaving a long yarn tail (at least 24”) for next step.
6. With a yarn needle, use the yarn tail to sew the short ends together. Weave the needle back up through the seam to finish at the base of the hanger.
7. This step will gather the circle. Weave the yarn needle in and out of the top edge sts, gathering the yarn AS YOU GO. Be careful to pull gently so the yarn doesn’t break. Gather as much as possible. Secure the yarn at the end (at the hanger) with a knot. Cut the yarn and weave in ends.
Continue to “twist” section below.
Lay the circle on a flat surface with the hanger at one side as shown in photos below. Twist the circle so it looks like the photo below (top right).
Thread the hanger through a yarn needle. Use the yarn needle to thread the hanger from the bottom to the top of the twist. Work through spaces between sts and not through the st or you will not be able to pull the hanger through.
How to Twist
When the hanger is at the top of the twist, thread the yarn needle through the crocheted piece (see photo bottom right). Pull hanger through and tie a knot at the base of the hanger. BE AWARE: The scrubbie will still be able to untwist a bit after this step.
Help Photos

Pin To Save For Later


