Free Pattern: TP and Bag Holders
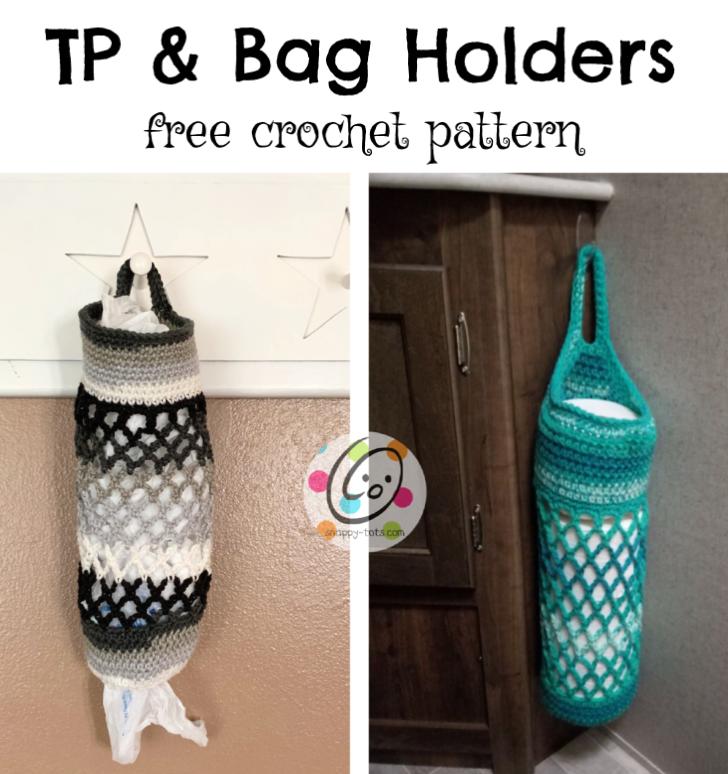
Every spring through fall I end up crocheting things to help make life easier while in our travel trailer and in the car. Last summer I made a mesh bag…yes another one… to solve a storage problem in our bathroom. There was absolutely no place to put the extra toilet paper except in the utility closet in the main area. I made a bag to hold up to the mega rolls. For some reason we end up with every width of tp roll they make! I used a command hook…could NOT trailer life without those lifesavers… and problem solved! The same bag works for plastic bags and even bath poufs too.
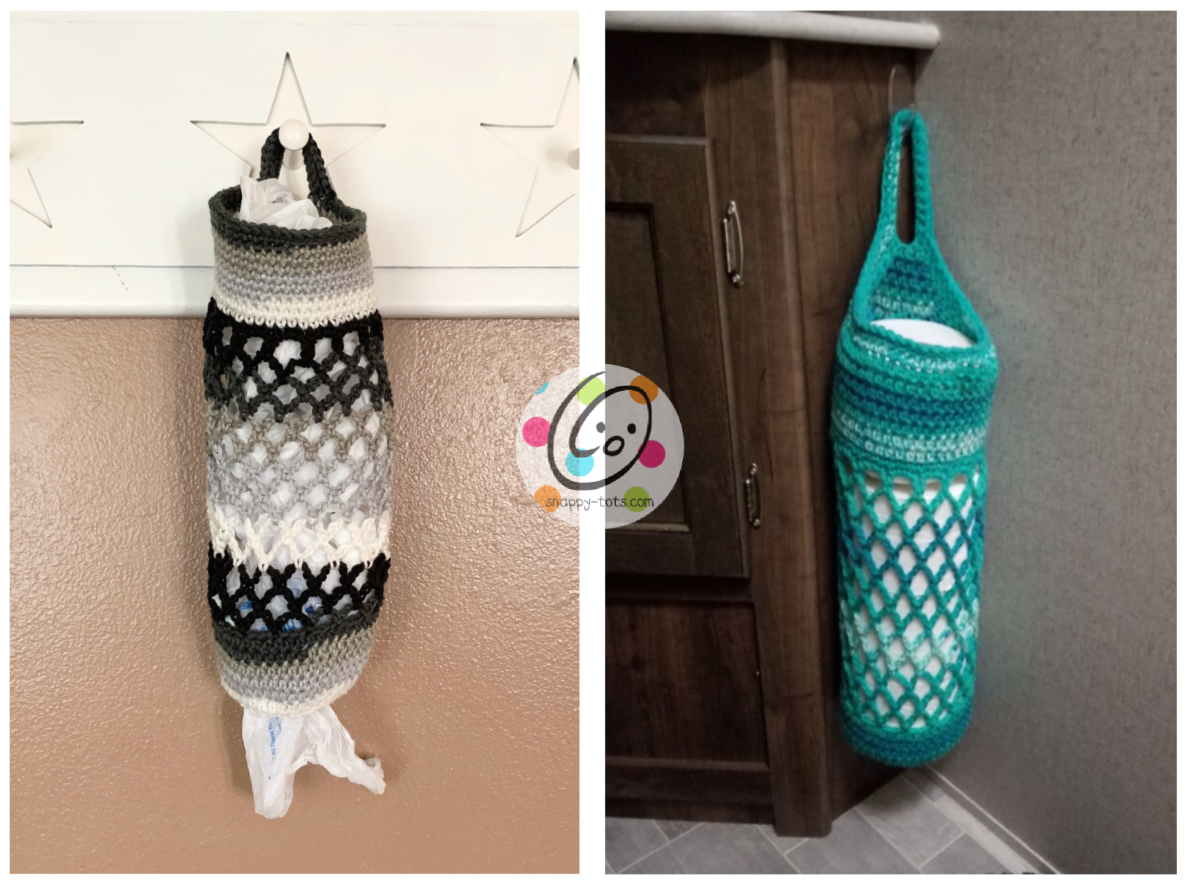
I ended up making another one with an open bottom for bags. I do have a pattern for a smaller version of a bag holder already that is an even better size for small spaces.
These would be great for:
- College Dorms
- Travel Trailers
- House Warming and Wedding Gifts… make sure to fill with tp! They will appreciate it for sure.
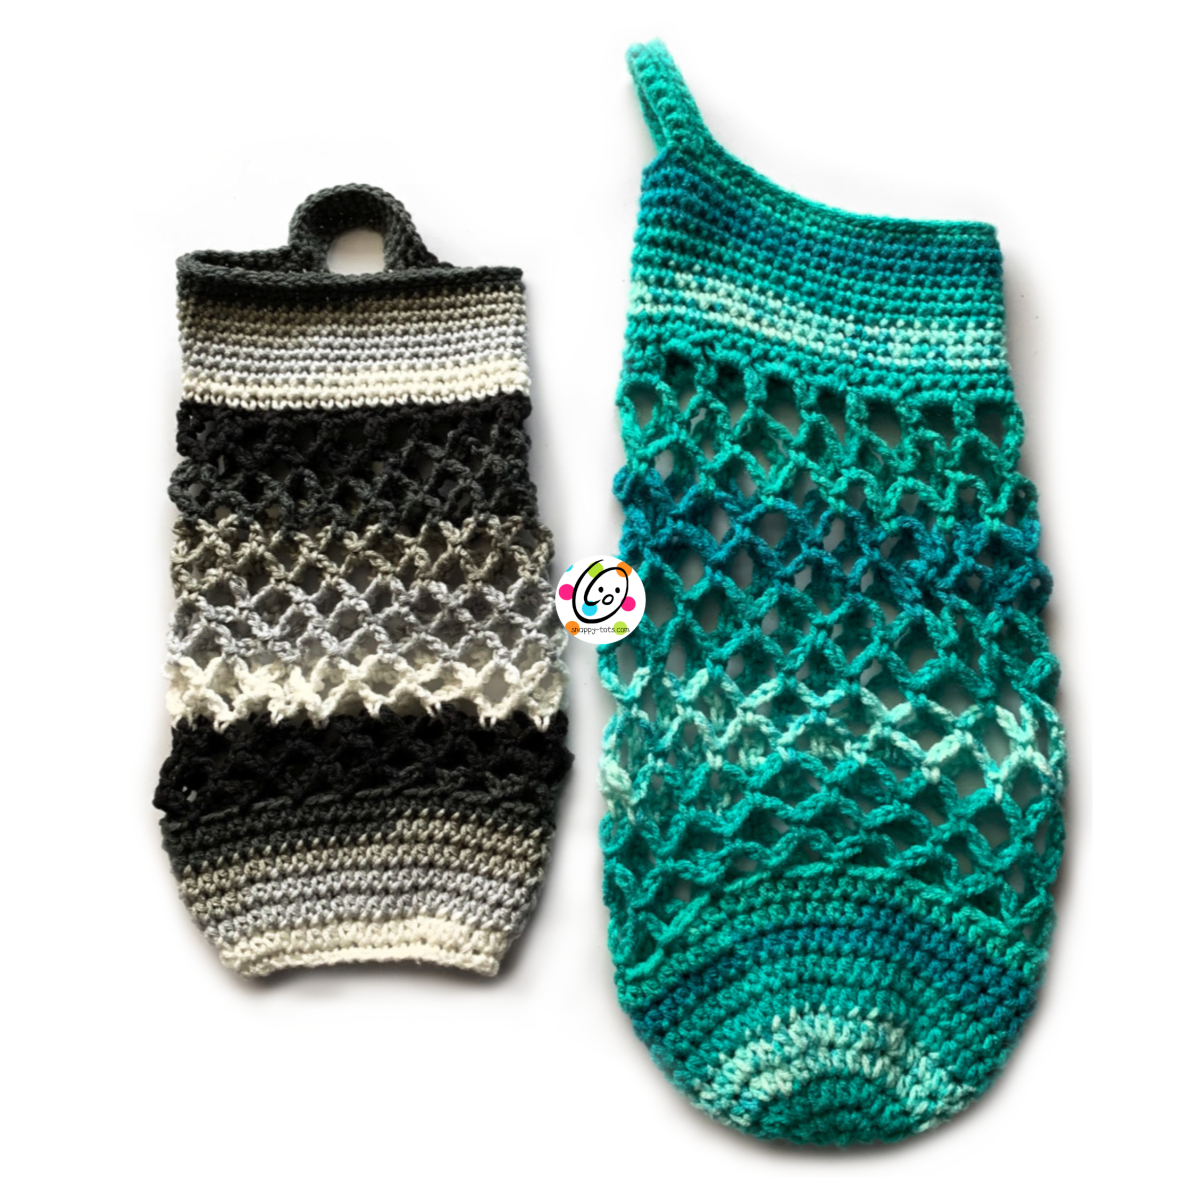
Mesh Bags
An ad-free, downloadable PDF which includes all of the photos and instructions is available for only $2. Click here to download the pattern from Ravelry.
Materials and Details
- Yarn: 200 yards worsted weight yarn in color(s) of choice.
- Samples: Black – Red Heart Super Saver Newspaper Stripe; Green – Red Heart With Love Fiji Stripe
- Crochet Hook: H, J
- Miscellaneous: yarn needle
Tips
- The number at the beginning of each line refers to the step and not the number of rows.
- The first stitch of each row is worked into the same st as the turning chain.
- Stitch counts remain the same unless noted at end of row.
- Substitute colors as desired. Try to use similar weight yarns, preferably all the same brand.
Directions
The bottom of the bag can be made with an opening to remove plastic bags if this will be used for bag storage.
Choose from one of the following to begin the bag:
Closed Bottom
- With a J hook and yarn (color of choice), start with a magic circle of 8 sc sts (or preferred method for starting a circle of 8 sc sts). Place marker to keep track of beginning of round. (8sts)
- 2sc in each stitch to end of round. (16sts)
- *hdc, 2hdc in next st*, repeat to end of round. (24sts)
- *hdc 2, 2hdc in next st*, repeat to end of round. (32sts)
Skip to “Body of Bag”.
Open Bottom
- With a J hook and yarn (color of choice), ch 32, sl st in last ch from hook to join. Make sure chain is not twisted.
- Sc in each ch to end of round. Place marker to keep track of beginning of the round. (32sts)
Contine to “Body of Bag”.
Body of Bag
- *hdc 3, hdc in next st*, repeat to end of round. (40sts)
- *hdc 4, 2hdc in next st*, repeat to end of round. (48sts)
3-6. Hdc in each st to end of round.
- Sc in next st, sl st in next st. This is the new beginning of the round and begins the mesh section of the bag. *ch 5, sk 2 sts, sl st in next st*, repeat to end of round, sc around first ch 5.
- *ch 5, sc around next ch*, repeat to end of round.
- Repeat previous round for an additional 11 rounds or until desired length.
- 2sc around same ch as last sc, 3sc around each ch 5 to end of round. Do not join. Place marker for working in the round. (48sts)
- This step starts the solid top section. Sc in each st to end of round.
- Repeat previous round for an additional 8 rounds or until desired length.
- Sl st in next st. Change to an H hook. This step starts the handle. Ch 14, sk 3 sts, sl st in next st, sc in next st. Ch 1, turn, sc in each ch across, sc in next st around top edge of bag. Ch 1, turn, sc in each st across handle, sc in next st on top edge of bag.
Loosely sc in each st around top edge of bag. Sc2tog where bag meets handle. Sc in each st across handle. Sc2tog where handle meets bag.
Loosely sl st in each st around top edge of bag. Finish off and weave in ends.
Open Bottom Version (optional edging)
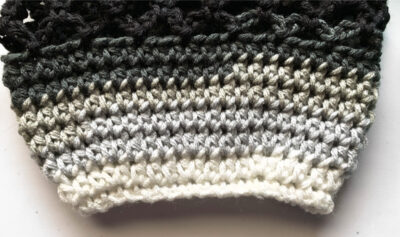
With a yarn needle and approximately 24” of matching yarn, attach yarn to the inside of the bottom edge of the bag opening. Insert needle in next st and pull yarn snug, repeat to end of round, wrapping around the entire bottom edge.
Pin To Save For Later
