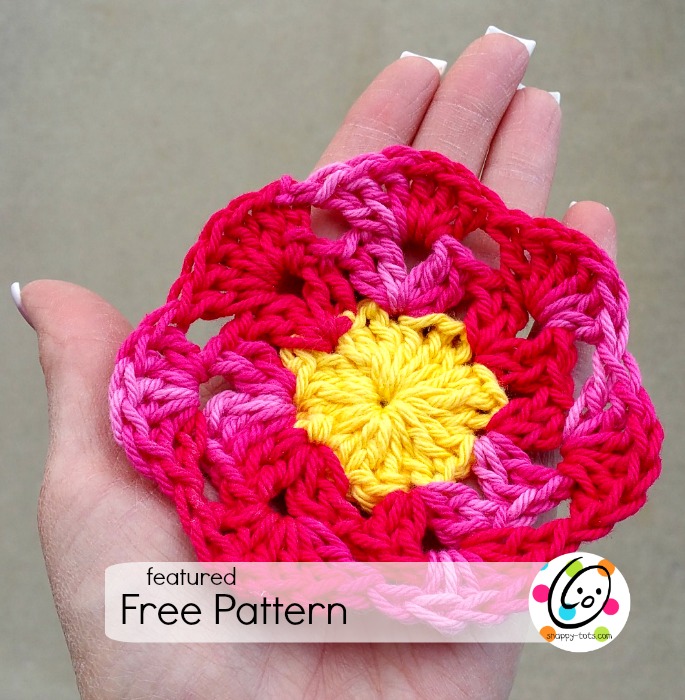
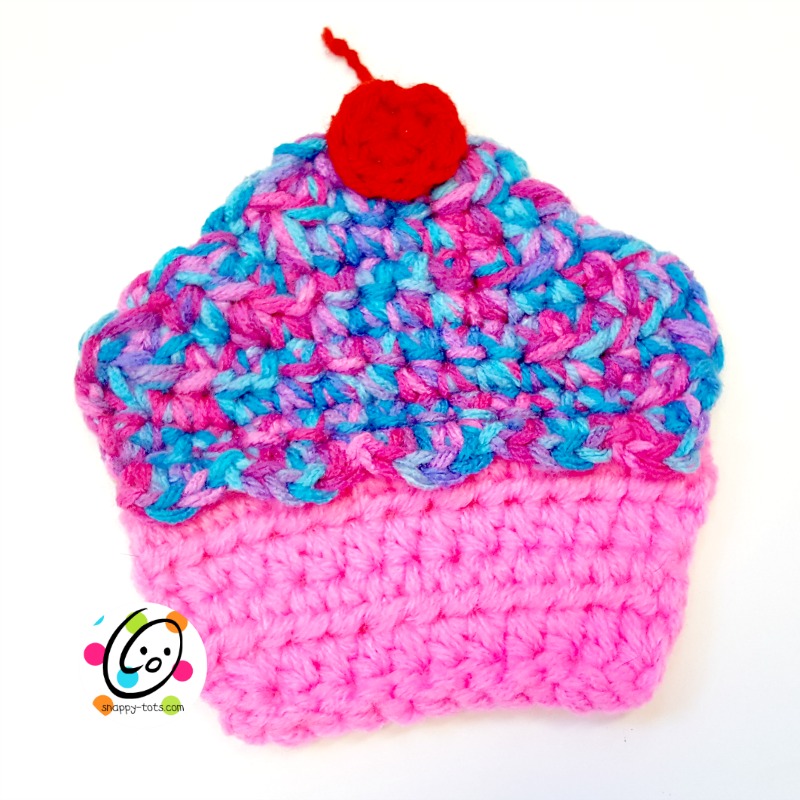
Free Pattern: Cupcake Coaster
Cupcakes, in my opinion, are made from pure happiness. I love seeing bright, colorful ones so this year, for my birthday, I decided to add some new cupcake patterns to my shop. I hope you will love this little coaster.
Want to save this for later?
- CLICK HERE to add it to your favorites on Ravelry.
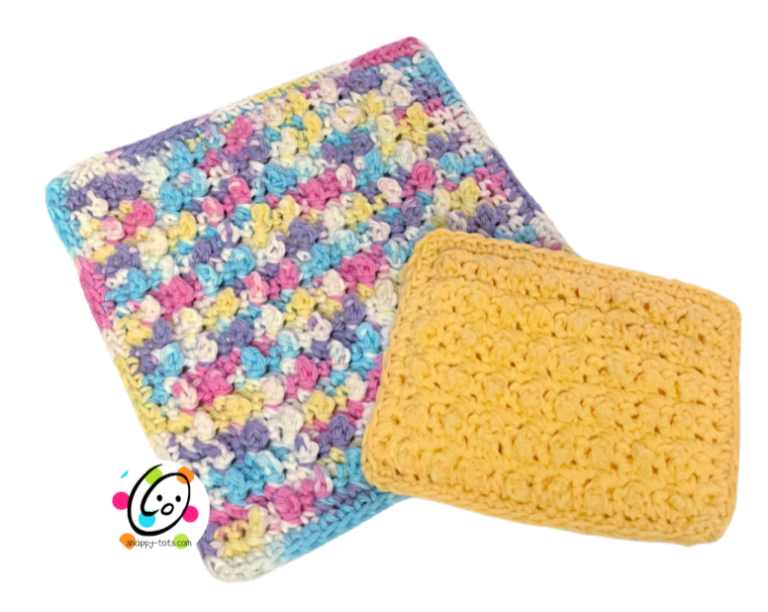
Looking for something similar?
Cupcake Coaster
Project Info
- Project Description: Cupcake shaped coaster
- Skill Level: Basic crochet skills are needed and must be able to read a crochet pattern.
- Completion Time (how long it takes the designer to make one): Less than 1 hour
Materials and Details
- Yarn: 150 yards acrylic or cotton yarn
Sample: Red Heart Pretty N Pink and Bonbon Brights, Cherry - Crochet Hook: I
- Miscellaneous: Yarn needle for weaving in ends.
- Gauge: Not needed for this project
- Finished Measurements: 5” x 5”
Tips:
First stitch of each row is worked into the same stitch as the turning chain.
Numbers at the beginning of each line may refer to steps and not indicate number of rows.
Directions
This project starts at the top and works towards the bottom.
- With I hook and two strands variegated yarn (or choice of color for top section), ch 6, sc in 2nd ch from hook and in each ch across. (5sts)
- Ch 2, turn, 2hdc in same st, sc 3, 2hdc in last st. (7sts)
- Ch 2, turn, 2hdc in same st, hdc, sc 3, hdc, 2hdc in last st. (9sts)
- Ch 2, turn, 2hdc in same st, hdc, sc 5, hdc, 2hdc in last st. (11sts)
- Ch 2, turn, 2hdc in same st, hdc, sc 7, hdc, 2hdc in last st. (13sts)
- Ch 2, turn, 2hdc in same st, 2hdc in next st, hdc, sc 7, hdc, 2hdc in next st, 2hdc in last st. (17sts)
- Ch 2, turn, hdc2tog, sc, 13, hdc2tog. (15sts)
- Ch 2, turn, hdc2tog, sc, 11, hdc2tog. (13sts)
- Cut one strand and continue with one strand. This step creates the scalloped edge along the bottom of the top/frosting section.
Ch 1, turn. Work this step in FLO. (sc, hdc) in same st, (hdc, sc) in next st, sl st in same st, ch 1, (sc, hdc) in next st, (hdc, sc) in next st, sl st in next st, repeat until 2 sts remain, (ch 1, sc, hdc) in next st, (hdc, sc, sl st) in last st. Finish off yarn.
- With right side facing, pull scallops forward and attach 2 strands pink yarn (or desired color for bottom section) to first st. Ch 1, 2sc in same st, sc 11, 2sc in last st. (15sts)
- Ch 2, turn, hdc in same st and in each st to end of row.
- Ch 2, turn, hdc2tog, hdc 11, hdc2tog. (13sts)
- Ch 2, turn, hdc in same st and in each st to end of row.
- Ch 2, turn, hdc2tog, hdc 9, hdc2tog. (11sts)
- This step creates a textured edge across the bottom. Ch 1, turn, *sl st in FLO of next st, sl st in BLO of next st*, repeat to end of row. Finish off and weave in ends.
If the middle section of your cupcake cinches in at the sides (where the scallops are attached), grab each side and give a tug.
Cherry
With an I hook and 1 strand red yarn, create a magic circle of 8 hdc sts (or preferred method for starting a circle of 8 hdc sts), pull closed and sl st to join. Finish off, leaving an end for sewing cherry to top of cupcake.
With a yarn needle and yarn tail, sew the cherry to the center top of the cupcake. Allow the cherry to hang off the top edge slightly. Pull the remaining yarn through the stitches so it ends up at the top. Trim yarn so 1.5” remain. Tie a knot in the top.
I hope you enjoyed making this quick and easy project. I would love to see your creations. Please add your project to Ravelry and/or share online and include #snappytots.
Thanks for crocheting with me!
~ Heidi