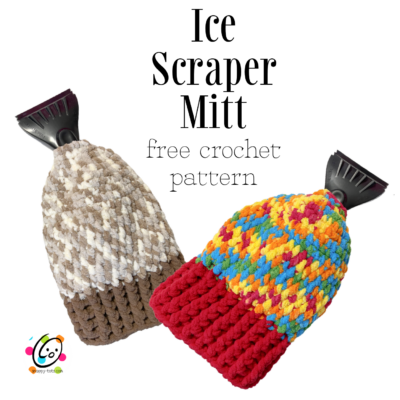
Free Pattern: Ice Scraper Mitt
This is my stash gift for 2026. I will be making tons of these and stowing them away for neighbor and friend gifts this year. Want to join me?
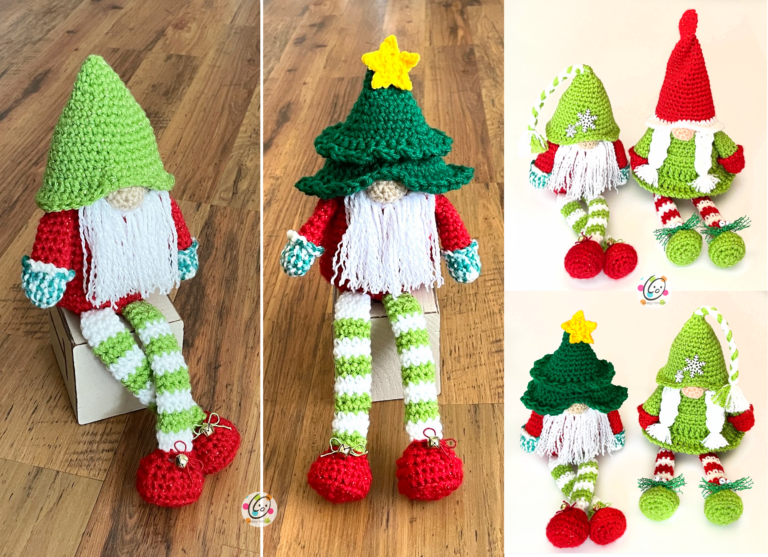
A few years ago I knitted an ice scraper mitt. I wanted to make one for my oldest son for Christmas to have in his truck. I used 2 strands worsted weight yarn. While I was making it, I started thinking it would be GREAT made from squishy soft Bernat Blanket yarn. My wrists protest every time I try to knit now so I made these crocheted versions. Don’t you just LOVE how cozy they look?!
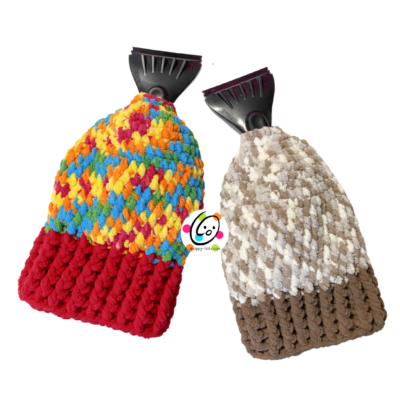
I had planned on making about 5 of these to give to family members this past Christmas, but I ended up getting sick and didn’t get them done. I decided I would make them throughout the year, using up my stash of blanket yarn leftovers, and have a stash of them for next Christmas. The little ice scrapers were just $1.25 each at Walmart (and they are actually really strong and a great length) but I think these turn that inexpensive scraper into a WOW gift or craft fair item.
Are these hard to make? NOT AT ALL! They start with a chain you join to make a circle, then use basic sts. These would even be a fun project for beginners. One of these times I will turn on my camera and make a video as I whip one up.
Could I use worsted weight yarn or other yarns? Sure you could! Try using 3 strands worsted weight yarn, or a combo of worsted and bulky weight yarns to match my gauge. I will make a few with a variety of yarn weights and include that info in the upcoming months as well.
Ice Scraper Mitt Crochet Pattern
The pattern is available to view below. A downloadable, ad-free PDF of this pattern with all of the photos is available to purchase for a small fee:
Etsy | Ravelry
Materials & Details
- 100-150 yards Bernat Blanket yarn (super bulky weight) in 1-2 colors (total yardage).
- Crochet Hook: K (6.5mm)
- Miscellaneous: Measuring tape, yarn needle, scissors, small ice scraper (sample scraper – 9” long)
- Finished Mitt Measurements: 11” long X 8” across (at widest point)
- Gauge: 4” with a k hook = 10 Hdc sts, 8 rounds Hdc; 2” with a k hook = 5.5 sc sts, 4.5 rounds sc
Tips – Please read before you begin the project.
- The first stitch of each row is worked into the same stitch as the turning chain.
- Numbers at the beginning of each line may refer to steps and not indicate the number of rows.
- Stitch count remains the same unless noted at end of row/round.
- If you have any questions about this pattern please contact [email protected].
Directions
1. With a K hook and super bulky yarn, ch 10, sl st in the last ch from hook to join in the round.
2. Sc 12 sts around the beginning chain, place a marker for working in the round. (12sts)
3. Sc in the next st, sc, 2sc in the next st, *sc 2, 2sc in the next st*, repeat to end of round. (16sts)
4. *sc 3, 2sc in the next st*, repeat to end of round. (20sts)
5. *sc, 2sc in the next st*, repeat to end of round. (30sts)
6. *sc 13, 2sc in the next st, 2sc in the next st*, repeat once. (34sts)
7. *sc 16, 2sc in the next st*, repeat once. (36sts)
8. *sc 17, 2sc in the next st*, repeat once. (38sts)
9. Sc in each st to end of round.
10. *sc 18, 2sc in the next st*, repeat once. (40sts)
11. Hdc in each st to end of round.
12. Note: For this section, work each st BETWEEN the posts of the previous round instead of IN the st. This will create a denser, warmer fabric. To work between the posts, insert the hook slightly below where you would for the st. Hdc between the posts to end of round. (Stitch count remains the same, 40sts)
13. Repeat the previous round for an additional 7 rounds.
14. Sc in the next st, sl st in the next st. Finish off and change to a contrasting yarn for the bottom, ribbed section. Ch 1, *BPHDC around the next post, FPHDC around the next post*, repeat to end of round, sl st in the first st to join.
15. Ch 1, *BPDC around the next post, FPDC around the next post*, repeat to end of round, sl st in the first st to join.
16. Repeat the previous round for an additional 4-5 rounds, or more for an even longer “cuff”.
Finish off and weave in ends.
Insert the ice scraper by inserting the tip of the handle into the beginning circle from the outside.
Pin To Save For Later