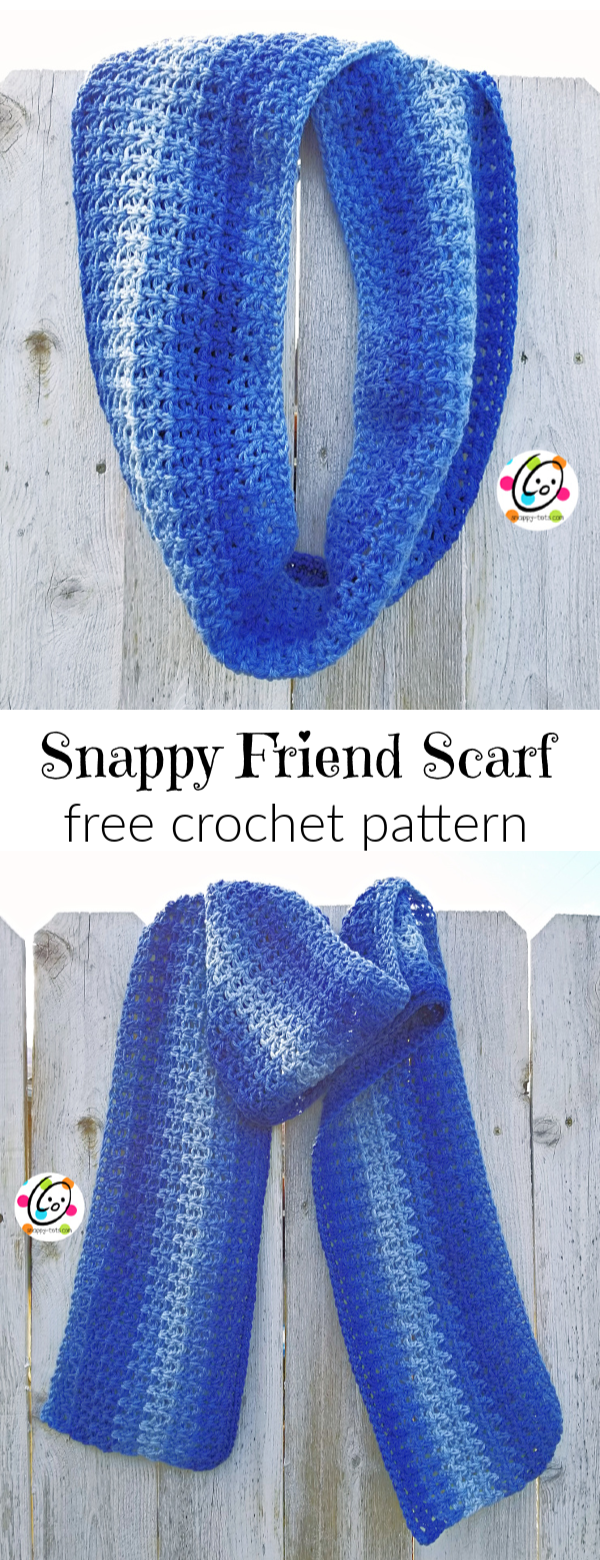
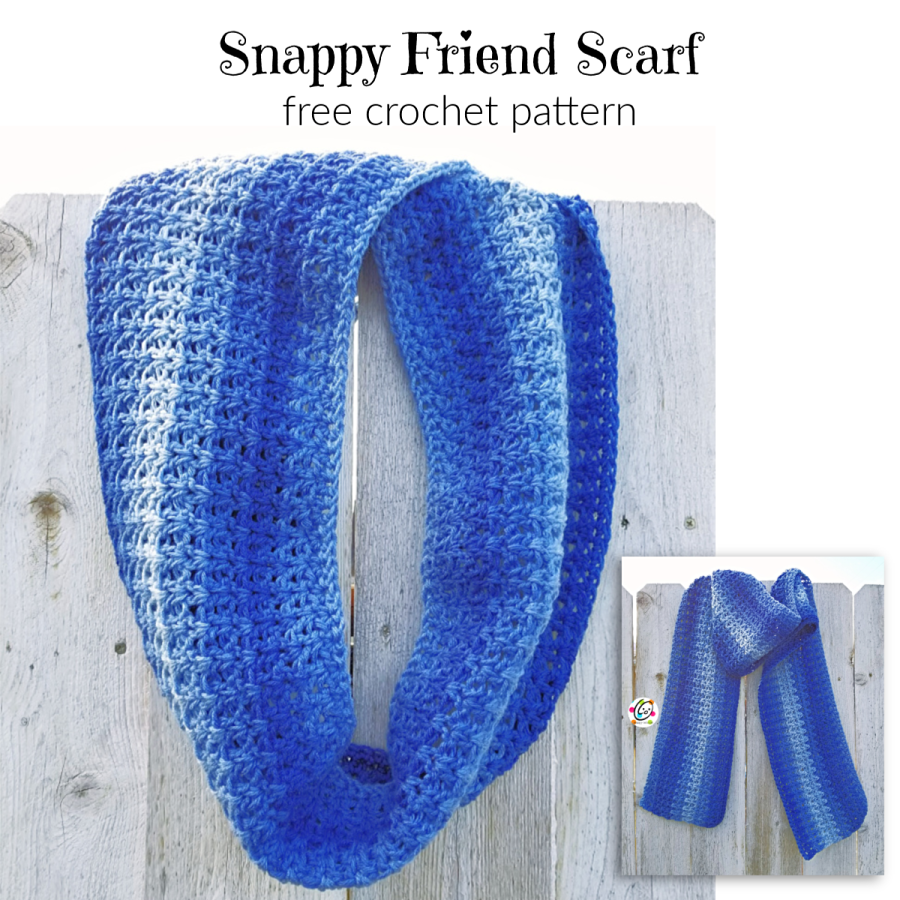
Free Pattern: Snappy Friend Scarf
I recently designed a hat, shawl and water bottle holder with this simple stitch pattern. I love the look of it and knew I wanted to make a scarf.
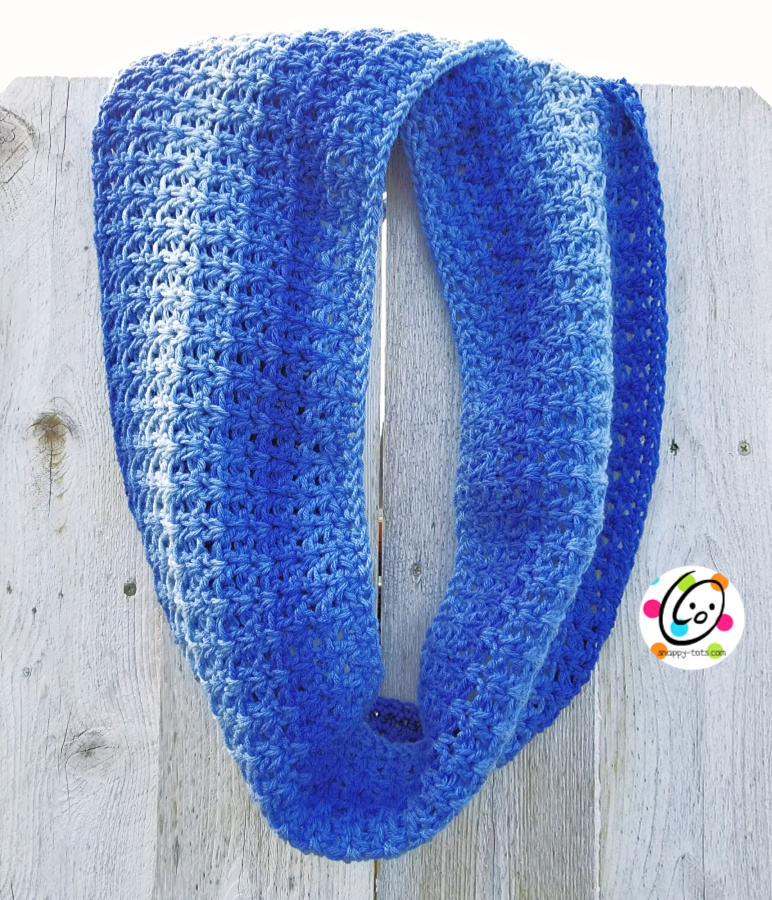
Red Heart Super Saver Ombre Yarn is my current favorite yarn and it was a great choice for this scarf. I think the “true blue” colorway has a denim look. The yarn is a little lighter worsted weight so paired with a bigger hook (K) it gave it the lighter weight I wanted. The skeins are BIG (482 yards!) so I only needed one.
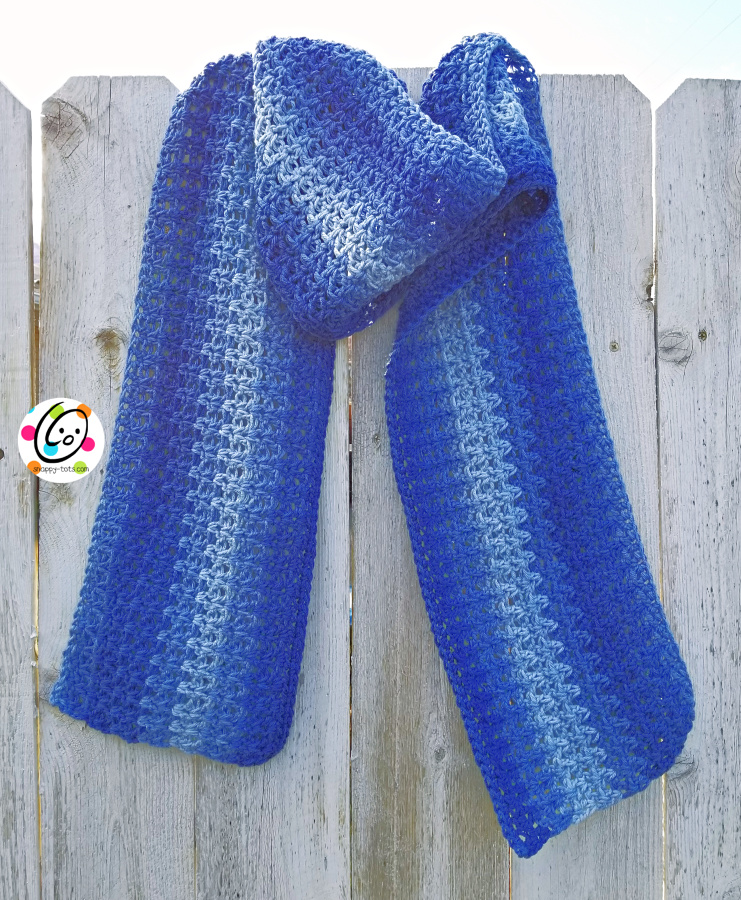
I still really like the look of circle scarves, but want to be able to wear it with tails too. This way you can choose your style.
Snappy Friend Scarf
Materials and Details
- Yarn: 420 yards worsted weight yarn. Sample: Red Heart Super Saver Ombre in True Blue
- Crochet Hook: K (6.5mm)
- Miscellaneous: yarn needle
- Measurement: 8” wide x 74″ long
- Gauge: Not necessary for this project
Tips
- The number at the beginning of each line refers to the step and not the number of rows.
- Stitch counts remain the same unless noted at end of row.
- This is worked from one long edge to another and can be created any width.
Directions
Note about the beginning chain:
I prefer beginning with a single foundation chain. (FSC)
How to video: http://www.mooglyblog.com/foundation-single-crochet-fsc/
You may start with a regular chain instead if preferred. This creates a slightly different edge (you really will like the other way if you give it a try).
Choose one of the following to start this project:
FSC beginning:
- With a K hook and ww yarn (color of choice), start with a FSC of 185 sts (185sts). Skip to step #2.
Regular chain beginning:
- With a K hook and ww yarn (color of choice), ch 186, sc in 2nd ch from hook and in each ch across. (185sts)
Continue to step #2.
2. Ch 2, turn, hdc in same st, *sk 1, 2hdc in next st*, repeat to end of row.
3. Ch 2, turn, dc in space before next post (directly below), *2dc between posts of 2hdc from previous row*, repeat to end of row. Tip: Think of each of the 2hdc from previous row in the shape of a “V”. The 2dc in this row are worked between the posts of those 2hdc sts, in the the valley of the “V”.
4. Ch 2, turn, dc in space before next post (directly below), *2dc between posts of 2dc from previous row*, repeat to end of row.
5. Repeat previous row until scarf measures 7.5″ (or desired width) from beginning edge.
6. Ch 2, turn, hdc in space before next post (directly below), *2hdc between posts of 2dc from previous row*, repeat to end of row.
7. Ch 1, turn, sc in same st and in each st to end of row. Finish off and weave in ends.
Scarf complete. I hope you have enjoyed this project.