

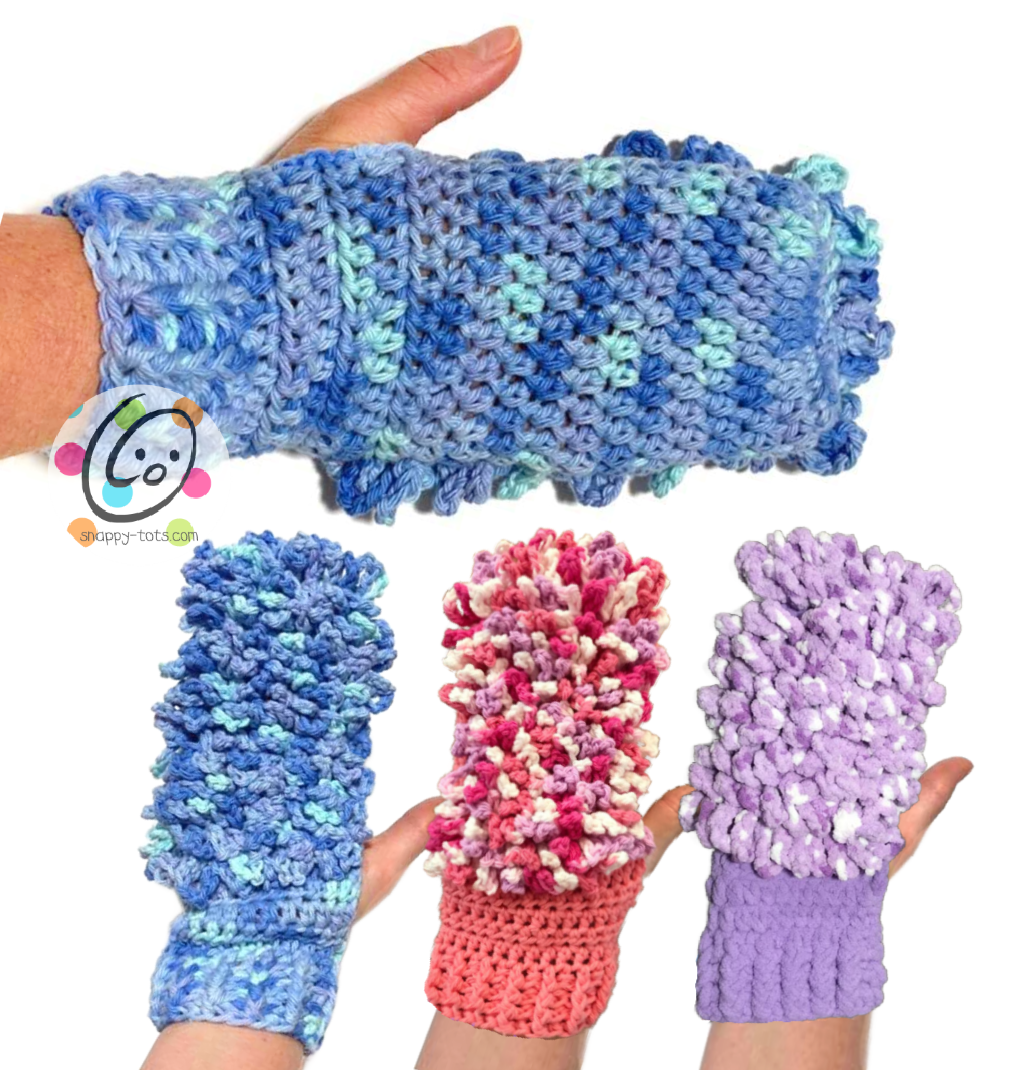
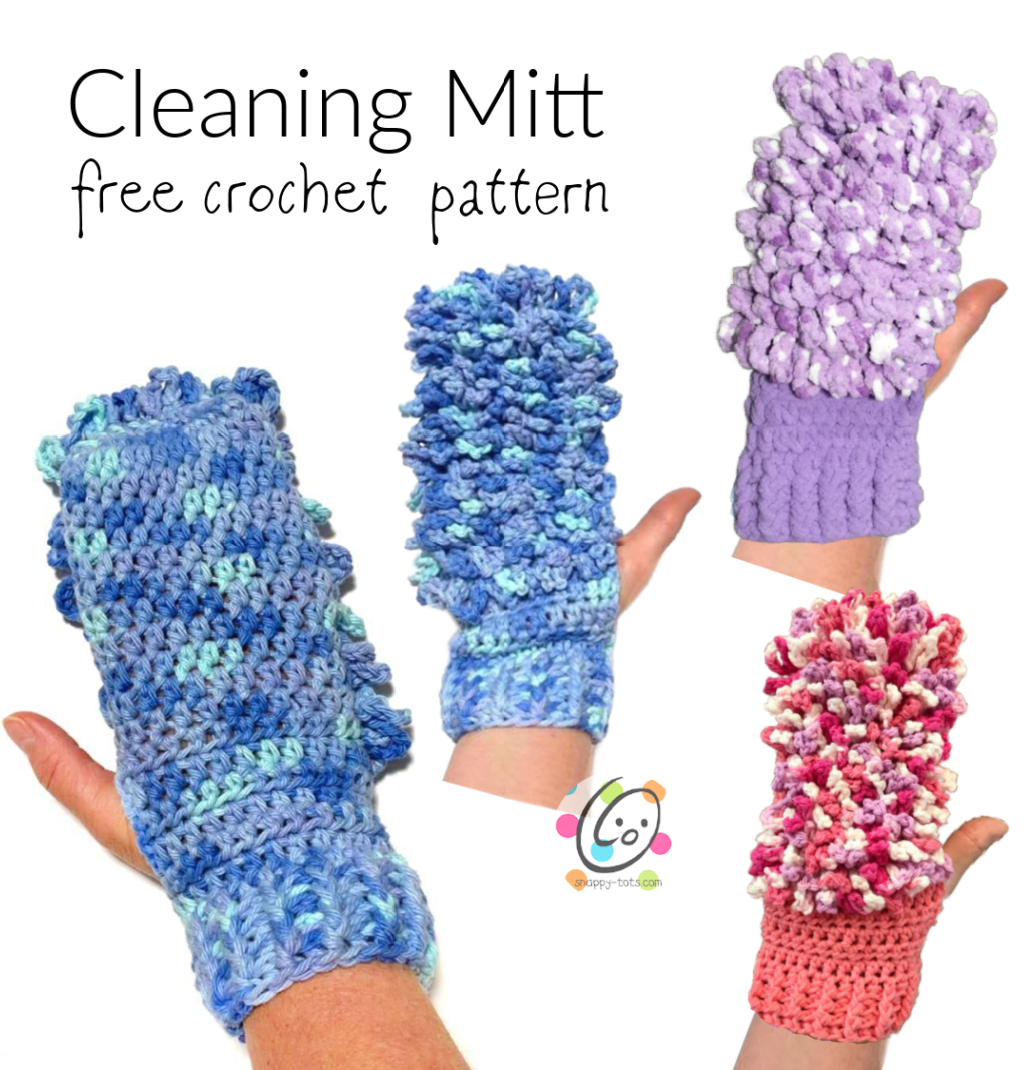
Free Pattern: Cleaning Mitt
Have you ever walked past something with visible dust and slide your hand across it to make it go away? Well my teenager (and to be honest, myself) has several times. I designed this cleaning mitt with that in mind and thought maybe he would want to dust more. Well… it didn’t work that way BUT it has come in HANDy 🙂
It also is great for washing cars, especially made from Bernat Blanket yarn.
This is part of my “Weekly Wash” for 2025. Each Wednesday from March – November a new crochet pattern for a dishcloth, scrubbie, towel, or similar will be released. I hope you will enjoy these patterns too. The patterns are free to follow along on my blog, plus several of them have a paid pdf for a small fee.
Great for…
- Gifts for anyone, including Father’s Day!
- Craft Fairs
- Gift stash to pull out when you need a last minute gift
Similar Free Patterns You Might Enjoy
- Helping Hand Mitt (free on my blog)
- Pan Grabbers (paid pattern)
- Monster Bath Mitt (free on my blog)
Cleaning Mitt Crochet Pattern
Materials
- Yarn: 110 yards cotton yarn (Red Heart Scrubby Smoothie) or 90 yards Bernat Blanket yarn
- Crochet Hooks: Worsted weight version: H (5mm), I (5.5mm) Blanket yarn version: K (6.5mm) or M/N (9mm) for a looser fit.
- Miscellaneous: Yarn needle for weaving in ends
- Optional: Scissors, measuring tape
Options
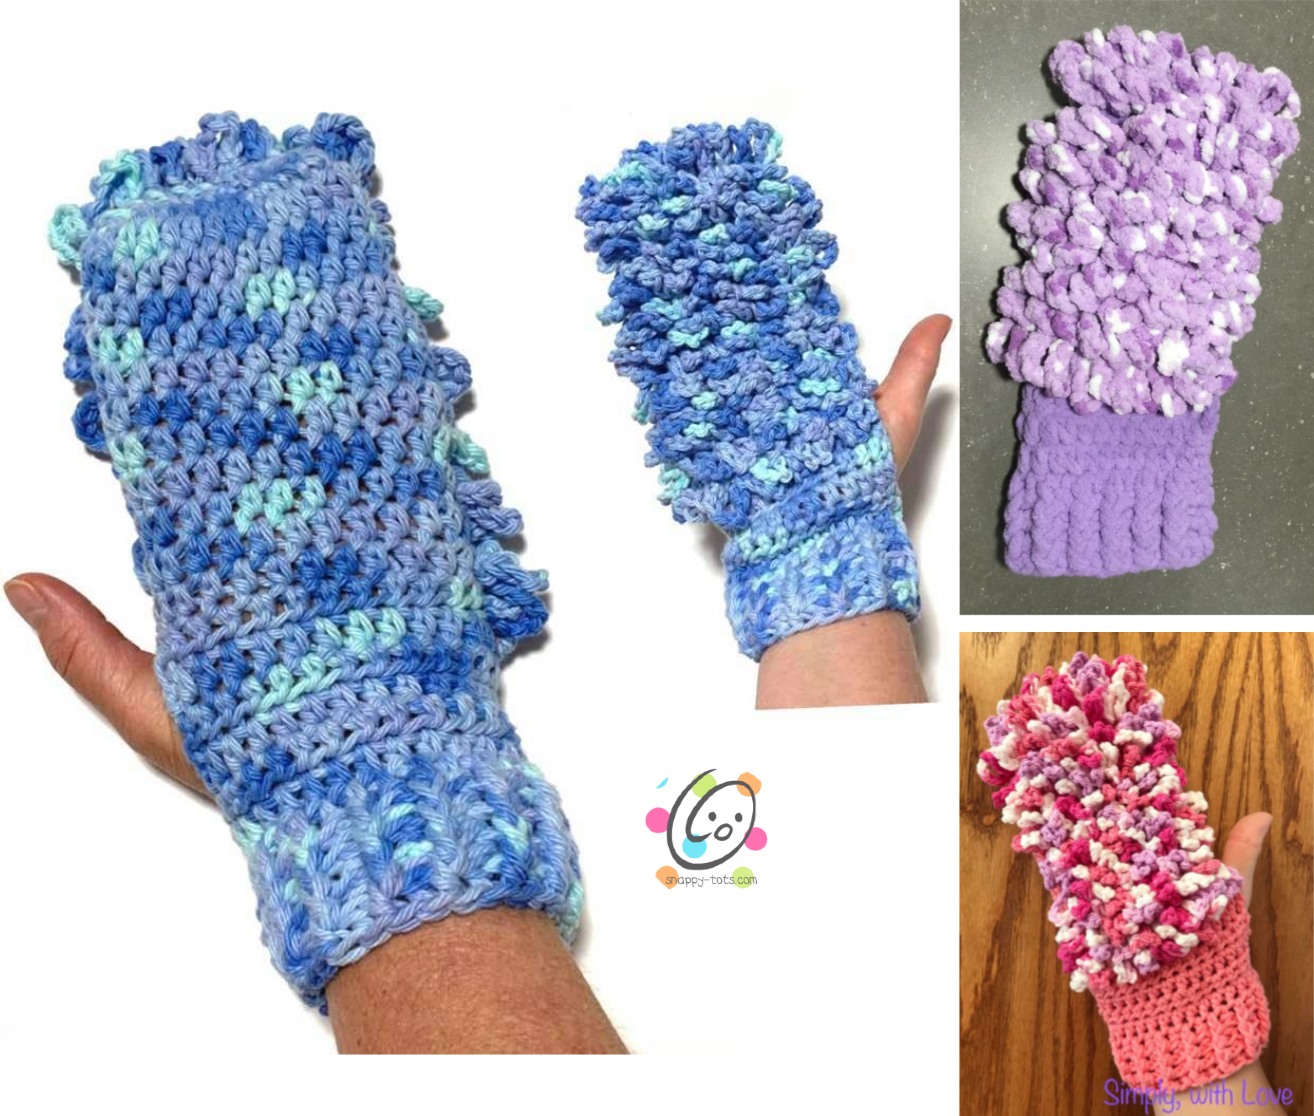
- Worsted weight (WW) version, made from cotton yarn for dusting.
- Blanket yarn version for washing the car or in the bath.
Details
- Finished Measurements: WW version, regular – 9.5” long x 3.5” across WW version, large – 10” long x 4” long Blanket yarn version with a K hook – 10” long x 4.5” across
- Gauge: 2” with an I hook and ww yarn: 7 hdc and 4.5 rows 2” with a K hook and blanket yarn: 6 hdc and 3.5 rows
Tips
- First stitch of each row is worked into the same stitch as the turning chain unless noted.
- Numbers at the beginning of each line may refer to steps and not indicate number of rows.
Directions – Worsted Weight Version, Size Regular
This project begins at the top edge by the fingers.
1. Leave a long tail in the beginning for seaming up the beginning edge later.
With an I hook and worsted weight yarn, ch 24, sl st to join in a circle. Make sure not to twist the loop.
2. Ch 1, sc in each st to end of round, sl st to join. (24sts)
3. Ch 2, hdc in same st and in each st to end of round, sl st to join.
4. Repeat previous step for an additional 10 rounds.
Check hand length and make sure the tip covers the fingers. The current edge should be against the webbing of your thumb. Add additional rounds if needed. See photo at end of pattern.
5. This step starts the thumb. Ch 2, TURN, hdc in same st and in each st to end of round. Do not join.
6. Repeat previous step for an additional 4 rows (5 rows total).
7. Sl st in first st of round (across thumb opening). Ch 2, turn to work from the right side of the mitt. Hdc in same st and in each st to end of round, sl st to join.
8. Ch 2, hdc in same st, hdc 10, 2hdc in next st, hdc 11, 2hdc in next st, sl st to join. (26sts)
9. Ch 2, *FPHDC around next post, BPHDC around next post*, repeat to end of round, sl st to join.
10. Repeat previous step for an additional 3 rounds.
Finish off and weave in ends.
Turn the mitt inside out. Flatten the mitt with the thumb opening at the side. Line up the beginning edge to create two even layers, making sure thumb opening stays at the side. With a yarn needle, use the beginning yarn tail to sew the beginning edge together.
Turn right side out.
Skip to “Scrubby Loops” on page 5.
Directions – Worsted Weight Version, Size Large
This project begins at the top edge by the fingers.
1. Leave a long tail in the beginning for seaming up the beginning edge later.
With an I hook and worsted weight yarn, ch 28, sl st to join in a circle. Make sure not to twist the loop.
2. Ch 1, sc in each st to end of round, sl st to join. (28sts)
3. Ch 2, hdc in same st and in each st to end of round, sl st to join.
4. Repeat previous step for an additional 14 rounds.
Check hand length and make sure the tip covers the fingers. The current edge should be against the webbing of your thumb. Add additional rounds if needed. See photo at end of pattern.
5. This step starts the thumb. Ch 2, TURN, hdc in same st and in each st to end of round. Do not join.
6. Repeat previous step for an additional 4 rows (5 rows total).
7. Sl st in first st of round (across thumb opening). Ch 2, turn to work from the right side of the mitt. Hdc in same st and in each st to end of round, sl st to join.
8. Ch 2, hdc in same st, hdc 12, 2hdc in next st, hdc 13, 2hdc in next st, sl st to join. (30sts)
9. Ch 2, *FPHDC around next post, BPHDC around next post*, repeat to end of round, sl st to join.
10. Repeat previous step for an additional 3 rounds.
Finish off and weave in ends.
Turn the mitt inside out. Flatten the mitt with the thumb opening at the side. Line up the beginning edge to create two even layers, making sure thumb opening stays at the side. With a yarn needle, use the beginning yarn tail to sew the beginning edge together.
Turn right side out.
Skip to “Scrubby Loops” on page 5.
Directions – Blanket Yarn Version
This project begins at the top edge by the fingers.
1. Leave a long tail in the beginning for seaming up the beginning edge later.
With a K hook and blanket yarn (or an M/N hook for a looser mitt), ch 24, sl st to join in a circle. Make sure not to twist the loop.
2. Ch 1, sc in each st to end of round, sl st to join. (24sts)
3. Ch 2, hdc in same st and in each st to end of round, sl st to join.
4. Repeat previous step for an additional 7 rounds.
Check hand length and make sure the tip covers the fingers. The current edge should be against the webbing of your thumb. Add additional rounds if needed. See photo at end of pattern.
5. This step starts the thumb. Ch 2, TURN, hdc in same st and in each st to end of round. Do not join.
6. Repeat previous step for an additional 3 rows (4 rows total).
At the end of the last row, sl st in first st of row to join for working in the round again.
7. Ch 2, hdc in same st and in each st to end of round, sl st to join.
8. Ch 2, hdc in same st, hdc 10, 2hdc in next st, hdc 11, 2hdc in next st, sl st to join. (26sts)
9. Ch 2, *FPHDC around next post, BPHDC around next post*, repeat to end of round, sl st to join.
10. Repeat previous step for an additional 2 rounds.
Finish off and weave in ends.
Turn the mitt inside out. Flatten the mitt with the thumb opening at the side. Line up the beginning edge to create two even layers, making sure thumb opening stays at the side. With a yarn needle, use the beginning yarn tail to sew the beginning edge together.
Turn right side out.
Continue to “Scrubby Loops”.
Scrubby Loops (optional)
I am right handed and choose to make my mitt so the loops are on the bottom of the piece. Place the mitt on a flat surface with the thumb opening at the RIGHT side. The loops are worked across the 10-12 posts on this side of the mitt.
Insert a piece of cardboard or something to keep from sewing the layers together in this part.
Use an H hook for ww yarn and a K hook for blanket yarn.
With an H hook and matching (or contrasting) yarn, attach the yarn to a post on the edge of the 6th round from the top of the cuff. See photo at end of pattern.
*Ch 8, sl st around the next post*, repeat across this side of the mitt until there are 10-12 loops.
Row A: Ch 8 and TURN the piece so the fingertip end is towards you. Working across the row right below the loops you just made, sl st around the next post, *ch 8, sl st around the next post*, repeat across until there are 10-12 loops.
Row B: Ch 8 and TURN the piece so the cuff end is towards you. Working across the row right below the loops you just made, sl st around the next post, *ch 8, sl st around the next post*, repeat across until there are 10-12 loops.
Keep repeating rows A and B until you reach the tip of the mitt. Finish off and weave in ends.
Help Photos


Note about this picture: The hook is inserted in a round a little lower than suggested.

Contact & Snappy Spots
Please visit Snappy Tots online for giveaways, new release announcements, events and fun.
- Blog: http://snappy-tots.com
- Shop: http://shop.snappy-tots.com
- Facebook: http://www.facebook.com/snappytots
- Pinterest: http://www.pinterest.com/snappytots
- Instagram: http://www.instagram.com/snappytots
- Twitter: http://www.twitter.com/snappytots
If you have any questions, comments or suggestions please email [email protected].
I hope you will enjoy this pattern and I would love to see what you make. Please share pix as a ravelry project or tag me in social media posts by adding #snappytots.
I hope you have a wonderful day!
Pin To Save For Later


The directions for using the blanket yarn are not correct. Can they be updated?