

Cricut Craft: Pallet Flag to Support Our Troops
For the past few years I have seen several wooden shipping pallets painted as flags. I have wanted one for my yard so when one popped up in my news feed as a free giveaway I jumped at the chance. It needed some repair.

I removed the old vinyl and lightly sanded the pallet. With some new paint and vinyl it really came to life. I love how it turned out.

How To Make One Too
Materials We Used
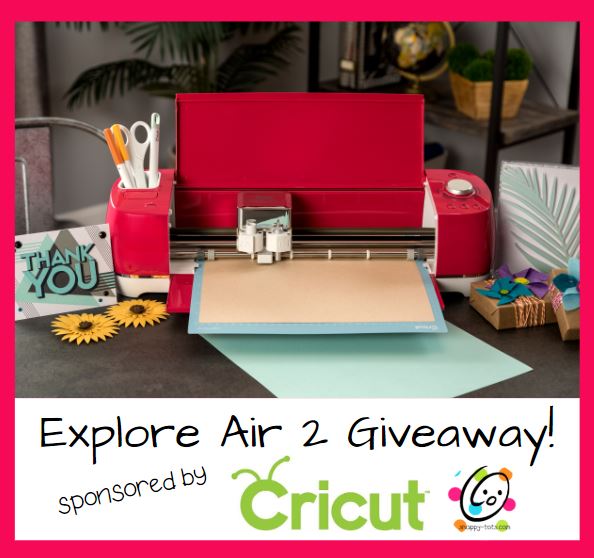
- Cricut Maker
- Cricut Permanent Vinyl: Navy
- Computer or other device to access Cricut Design Space
- Weeder tool, Standard Grip Cutting Mat
- Wood pallet or surface of choice
- Cut Files in Cricut Design Space: “Land of the free…“, Support Our Troops
- Military Logos: Click here to download
- Color printer and paper
- Mod Podge
- Sponge Brush or Stencil Brush
- Spray Paint in Navy Blue, Red, White
- Multi Size Star Stencil
- White acrylic paint
- Clear Outdoor Spray or Brush On Varnish
Make The Vinyl Letters
Step 1: The Graphics
Click on the links above in materials and cut the words. Check your measurements first.
For tips on using design space, check out Design Space For Beginners.
Prep The Pallet
- Sand the boards where the vinyl will be added. It is much easier to apply those and get a good bond to smooth surfaces.
- Mask off the parts of the pallet that will be the blue and red sections. Make sure to leave large enough stripe sections next to the blue to fit the vinyl pieces.
- Old newspapers or a large piece of cardboard work well to cover areas not to be painted.
- Spray the white areas.
- When dry, cover the white sections and spray the red areas.
- Allow to dry thoroughly.
- Cover everything but the blue area. Spray the blue area.
- When dry, use the star stencil, white paint and a sponge brush (or stencil brush) to stencil stars randomly over the blue section.

Apply The Vinyl
- When the palette is completely dry, lay out the vinyl pieces to check placement. Make sure to leave room for the military logos.
- If the pallet is still rough, lightly sand where the vinyl will be placed.
- Clean the area of any dust.
- Apply the vinyl as shown in the main photo.
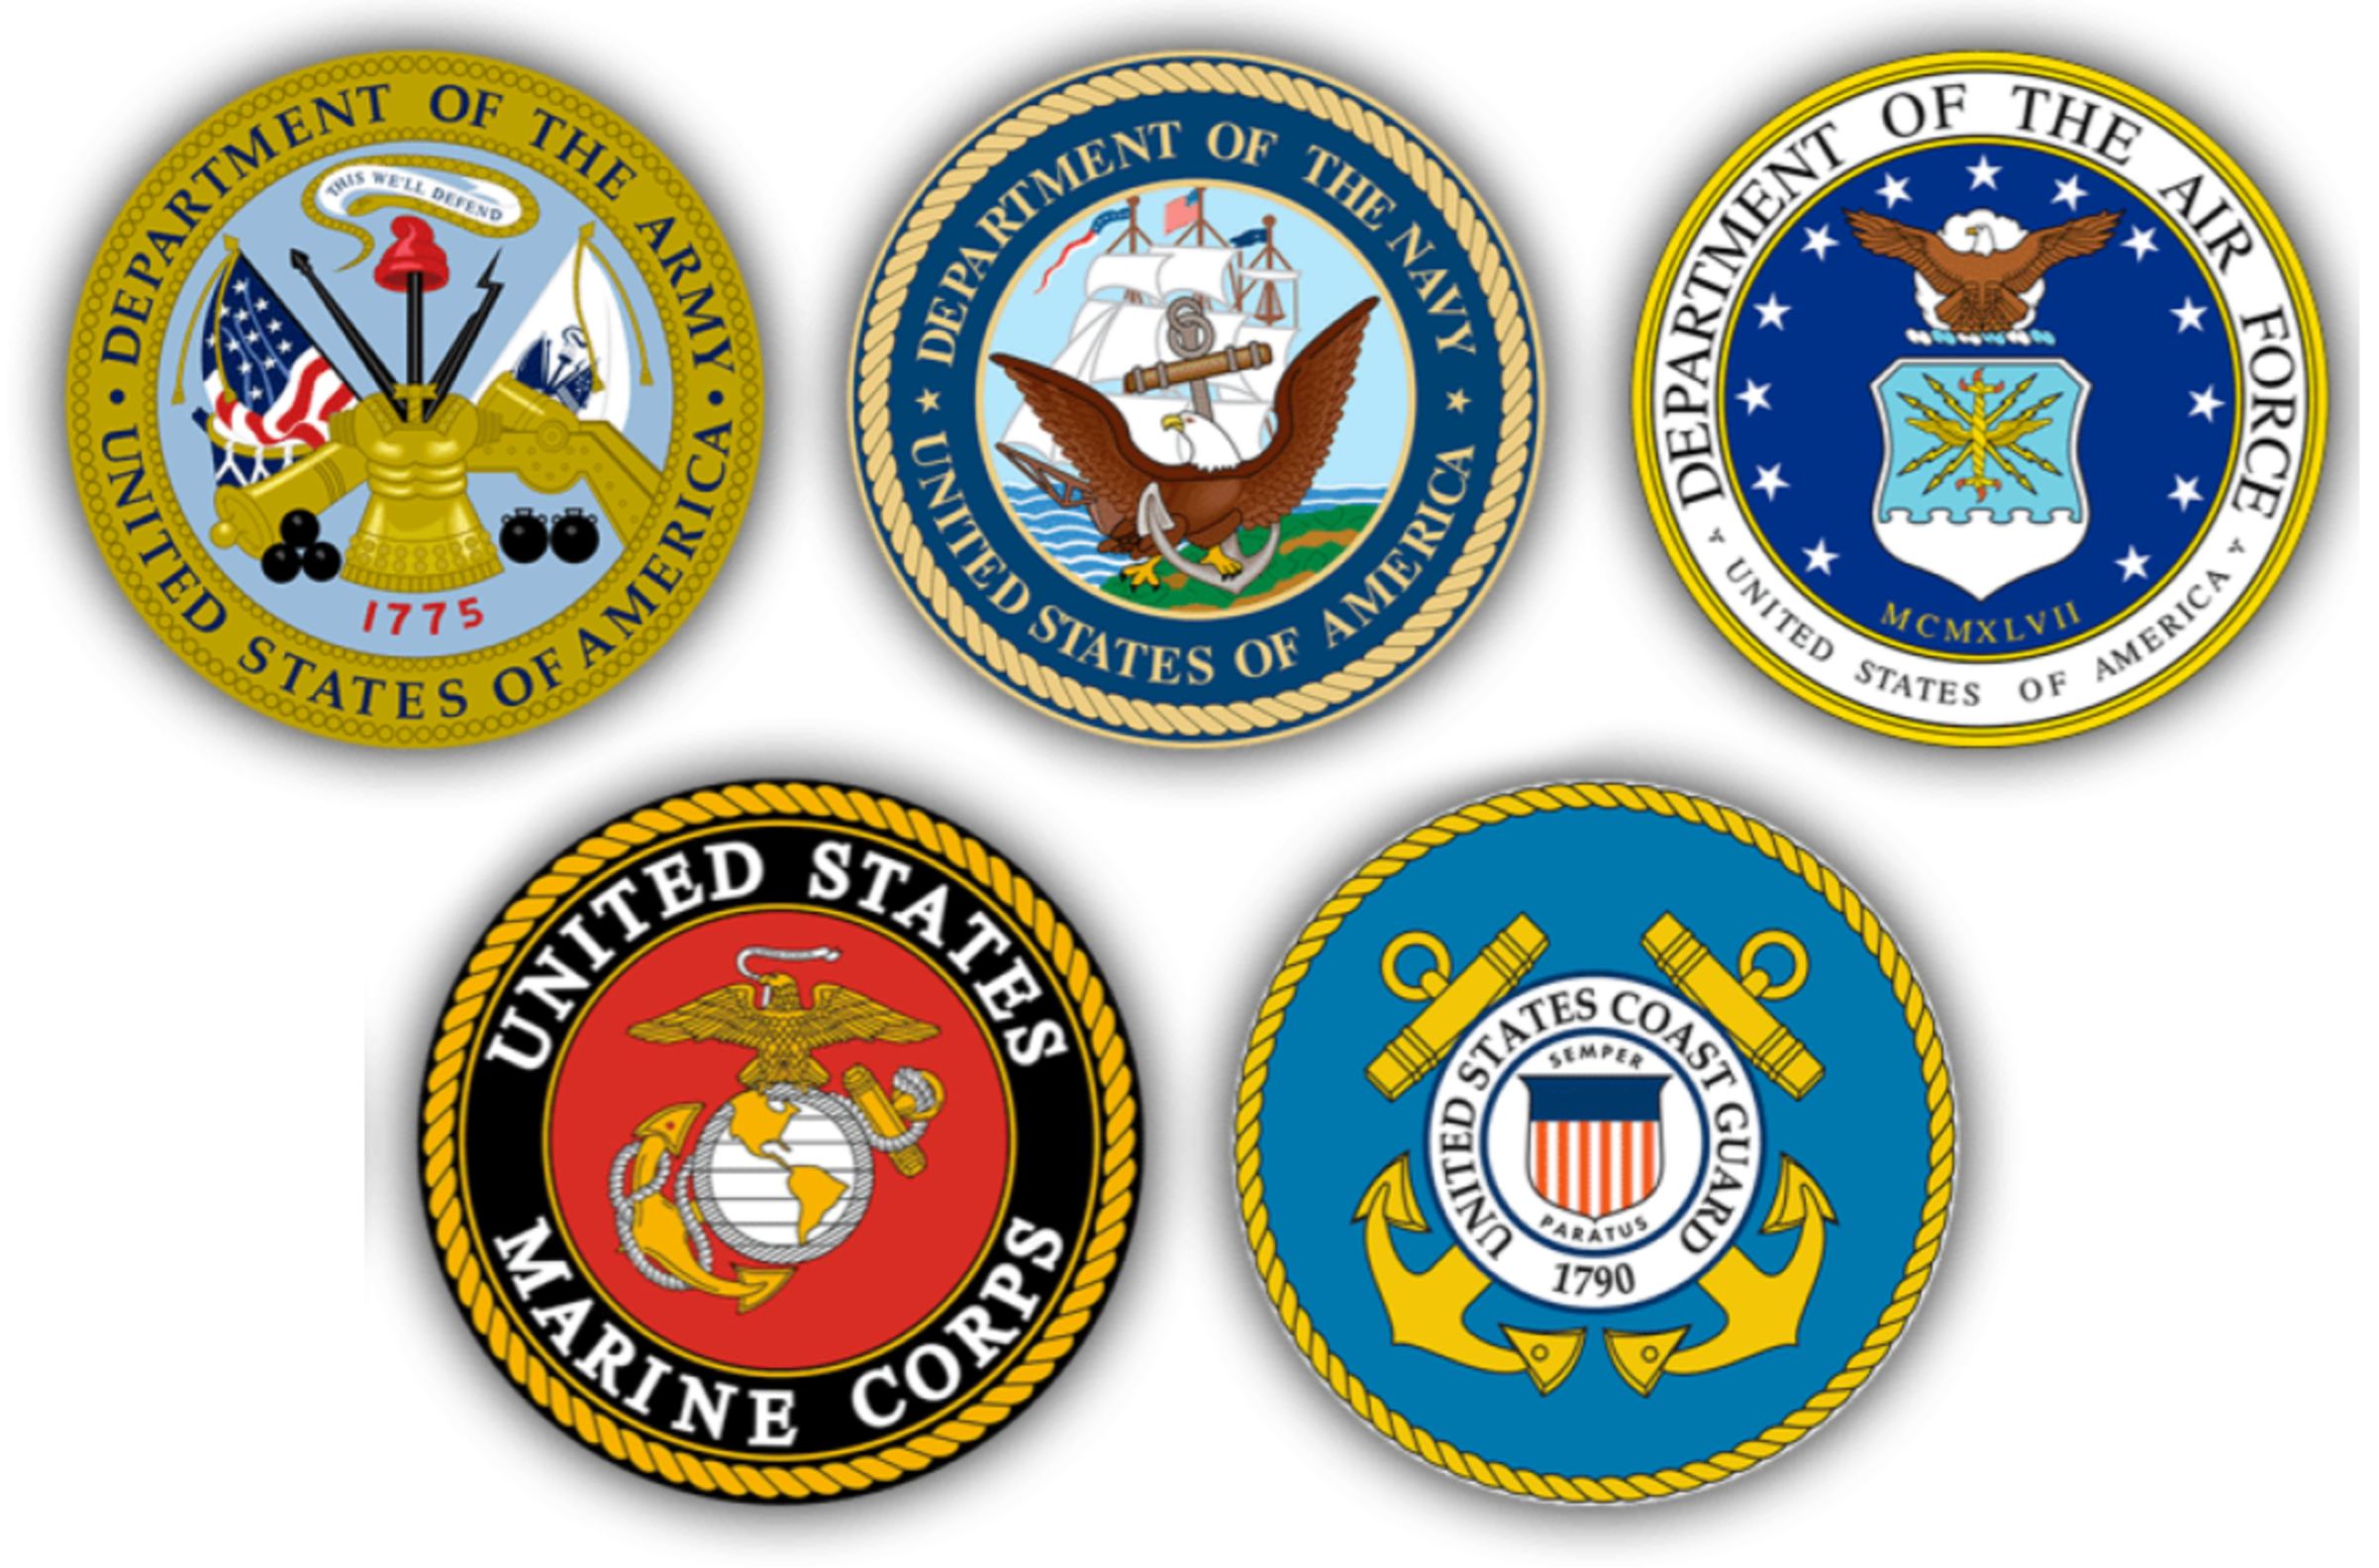
Apply The Military Logos
- Print the logo graphic on regular computer paper. I have found regular paper does better with Mod Podge than thick paper.
- Cut around the outer edge of the logos as a whole, not individual circles.
- Paint the area where the logos will be placed with Mod Podge.
- Place the logos on the pallet and paint over the top with more Mod Podge. Try to use the fewest brush strokes as possible, but make sure to apply a generous coat.
- Allow to thoroughly dry.
- Spray or brush the entire top of the pallet with outdoor varnish.

I hope you will make one of these and proudly display it to help show support for our troops. If you do, please share a picture with me so I can see your creation. Thank you!
