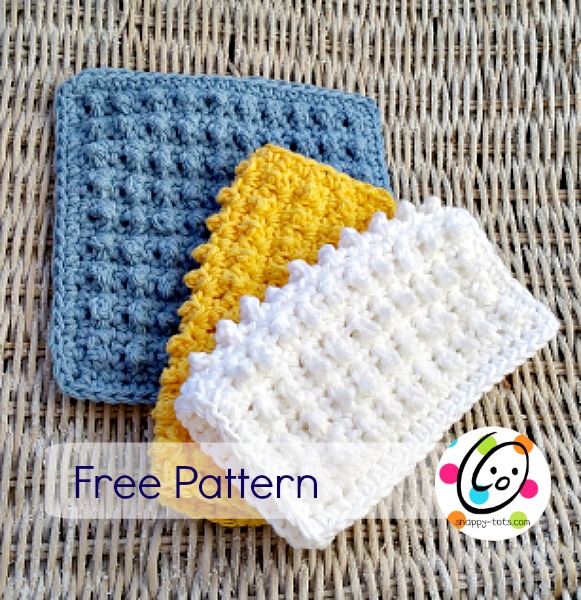
Weekly Wash #23: Ribby Cloth
A few years ago I designed this cloth for my facebook group as a crochet along. So many cute ones were made and people seemed to enjoy this simple but very useful cloth.
This past week, while making an extra large version of it for my daughter, I realized I never released this pattern outside the group.

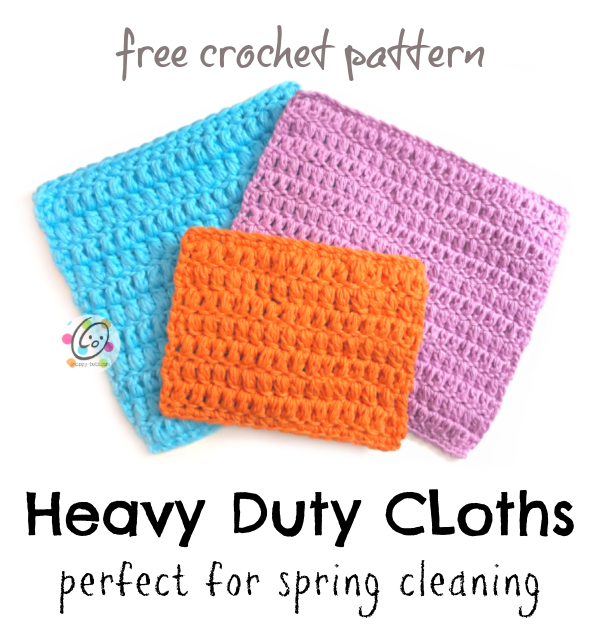
Watch for a new dishcloth, washcloth, hand towel or scrubbie pattern to be released each week. You can find them all on my “weekly wash” page.
Ribby Hand Towel
Materials & Details
- Yarn: Lily Sugar N Cream worsted weight 100% cotton yarn in choice of colors. Approximately 180-200 yards (3-3.5oz).
- Crochet Hook: I (5.5mm)
- Miscellaneous: yarn needle to weave in ends
- Gauge: not necessary for this project
- Measurement: 10.5″ wide x 16″ long. Opening is 3-3.5″ long.
Instructions
- With an I hook and ww cotton yarn, ch 65, sc in 2nd ch from hook and in each ch across. (64sts)
- Ch 2, turn, Hdc in same st, Hdc in BLO of each st until 1 st remains, Hdc in last st (regular hdc, not just blo).
- Repeat previous row 9 more times or until piece measures 4″ from starting edge.
- This step creates a “keyhole”/opening. Ch 2, turn, Hdc in same st, Hdc in BLO of next 7 sts, Hdc in next st, ch 10, sk 10, Hdc in next st, Hdc in BLO of each st til 1 st remains, Hdc in last st.
- Change to a matching or contrasting yarn if desired (this is totally optional. You can continue with same yarn. Ch 2, turn, Hdc in same st, Hdc in BLO of each st until ch from previous row, hdc in each ch, Hdc in BLO of next 9 sts, Hdc in last st.
- Ch 2, turn, Hdc in same st, Hdc in BLO of each st until 1 st remains, Hdc in last st.
- Repeat previous row 8 more times or until piece measures 4″ from keyhole, approximately 8.5″ from starting edge.
- Ch 1, turn, sc in each st to end of row, working 2sc in last st.
- Pivot to the left to work across the edge. This step is worked around the outer edge of the piece. Depending on the number of rows worked, you could be at the top or bottom edge so choose from one of the following: If starting at the top edge (closest to key hole): sc evenly across edge, working 2sc in last st. Pivot to the left to work across one long edge. Sc in each st to end, working 2sc in last st. Pivot to the left to work across the second short edge. The repeated section should be evenly spaced across this edge. *(hdc, dc, hdc) in next st, sc in next*, repeat across. Pivot to the left to work across the second long edge. Sc in each st to end of row, sl st to first st to join. Finish off and weave in ends. If starting at the bottom edge (furthest from key hole): The repeated section should be evenly spaced across this edge. *(hdc, dc, hdc) in next st, sc in next*, repeat across. Pivot to the left to work across the first long edge. Sc in each st to end of row, working 2sc in last st. Pivot to the left to work across the second short edge. Sc evenly across edge, working 2sc in last st. Pivot to the left to work across one long edge. Sc in each st to end, working 2sc in last st, sl st to first st to join. Finish off and weave in ends.

We have used this towel for 3 years now on a continual basis. It has been washed multiple times and I am pleased at how well it has help up.


I hope you will enjoy making this cloth and will share a picture of your finished cloth. Please add #snappytots to your post when sharing online so I can see too. If I can add your picture of any of my patterns to my posts please send them by email. I would love to feature you.
Check Out These Creations
This simple cloth can be dressed up for different seasons and holidays, like this one by Heather Leake. I LOVE the look of her cloth.

Pin To Save For Later