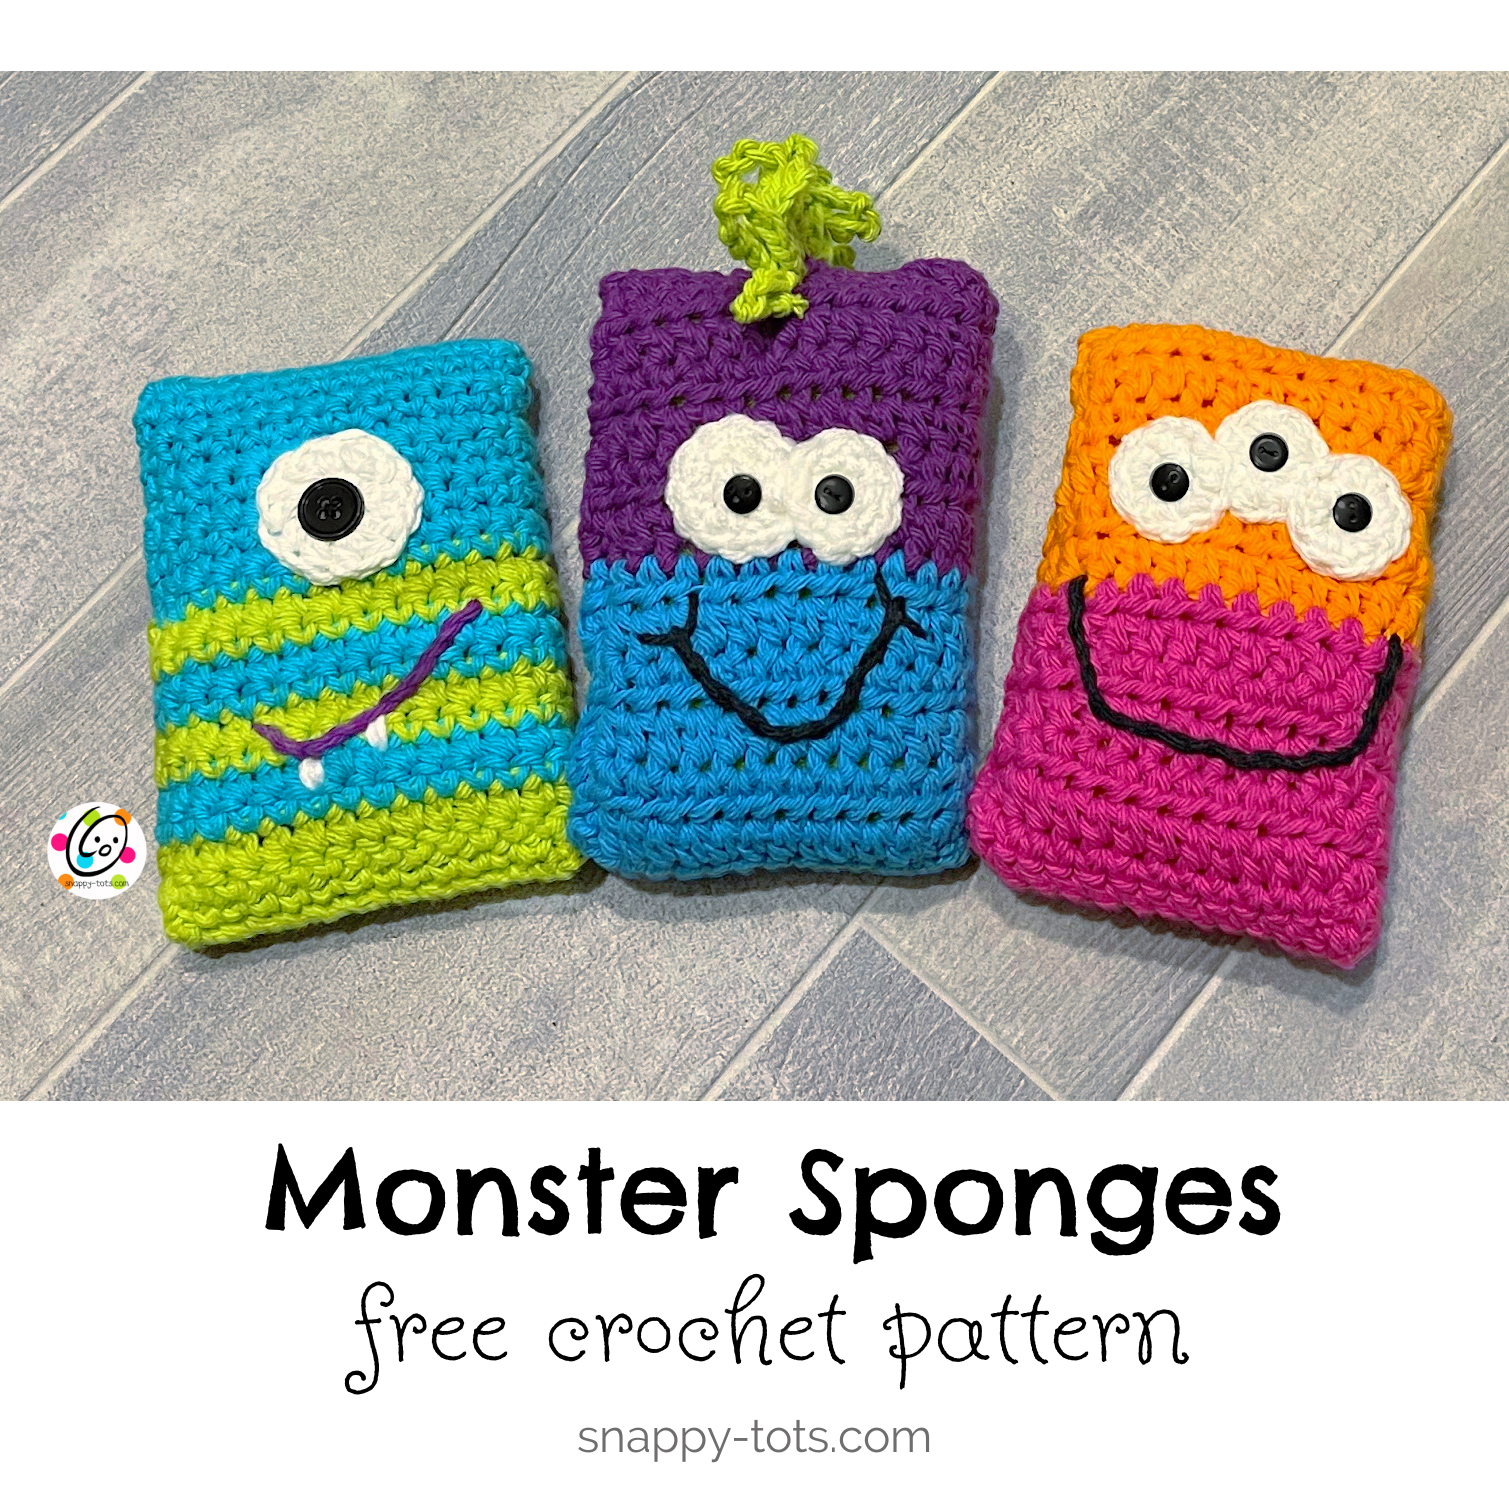
Weekly Wash #32: Monster Sponge
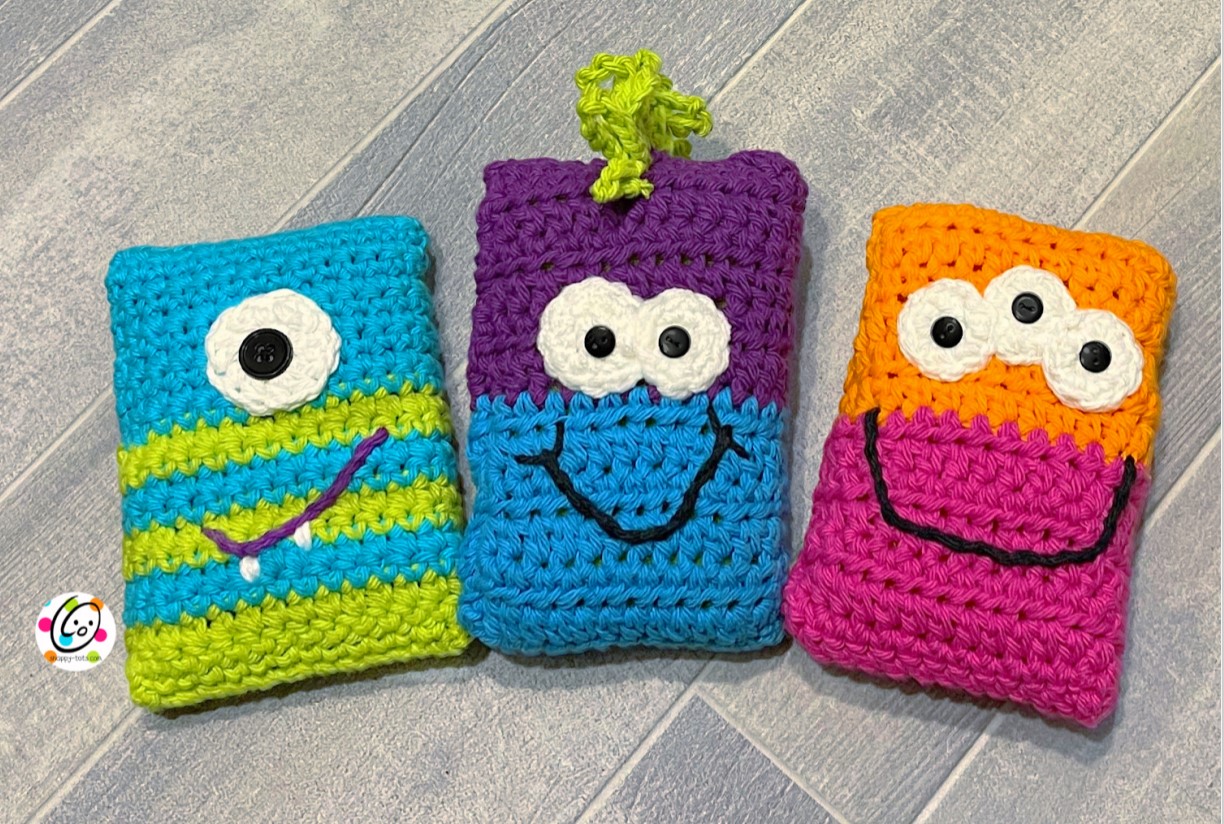
I’ve had a lot of fun making monsters in the past and I LOVE them all! I had picked up some rectangular sponges at the store (pack of three for under $2) and thought they would be cute monster sponges. I made the middle guy last year, but wasn’t thrilled about the face I had given him. I gave him a make over, a mohawk and added some friends.
This pattern could be adapted to other sizes of rectangular sponges if you can’t find the same ones I used (photo further down this post).
Monster Sponge Crochet Pattern
The free pattern is available below.
Materials Per Sponge
- Yarn: Less than 100 yards worsted weight cotton yarn. Sample is made with Lily Sugar ‘N Cream
- Crochet Hook: H (5mm)
- Miscellaneous Supplies: Yarn needle, Sewing needle and black thread, 1-3 small black buttons, 5” x 3” sponge (similar to the ones below)

Details
Finished Measurements: 5” tall x 4” wide
Tips
- First stitch of each row is worked into the same stitch as the turning chain.
- Stitch count remains the same unless noted otherwise.
- Numbers at the beginning of each line may refer to steps and not indicate number of rows.
Directions
HDC VERSION CLOTH (Purple/Blue and Pink/Orange Samples)
Please note: Most of this cloth is made with hdc sts to make it a quick crochet. If you will be adding a face, please be aware it is easier to attach items to sc sts. See the SC Version below if preferred.
1. Leave a long yarn tail in the beginning for sewing side seams when complete. With an H hook and ww cotton yarn, ch 29, sc in the 2nd ch from hook and in each ch across. (28sts)
2-7. Ch 2, turn, hdc in the same st and in each st to end of row.
8. Cut yarn and change to a contrasting color. Ch 2, turn, hdc in the same st and in each st to end of row.
9-13. Ch 2, turn, hdc in the same st and in each st to end of row.
14. Ch 1, turn, sc in the same st and in each st to end of row. Finish off, leaving a long tail for sewing the seams.
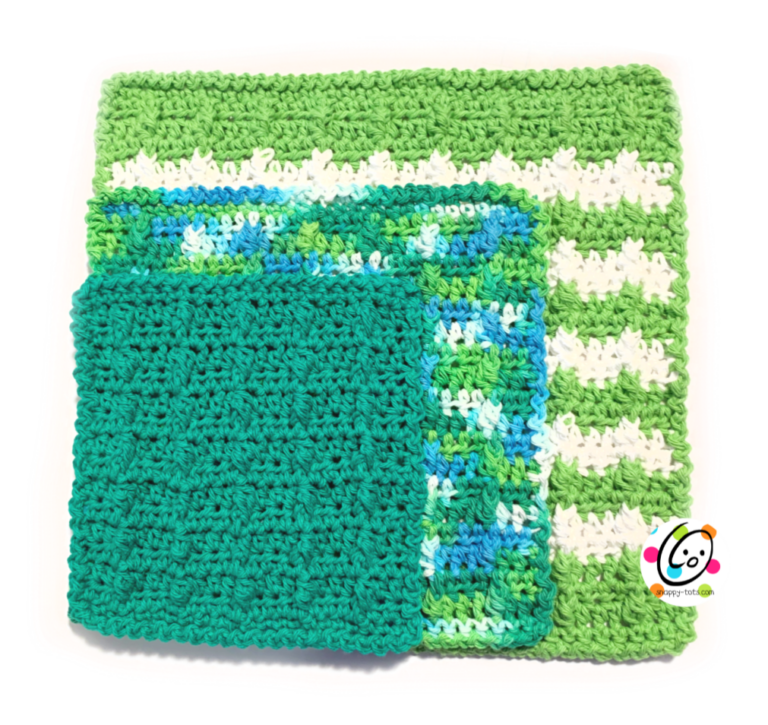
SC VERSION CLOTH (Blue/Green Sample)
1. Leave a long yarn tail in the beginning for sewing side seams when complete. With an H hook and ww cotton yarn (lime green in sample), ch 29, sc in the 2nd ch from hook and in each ch across. (28sts)
2. Ch 1, turn, sc in the same st and in each st to end of row.
Note: When changing colors I switched between the two, carrying the unused yarn up the side instead of cutting it. This will be hidden when the piece is sewn together.
3. Change to a constrasting yarn (turquoise in sample). Ch 1, tun, sc in the same st and in each st to end of row.
4. Repeat previous row.
5. Change to a constrasting yarn (lime green in sample). Ch 1, tun, sc in the same st and in each st to end of row.
6. Repeat previous row.
7. Change to a constrasting yarn (turquoise in sample). Ch 1, tun, sc in the same st and in each st to end of row.
8. Repeat previous row.
9. Change to a constrasting yarn (lime green in sample). Ch 1, tun, sc in the same st and in each st to end of row.
10. Repeat previous row.
11. Cut the current yarn. Change to a constrasting yarn turquoise in sample). Ch 1, tun, sc in the same st and in each st to end of row.
12. Ch 1, turn, sc in the same st and in each st to end of row.
13. Repeat the previous row for an additional 8 rows. Finish off, leaving a long tail for sewing the seams.
Continue to “Features” below
FEATURES
Small Eyes – Make 3 for the 3-eyed monster, make 1 for the 2-eyed monster (he has one small and one large)
1. With an H hook and white yarn, start with a magic circle of 5 sc sts (or preferred method for starting a circle of 5 sc sts), pull closed and sl st to join. (5sts)
2. Ch 1, 2sc in each st to end of round, sl st to join. (10sts) Finish off, leaving a yarn tail for sewing eye in place.
Large Eye – Make 1 for the cyclops, make 1 for the 2-eyed monster
1. With an H hook and white yarn, start with a magic circle of 6 sc sts (or preferred method for starting a circle of 6 sc sts), pull closed and sl st to join. (6sts)
2. Ch 1, 2sc in each st to end of round, sl st to join. (12sts) Finish off, leaving a yarn tail for sewing eye in place.
With a yarn needle, use the yarn tails to sew the eyes in place. See main photos for placement. Use a sewing needle and black thread to sew the buttons on top of the eyes.
Mouth: With a yarn needle and black (or darker) yarn, stitch the smile in place.
Teeth (optional): With a yarn needle and white yarn, create each tooth by stitching a few white stitches under and next to the mouth stitching.
ASSEMBLY
Place the piece right side down and place a sponge on top as shown in the photo below.
Fold the piece, lining up the edges at the sides of the sponge and with the face centered on the flat edge of the sponge. Use a yarn needle and the yarn tail/matching yarn to sew the edges together.

Hair (optional): This is worked around posts and after the cloth is sewn over the sponge.
With an H hook and contrasting yarn (lime green in sample), attach the yarn to the center back of the sponge. *Ch 10, sl st around the same post, ch 10, sl st around the next post*, repeat up the center back and top of sponge. Working down the front of the sponge, ch 8, sl st around the same post, ch 8, sl st around the next post. Finish off and weave in ends.
Hair could be added across the top of a sponge in this same way. Start at one edge and work to the other.
Pin To Save For Later