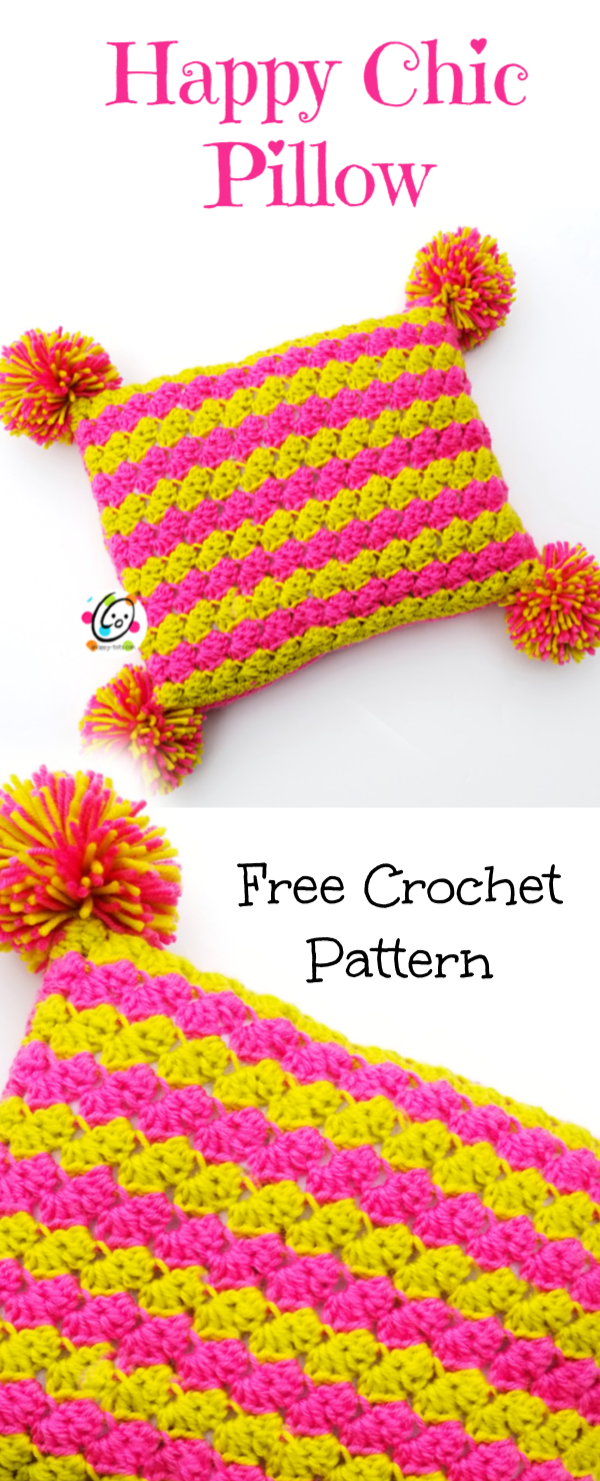
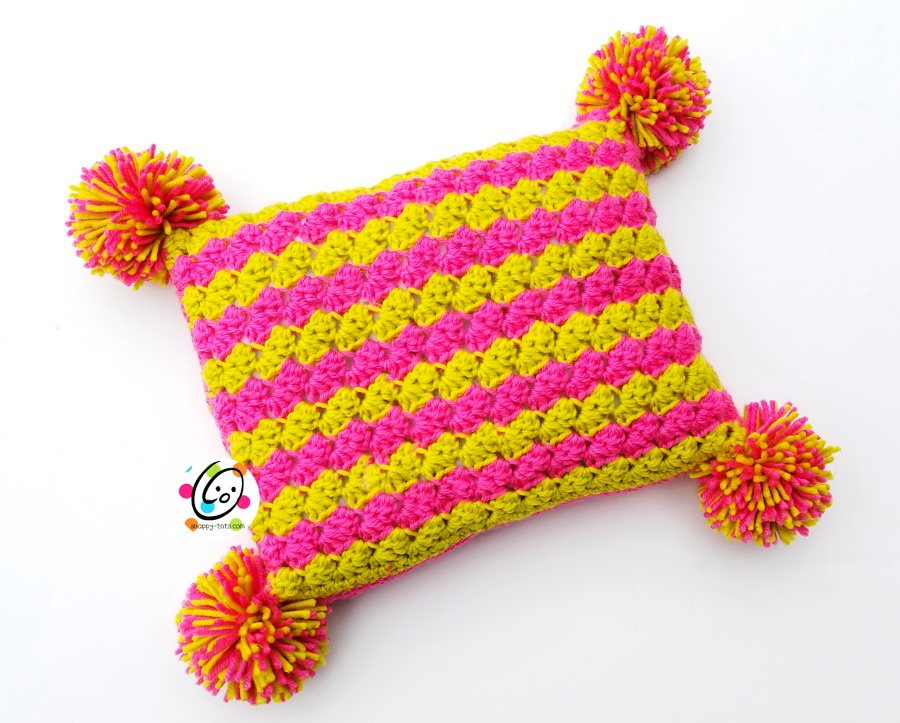
Free Pattern: Happy Chic Pillow
I always wish I had the right words to brighten someone’s day. I knew I wanted to make a cute little project that could be whipped up in HAPPY COLORS to spread sunshine each time someone sees it.
I hope you will choose bright colors for your little happy pillow too.
Happy Chic Pillow Crochet Pattern
This pattern is available to view here on my blog for free below.
Materials and Details
- Yarn: 300 yards worsted weight yarn.
- Crochet Hook: H (5mm)
- Miscellaneous: yarn needle for weaving in ends, stuffing or pillow form
Measurements
10” wide x 8” tall
Gauge: Not needed for this project.
Tips
- The first stitch of each row is worked into the same st as the turning chain.
- Stitch counts remain the same unless noted at end of row.
Directions
- With an H hook and pink yarn, ch 42, sc in 2nd ch from hook and in each ch across. (41sts)
- Ch 2, turn, hdc in same st, *sk 2, (sc, hdc, dc) in next st*, repeat until 1 st remains, hdc in last st.
- Repeat previous row.
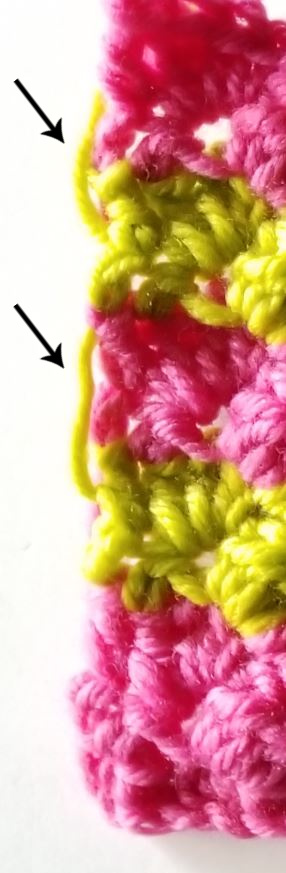
- Note: do not cut yarn when changing colors. Carry the unused strand up the side of the piece. The border will cover these later. Make sure to not leave the strand too loose or pull too tight. See arrows in photo.
Change to green yarn. Ch 2, turn, hdc in same st, *sk 2, (sc, hdc, dc) in next st*, repeat until 1 st remains, hdc in last st.
5. Repeat previous row.
6. Change to pink yarn. Ch 2, turn, hdc in same st, *sk 2, (sc, hdc, dc) in next st*, repeat until 1 st remains, hdc in last st.
7. Repeat previous row.
Keep repeating steps 4-7 until piece measures 14” long.
8. This step is worked around the outer edge. Ch 1, sc in same st. Pivot to work across edge of piece. Sc evenly across. (sc, ch 1, sc) in first st of beginning row, sc in each st across until 1 st remains, (sc, ch 1, sc) in last st.
Pivot to work across edge of piece. Sc evenly across. (sc, ch 1, sc) in first st of row, sc in each st across, sl st to join. Finish off, leaving a long yarn tail for sewing edges.
Lining (optional): Since this piece has a slightly open weave, the stuffing might work through the holes. It would be easy to add a lining.
Cut a piece of fabric the same size of the pillow piece. Sew the lining to the wrong side of the piece with either a sewing machine or by hand.
Assembly
Fold piece in half with right sides together and matching beginning and ending rows. With a yarn needle and yarn tail, sew the layers together across two edges. Leave the third edge open for now.
Turn the pillow right side out.
Stuff the pillow. Use a yarn needle and matching yarn to sew the final edge together.
Pom Poms -Optional (make 4)
Make 4 pom poms from the same yarn used in the pillow. Attach each pom to the corners of the pillow.
Custom Sizes
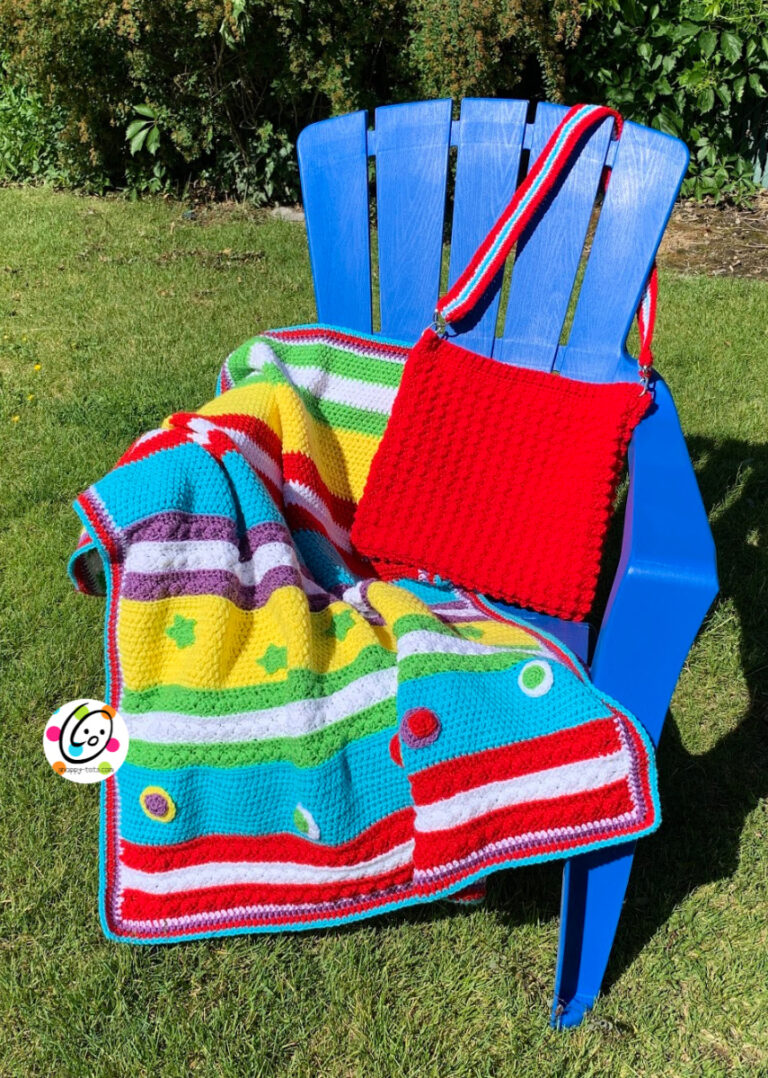
The instructions can easily be enlarged to make a pillow in any width or even made as a blanket.
The beginning chain needs to be a multiple of 3. Sc in 2nd ch from hook and in each ch across.
This stitch count will remain the same throughout the piece.
Repeat step #2 from main pattern until project is desired length.
Pin To Save For Later