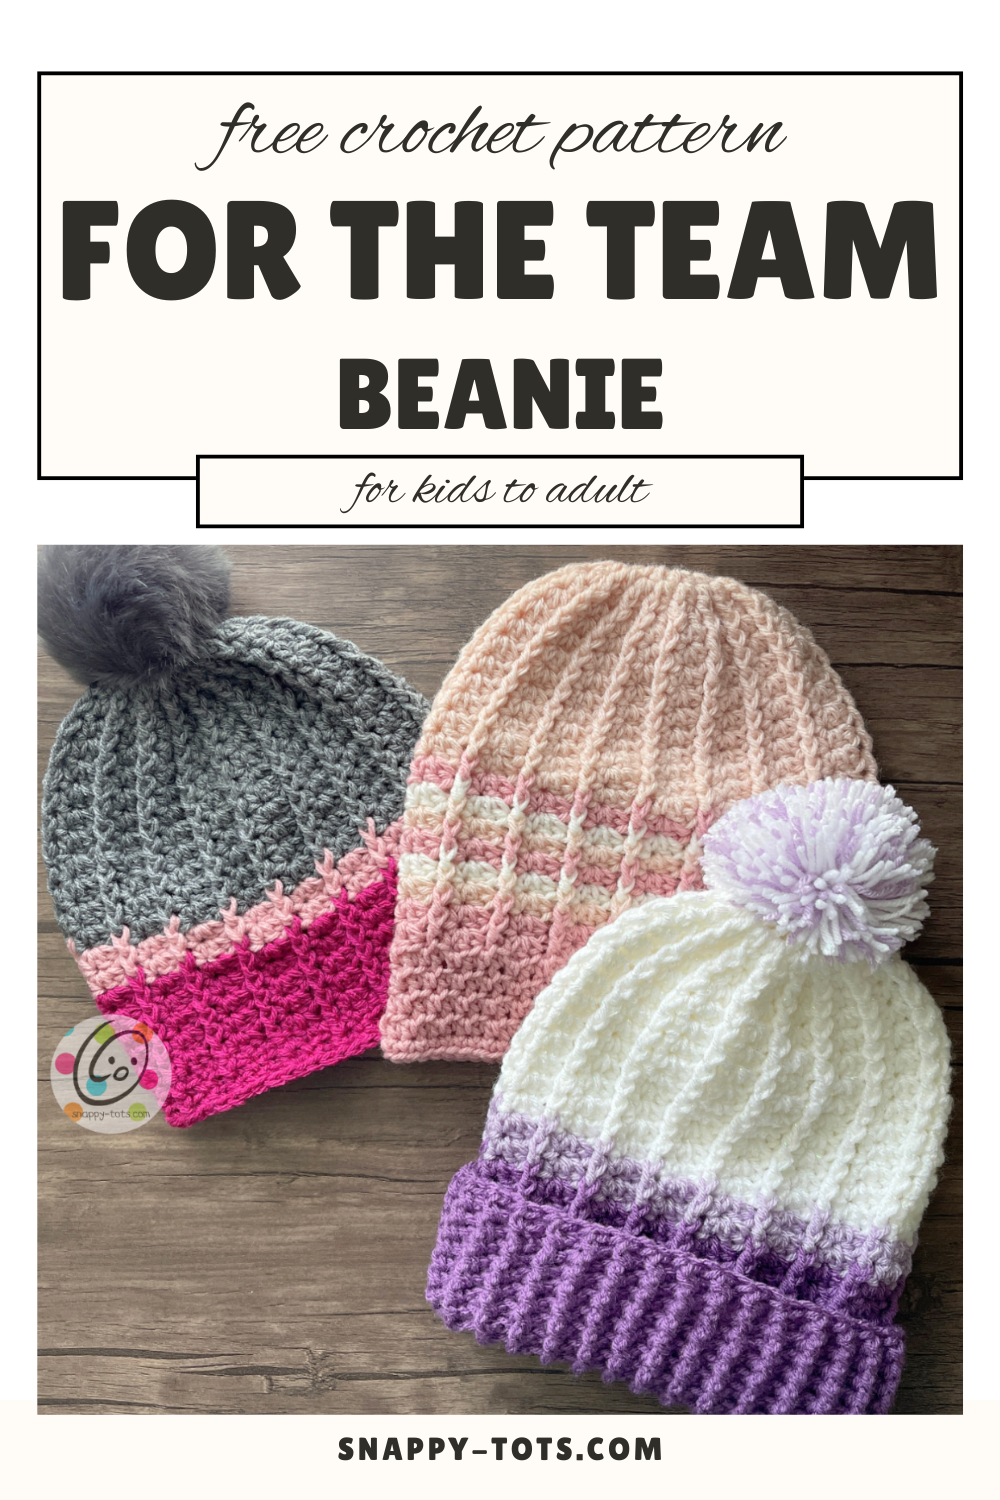
Free Pattern: For The Team Beanie
This design was lovingly created as part of this year’s Crochet Cancer Challenge hosted by Sweet Potato 3. It is in support of those affected by Lung Cancer… and all cancers. As I thought about my design, I knew I wanted to make something that would add comfort and a squishy soft hug.
Quick jump to the pattern: Let’s get started!
My Hat Contribution And Meaning
After coaching competitive soccer for 7 years, “for the team” took on a new meaning for me over the past two years. While visiting the Huntsman Center in Salt Lake City, UT with a family member and seeing many families showing their support for each other, it reminded me of being part of a team. Cancer affects so many. Friends, family, co workers, neighbors, and others need the support of a “team”.
Whether you want to sport those team colors or the favorite colors of a “team” member, I hope you will find comfort in this beanie. Many hopeful hugs and wishes of better health, strength, and love went into the creation of these beanies.
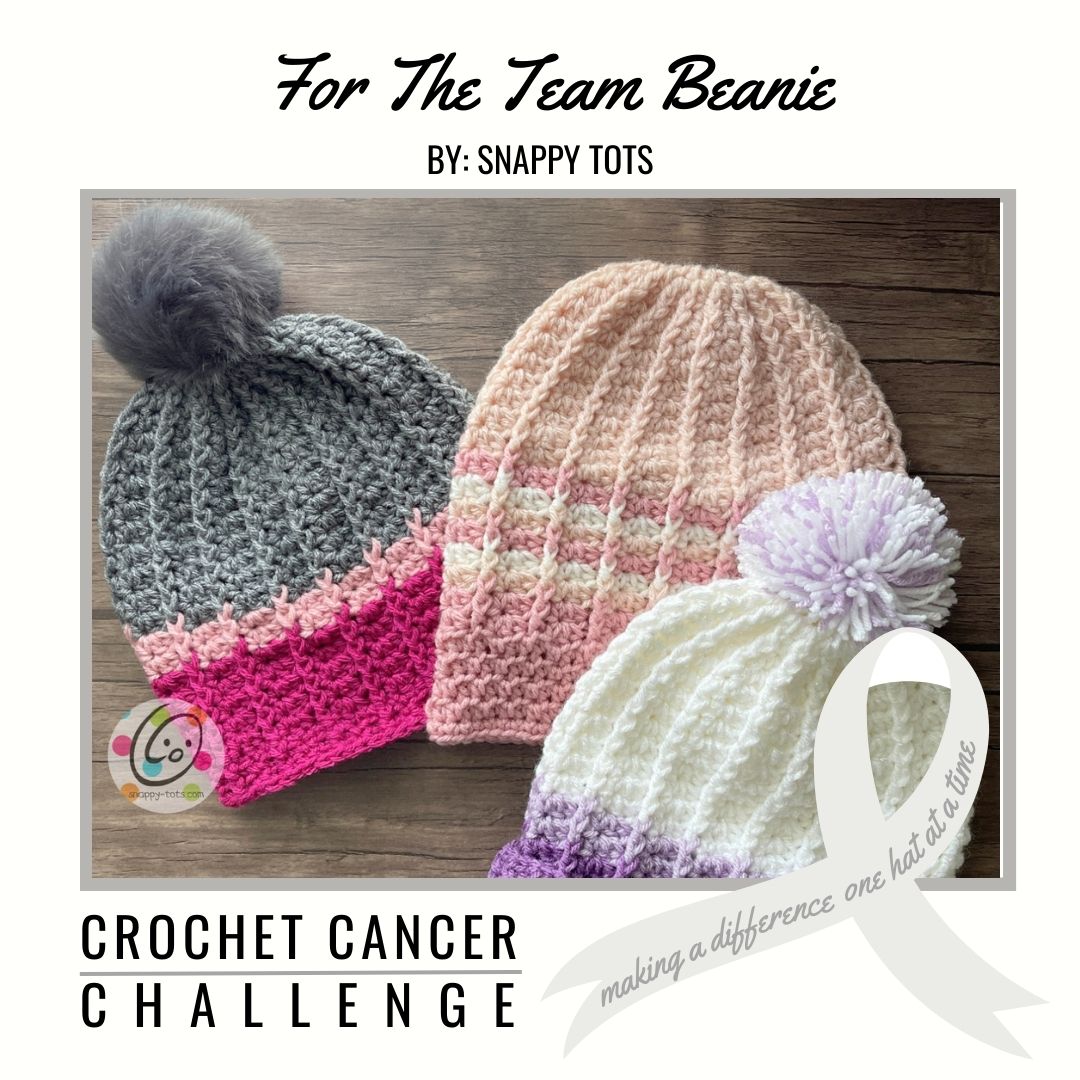
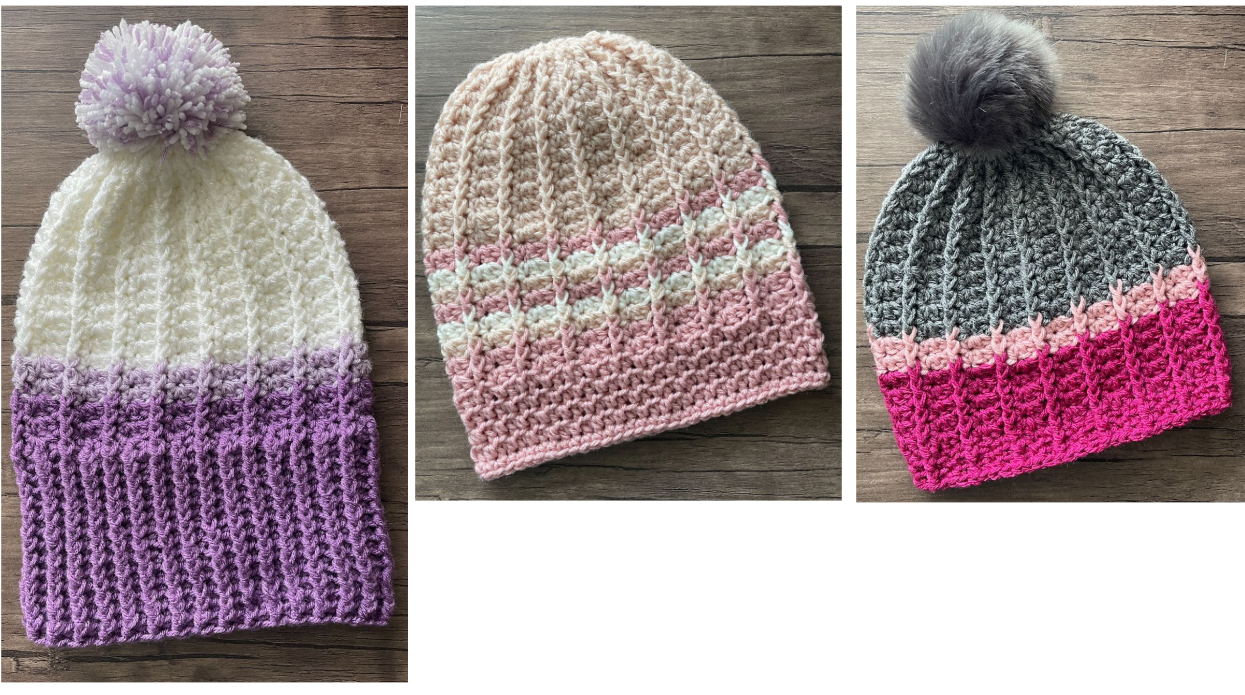
I hope you will enjoy making this beanie. My testers found it easy to make and I love how their beanies turned out! There are three options for the bottom edge and it is cute with or without the pompom top.

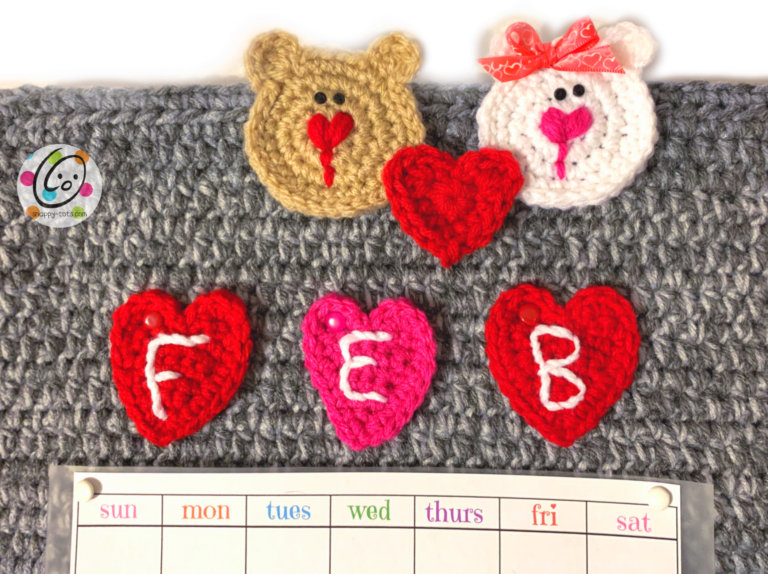
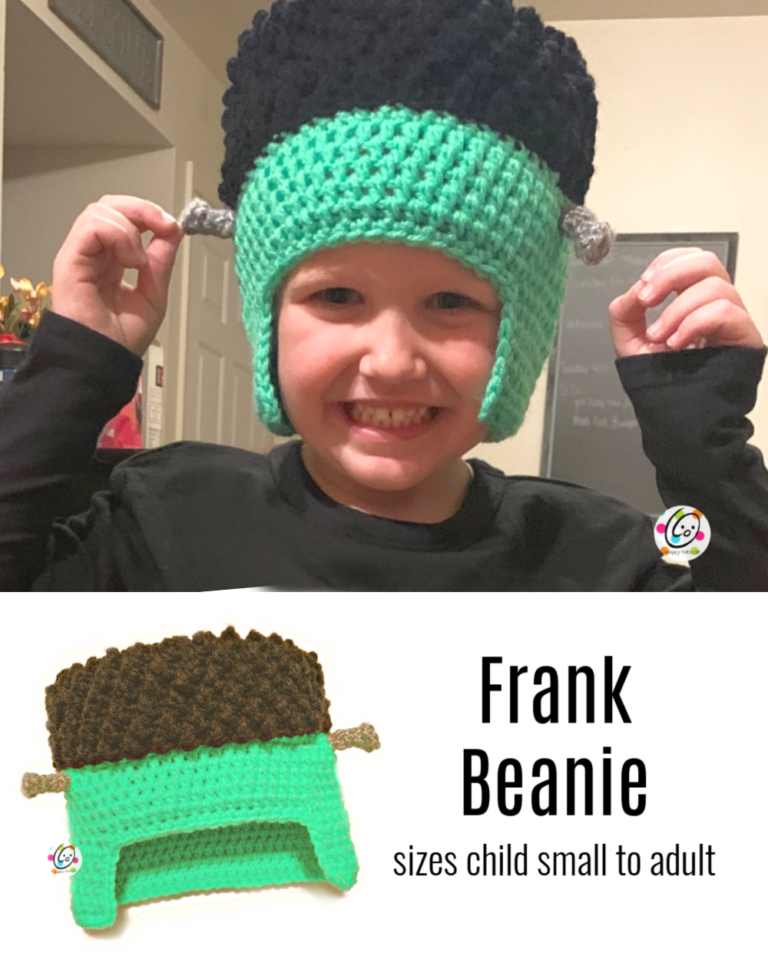
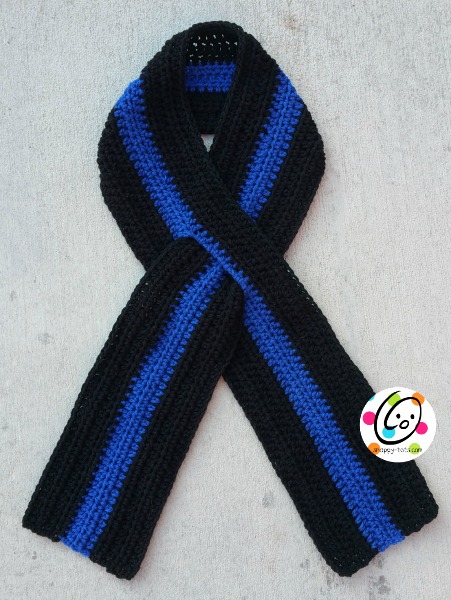
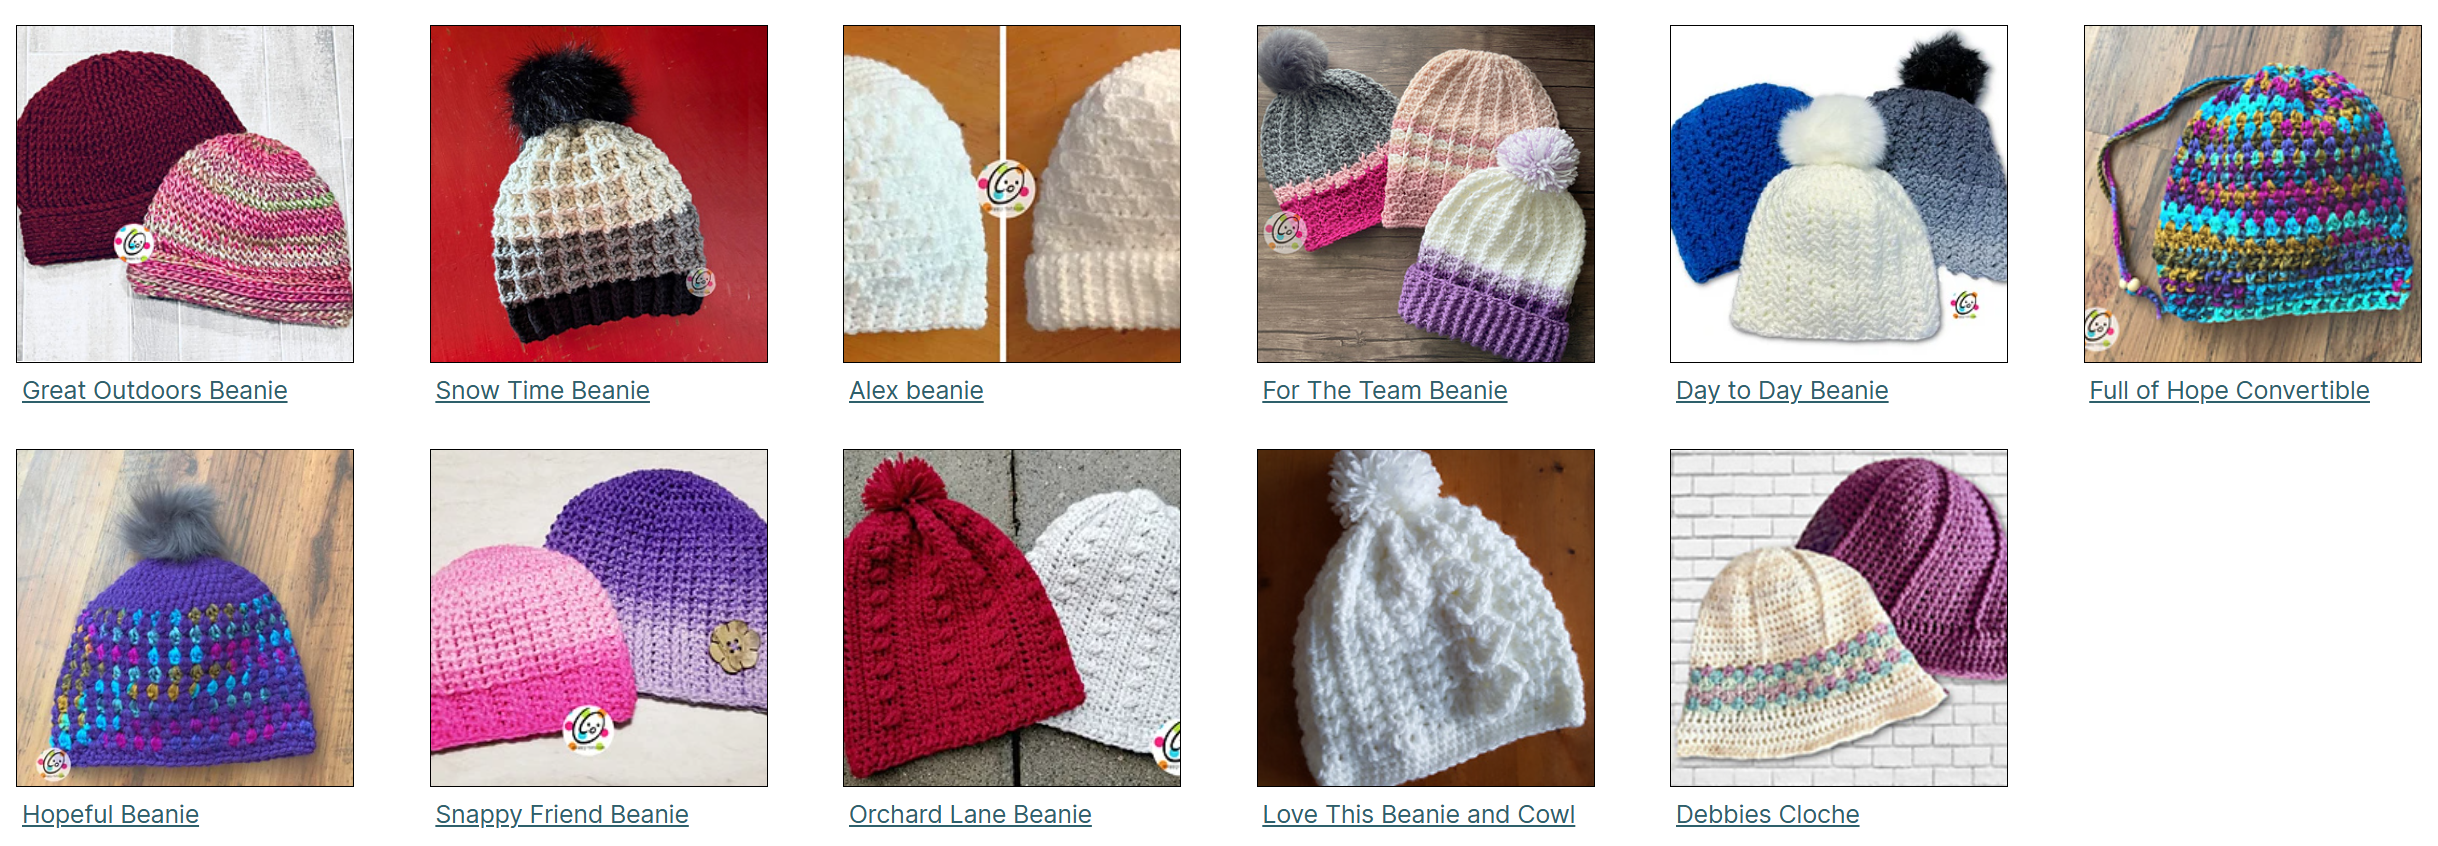
Other Beanie Patterns You Might Enjoy
The following patterns were designed for previous years of the “Cancer Crochet Challenge” event and are some of my most favorite hat/beanie patterns. I hope you will enjoy them too. All of the patterns can be found in my pattern shop: https://www.ravelry.com/bundles/challenge-57
For The Team Beanie Crochet Pattern
The pattern is available to follow along for free below. An ad-free, downloadable pdf is also available for a small fee from my shops: Ravelry | Etsy
The pattern is for teen/adult. There are 3 different options for finishing the bottom edge.
Materials & Details
- Yarn: 200 yards ww yarn.
Sample yarns: White and purple beanie – Red Heart Super Saver Pale Plum, Medium Purple, Metallic White; Grey and pink beanie – Red Heart Super Saver Heather Grey; Red Heart With Love Bubblegum; Shades of pink beanie – Red Heart With Love Sweet Pink, Bubblegum; Red Heart Super Saver Soft White. - Crochet Hook: I (5.5mm), J (6mm)
- Notions: Yarn needle for weaving in ends, pompom (optional)
- Sizes: Teen/Adult
- Gauge: 4” with an I hook = 10 rounds of cluster/rib and 4 repeats
4” with a J hook = 11 rounds of cluster/rib and 3.25 repeats
Size: Large Child/ Preteen (8-12 years)
- This starts at the top of the hat.
- Color changes are written for the white, lavender, purple beanie.
- Start all beanie variations the same. Choose one of the options at the end to finish off the bottom edge.
- Note: I like to use one size larger hook (J in this case) when making my teenage son’s hat because he has a ton of hair. It gives him a little more room without it being a lot bigger. Keep in mind this hat has a good amount of stretch.
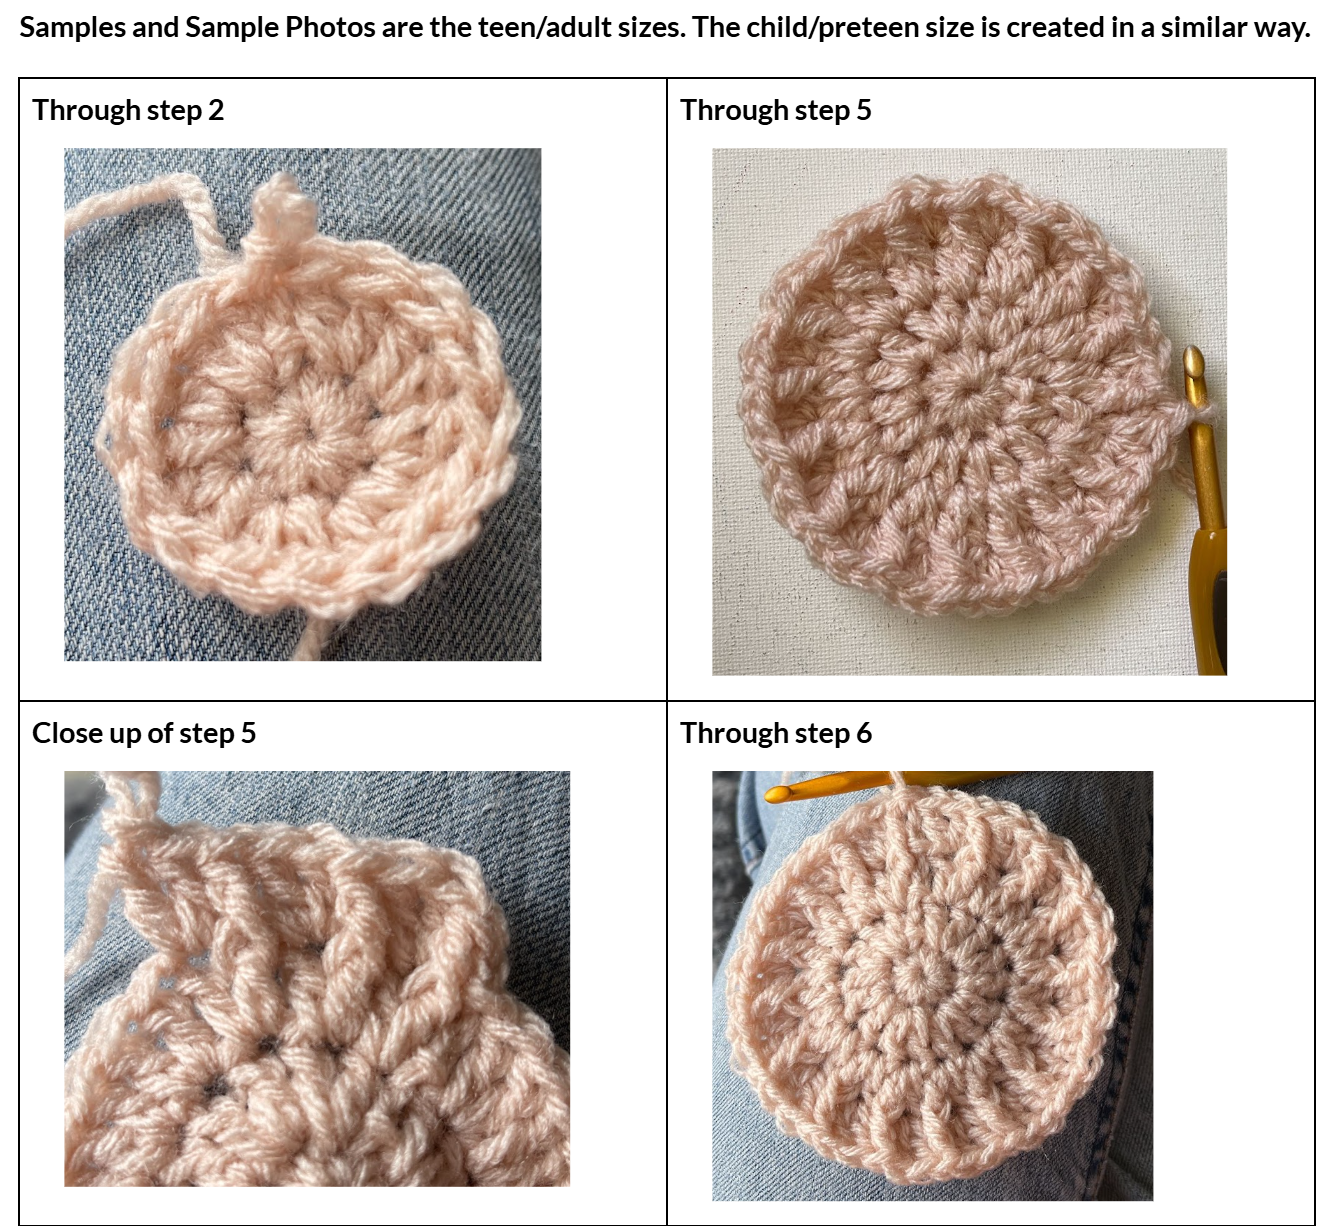
1. With an I hook and ww yarn, start with a magic circle of 8 sc sts (or preferred method of starting a circle of 8 sc sts), pull closed and sl st to join. (8sts)
2. Ch 1, 2hdc in each st to end of round, sl st to join. (16sts)
3. Ch 1, *2hdc between the next 2 posts, hdc between the next 2 posts*, repeat to end of round, sl st to join. (24sts)
Tip: “between each post” is slightly below where you would normally work IN the stitch. Insert your hook between the next 2 posts from the previous round and work 2 hdc.
4. Ch 1, *2hdc between the next 2 posts, hdc between the next 2 posts*, repeat to end of round, sl st to join. (36sts)
5. Ch 1, *2hdc between the next 2 posts, hdc between the next 2 posts, hdc between the next 2 posts*, repeat to end of round, sl st to join. (48sts)
6. Ch 1, *2hdc between the next 2 posts, hdc 5 (between the posts)*, repeat to end of round, sl st to join. (56sts)
7. Ch 1, *FPHDC around the next post, 2hdc in the next st, sk 1*, repeat to end of round, sl st to join. (stitch count remains the same – 56sts) 5” across
TIP: Please note the change in the next rounds. There should be a “sk 1” before and after the cluster for the st count to remain the same.
8. Ch 1, *FPHDC around the next post, sk 1, (hdc, dc, hdc) in the next st, sk 1*, repeat to end of round, sl st to join.
9. Repeat the previous round for an additional 5 rounds. Please check gauge and adjust hook size if needed.
10. Finish off the current yarn and change yarn color (Pale Plum in sample. Ch 1, *FPHDC around the next post, sk 1, 3hdc in the next st, sk 1*, repeat to end of round, sl st to join.
11. Ch 1, *FPHDC around the next post, sk 1, 3hdc in the next st, sk 1*, repeat to end of round, sl st to join.
12. Finish off the current yarn and change yarn color (Medium Purple in sample). Ch 1, *FPHDC around the next post, sk 1, 3hdc in the next st, sk 1*, repeat to end of round, sl st to join.
13. Ch 1, *FPHDC around the next post, sk 1, 3hdc in the next st, sk 1*, repeat to end of round, sl st to join.
Skip to “Bottom Edge”.
Bottom Edge
At this point, decide between 3 options for the bottom edge:
- Ribbing (purple and white sample):
Ch 1, *FPHDC around the next post, hdc 3*, repeat to end of round, sl st to join.
This next part is made extra long so the bottom can be folded up.
Ch 1, *FPHDC around the next post, BPHDC around the next post*, repeat to end of round, sl st to join.
Repeat previous round for an additional 10 rounds or until hat/ fold is desired length.
Finish off and weave in ends. Skip to “pompom” if desired.
- Wide band (shades of pink sample):
Ch 1, *hdc in FLO, hdc in BLO*, repeat to end of round, sl st to join.
Repeat previous round one time or until hat is desired length.
Ch 1, sc in each st to end of round, sl st to join.
Finish off and weave in ends. Skip to “pompom” if desired.
- Ribs to the Edge (grey and pink sample):
Ch 1, *FPHDC around the next post, sk 1, 3hdc in the next st, sk 1*, repeat to end of round, sl st to join.
Repeat the previous round one time or until hat is desired length.
Ch 1, sc in each st to end of round, sl st to join.
Finish off and weave in ends. Skip to “pompom” if desired.
Pompom Top (optional)
With a yarn needle and remaining yarn, sew a pompom to the top center of the beanie. Use either a commercial or handmade pompom.
Color Variations
Wide Band (shades of pink):
Follow instructions for the main hat, with the following changes.
1-7. Work as written.
8. Repeat the previous round for an additional 3 rounds.
9. Continue as written, changing colors each round until “bottom edge”. Only the darkest color is used for the bottom edge section.
Finish hat by following the “Wide Band” bottom edge instructions above.
Ribs to the Edge
Follow instructions for the main hat, with the following changes.
1-11. Work as written.
Finish hat by following the “Ribs to the Edge” bottom edge instructions above.
Size: Teen/Average Adult
- This starts at the top of the hat.
- Color changes are written for the white, lavender, purple beanie.
- Start all beanie variations the same. Choose one of the options at the end to finish off the bottom edge.
- Note: I like to use one size larger hook (J in this case) when making my teenage son’s hat because he has a ton of hair. It gives him a little more room without it being a lot bigger. This is also a great option for men. Keep in mind this hat has a good amount of stretch.
1. With an I hook and ww yarn, start with a magic circle of 8 sc sts (or preferred method of starting a circle of 8 sc sts), pull closed and sl st to join. (8sts)
2. Ch 1, 2hdc in each st to end of round, sl st to join. (16sts)
3. Ch 1, 2hdc between each post to end of round, sl st to join. (32sts)
Tip: “between each post” is slightly below where you would normally work IN the stitch. Insert your hook between the next 2 posts from the previous round and work 2 hdc.
4. Ch 1, *FPHDC around the next post, 2hdc in the next st*, repeat to end of round, sl st to join. (48sts) 3.25” across
5. Ch 1, *FPHDC around the next post, 2hdc in the next st, sk 1*, repeat to end of round, sl st to join. (stitch count remains the same – 48sts) 4” across
6. Ch 1, *FPHDC around the next post, 3hdc in the next st, sk 1*, repeat to end of round, sl st to join. (64sts) 5” across
TIP: Please note the change in the next rounds. There should be a “sk 1” before and after the cluster for the st count to remain the same.
7. Ch 1, *FPHDC around the next post, sk 1, (hdc, dc, hdc) in the next st, sk 1*, repeat to end of round, sl st to join.
8. Repeat the previous round for an additional 7 rounds. Please check gauge and adjust hook size if needed.
9. Finish off the current yarn and change yarn color (Pale Plum in sample. Ch 1, *FPHDC around the next post, sk 1, 3hdc in the next st, sk 1*, repeat to end of round, sl st to join.
10. Ch 1, *FPHDC around the next post, sk 1, 3hdc in the next st, sk 1*, repeat to end of round, sl st to join.
11. Finish off the current yarn and change yarn color (Medium Purple in sample). Ch 1, *FPHDC around the next post, sk 1, 3hdc in the next st, sk 1*, repeat to end of round, sl st to join.
12. Ch 1, *FPHDC around the next post, sk 1, 3hdc in the next st, sk 1*, repeat to end of round, sl st to join.
Skip to “Bottom Edge”.
Bottom Edge
At this point, decide between 3 options for the bottom edge:
- Ribbing (purple and white sample):
Ch 1, *FPHDC around the next post, hdc 3*, repeat to end of round, sl st to join.
This next part is made extra long so the bottom can be folded up.
Ch 1, *FPHDC around the next post, BPHDC around the next post*, repeat to end of round, sl st to join.
Repeat previous round for an additional 13 rounds or until hat/ fold is desired length.
Finish off and weave in ends. Skip to “pompom” if desired.
- Wide band (shades of pink sample):
Ch 1, *hdc in FLO, hdc in BLO*, repeat to end of round, sl st to join.
Repeat previous round for an additional 3 rounds or until hat is desired length.
Ch 1, sc in each st to end of round, sl st to join.
Finish off and weave in ends. Skip to “pompom” if desired.
- Ribs to the Edge (grey and pink sample):
Ch 1, *FPHDC around the next post, sk 1, 3hdc in the next st, sk 1*, repeat to end of round, sl st to join.
Repeat the previous round 2 more times, or until hat is desired length.
Ch 1, sc in each st to end of round, sl st to join.
Finish off and weave in ends. Skip to “pompom” if desired.
Pompom Top (optional)
With a yarn needle and remaining yarn, sew a pompom to the top center of the beanie. Use either a commercial or handmade pompom.
Color Variations
Wide Band (shades of pink):
Follow instructions for the main hat, with the following changes.
1-7. Work as written.
8. Repeat the previous round for an additional 6 rounds.
9. Continue as written, changing colors each round until “bottom edge”. Only the darkest color is used for the bottom edge section.
Finish hat by following the “Wide Band” bottom edge instructions above.
Ribs to the Edge
Follow instructions for the main hat, with the following changes.
1-11. Work as written.
Finish hat by following the “Ribs to the Edge” bottom edge instructions above.
Pin To Save For Later