
Free Crochet Duck Patterns
My Duck, Duck, JEEP dreams come true…bring on more ducky stuff!
Crochet Along for May event
The pattern for my rubber ducks is the first in my new “Crochet Along Wednesdays”, starting as part of my annual Birthmonth Celebration for the month of May, 2026.
Visit the link above to find out how you can get the pdf of this pattern for free for a short time.
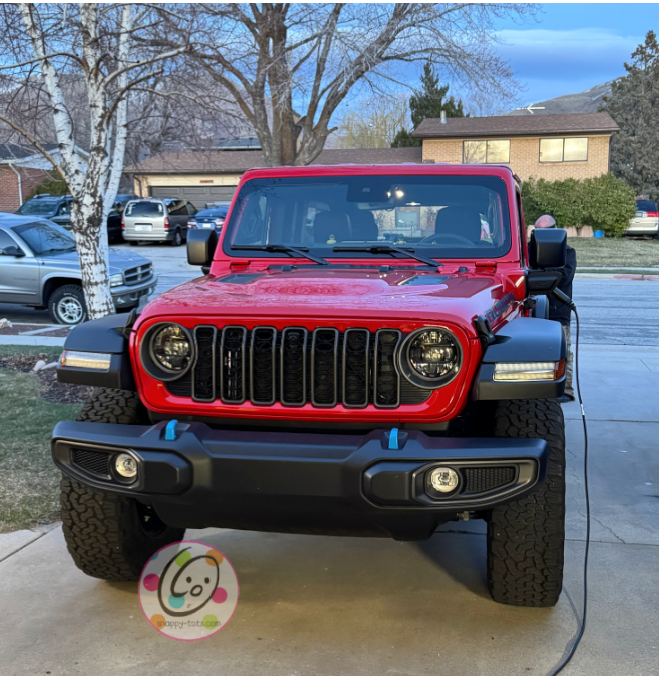
We got a jeep! Bring on the ducks! What do the two have in common? Please keep reading.
With our youngest heading to college in the fall (can you believe my Hayden who was my first pattern model at the age of 3 is that old?!), we needed another vehicle. My husband and I have always wanted a Jeep Wrangler (he had one when we first started dating) so we can go on adventures in the Utah mountains, dessert, and beyond. Along with a few SUVs, we test drove a few Jeeps. Needless to say….
This beautiful “firecracker red” Jeep Wrangler 4xe is my new daily driver. I have never had such a fun and cute vehicle!

She is a hybrid and as little as I drive I will rarely have to get gas!
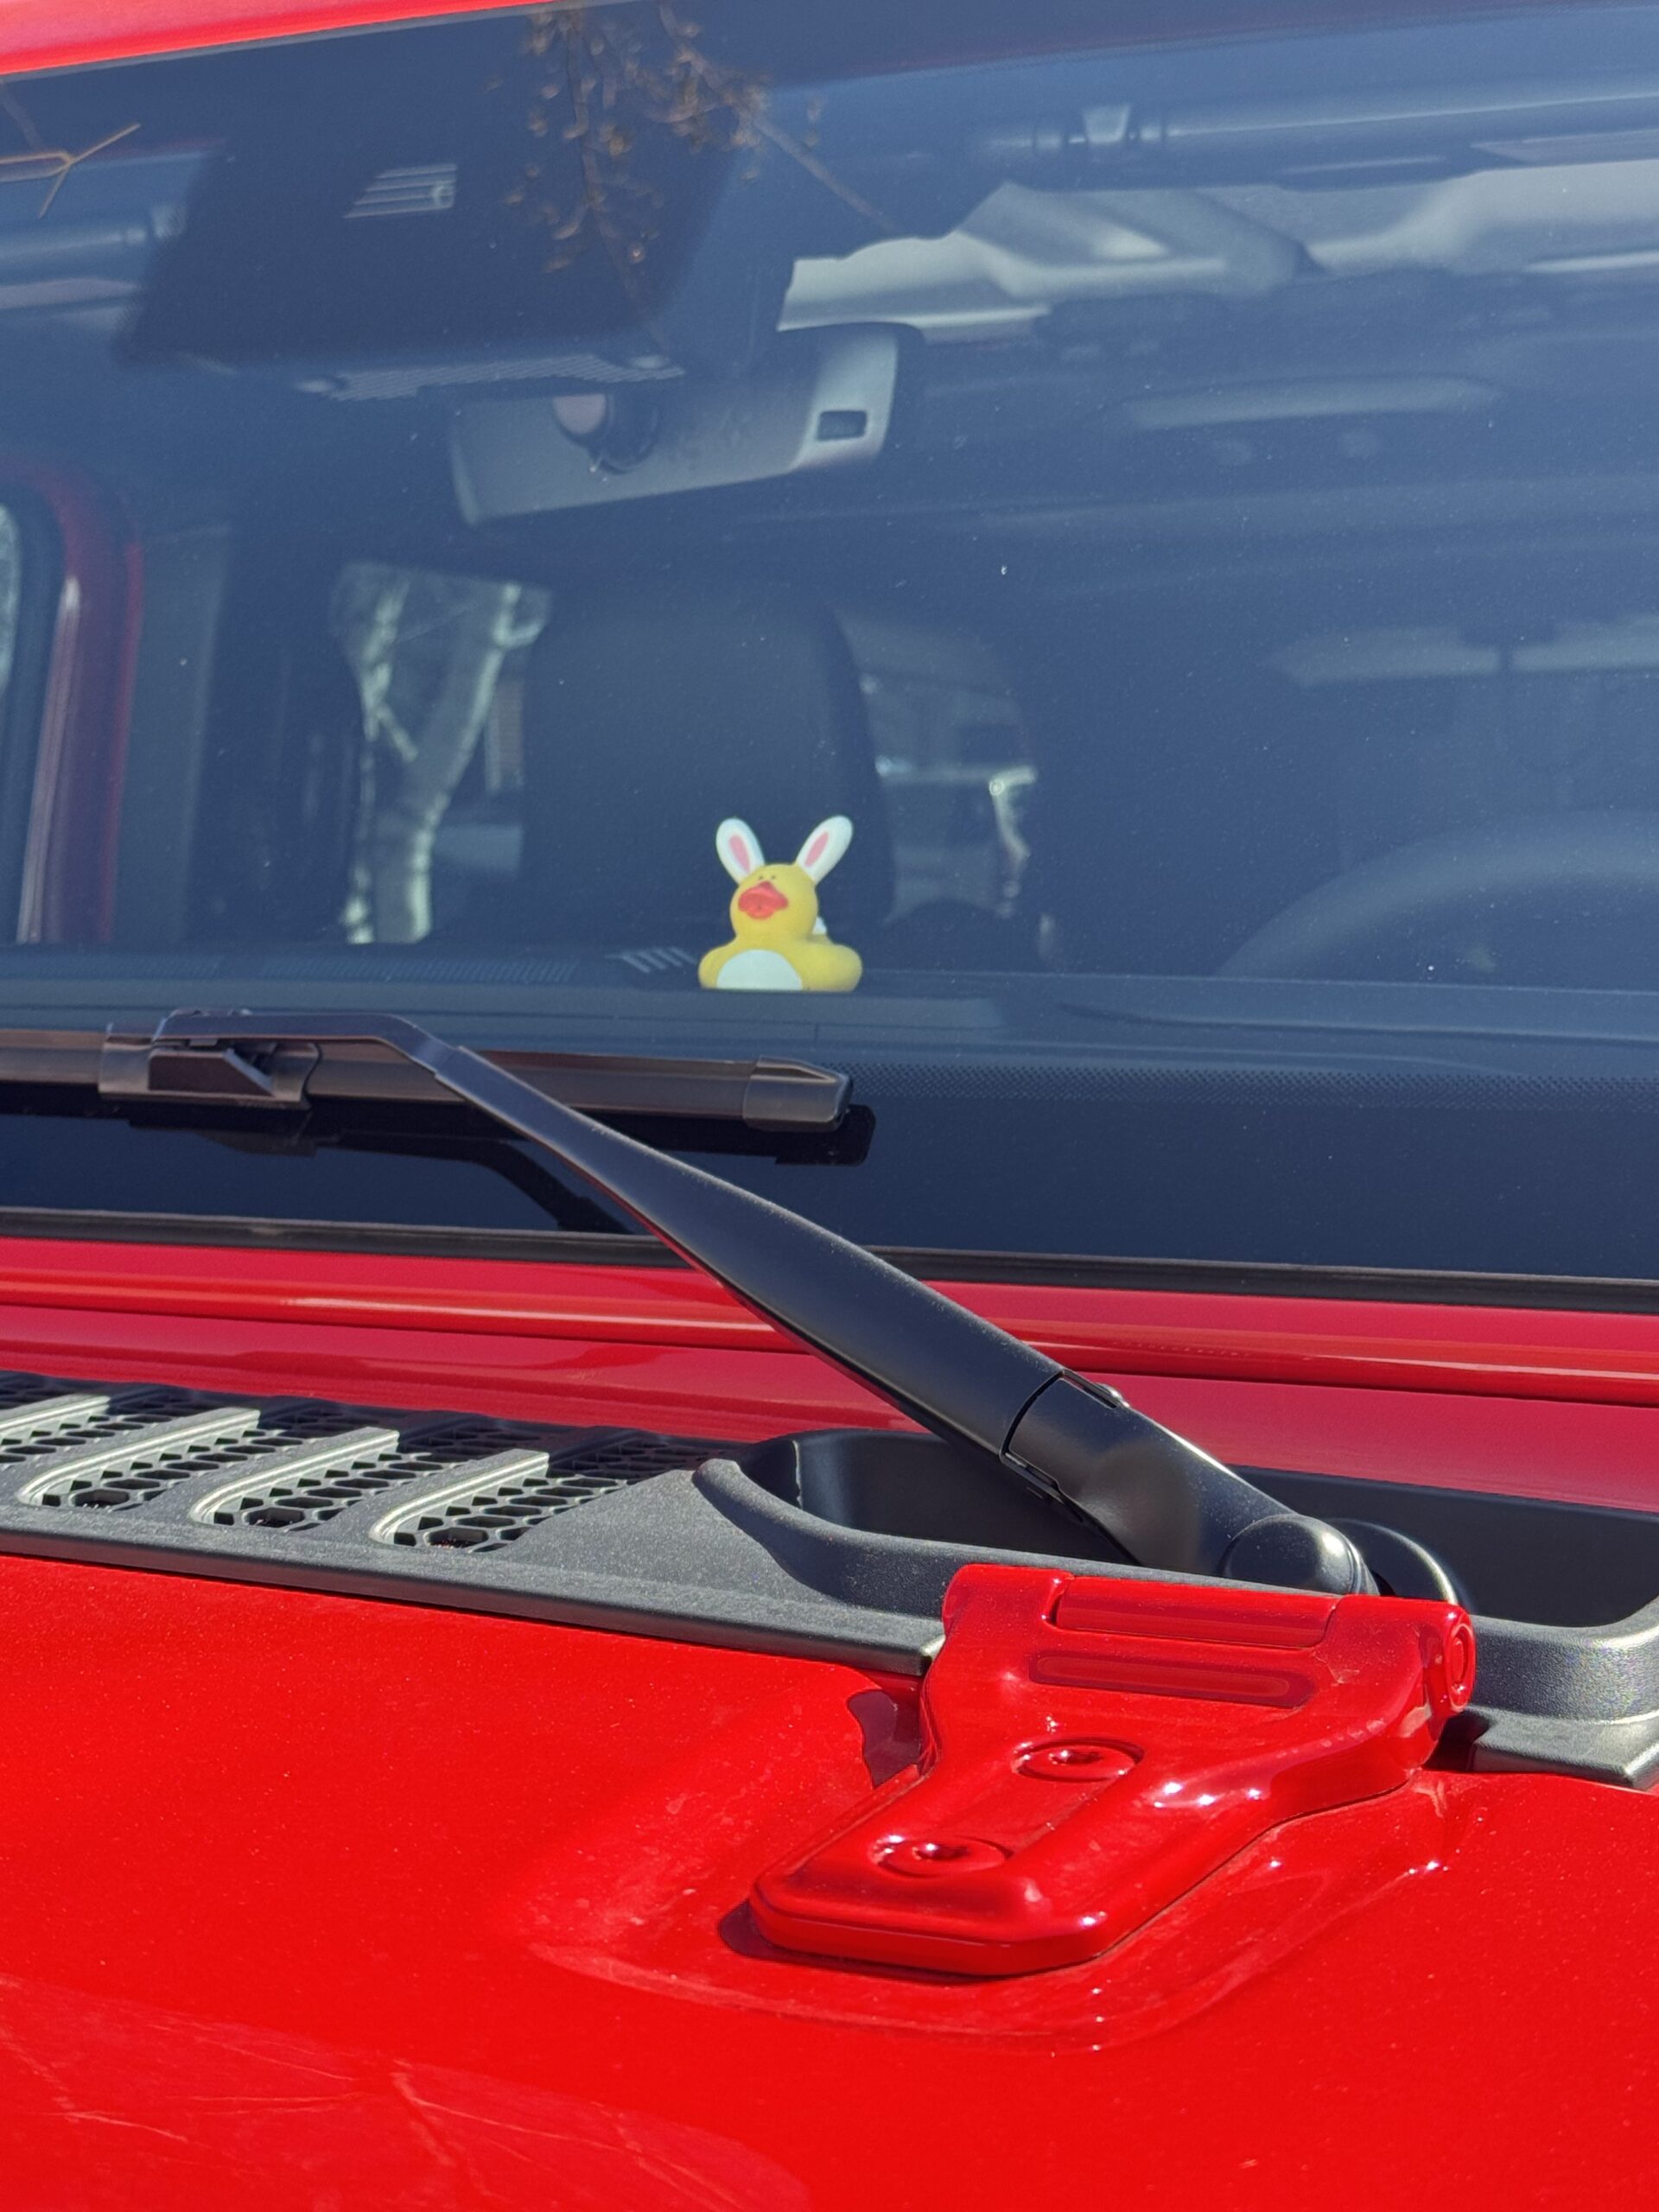
What Does This Have To Do With Ducks?
In 2020 a lady started leaving ducks on other jeeps and started “jeep ducking” (or #DuckDuckJeep) as a way of spreading happiness. I LOVE THAT!! When I heard about this I felt like I had found my people. Now there are similar events like, “Moo Moo Subaru”, “yoda yoda Toyota” and “buck buck Bronco“.
As many of you know, I LOVE rubber ducks and over the years we have done annual duck events. I have been leaving them in random places for people to find for years. I am going to LOVE leaving ducks for people. Some people have their dash full of jeeps. I don’t like things on the dash so I am going to switch out one each week. It will be my duck of the week. lol
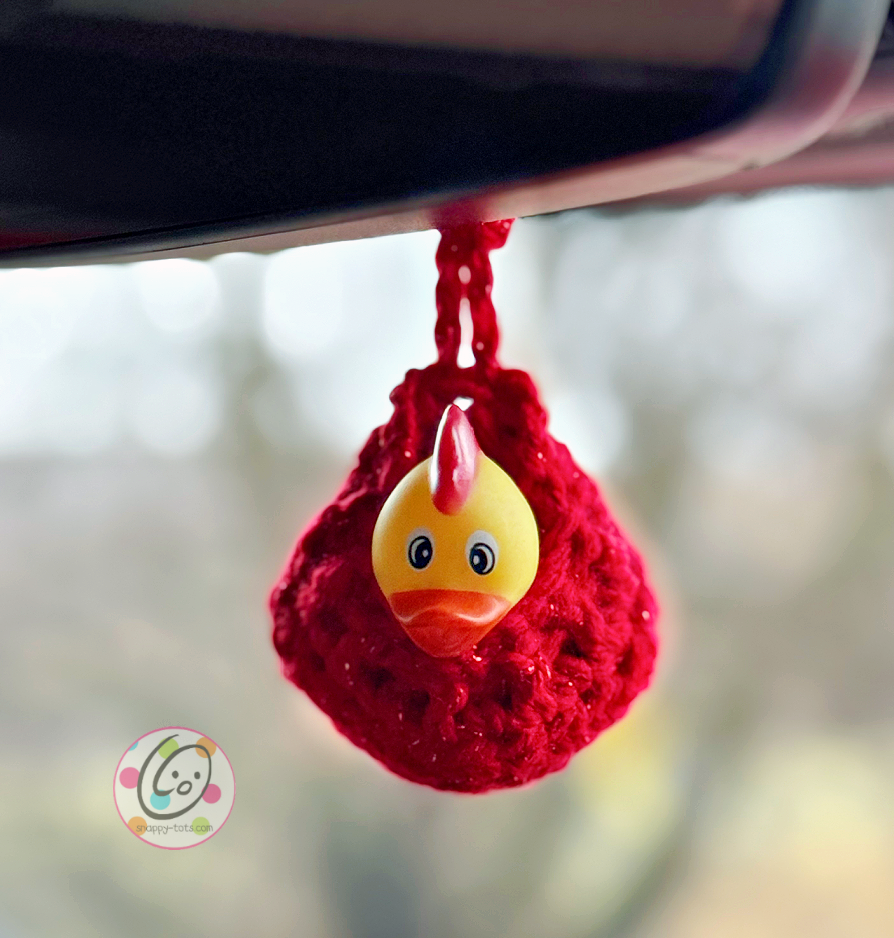
Part of the events included patterns for different accessories for the rubber ducks, as well as actual crocheted ducks like this one. I will be releasing those patterns here on my blog each week.
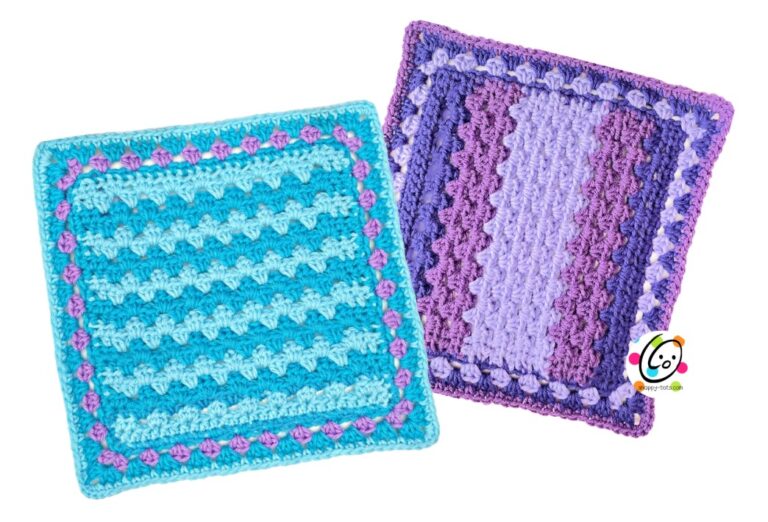
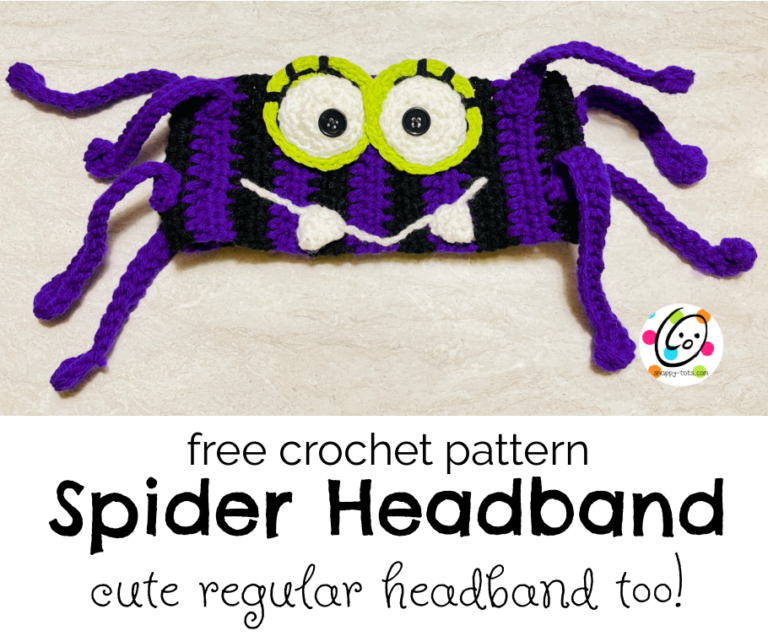
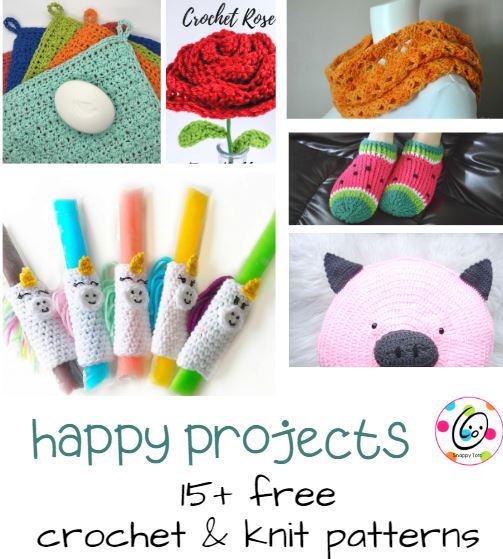
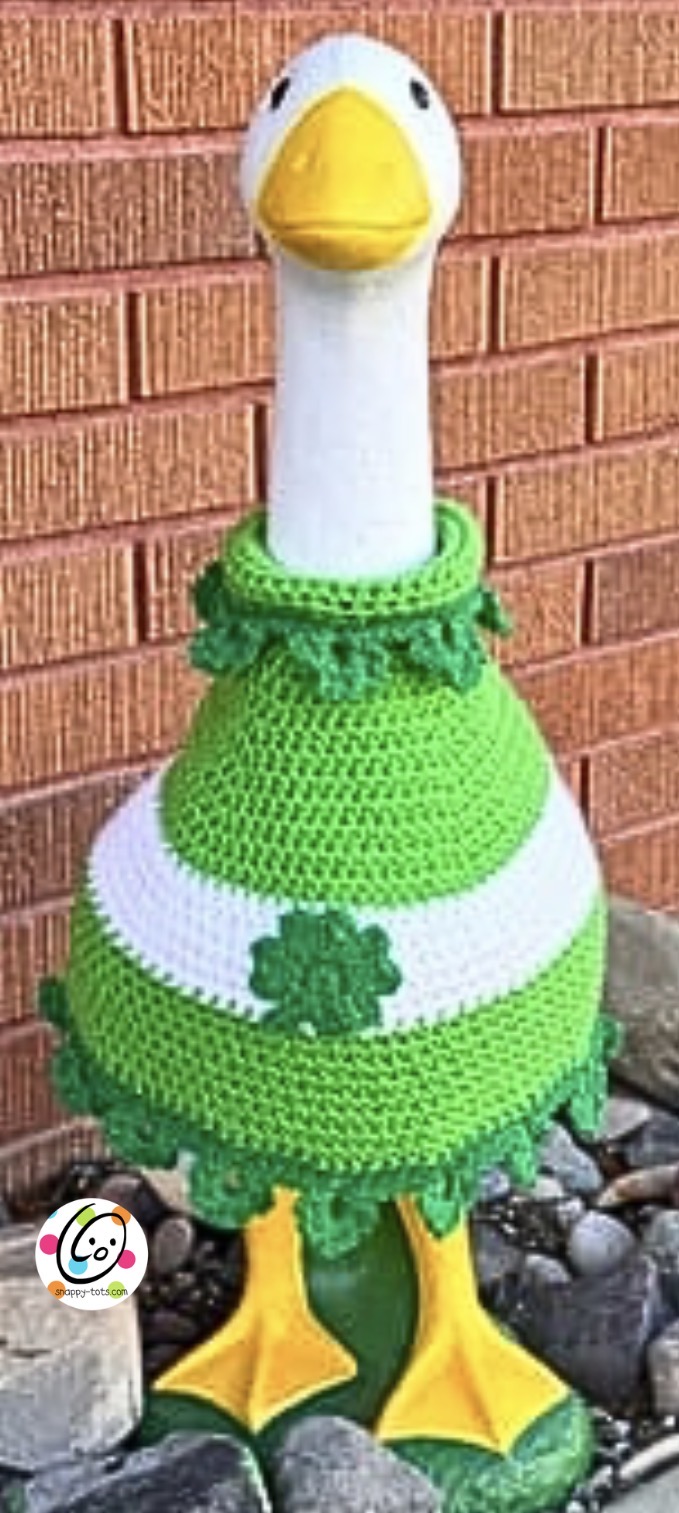
Looking for something similar?
- Watch for more outfits and accessories (like the little pouch below) for rubber ducks and this crochet duck coming soon.
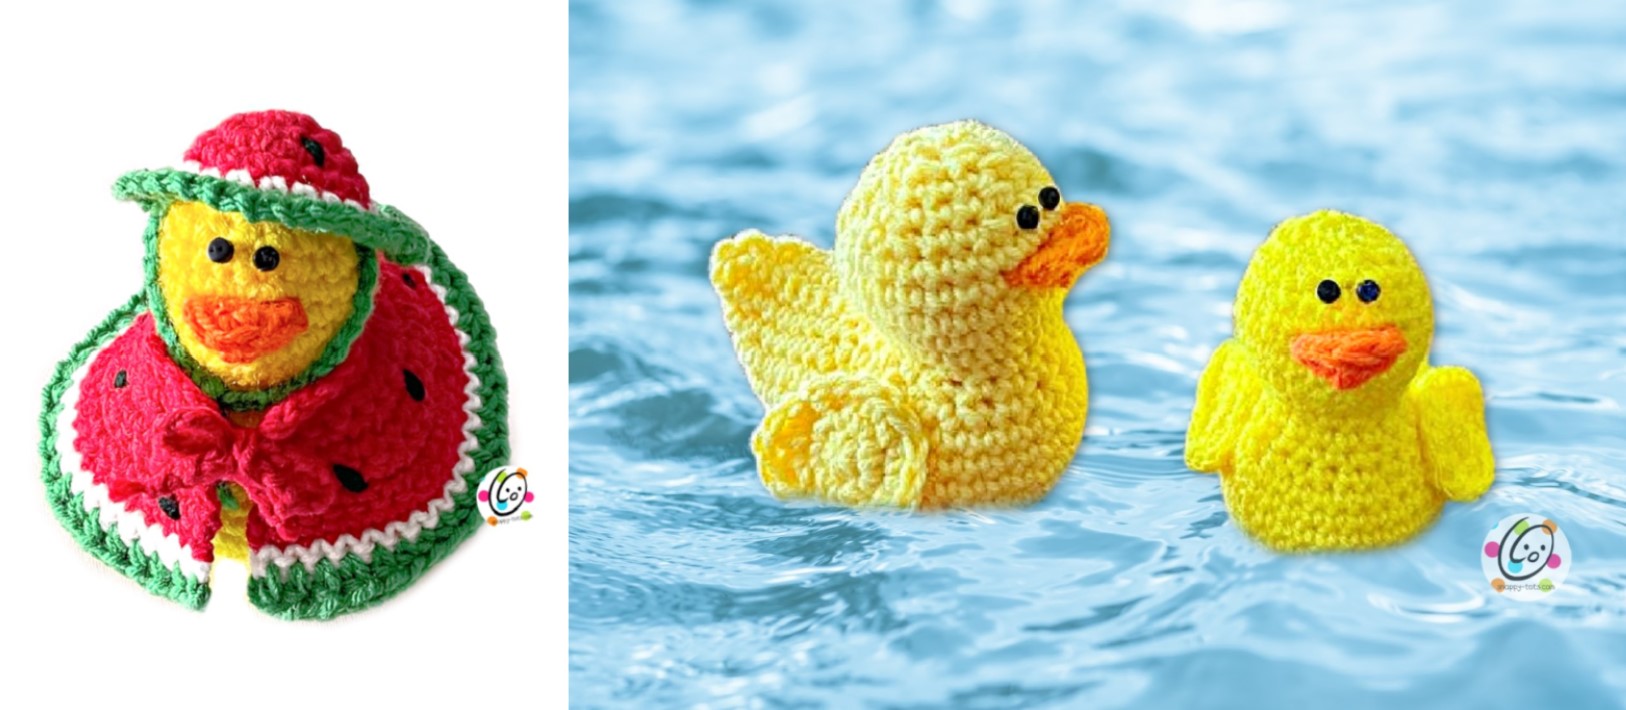
Rubber Duck Crochet Pattern
An ad-free, downloadable PDF of this pattern with all of the photos and instructions for the duck and watermelon set is available to purchase for a small fee from my shops. Etsy | Ravelry
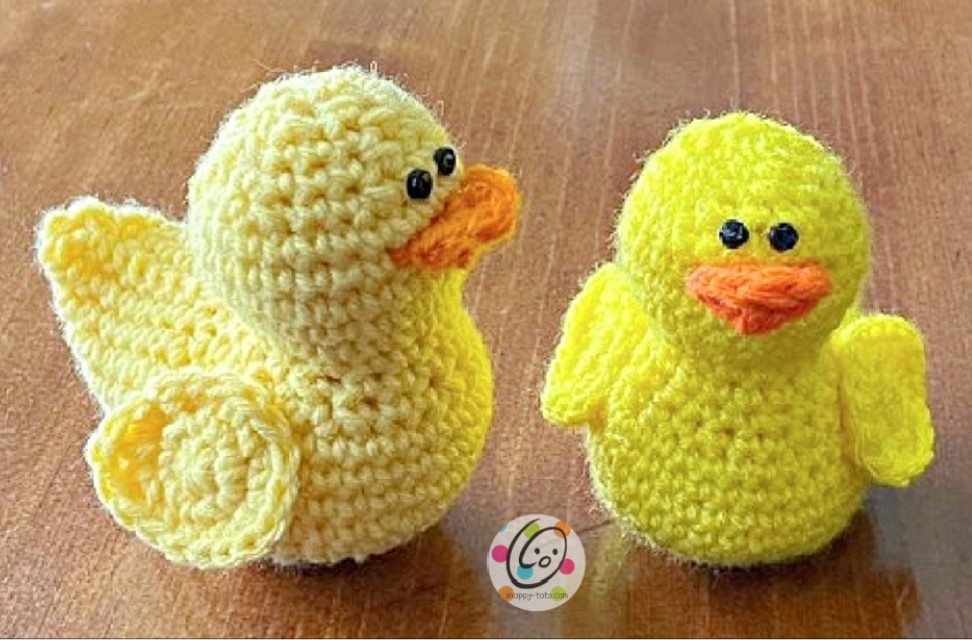
The two yellow ducks in the photo above are both made from worsted weight yarn. Not all size 4 worsted weight yarns are the same thickness. The one on the right is made with Red Heart Super Saver Bright Yellow and a G hook. The one on the left is a little bigger and is made with Caron One Pound yarn and an H hook.
A video crochet along is now available so you can bring a duck to life while crocheting with me!
Project Description
- About the project: This pattern includes instructions for crocheting a duck 2 x 4″. Other size yarns can be used to create different sizes as well. Instructions also included for the hat and cape.
- Skill Level: Easy. Basic crochet skills are needed and must be able to read a crochet pattern.
Materials and Details
- Yarn: worsted weight. Samples were made from Red Heart Super Saver yarn Sunbright Yellow, Cherry, Paddy Green, White, Pumpkin. Less than 50 yards per color.
- Crochet Hooks: G (4.5mm), H (5mm)
- Notions: Yarn needle for weaving in ends, 2 small black buttons per duck, black thread, sewing needle, stuffing
- Optional: Measuring tape, scissors, approximately ⅛ cup of stones or beads for weight, sock/nylon to hold beads
- Finished Measurement of Duck: With a G hook – 4” tall x 2.5” wide x 4” deep; Gauge: not needed for this project.
Note: If this will be used with small children, substitute small safety eyes instead of buttons.
Tips
- The first stitch of each row is worked into the same stitch as the turning chain unless worked in the round.
- Numbers at the beginning of each line may refer to steps and not indicate number of rows.
- Stitch count remains the same unless noted at end of row/round.
- If you have any questions about this pattern please contact [email protected].
- Finger shape the pieces for a smooth edge.
Duck Body
This starts at the bottom of the stuffie.
1. With a G hook and worsted weight yarn for the duck (RHSS Bright Yellow) start with a magic circle of 8 sc sts (or preferred method for creating a circle of 8 sc sts), pull closed and place a marker for working in the round. (8sts)
2. 2sc in each st to end of round. (16sts)
3. Sc 4, 2hdc in each of the next 4 sts, sc 4, 2hdc in each of the next 4 sts. (24sts)
4. Sc 4, hdc, 2hdc in the next st, hdc, 2hdc in the next st, 2hdc in the next st, hdc, 2hdc in the next st, hdc, sc 6, 2hdc in the next st, hdc 2, 2hdc in the next st, sc 2. (30sts)
5. Sc 6, hdc, 2hdc in the next st, hdc, 2hdc in the next st, 2hdc in the next st, hdc, 2hdc in the next st, hdc, sc 9, 2sc in the next st, sc 2, 2sc in the next st, sc 3. (36sts)
6. *sc 5, 2sc in the next st*, repeat to end of round. (42sts)
7-9. Sc in each st to end of round.
10. *sc 2, sc2tog*, repeat 5 more times, sc 7, hdc 4, sc 7. (36sts)
11. *sc2tog, sc 4*, repeat 2 more times, sc 7, hdc 4, sc 7. (33sts)
12. Sc 15, sk 18. This will leave a large opening to create the tail.
Stop here and add the weight (optional). Stuff firmly to this position.
13. *sc 2, 2sc in the next st*, repeat to end of round. (20sts)
14. *sc 3, 2sc in the next st*, repeat to end of round. (25sts)
15-16. Sc in each st to end of round.
17. Sc 23, sc2tog. (24sts)
18. *sc 2, sc2tog*, repeat to end of round. (18sts) Stop here and add the beak and eyes.
19. *sc 4, sc2tog*, repeat to end of round. (15sts) Add more stuffing.
20. *sc 3, sc2tog*, repeat to end of round. (12sts)
21. *sc2tog*, repeat to end of round. (6sts) Finish off, leaving a long tail for sewing the last round closed.
With a yarn needle, use the yarn tail to weave in and out of the remaining stitches. Pull to close and secure the yarn tail.
With a yarn needle, use a long piece of matching yarn to sew the tail closed.
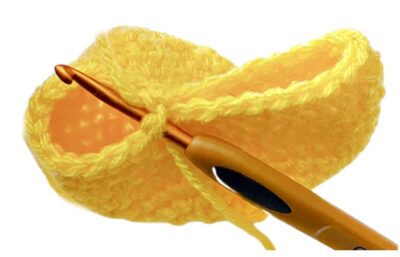
Wings (make 2)
1. With a G hook and yarn to match the body, start with a magic circle of 6 sc sts (or preferred method of starting a circle of 6 sc sts), pull to close and sl st to join. (6sts)
2. Ch 1, 2sc in each st to to end of round, sl st to join. (12sts)
3. Ch 1, sc in the same st, (hdc, dc) in the next st, ch 1, (dc, hdc) in the next st, sc 3, (sc, hdc) in the next st, 2hdc in the next st, (hdc, sc) in the next st, sc 3, sl st to join. (18sts) Finish off, leaving a long tail for sewing in place.
With a yarn needle, use the yarn tail from each wing to sew the wings to the body. I left the end tip and bottom edge unsewn.
Beak (make 1 piece)
1. With a G hook and orange yarn, ch 4, sc in the 2nd ch from hook, sc 2. (3sts)
2. Ch 1, turn, sc in each st.
3. Ch 1, turn, sc 2, 2hdc in the last st (this will be the tip of the beak). Sc in the side of the beak and sl st in the first st of the bottom row. Finish off, leaving a long tail for sewing in place.
Place the right side of the beak against the front of the duck (see photo).
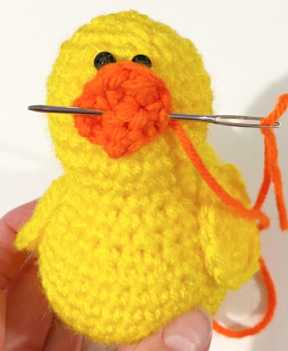
Use a yarn needle and the yarn tail to sew across the center of the beak to the duck. Fold the top layer down and sew the corners of the beak together. This will help keep it closed a little.
Eyes: With a sewing needle and black thread, sew the buttons centered above the beak.
Sunhat
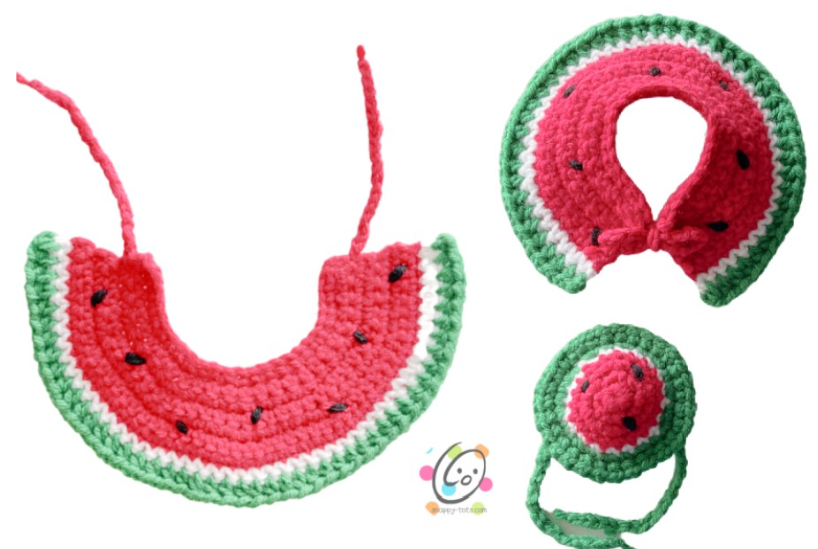

Directions written for the watermelon version. Substitute colors as desired.
1. With a G hook and worsted weight yarn (red in sample), start with a magic circle of 5 sc sts (or preferred method of starting a circle of 5 sc sts), pull to close and sl st to join. (5sts)
2. Ch 1, 2sc in each st to to end of round, sl st to join. (10sts)
3. Ch 1, 2sc in each st to to end of round, sl st to join. (20sts)
4. Ch 1, sc in each st to end of round, sl st to join.
5. Finish off the current yarn and change to white yarn. Ch 1, sc in each st to end of round, sl st to join.
6. Finish off the current yarn and change to green yarn. Ch 1, *sc, 2sc in the next st*, repeat to end of round, sl st to join. (30sts)
7. Ch 1, sc in the same st, *ch 1, sc in the next st*, repeat to end of round, sl st to join. Finish off and weave in ends.
Note: Do not skip any sts for this round. There should be an sc in each st with a ch 1 between each sc.
Ties: With a G hook and matching yarn, from the inside of the hat sl st around a post of the first green round. Ch 20. Finish off and trim the end of the tie.
Choose a st directly across from the first tie and repeat.
Cape
This starts at the neck edge and is written for the watermelon version. Substitute colors as desired.
1. With a G hook and red yarn, ch 27, sc in the 2nd ch from hook and in each ch across. (26sts)
2. Ch 1, turn, sc2tog, sc 22, sc2tog. (24sts)
3. Ch 1, turn, *sc 3, 2sc in the next st*, repeat to end of row. (30sts)
4. Ch 1, turn, *sc 4, 2sc in the next st*, repeat to end of row. (36sts)
5. Ch 1, turn, *sc 5, 2sc in the next st*, repeat to end of row. (42sts)
6. Ch 1, turn, *sc 6, 2sc in the next st*, repeat to end of row. (48sts)
7. Ch 1, turn, sc in the same st and in each st to end of row.
8. Finish off the current yarn and change to white yarn. Ch 1, turn, sc in the same st and in each st to end of row.
9. Finish off the current yarn and change to green yarn. Ch 1, turn, hdc in the same st, *ch 1, hdc in the next st*, repeat to end of row. Finish off and weave in ends.
Note: Do not skip any sts for this row. There should be an hdc in each st with a ch 1 between each hdc.
Ties: With a G hook and red yarn, sl st in the edge of the cape 2 rows from the top edge (see main photo). Ch 20. Finish off and trim the end of the tie.
Repeat for the opposite edge of the cape.
Seeds for hat and cape: Use a yarn needle and black yarn to create the seeds by taking a couple of sts for each one.
Thank you!
I hope you enjoyed making this quick and easy project. I would love to see your creations. Please add your project to Ravelry and/or share online and include #snappytots.
Thanks for crocheting with me!
~ Heidi
Pin To Save For Later


Love love love your new Jeep! I have a 2001 Red Jeep Wrangler that we bought new. I also drive very little – only just recently turned over 100,000 miles. I LOVE my Jeep – her name is Robyn. (The red red robin goes bob bob bobbin along) What is your Jeep’s name???
Love the duck pattern as well. I have a friend who hides ducks when she goes on a cruise (guess that’s a “thing” as well). I have made her many crocheted ones (to be different from the rubber ones), I will have to try this pattern out for her!