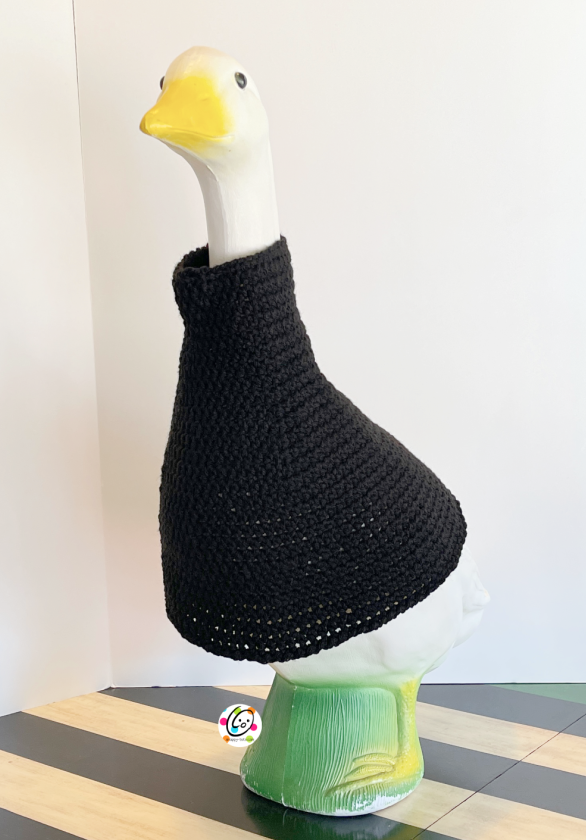
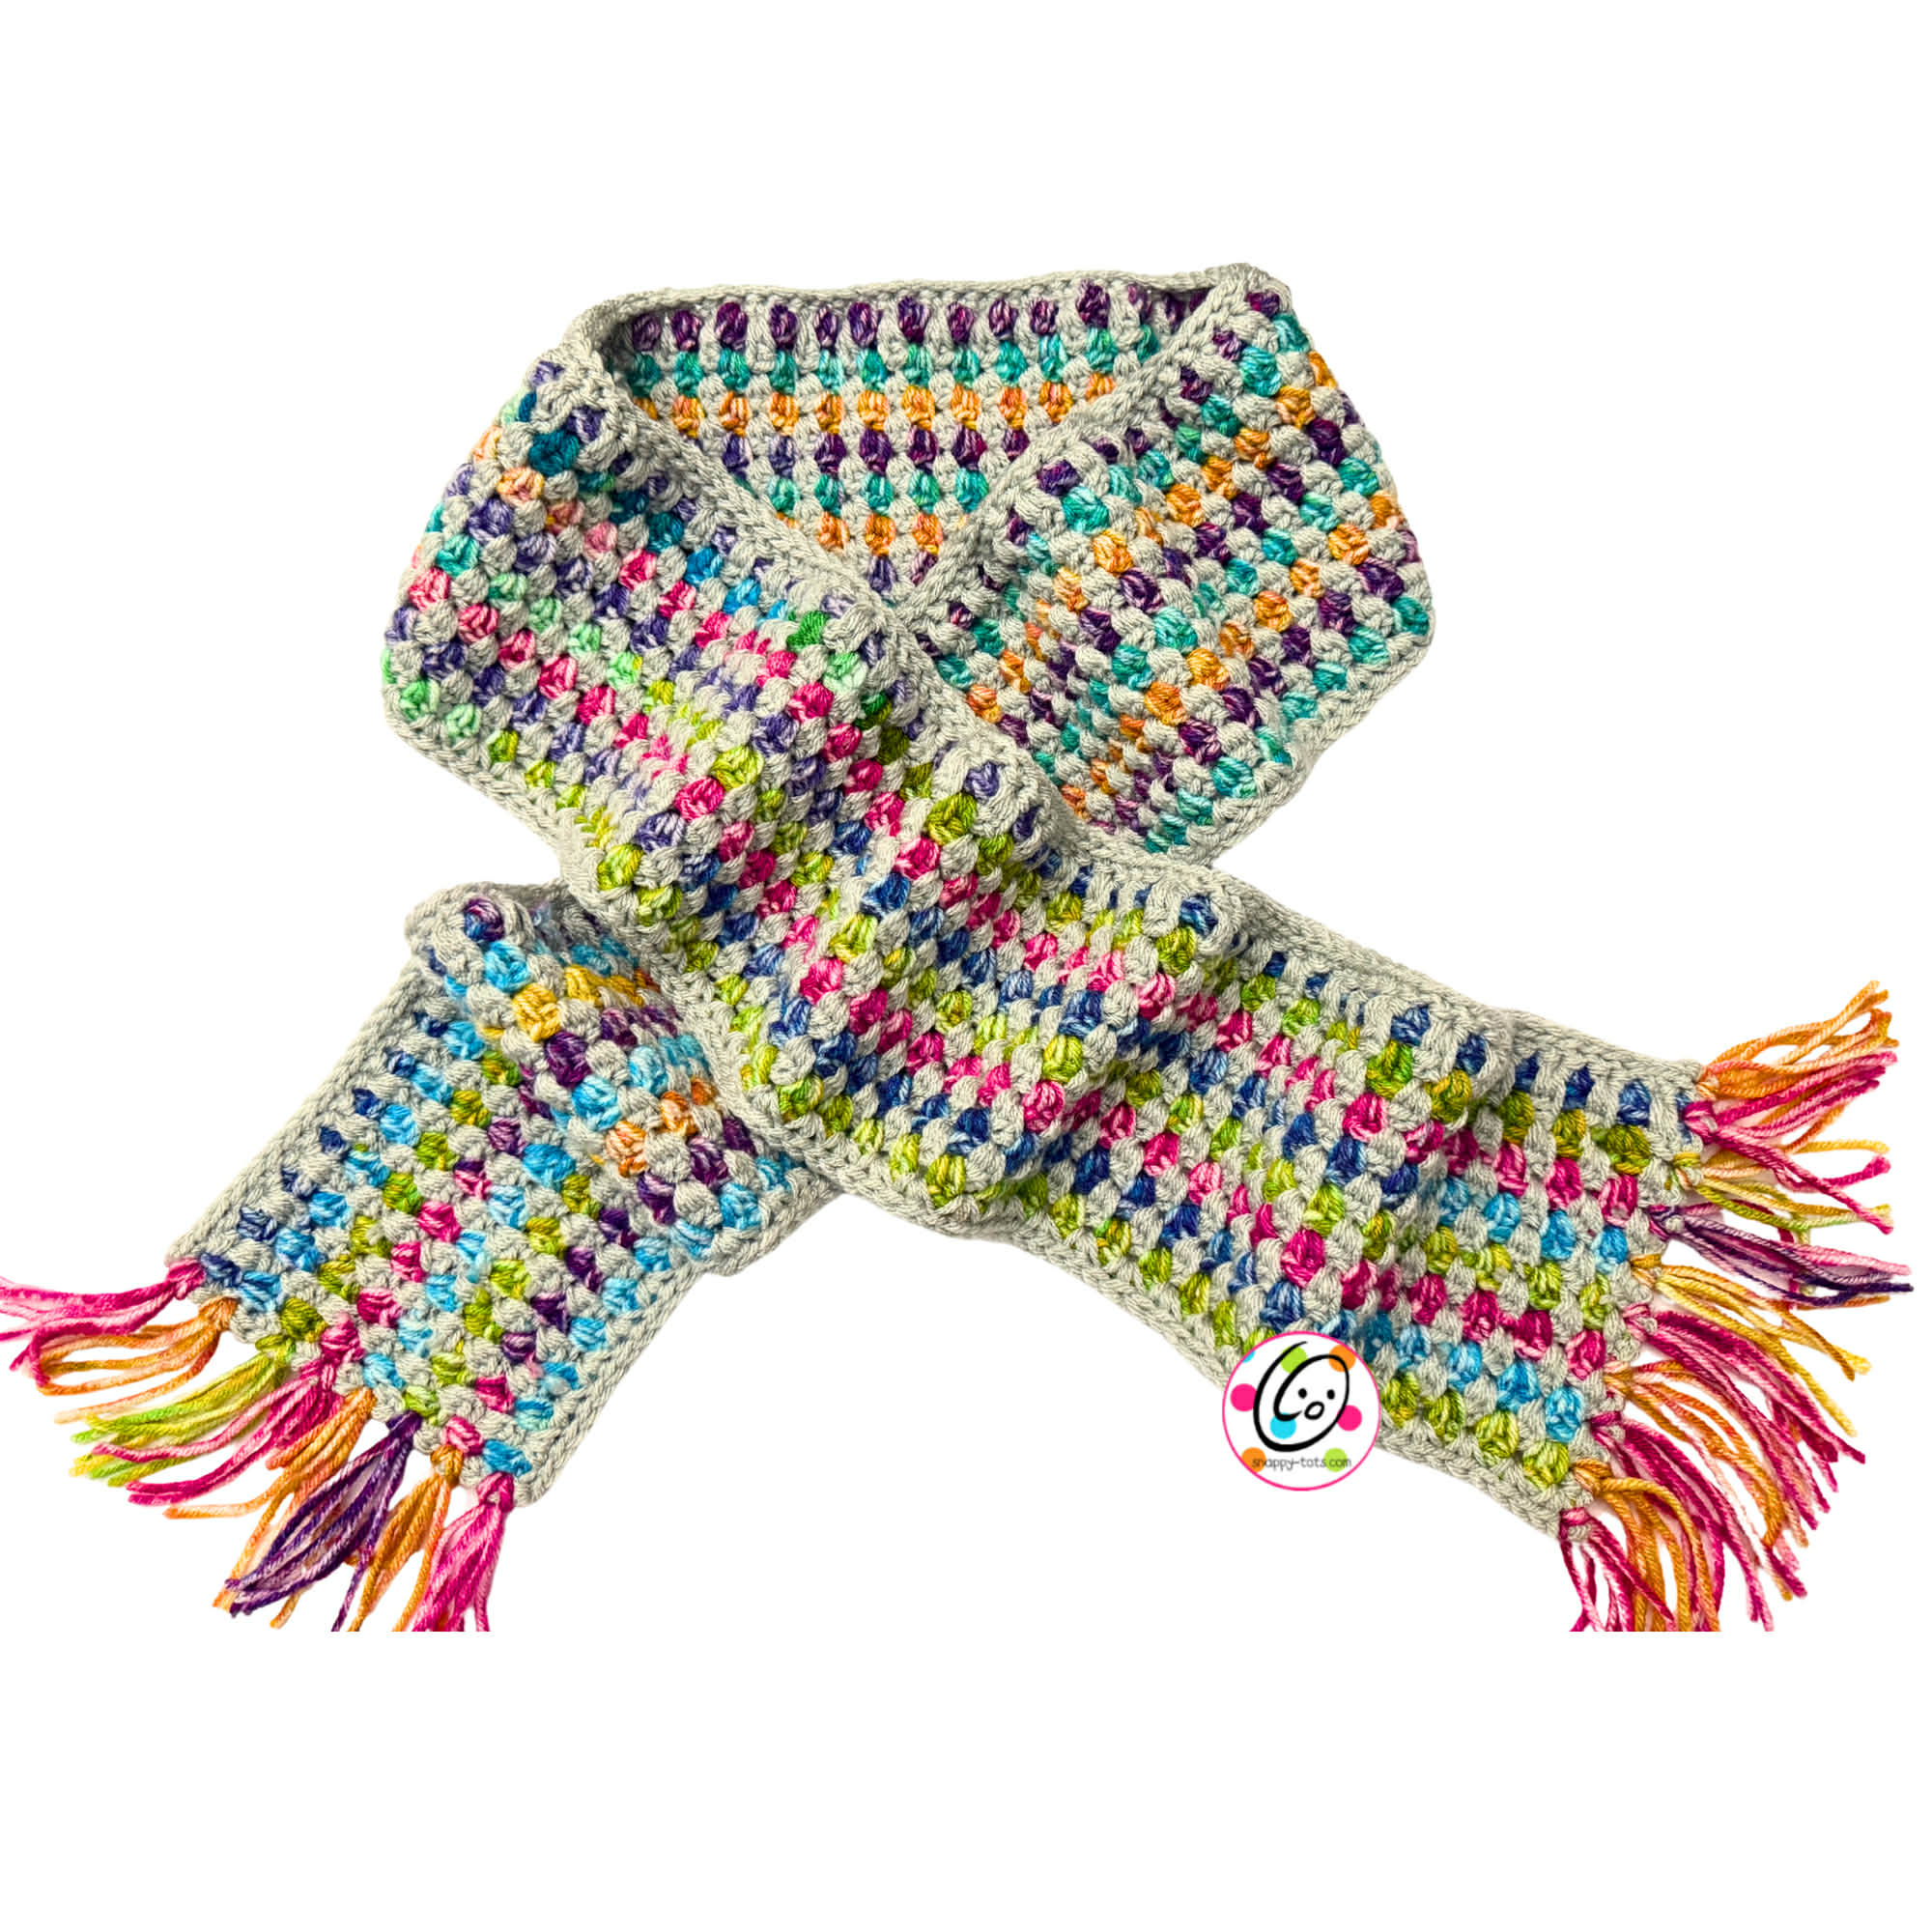
Free Pattern: Dorothy’s Scarf
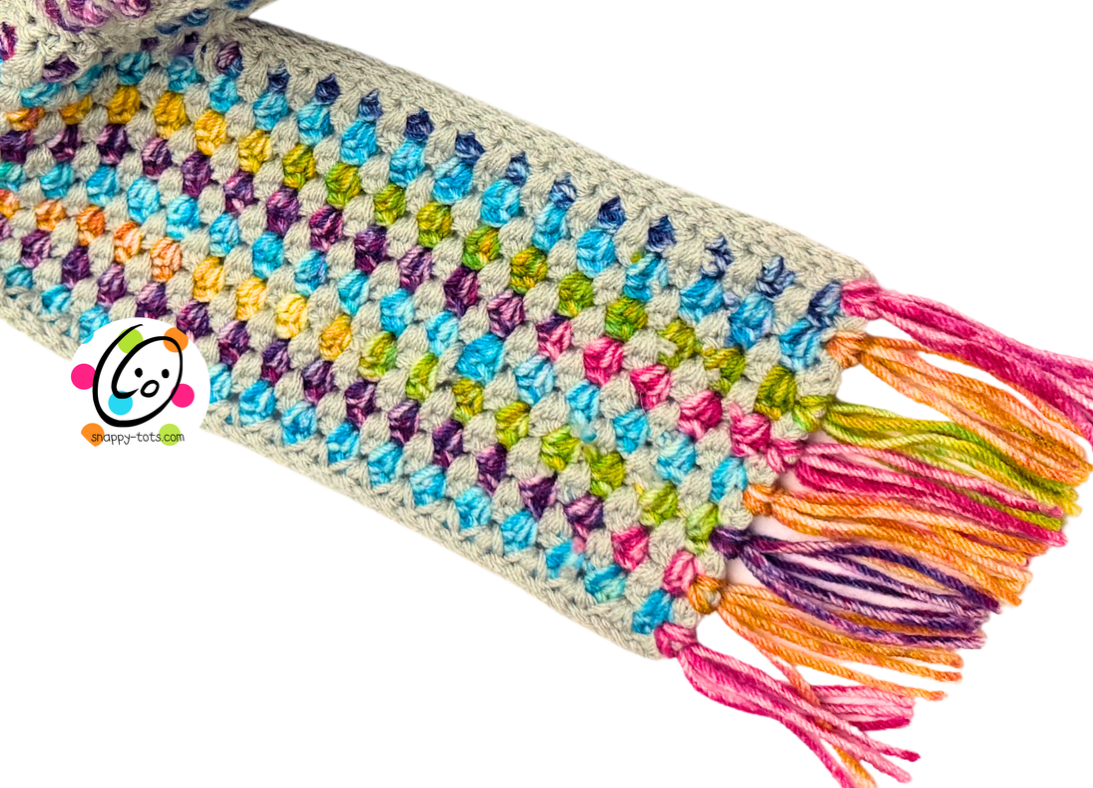
On a recent road trip to see the Wizard of Oz at the sphere in Las Vegas with my daughter and grand daughter… yes it was WONDERFUL and we had a really fun time… I wanted a project I could work on that didn’t take a lot of concentration. I LOVE how it turned out! The texture reminds me a Dorothy’s brick road and the colors of a rainbow. I hope you will enjoy this project too.
The Supplies I Used
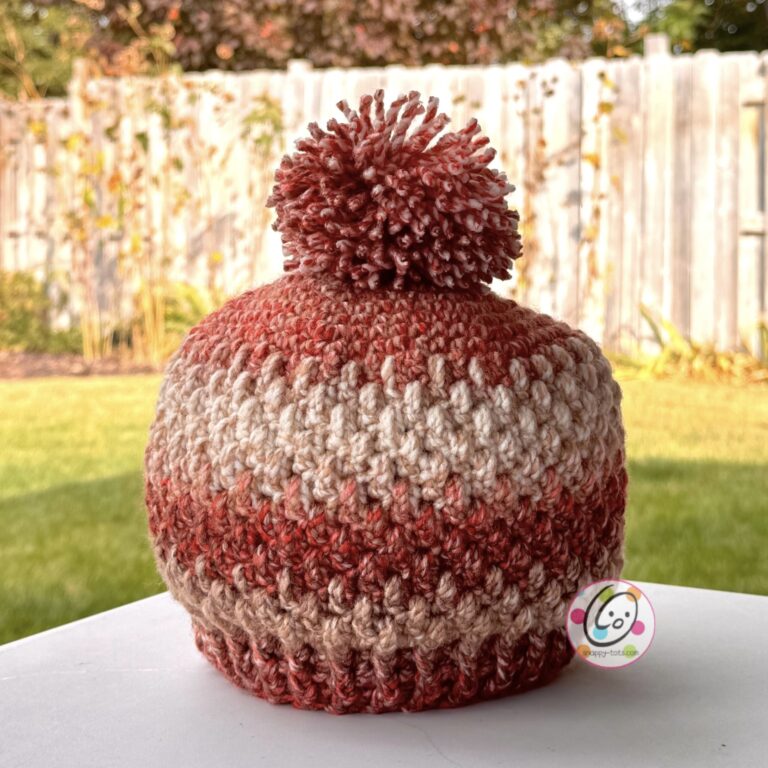
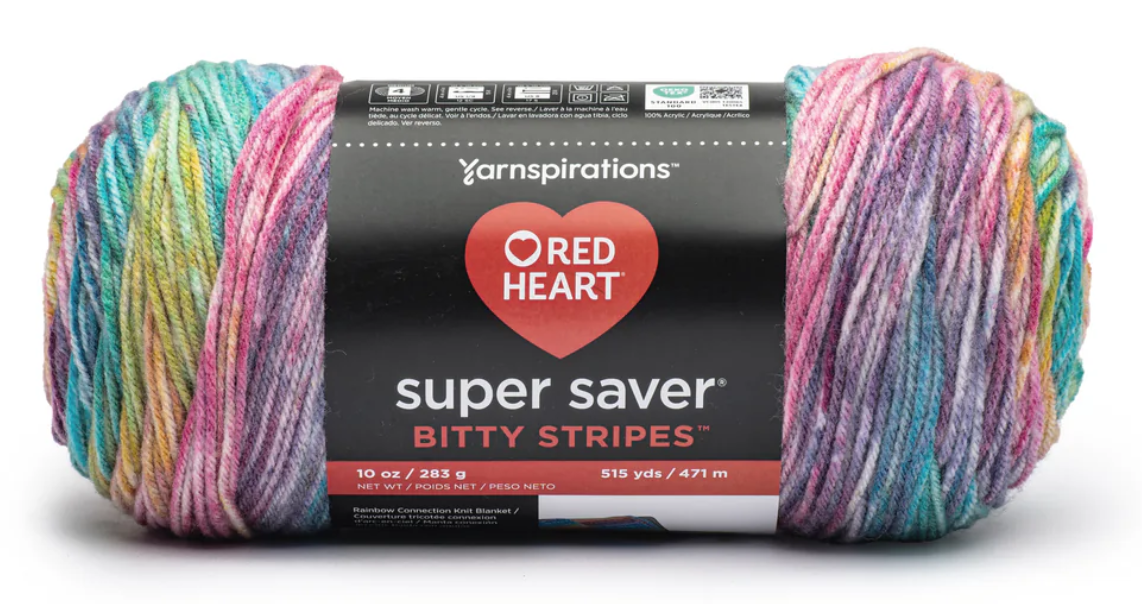
The Yarn: Red Heart Super Saver Bitty Stripes yarns quickly became a personal favorite. I love the colors and how they bring a project to life with one skein. These 10 oz skeins are BIG. At 515 yards a skein, you can easily make a scarf and hat set (yep, there IS a matching hat coming on 3/22/26!).
The hook: When possible I use Clover Soft Touch Crochet Hooks (they only go up to a size J….oh how I wish they came bigger!). I highly suggest using these hooks. I am able to crochet 8-10 hours a day with these hooks. I have extreme fatigue in my hands and arms, but these hooks allow the comfort needed to continue crocheting.
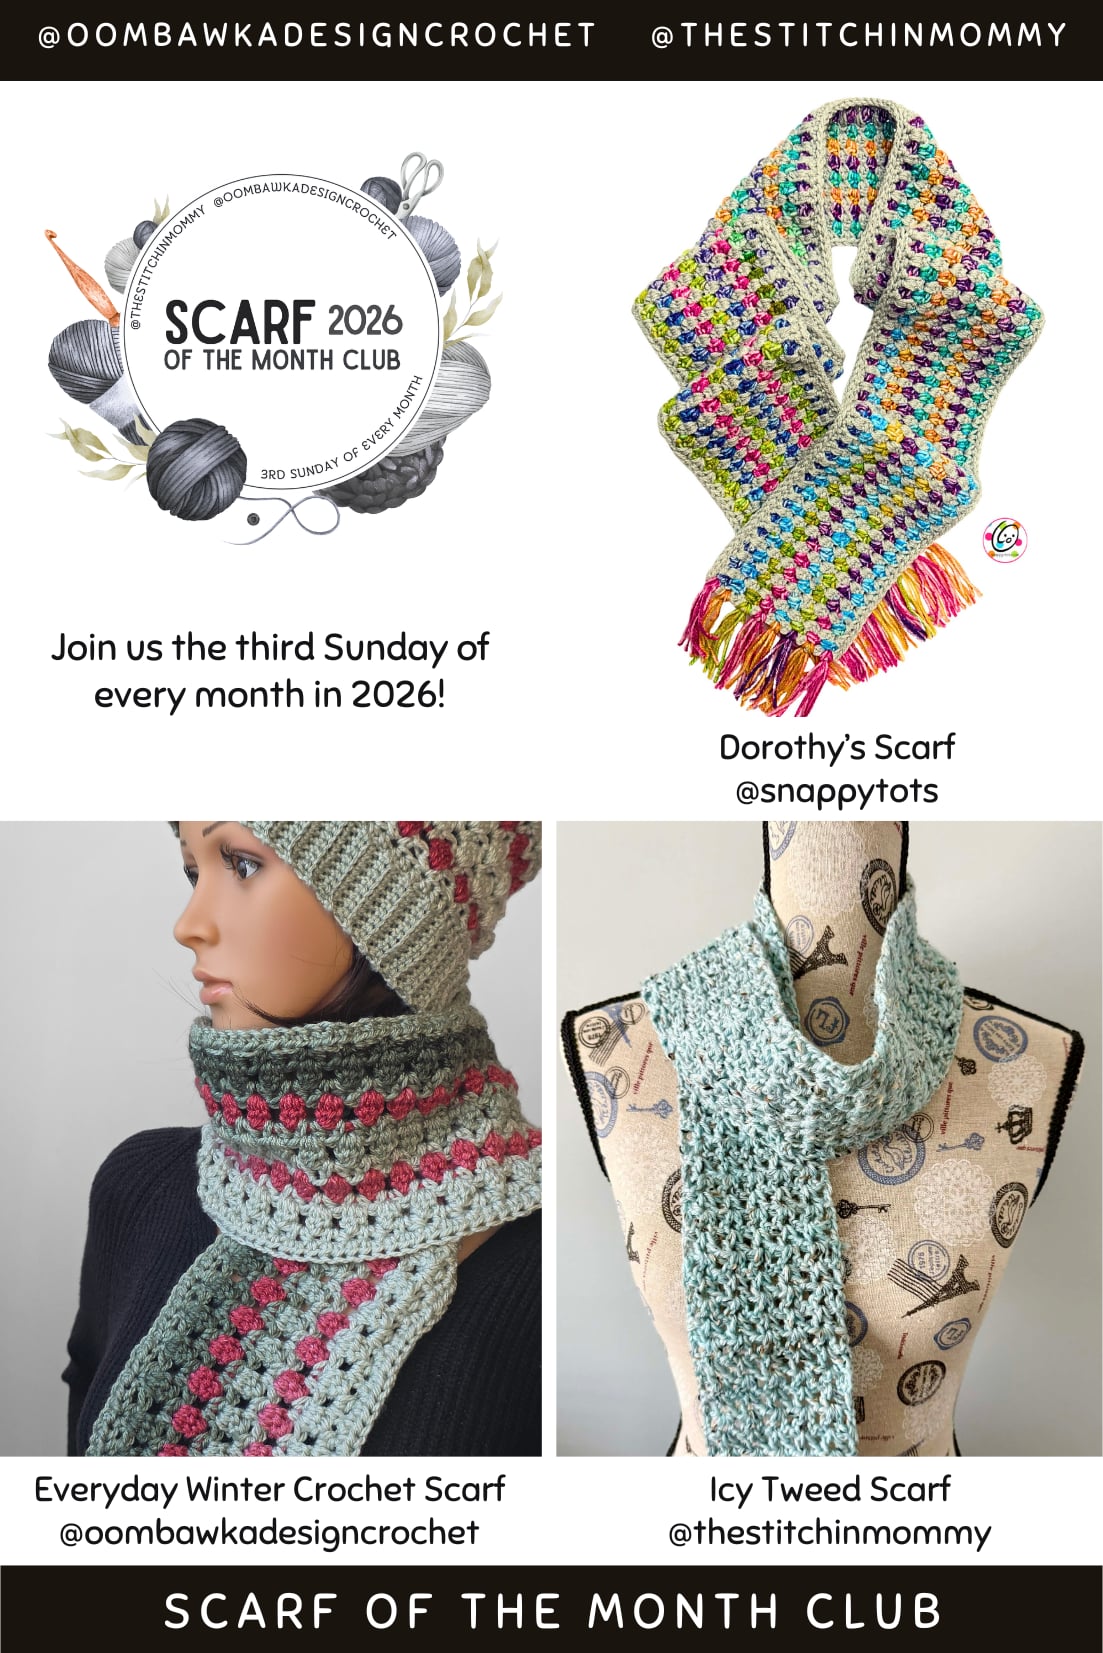
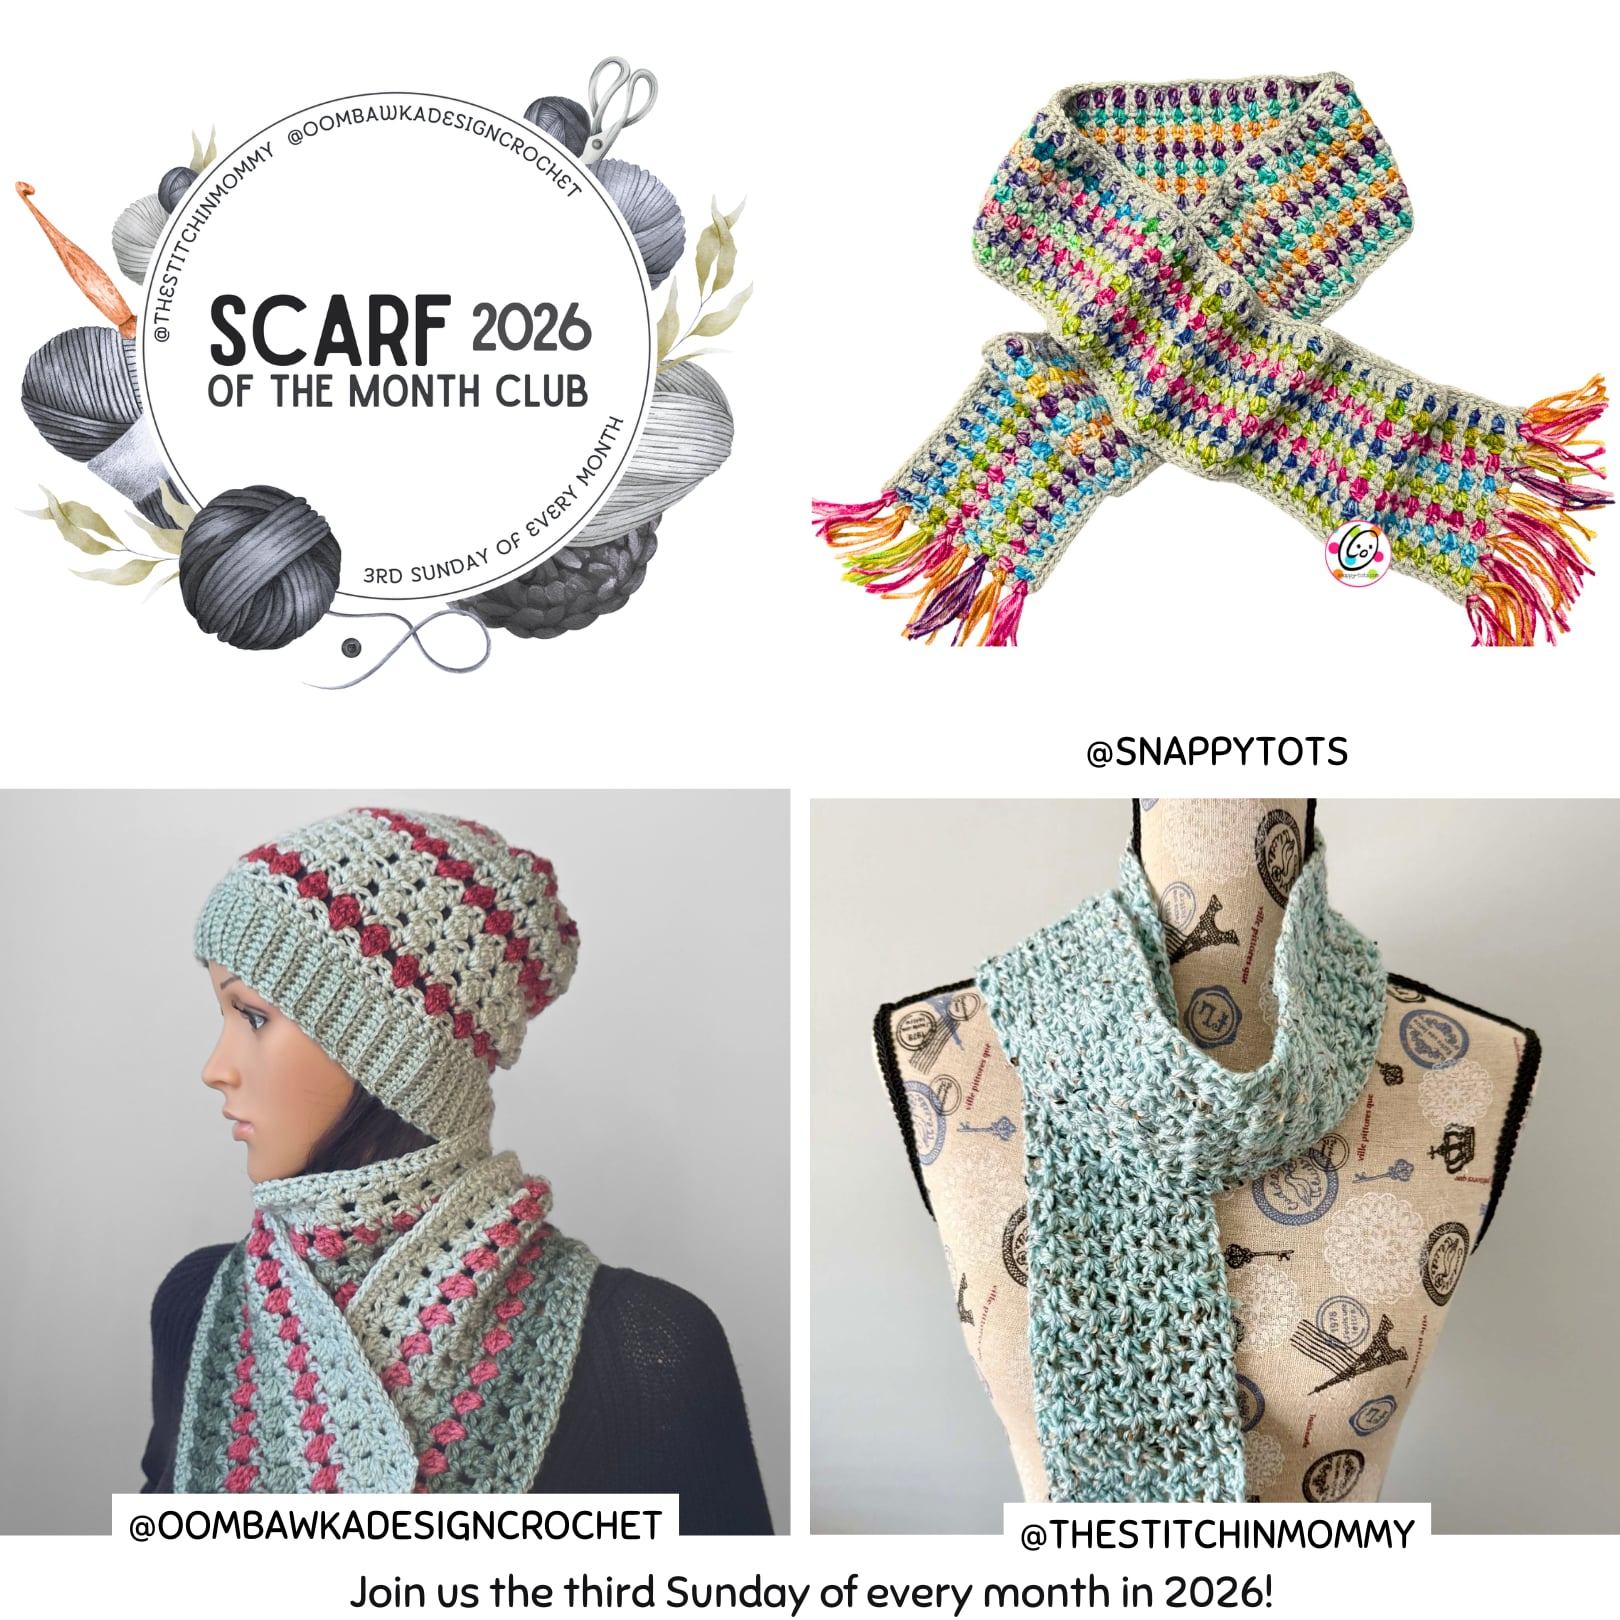
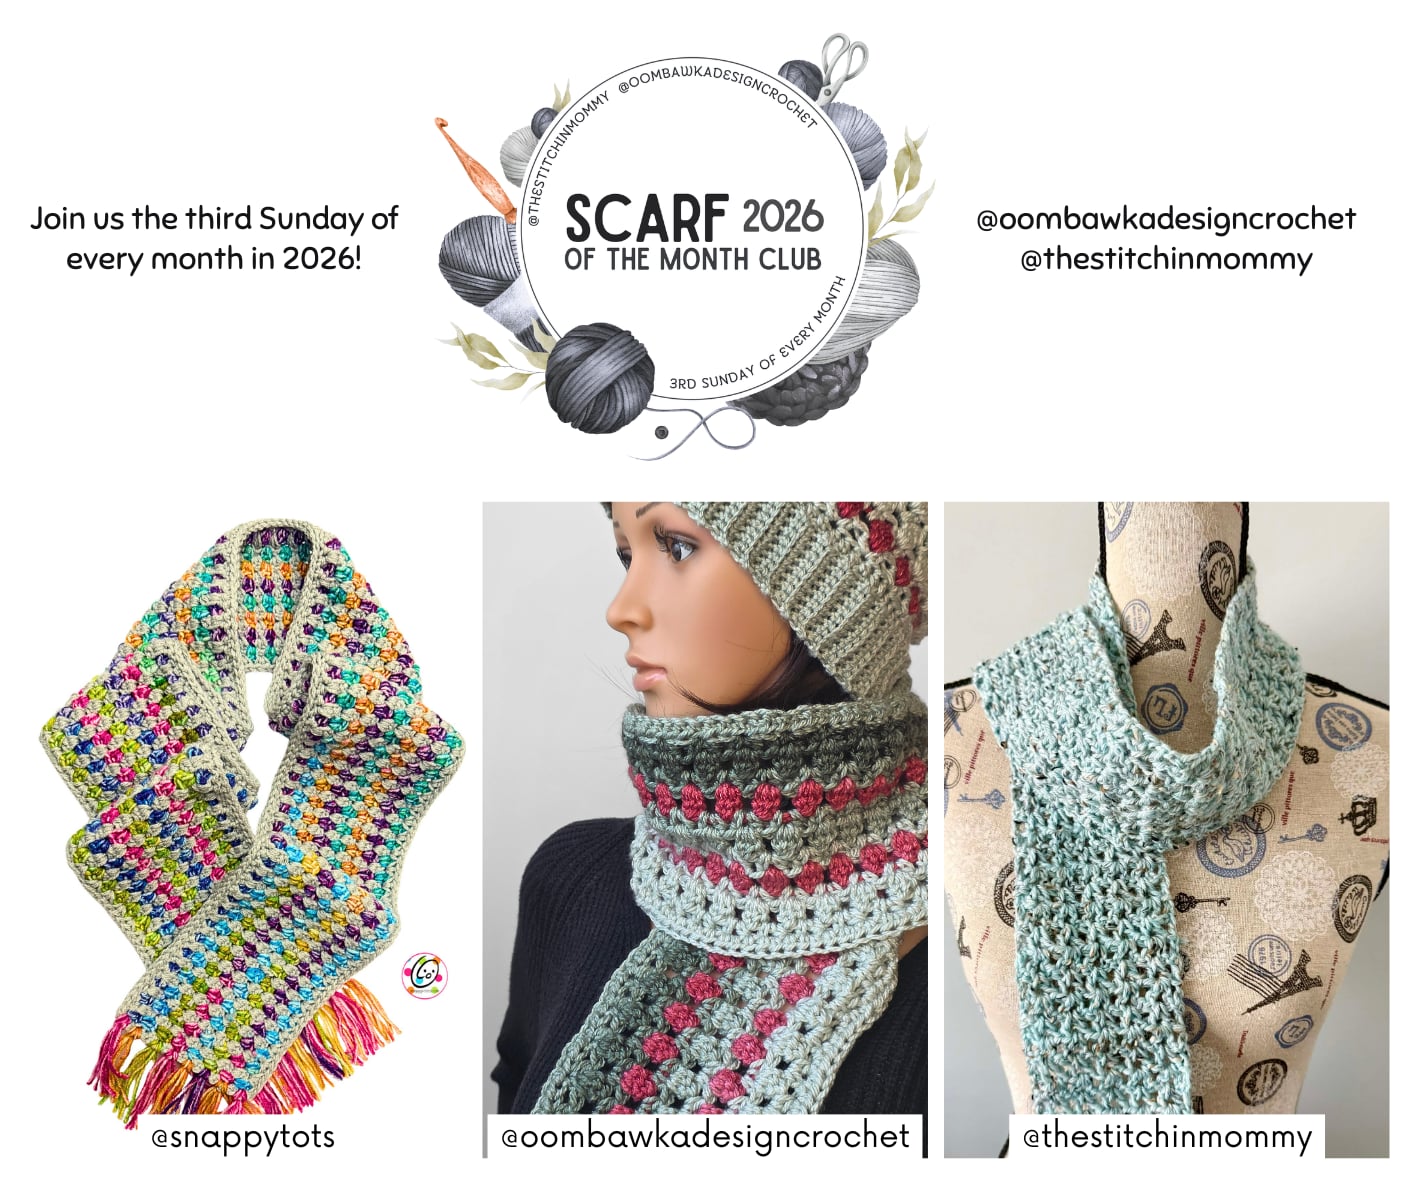
Scarf of the Month
This pattern is part of the 2026 Scarf and Hat of the Month cal with The Stitchin Mommy and Oombawka Design Crochet.
About this ongoing event: Crocheted scarves, pocket scarves, hooded scarves and cowls make great gifts and they are perfect for donating to people in need in the colder, winter months.
- Each month in 2026, three brand new scarf patterns will be shared as part of The Scarf of the Month Club CAL. You can download a Premium PDF copy of the pattern for FREE, but only for the first 24 hours.
- After this time has expired, each of the Premium Patterns will return to their regular prices in our shops.
- You will also be able to find a free version of each pattern will be viewable on our websites.
The pattern for my scarf is available for free below and you can get the other two scarf patterns at the following links between 3/15/26 9pm et and 3/16/26 11:59 pm et.
- Icy Tweed Scarf by The Stitchin Mommy
- Everyday Winter Crochet Scarf by Oombawka Design Crochet
Dorothy’s Scarf Crochet Pattern
The pattern is available for free below, plus a downloadable, an ad free pdf is available from my shop: Ravelry
Materials and Details
- Yarn: 300 yards worsted weight yarn each – Red Heart Bitty Stripes yarn in Unicorn Mane + 300 yards Red Heart Super Saver Lt Grey
- Crochet Hook: J (6mm)
- Notions: Yarn needle for weaving in ends
- Measurements: 5.25″ wide x 68″ long (not including fringe). Custom size information included in pattern below.
- Gauge: not necessary for this project
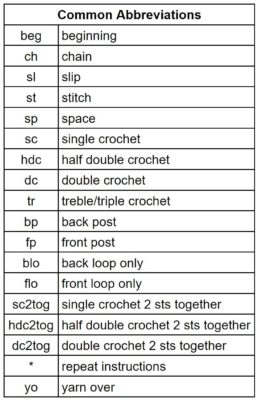
Common Crochet Stitches and Abbreviations
Tips to read before you begin: This pattern is written a little differently from the standard crochet pattern. I like to include more explanation to help with stitch placement and to make the experience more enjoyable. I hope you will find my style of pattern writing helpful.
- The first stitch of each row is worked into the same stitch as the turning chain unless worked in the round.
- Numbers at the beginning of each line do not refer to the number of rows/rounds, but distinguish the next item to complete.
- Stitch count remains the same unless noted at end of row/round.
- Color changes are included for the main sample. Please substitute yarns as desired. If you will be using multiple yarns I suggest choosing yarns of equal thickness. Not all worsted weight yarns are created equal.
- If you have any questions about this pattern please contact [email protected].
Directions
- This project is worked back and forth in long rows.
- For a custom size, start with an even number of chains.
- Almost any yarn and appropriate hook size could be used with this pattern.
- This stitch combination makes a nice interlocking stitch that would be great for blankets and rugs too.
- Two yarn colors are used in this scarf. Color A = Light Grey; Color B = Unicorn Mane
- The yarn changes at the end of each row. The yarn tails will be woven in after all the rows are complete.
- The beginning chain does not count as a st.
- Stitch count remains the same for all rows. It doesn’t change unless noted at the end of the step.
1. With a J hook and color A, ch 200, sc in the 2nd ch from hook and in each ch across. (199sts)
2. Finish off the current yarn and change to color B. Ch 1, turn, (sc, dc) in the same st, sk 1, *(sc, dc) in the next st, sk 1*, repeat until 1 st remains, sc in the last st.
Note: remember the repeat ends with a sk 1 so it will seem like there are 2 sts left after the last (sc, dc).
3. Finish off the current yarn and change to color A. Ch 1, turn, (sc, dc) before the first cluster, (sc, dc) between the clusters of the previous row, repeat until 1 st remains, sc in the last st.
Note: do not work a cluster AFTER the last cluster.
4. Repeat steps 2-3 until there are a total of 16 cluster rows or until scarf is desired width.
5. Ch 1, turn, 2sc before the first cluster and between the clusters until 1 st remains. Sc in the last st.
6. This step is worked around the outer edge of the scarf. Turn (do not ch 1). Loosely sl st in each st across the long edge. At the end of the row, ch 1, sc in the same st, sc evenly across the short end of the scarf.
Ch 1, sl st in the first st of the other long edge, loosely sl st in each st across the long edge. At the end of the row, ch 1, sc in the same st, sc evenly across the short end of the scarf. Sl st to join. Finish off and weave in all ends.
Fringe (optional)
- Cut 48 pieces of yarn, 10” long.
- Look at the end of your scarf and decide where you want the tassels. I added 8 tassels, one at the end of each colored stripe, to each end of the sample. I suggest dividing the end in half and placing marking where you want to add the tassels.
- *Working with 3 pieces of yarn at a time, fold 3 in half to create a center loop.
- Use a crochet hook to pull the center loops through the first stitch at one short end of the scarf. Pull the loops through until you can fit the yarn ends through the loops, making sure the ends are as even as possible.
- Pull the yarn ends through until the loops are snug against the scarf.
- Repeat from * to * across the short end where desired.
- Add fringe to the opposite end.
- Place the scarf on a flat surface so the short ends are even and the fringe is straight. With a sharp pair of scissors, trim the ends of the fringe to desired length. The sample fringe is 3.5” long beyond the knot.
Pin To Save For Later