DIY Easy Lightbox Tiles
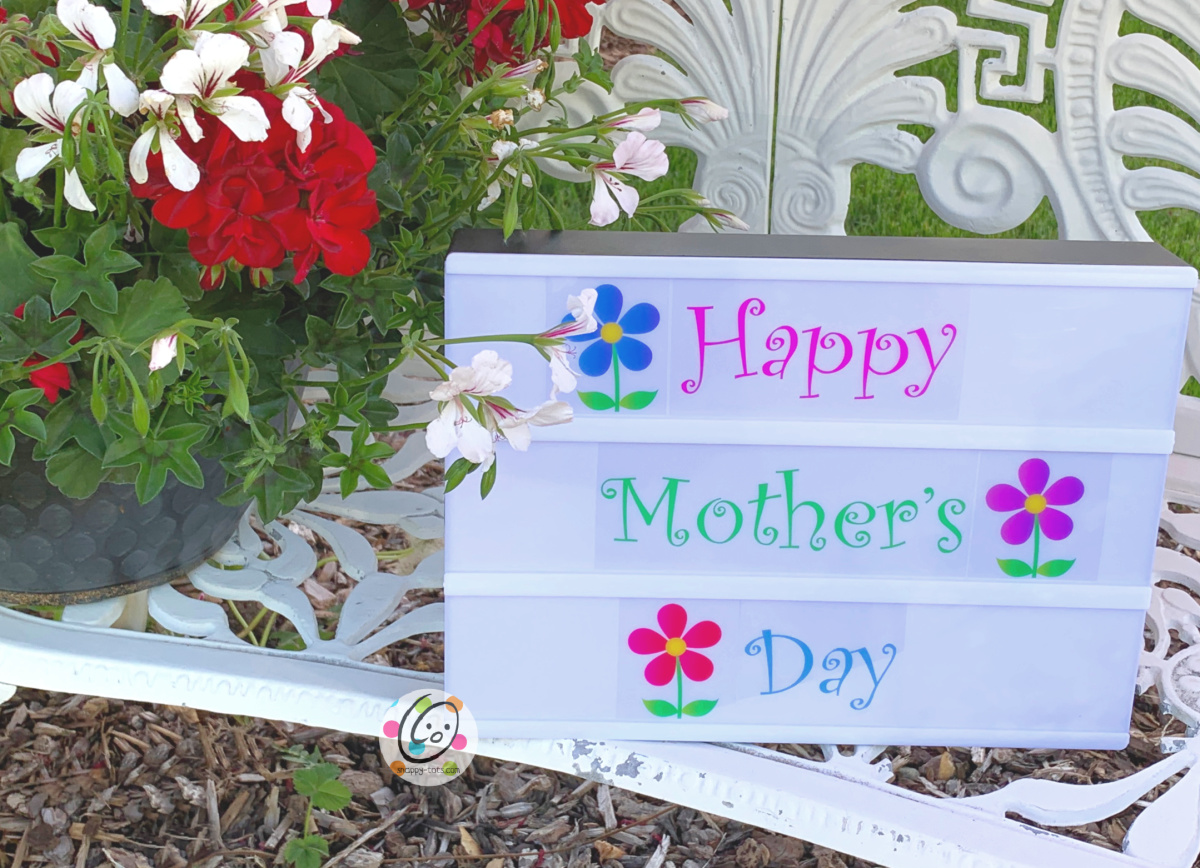
Every holiday I always struggle to find just the right gift for the occasion. This year as Mother’s Day came around I knew what I wanted to give my mom and mother in law. The gift turned out even better than I had hoped!
At Christmas time I gave my daughter a light box and an extra set of tiles. The light box comes with 80-100 Letters, Smiles & Symbols. It was so cute that I wanted one too and bought one to use for our youngest son’s birthday. It was a lot cheaper at Walmart for $9.97 (vs. $20 on Amazon). It can be used with batteries or a USB cord to plug in (included). Both moms seemed to love it so I knew I was going to give them each one for Mother’s Day.
One thing we didn’t like about it was it was time consuming finding the tiles and putting them altogether so they wouldn’t slide all over and fall off. You have to be careful carrying it so they don’t dump…and they always did. Plus, the tiles were kind of plain and blah.
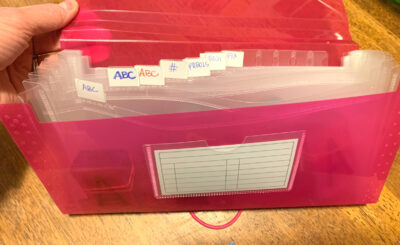
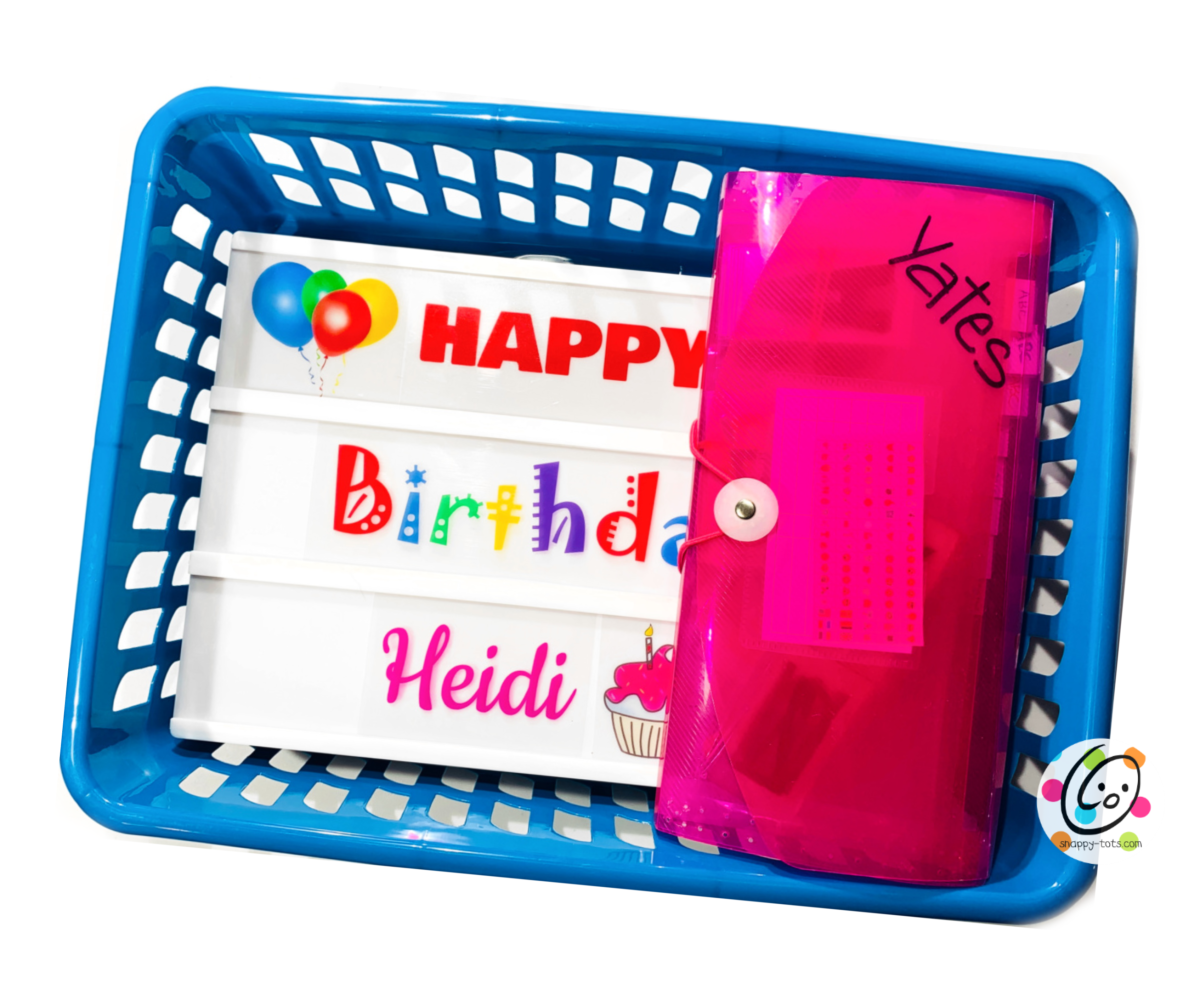
I put the sets together for the moms and found a plastic bin for each to keep the stuff together. I did order an extra set of tiles for each that gave some more options. These are more colorful and have some extra graphic tiles too. I grabbed a couple of coupon organizers to store all of the tiles in too.

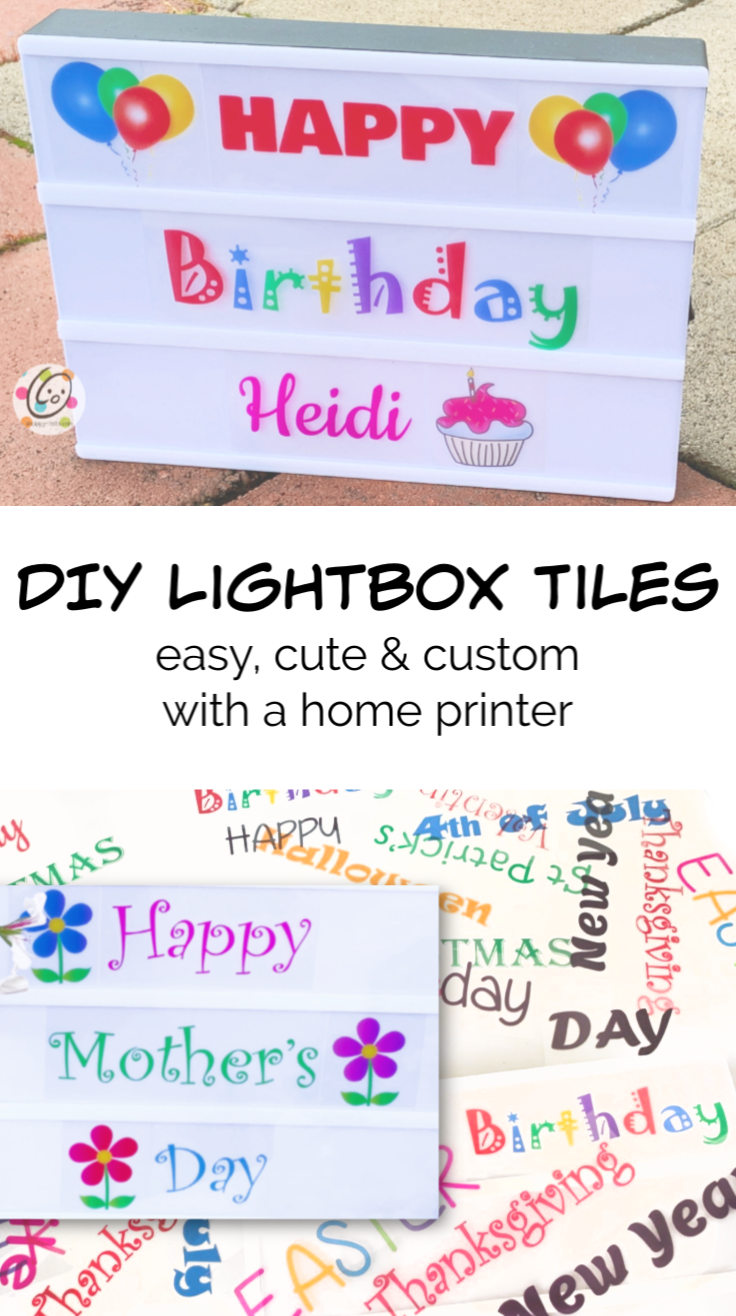
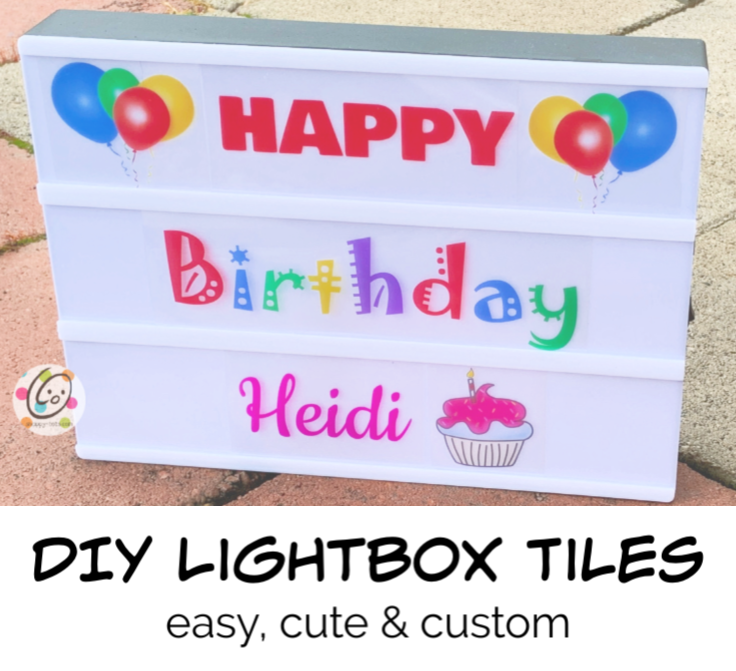
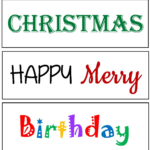
The gifts were coming together, but just weren’t as cute and happy as I had wanted. I decided to figure out how to make my own “tiles”. I started looking around for plastic I could use. I found printable overhead projector film and thought I would give it a try. It WORKED! I love, love, LOVE the outcome. The word tiles are perfect because they can be made to say anything and are ONE PIECE! The individual tiles are still great to have on hand, but 2 tiles for “Happy Birthday” instead of a bunch of individual letters is a breeze.
This is now my favorite gift to give. I think it is unique and usable. It would be great for craft fairs too. Plus, this could be a present for all ages. Teachers would also love it for their classrooms.
I did name tiles/slides for each family member in different fonts and colors. I have loved seeing my birthday sign today.
Note: when I gave the gift I didn’t want to open the light box, but DID want the Mother’s day wish on top so I taped each slide in place. This way they could see what it as, but everything was unopened too.
How To Make The Tiles/Slides
Materials
Light box: One that holds 2.5″ tiles/slides. Here are two we suggest: Leisure Arts Cinema Light Box from Walmart (best price), Cinematic LED Light Box Sign from Amazon
OHP Film Overhead Projector Film – 8.5×11″ for Inkjet Printer only Transparency Film
Printer with black and color ink
Computer and a program like Microsoft Publisher. You could also use Google Docs, word, etc.
Tips For Success
- MAKE SURE you insert the laminating film in the printer so it will PRINT on the BUMPY side… no matter what the package tells you. Mine said to print on the smooth side, but all the ink just pooled on top and was yucky. When I printed on the bumpy side it worked PERFECTLY!
- Insert the film in the printer so the white little paper line along one edge (you will see it) goes into the printer first. The printer needs this so it can grab onto it.
- You will notice on my files that the top part of the page is blank. Whether you print mine or create your own it is important to leave the top couple of inches blank. Not sure why, but it ends up printing those at the top edge anyway and if you put anything higher it will overlap the top edge and will be unusable.
- I added rectangle boxes around my tiles/slides to use for cut lines. This was a lot easier to do when laying out the design than measuring afterwards. You will want to cut just inside each line.
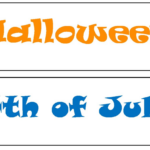
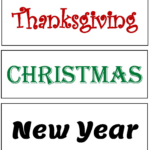
Holiday Word Strips For You To Print
I wanted to give a full set of holidays with my gifts. Then, I did the Mother’s Day and Birthday sets (with extra graphics) and will be adding holiday sets in the upcoming months.
Here are files you can download and print on laminating film (or cardstock for calendars and bulletin boards):
CLICK THE FILE YOU WANT TO DOWNLOAD


Please do not share these online or post them on other sites.
Directions For Using My Files
- Download one of the pdfs from my file list.
- Insert the laminating film in your printer (I do one piece of film at a time) so it will print on the bumpy side. You do NOT want it to print on the smooth side.
- I printed it with regular settings. I tried super duper quality settings first and it was unnecessary and was almost too much ink for the film.
- Print.
- Mine were dry as soon as they came out BUT I still let them sit for a bit just as a precaution.
- Cut just inside the top and bottom lines. For the sides I did cut within 1/2″-1″ of the item. That way the tiles/slides can fit closer together.
Directions For Making Your Own Tiles/Slides
- Open your favorite layout program. It is easier if it has rulers along the edges or gridlines. I use Microsoft Publisher because I am most familiar with this program.
- Create a rectangle that is 2.5″ high and has thin outlines.
- Open a text box and create the word you want. Center the word vertically in the rectangle. It can be within 1/2″ of the box edge. Make the words approximately 1.75 – 2″ tall so they will fill the row and stand out.
- Add graphics the same way, fitting as many items in each rectangle as possible, leaving 1″ between items.
- Leave a couple of inches open at the top of the page for printing purposes. Your printer might allow more so try one and see before printing a bunch.
- Save and print.
Follow the same guidelines when printing your own as when printing my files:
- Insert the laminating film in your printer (I do one piece of film at a time) so it will print on the bumpy side. You do NOT want it to print on the smooth side.
- I printed it with regular settings. I tried super duper quality settings first and it was unnecessary and was almost too much ink for the film.
- Print.
- Mine were dry as soon as they came out BUT I still let them sit for a bit just as a precaution.
- Cut just inside the top and bottom lines. For the sides I did cut within 1/2″-1″ of the item. That way the tiles/slides can fit closer together.
Pin To Save For Later