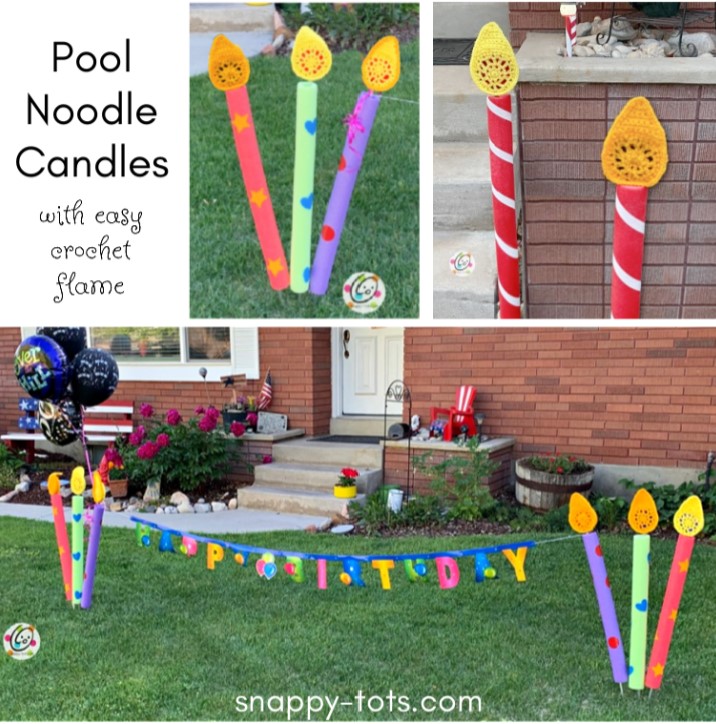
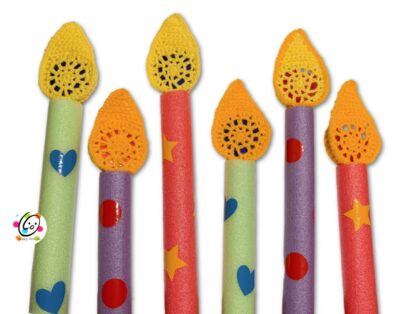
Pool Noodle Birthday and Christmas Candles
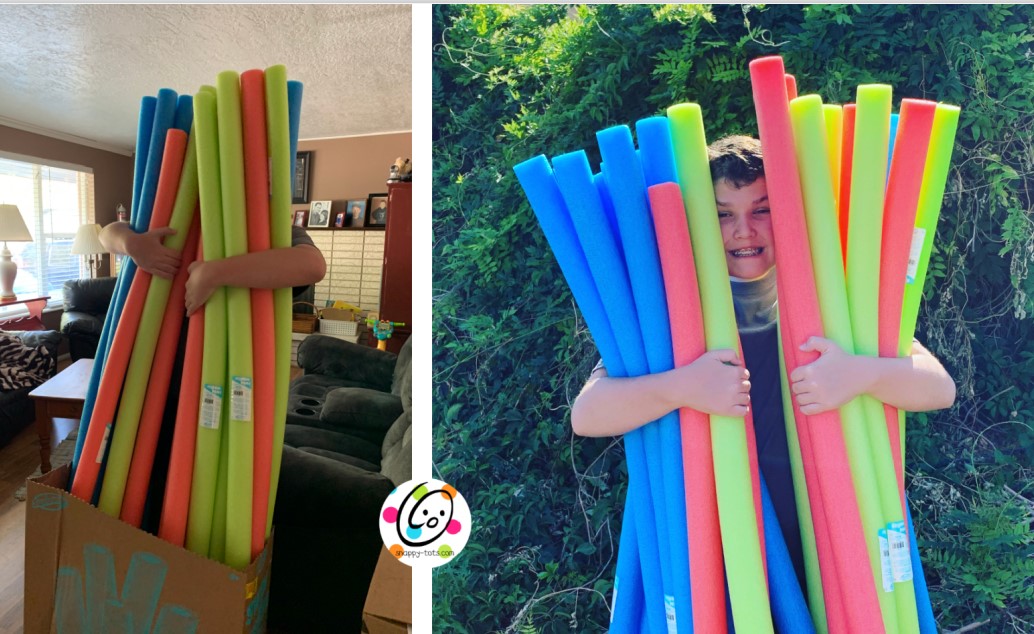
A few years ago, as we were walking out of a store, there were several cases of pool noodles for 10 cents each. My son and I couldn’t resist and decided we could have a lot of fun doing something with them for that price.
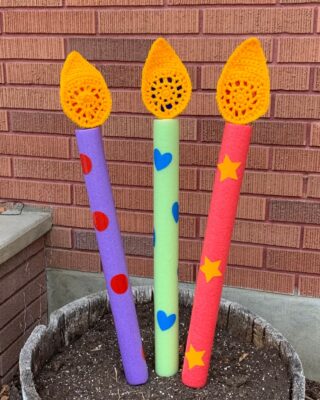
Right after the covid lockdown started, both of my parents had their birthdays. We didn’t want to risk getting them sick, but also wanted to celebrate their birthdays. We found some pool noodle candles people had made online and used craft foam for the flame. At the time, I had a bunch of reflector stakes from another project and thought those would be perfect stakes for the noodles. I got thinking that since the reflector was sticking out the top, I could turn THAT into a flame. I grabbed some yarn and a hook. I LOVE how they turned out! We have used these so many times.
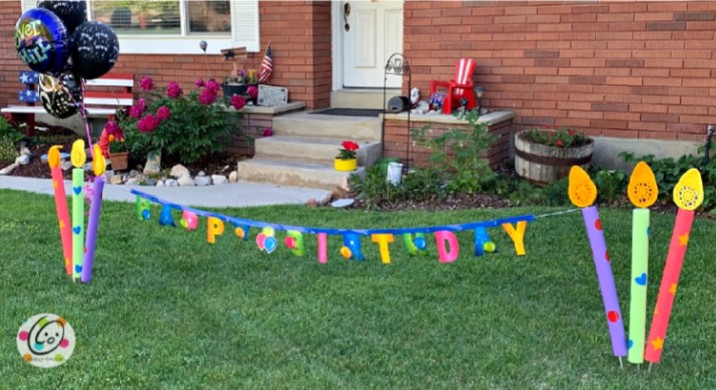
They are perfect for holding balloons and banners too!

Be aware that most reflectors do not have a sharp end at the bottom. Our yards at the base of the rocky mountains are pretty hard and it can be difficult to get the ends in the ground. I have had to stick them in planters and flower beds.
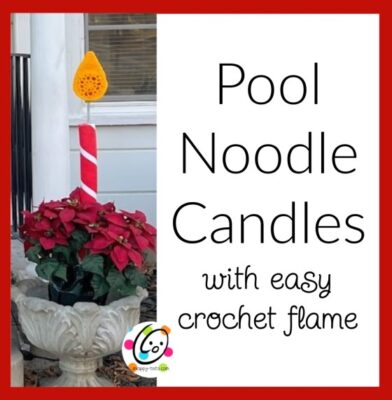
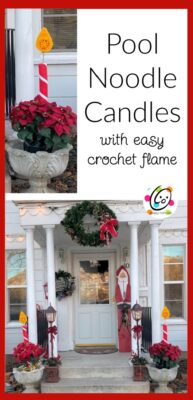
Christmas Candles
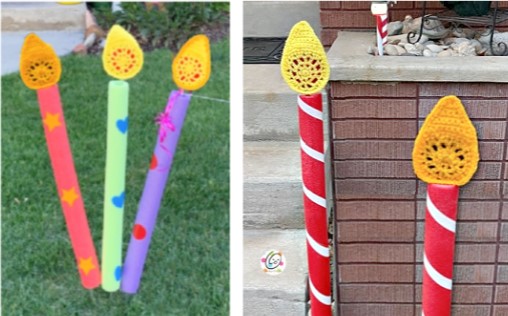
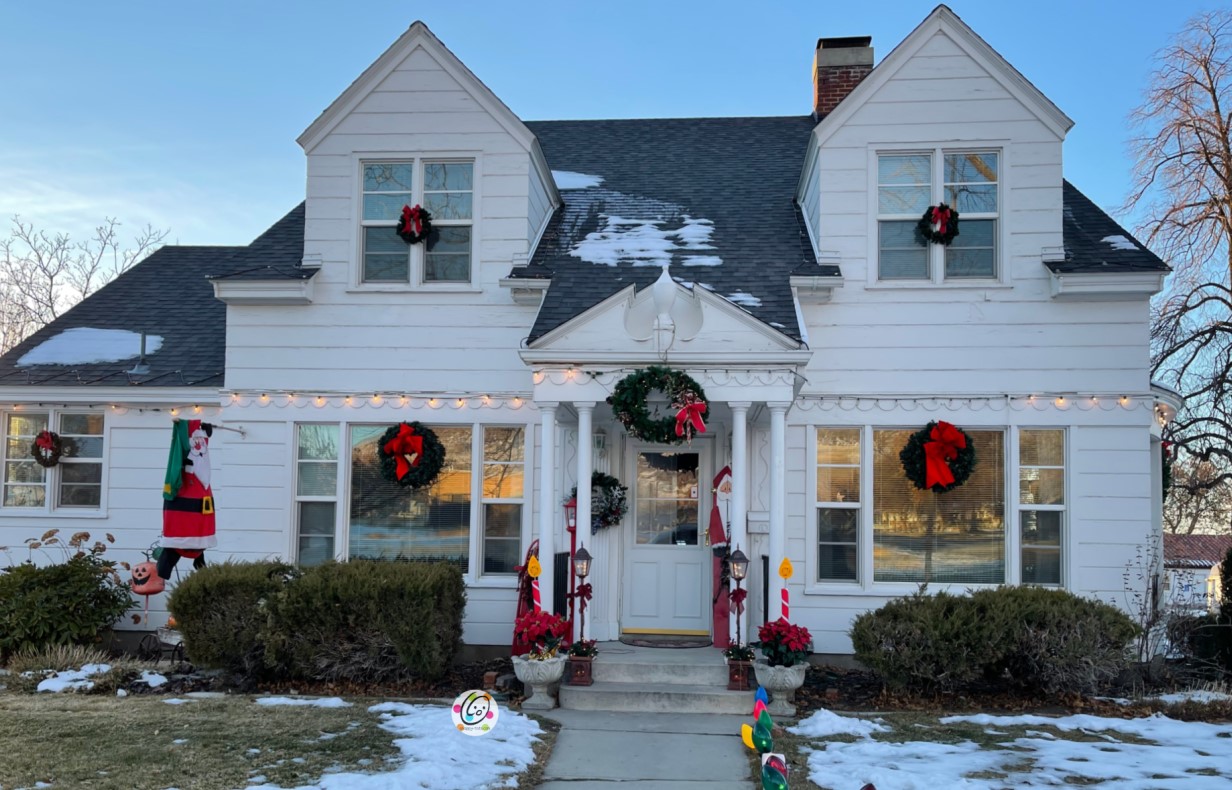
I made some into candy cane candles for my yard and my parent’s yard. Look at their beautiful house! The candles were perfect on either side of their entry. I spray painted the red pool noodles so they were a brighter red. I wrapped white electrical tape around the noodles.
How To Make Pool Noodle Candles
These are designed to use a reflector stake to hold the pool noodle and crocheted flame. There are other things you could use to create these if you do not crochet.
Materials Needed
- 46″ long (or shorter if available) x 4″ reflector stake (or something similar). The crocheted flame slips over the reflector and is designed to fit the 4″ size. If your reflector has a plastic hanger at the top, you can trim that off. The flame piece will fit better without it.
- TIP: you might want to cut the bottom of your stake off a bit so it extends just 6″ past the bottom of the noodle. To get my pool noodle to stay up next to the reflector flame, I stuffed some paper towels up inside the bottom opening and then wrapped a thick rubberband just below the pool noodle. This helps keeps the candle pieces together.
- 24″ piece of pool noodle. I buy a 48″ noodle and cut it in half to make 2 candles.
- Red Heart Super Saver yarn in Bright Yellow, Saffron, or similar color.
- H (4.5mm) crochet hook
- Yarn needle for weaving in ends.
- Optional: things to decorate the pool noodles. See suggestions below.
- Stencil, paint, sponge brush
- Colored electrical tape for stripes (this is what I used for my candy cane candles)
- Cricut vinyl cut in shapes (this is what I used for my hearts, stars, and circles)
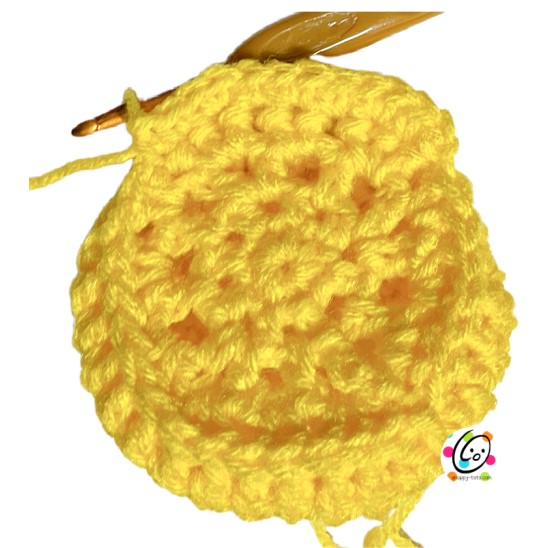
Crochet Flame Instructions
1. With an H hook and worsted weight yarn, start with a magic circle of 6 sc sts (or preferred method for starting a circle of 6 sc sts), pull closed and sl st to join.
2. Ch 3, hdc in the same st, ch 1, *(hdc, ch 1, hdc) in the next st, ch 1*, repeat to end of round, sl st in the first space to join. (12 spaces)
3. Ch 4, hdc in the same space, ch 2, *(hdc, ch 2, hdc) in the next space, ch 2*, repeat to end of round, sl st in the first space to join. (24 spaces)
4. On this step, work the sts into the spaces of the previous round. Ch 1, *hdc 3 (one per space), 2hdc in the next space*, repeat to end of round, sl st in the first st to join. (30sts)
5. Ch 1, BPDC around each post from the previous round, sl st to join.
6. This step creates a hole to slip over the reflector stake. Ch 1, sc 26, ch 4, sk 4, sl st in the first st to join.
7. Ch 1, sc in each st to end of round, working the last 4 sc around the ch 4 from the previous round, sl st to join.
8. Ch 1, *sc 3, sc2tog*, repeat to end of round, sl st to join. (24sts)
9. Ch 1, *sc2tog, sc 10*, repeat once, sl st to join. (22sts)
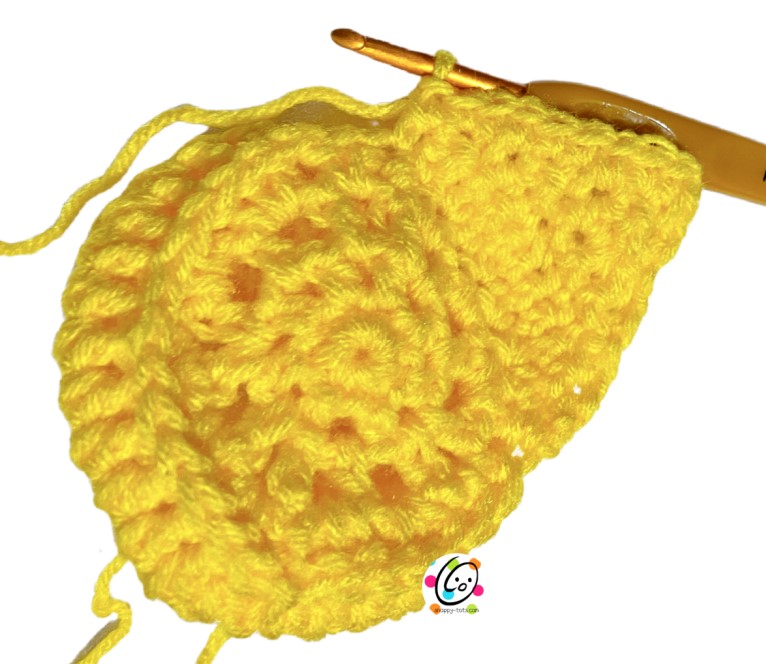
10. This step creates the top, pointed part of the flame. Lay the piece on a flat surface with the ch 4 opening at the bottom. Find the middle of the top edge and count four sts to the right. See photo below. Ch 1, sc in the same st, sc, 2sc in the next st, sc, 2sc in the next st, sc, 2sc in the next st, sc 2. Leave remaining sts unworked. (12sts)

11. Ch 1, turn, sc2tog, sc 8, sc2tog. (10sts)
12. Ch 1, turn, sc2tog, sc 2, sc2tog, sc 2, sc2tog. (7sts)
13. Ch 1, turn, sc2tog, sc 3, sc2tog. (5sts)
14. Ch 1, turn, sc2tog, 2sc in the next st, sc2tog. (4sts)
15. Ch 1, turn, sc2tog, sc2tog. (2sts)
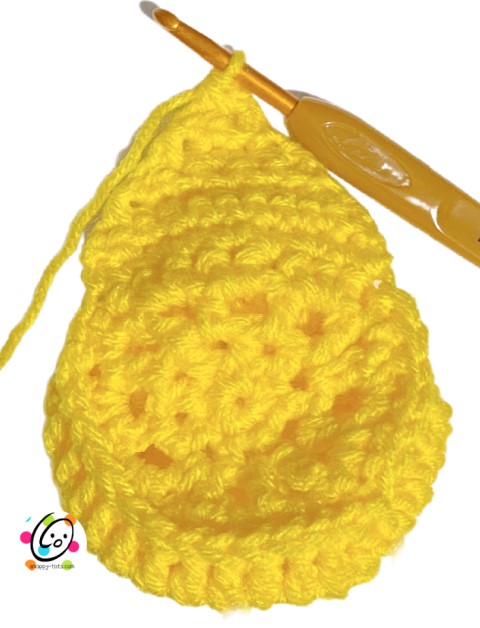
16. This step is worked around the outer edge of the piece. Ch 1, turn, sc2tog. Ch 1, sc in the same st, sc 8 sts evenly spaced down the side of the flame point (see photo below left), 2sc in the last used st on the main circle (the same st used in the last st of the first row, step 10), *sc, 2sc in the next st*, repeat around the circle, sc 9 sts evenly spaced up the side of the flame, ch 1, sl st in the first st to join. Finish off and weave in ends.
Back Piece
An extra triangle is attached to the back of the flame to help make it stay standing.
1. With an h hook and the same yarn, ch 11, sc in the 2nd ch from hook and in each ch across. (10sts)
2. Repeat steps 12-15 from the main piece.
3. This step is worked around the outer edge of the piece. Ch 1, turn, sc2tog. Ch 1, sc in the same st, sc 8 sts evenly spaced down the side of the flame point, ch 1, sl st in each st across the bottom edge, ch 1, sc 9 sts evenly spaced up the side of the flame, ch 1, sl st in the first st to join. Finish off and weave in ends.
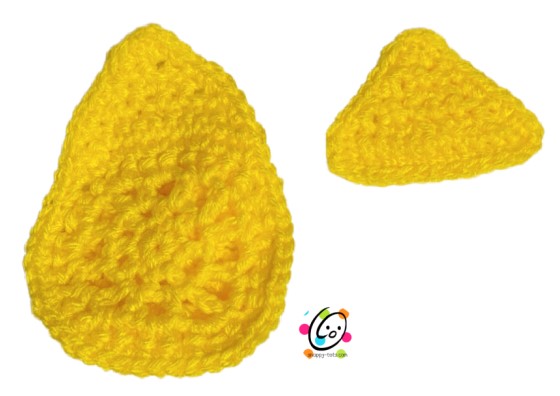
Lay the small triangle on the back of the large flame piece, matching the top edges. With a yarn needle and matching yarn, sew the sides of the pieces together. Do not sew the bottom edge just yet.
After using these for two years, through rain and snow and sun, I found that the top point wanted to bend forward or back. To help them stay standing better, I pulled the center of the bottom edge back towards the edge of the back opening and used the matching yarn to tack it in place. See the arrow in the photo below.
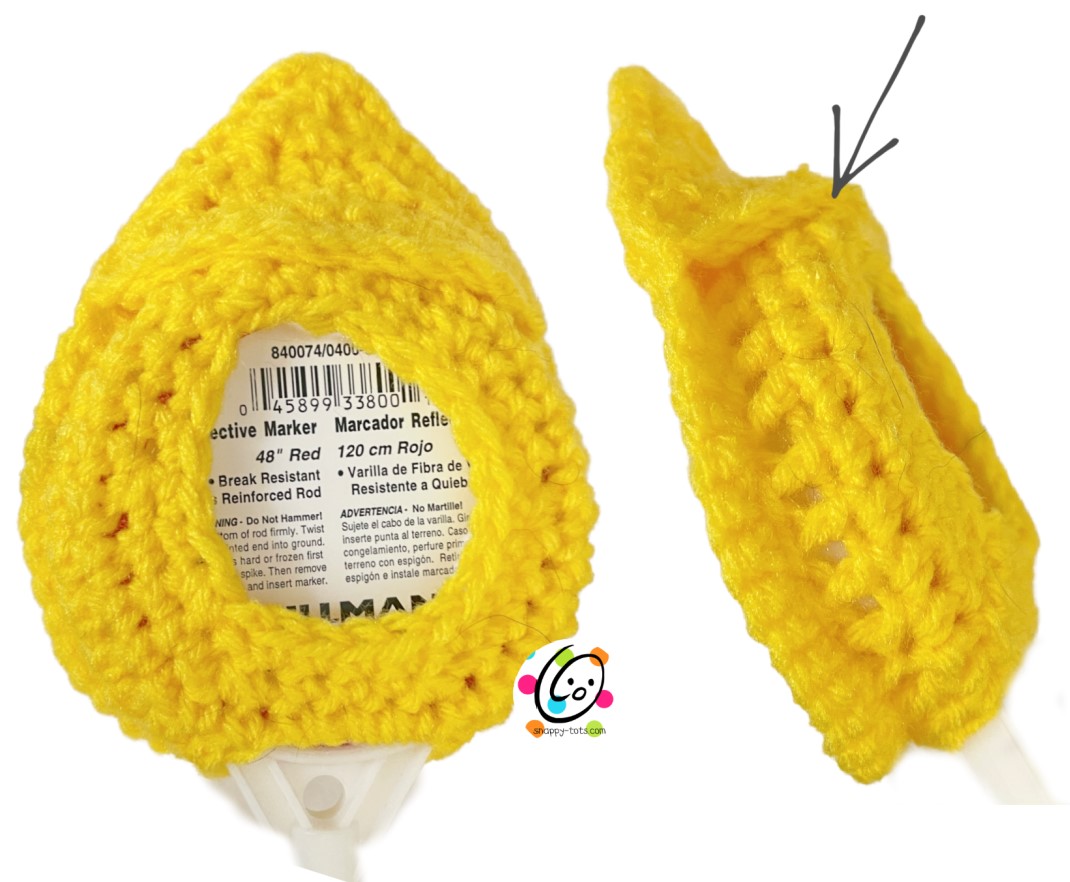
The easiest way to place the flame over the reflector is to insert the tip of the stake into the back circle and out the bottom ch 4 hole. Pull the flame over the reflector.
Pin To Save For Later