Free Pattern: Fuzz Top Beanie and Tips For Crocheting With Fur Yarns
There are many wonderful novelty yarns available and furs are some of my favorites. Many people hesitate trying these whimsical yarns, but the finished product is worth the adventure.
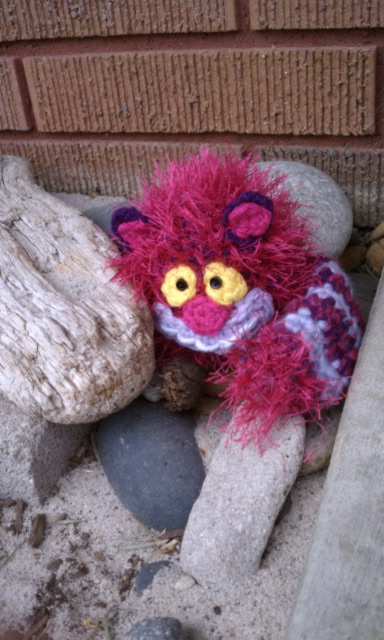
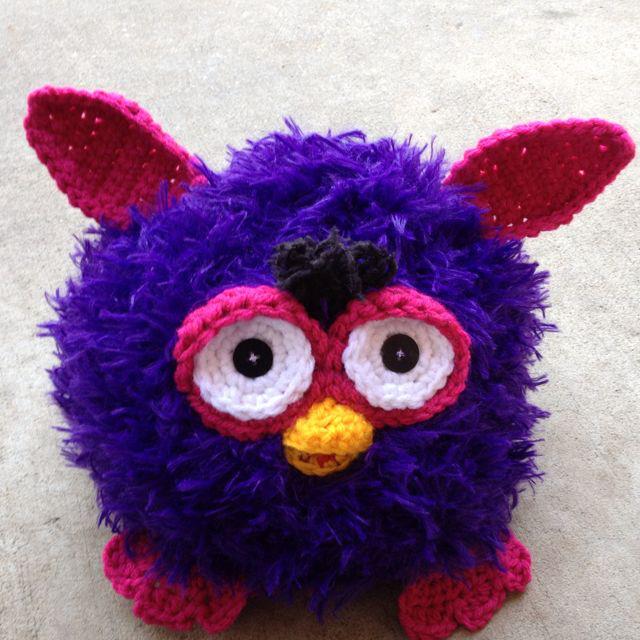
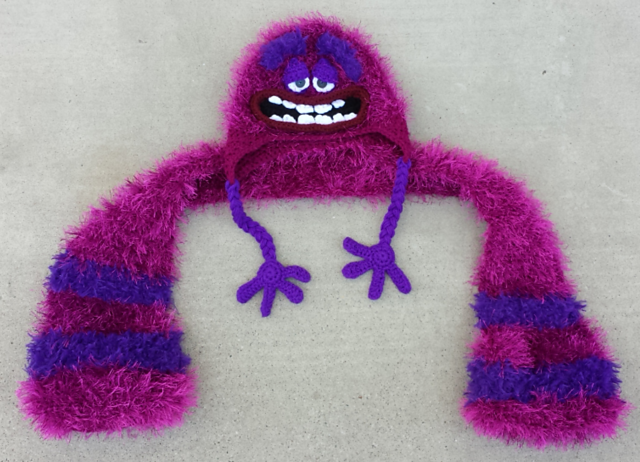
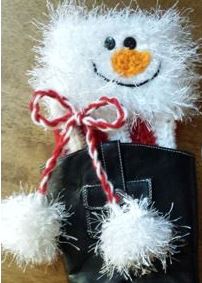
I have tried many different brands of fur, creating over 100 hats, bags, and stuffies that I have loved. No need to be intimidated if you follow a few helpful tips.
Tips for working with fur
- When working with furry yarns, hold a strand of ww yarn with the fur to make it easier to see the stitches. Regular worsted weight yarn is ok. When possible, I use Caron Simply Soft yarn with furs because it is a lighter weight worsted yarn.
- With darker furs it is harder to see the stitches. Make sure you have lots of light. If necessary it is helpful to divide the round into ¼, place markers and work ¼ of stitch count per round in between each marker.
- It is difficult to frog (pull out) projects made with some fur yarns because the little furry pieces intertwine.
Brands of fur/novelty yarns I like
Sadly, several of my favorite furry yarns have been discontinued. If you have a favorite furry yarn you love PLEASE let me know in the comment section.
Lion Brand Fun Fur: lots of colors to choose from, one of the easier novelty yarns to work with, reasonably priced and easy to find in most yarn stores.
Ready to try crocheting with fur yarns? Here is a basic pattern that fits great and is fun for all ages to wear.
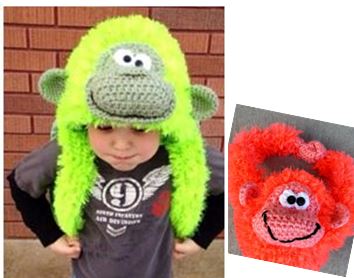
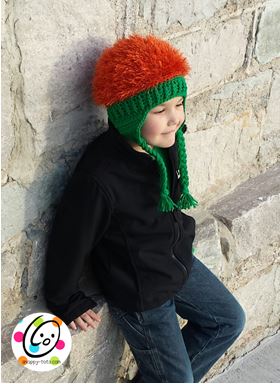
Fuzz Top Border Hat Crochet Pattern
A basic earflap beanie, written for fur top and worsted weight bottom.

Materials:
- Yarn: One skein Lion Brand Fun Fur yarn in Terra Cotta, matching ww yarn in orange (suggestions: Red Heart Carrot, Loops & Threads Burnt Orange), green ww yarn
- Hooks: I, J
- Gauge: 4″ = 13hdc and 9 rounds (taken from a similar project because it is impossible to count stitches with this yarn.
- Sizes: newborn to adult
Directions for all sizes:
- Follow increases until desired size, as listed at the end of the row, then skip to “for all sizes” and continue.
- Do not join at the end of each round, unless stated.
- A magic circle is hard to pull closed when working with fur. This project is started with a ch, joined in a loop.
With a J hook and holding both strands, fur and ww yarn, ch 5, sl st in last ch to join in a loop. 1. Work 8 hdc in beginning circle. (8sts) 2. 2hdc in each st to end of round. (16sts) 3. *hdc, 2 hdc in next st*, repeat to end of round. (24sts) 4. *hdc 3, 2 hdc in next st*, repeat to end of round. (30sts) 5. *hdc 4, 2 hdc in next st*, repeat to end of round. (36sts) 6. *hdc 5, 2 hdc in next st*, repeat to end of round. (42sts) baby 7. *hdc 6, 2 hdc in next st*, repeat to end of round. (48sts) toddler 8. *hdc 7, 2 hdc in next st*, repeat to end of round. (54sts) Child/preteen 9. *hdc 8, 2 hdc in next st*, repeat to end of round. (60sts) Teen/Adult
Remove marker and hdc in each stitch for an additional 2-5 rounds (or until hat is 2″ shorter than desired length). Sc in next st, sl st. Cut fur strand only. Depending on how the hat was made, the majority of the fur may be on the inside of the hat. If so, turn inside out before next step. Ch 1, sc in each st to end of round, sl st to join.
Band
1. Change to green yarn and I HOOK. Ch 2, hdc in each st to end of round, sl st to join.
2-3. Ch 2, *fphdc, bphdc*, repeat to end of round, sl st to join.
4. For teen and adult sizes only: repeat previous round.
Earflaps: Continue from current position. Start with the appropriate size: • 3-24mths: Ch 2, hdc 10 • Child: Ch 2, hdc 12 • Preteen/teen: Ch 2, hdc 14 • Large adult: Ch 2, hdc 16
After first row of hdc as listed above, follow these instructions for all sizes: *Ch 1, turn, *hdc2tog, hdc in each st across until 2sts remain, hdc2tog**. Repeat until 2 sts remain. Finish off and weave in ends.
Fold hat in half to find placement for 2nd earflap. It should start exactly across from the first flap. Starting on the RS of the hat, attach yarn and follow directions for earflap.
Attach yarn to center back of hat. Ch 1, sc around bottom edge of hat, working 2sc in each earflap tip, sl st to join. Finish off and weave in ends.
Braids
- Cut 12 strands of green yarn, 20” or desired length.
- Pull ends through a stitch near the bottom of the earflap. Pull through until even with other end and braid.
- Tie a knot approximately 2” from end or tie a piece of matching yarn around braid and tie a knot. Repeat for other side.
~ ~ ~ ~ ~ ~ ~ ~ ~ ~ ~ ~ ~ ~ ~ ~ ~ ~ ~ ~ ~ ~ ~ ~ ~ ~ ~
Are you on Ravelry? Please add the “Fuzz Top Boarder Hat” pattern to your library and click the heart on the listing if you enjoyed the pattern.
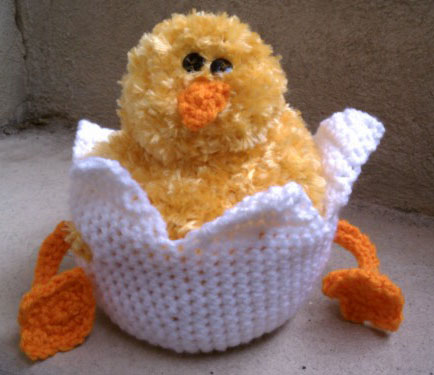
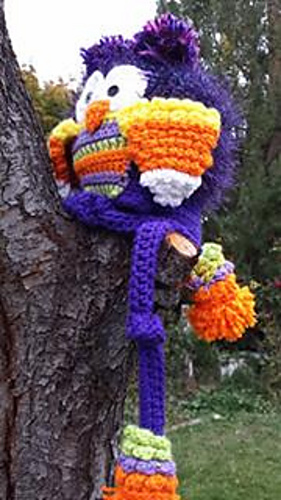
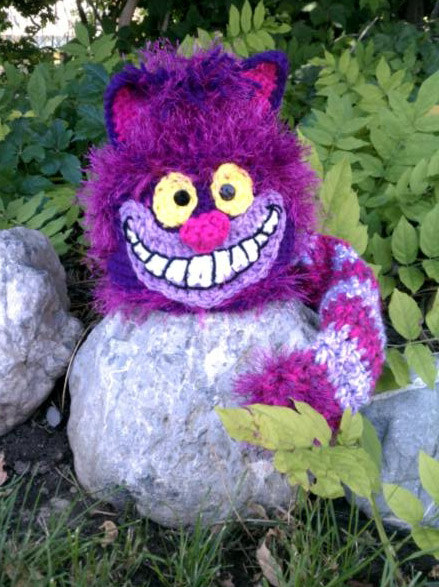
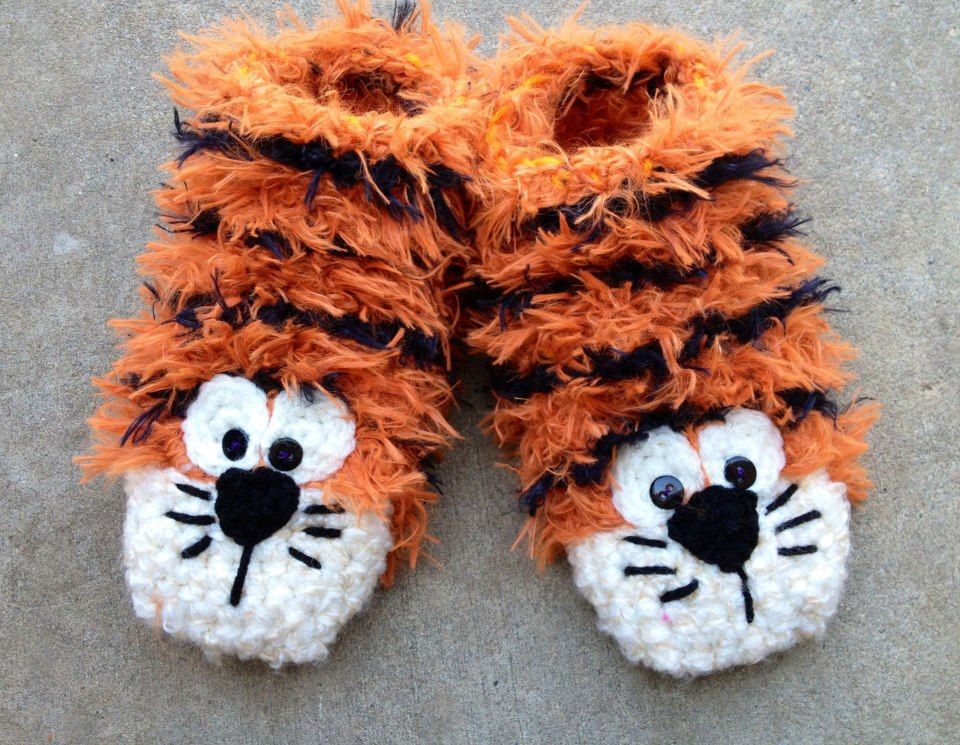
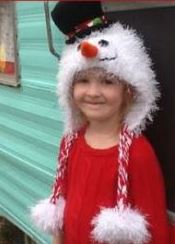
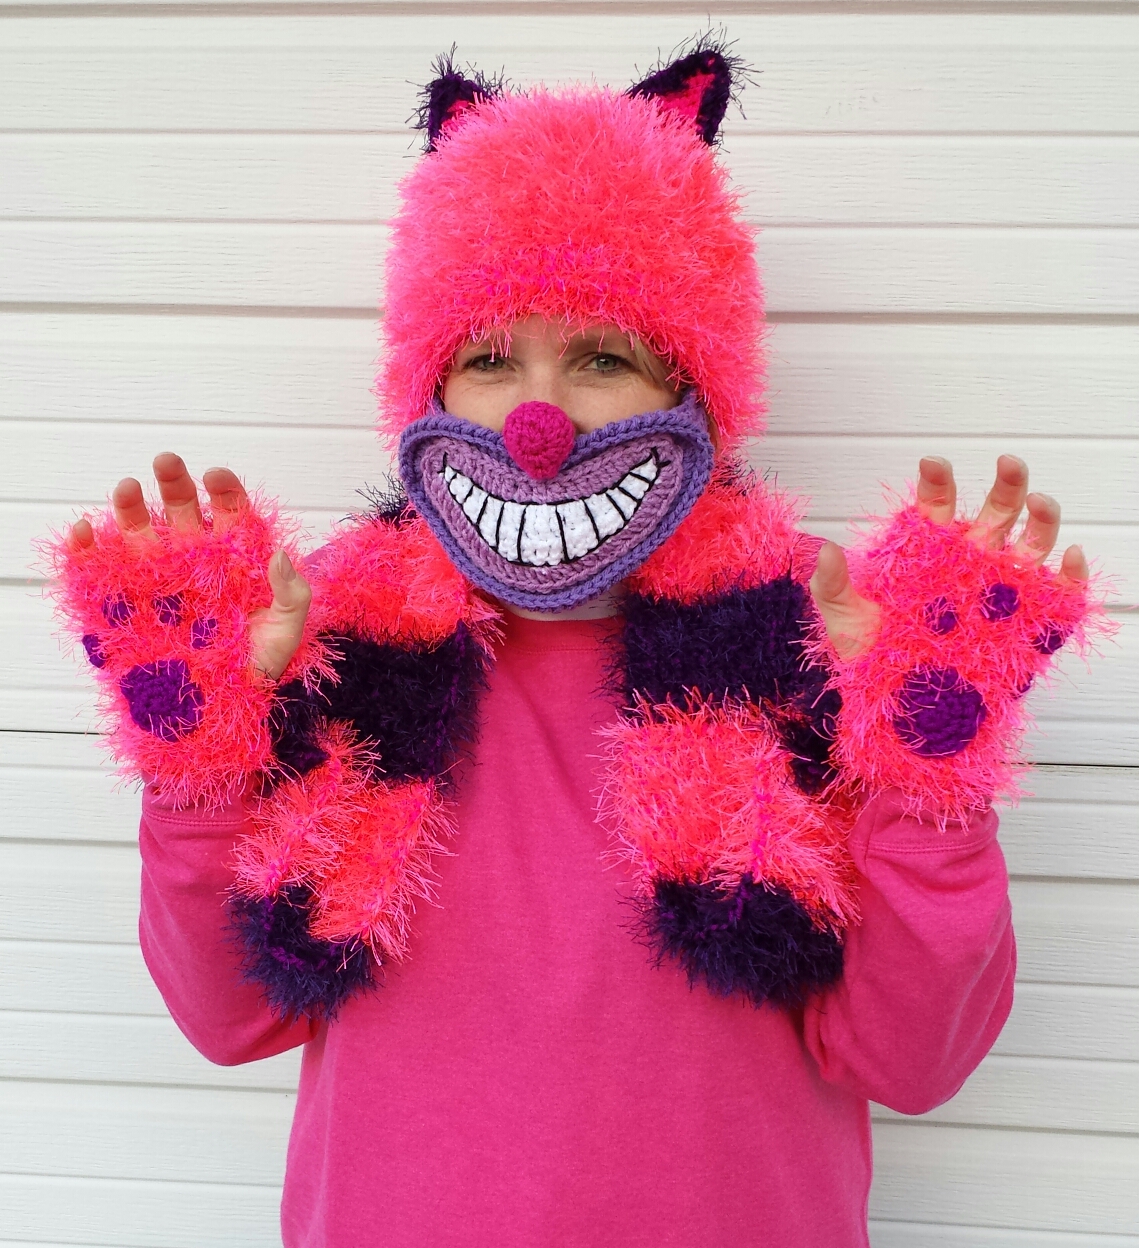
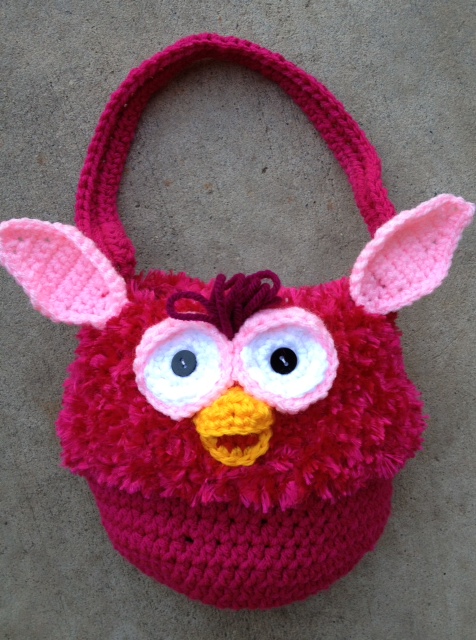
Ready to try more fun creations with fur? These patterns can be made furry or with regular yarn.