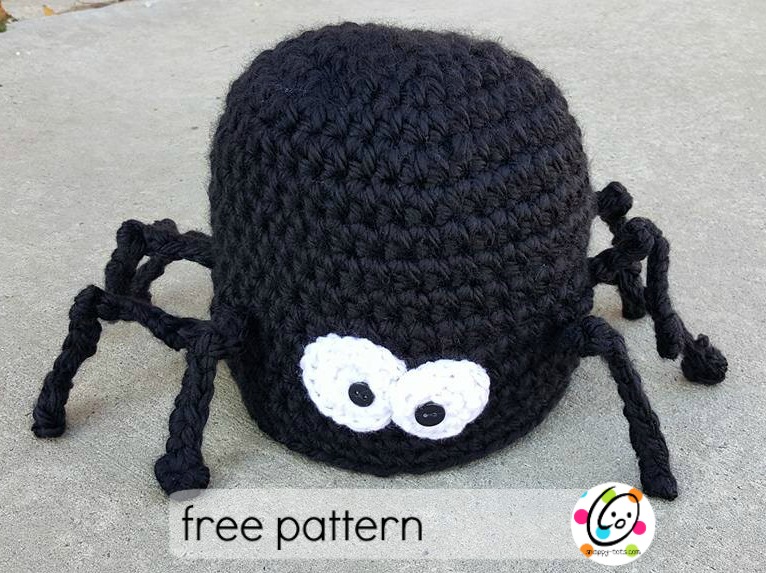
Free Pattern: Speedy Spider Beanie
Need something quick and easy to wear for Halloween? This spider beanie, made from super bulky weight yarn, whips up in about an hour.
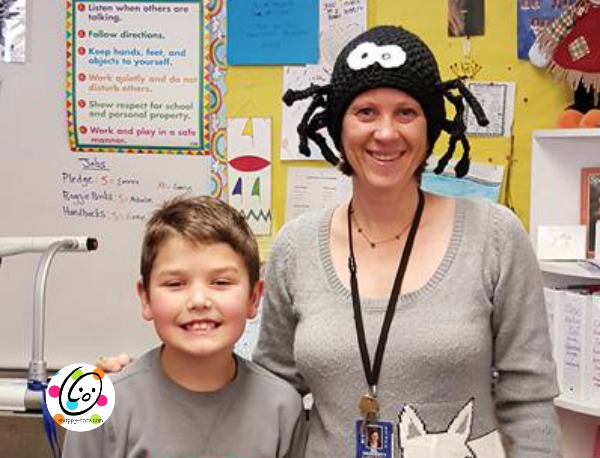
Story behind this hat: Last November, I needed a fun gift for my son’s 3rd grade teacher’s bday. I asked him what we should get her. “she likes spiders. Will you make her a spider hat?” LOVE him! …and she is a phenomenal teacher!
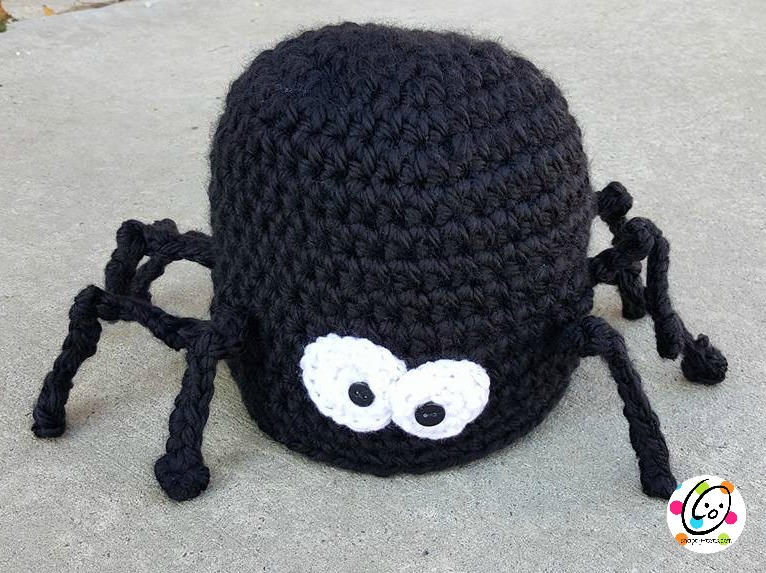
Speedy Spider Beanie
Please click HERE to add this to your Ravelry favorites.
Materials and Details
Yarn: 150-200 yards super bulky yarn in black (or a combination of smaller yarns to equal size); worsted weight white yarn
Miscellaneous: 2 small black buttons, 4 black pipe cleaners (approximately 12″ long), sewing needle and black thread
Crochet Hooks: H, K
Gauge: 4” in super bulky weight with K hook = 7 rounds and 10 hdc sts
Tips
- Note: Do not join at the end of each round, unless stated. This hat is worked in a continuous round to avoid a “seam” look.
- Place a marker and move after each round to keep track of first st of round. A scrap of yarn works great.
- All sizes start the same. When increase rounds for desired size has been reached (listed at ends of round), skip to “body”.
- This is a loose fitting hat.
Directions
- With K hook and super bulky black yarn, start with a magic circle of 8 sts (or preferred method for starting a circle of 8 sc sts), pull closed and place marker for working in the round. (8sts)
- 2sc in each stitch to end of round. (16sts)
- *hdc, 2 hdc in next st*, repeat to end of round. (24sts)
- Note the change in number of hdc sts worked before each repeat. *hdc 3, 2 hdc in next st*, repeat to end of round. (30sts)
- *hdc 4, 2 hdc in next st*, repeat to end of round. (36sts)
- *hdc 5, 2 hdc in next st*, repeat to end of round. (42sts) toddler
- *hdc 6, 2 hdc in next st*, repeat to end of round. (48sts) Child/preteen
- *hdc 7, 2 hdc in next st*, repeat to end of round. (54sts) Teen/Adult
- *hdc 8, 2 hdc in next st*, repeat to end of round. (60sts) Large adult
Body of hat: Remove marker and hdc in each stitch until hat is one inch shorter than desired length (see size chart at end of pattern). Continue with “band”.
Band:
Sc in next st, sl st in next st. This is the new start of the round.
Be careful to not work the following rounds to tight or it will affect the size of the hat.
1-4. Ch 1, sc in each st to end of round, sl st to join.
Finish off and weave in ends.
Eyes
Make 1 of each size.
- With H hook and white yarn, make a magic circle of 6 sts (or preferred method for starting a circle of 6 sc sts), join and pull closed. (6sts)
- Ch 1, 2sc in each st to end of round, sl st to join. (12 sts). End here for small eyes, skip to step 4.
- Ch 2, *hdcc, 2 hdc in next st*, repeat to end of round, sl st to join. (18 sts)
- Finish off, leaving a long tail for sewing in place, overlapping the centers (see main photo).
With yarn needle and yarn tails, sew eyes in place.
With sewing needle and thread, sew buttons on top of eyes.
Legs (make 4)
I crocheted around pipe cleaners to make the legs stand out.
Ch 2, work 3hdc in 2nd chain from hook. This little nub is the tip of one of the spider legs. Insert one end of a pipe cleaner into the little nub. Sc tightly across the pipe cleaner. At the opposite end, ch 2, work 3hdc in 2nd chain from hook. This little nub is the tip at the opposite end of the pipe cleaner. Tuck end in the nub. Finish off and weave in end.
Before inserting the legs, check where you want the legs. I added mine at the sides, just above the bottom band. Each pipe cleaner creates 2 legs.
Carefully pull one nub end of the pipe cleaner through a space on the hat. Pull through until at the middle of the pipe cleaner. On the outside/right side of the hat, twist the pipe cleaner once to hold against the hat. Bend the “legs” as desired.
Repeat for each leg.
I hope you have LOVED making this spider. He is super cute slipped over can or small pumpkin for a decoration too.
Please Share Your Pix
I LOVE to see your creations from Snappy patterns. When sharing, please include #snappytots so we can find your pix.
Please contact the designer with any questions, comments or concerns. Help with this pattern is available through email. [email protected].
Items made from Snappy Tots’ patterns MAY be sold. Please include a link to snappy-tots.com if selling online.
Making variations from this pattern is great, but the pattern may NOT be sold. ALL parts of this pattern belond to Snappy Tots. ~~~~~~~~~~~~~~~~~~~~~~~~~
All text and graphics/photos are Copyright ©2016 Snappy Tots by Heidi Yates, all rights reserved. No pattern may be reproduced or distributed, in part or whole by any means, without written permission. Finished products created from this pattern may be sold. Please include reference to www.snappy-tots.com as pattern source when possible.