

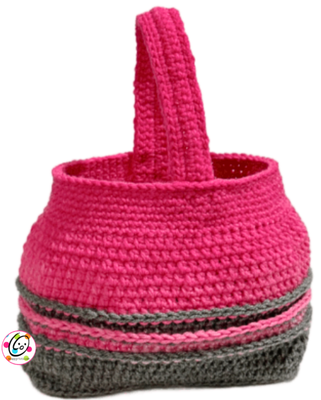
Free Pattern: Pot Belly Basket
Some of the things I like most about crocheting is being able to make things that fit a need and making gifts for people. I LOVE bags and designing ones that can be used for specific things.
This “Pot Belly Basket” measures 8.5” x 3.5”; 7” tall. It is a fun size to use for gift baskets because it is big enough to hold favorite treats, a book, and other small goodies, but won’t cost a ton to fill. It also is super usable to hold things by the bed or favorite chair, on a desk, on the bathroom counter, or even in a nursery.
International Crochet Month Blog Hop
Every day during March, a new, permanently free crochet pattern will be released. The PDF version of the pattern will also be available for free download through 10am Eastern on the day after it is featured. You can make these projects to keep, for gifts, or to donate to charity while chatting with other crocheters and sharing your projects to win giveaway prizes!
We’ve partnered with Denise, Forbidden Fiber Co., Fox Chapel Publishing, Furls, GlassEyesOnline, Guild of Master Craftsman Publications, KnitPal, Knitter’s Relief Balm, LennyMudPottery, MBT Creates, Unicorn, and WalnutFarmDesigns to bring you great prizes in our giveaway. Don’t forget to enter the giveaway in this post on Underground Crafter by April 5, 2026 at 11:59pm Eastern.
How To Join the 2026 International Crochet Month Blog Hop
- Visit this post on Underground Crafter daily to get the latest pattern and the daily featured free PDF.
- Join in by crocheting the patterns as you have time.
- Share your progress and post pictures of your finished projects. Tag your projects and posts #undergroundcrafter on all social media.
- If you’d like to chat with other crocheters, join the Underground Crafters Facebook group or or visit this thread in the Underground Crafter Ravelry group.
- By the end of the Blog Hop, you’ll have up to 31 awesome projects.
Visit Underground Crafter to learn more about the prizes, enter the giveaway, and to get links to each International Crochet Month Blog Hop pattern as it is released.
Pot Belly Basket Crochet Pattern
The pattern is available for free below.
FREE for a limited time, as part of the “International Crochet Month Blog Hop”, the ad free, downloadable pdf is free until March 31, 2026. Click HERE to download the pattern: https://snappy-tots.com/document/pot-belly-basket-2/
Materials
- Yarn: 200 yards worsted weight yarn Sample: Red Heart Super Saver Heather Gray, Ombre Jazzy
- Crochet Hook: I (5.5mm)
- Miscellaneous: yarn needle
Measurements
- Finished Measurements: Base – 8.5” x 3.5”; 7” tall
- Gauge: not needed for this project.
Tips – please take a second to read this section
- The first stitch of each row is worked into the same stitch as the turning chain unless noted.
- Numbers at the beginning of each line may refer to steps and not indicate number of rows.
- Stitch count remains the same unless noted at end of row/round.
- If you have any questions about this pattern please contact [email protected].
- Finger shape the pieces for a smooth edge (see tips on last page)
- Reminder: sc 3 = sc one st in each of the next 3 sts; 3sc in next st = work 3sc sts in the next (one) st
Directions
This starts at the base.
1. With an I hook and worsted weight yarn (Sample: Gray), ch 11, sc in 2nd ch from hook and in each ch across. (10sts)
2. Ch 1, turn, sc in same st and in each st to end of row.
3. Ch 1, turn, 2sc in same st, sc 8, 2sc in last st. (12sts)
4. Ch 1, turn, sc in same st and in each st to end of row.
5. Repeat the previous row for an additional 15 rows.
6. Ch 1, turn, sc2tog, sc 8, sc2tog. (10sts)
7. Ch 1, turn, sc in same st and in each st to end of row. Finish off and weave in end.
- Repeat steps 1-7 to create a second base. Note: For the sample I did one base in gray and one in pink so the inside of my basket would have a pink base. Just for fun.
8. Stack the bases on top of each other. This step is worked into both pieces at the same time to join the edges.
Starting at the right corner of one of the long edges, ch 1, 2sc in the same st, sc 28 sts evenly along the edge, leaving room for one more st. 2sc in next st.
Working across the short edge, 2sc in the first st, sc in each st until 1 st remains, 2sc in the last st.
Working across the next long edge, 2sc in the next spot, sc 28 sts evenly along the edge, leaving room for one more st. 2sc in the next spot.
Working across the next short edge, 2sc in the first st, sc in each st until 1 st remains, 2sc in the last st.
Sl st in first st to join. (88 sts)
9. Work in BLO for this round. Work sts a little more snug than usual for this step to help turn the sides. Ch 1, sc in same st and in each st to end of round, sl st to join. (st count remains the same)
10. Ch 1, *hdc in each st until 2 sts remain before the corner, hdc2tog, hdc2tog at corner*, repeat to end of round, ending the last side after just one hdc2tog. Sl st to join. (80 sts)
11. Ch 1, *hdc in each st to corner hdc2tog at corner*, repeat to end of round, sl st to join. (76 sts)
Note: From this point on, when working regular hdc sts, work the sts between the posts of the previous round instead of in the stitch. This is similar to working in the st as usual, but slightly lower.
It creates a more solid fabric.

12-13. Ch 1, hdc between the posts to end of round, sl st to join.
14. Ch 1, *hdc between the posts until 1 st remains, hdc2tog at corner*, repeat to end of round, sl st to join. (72 sts)
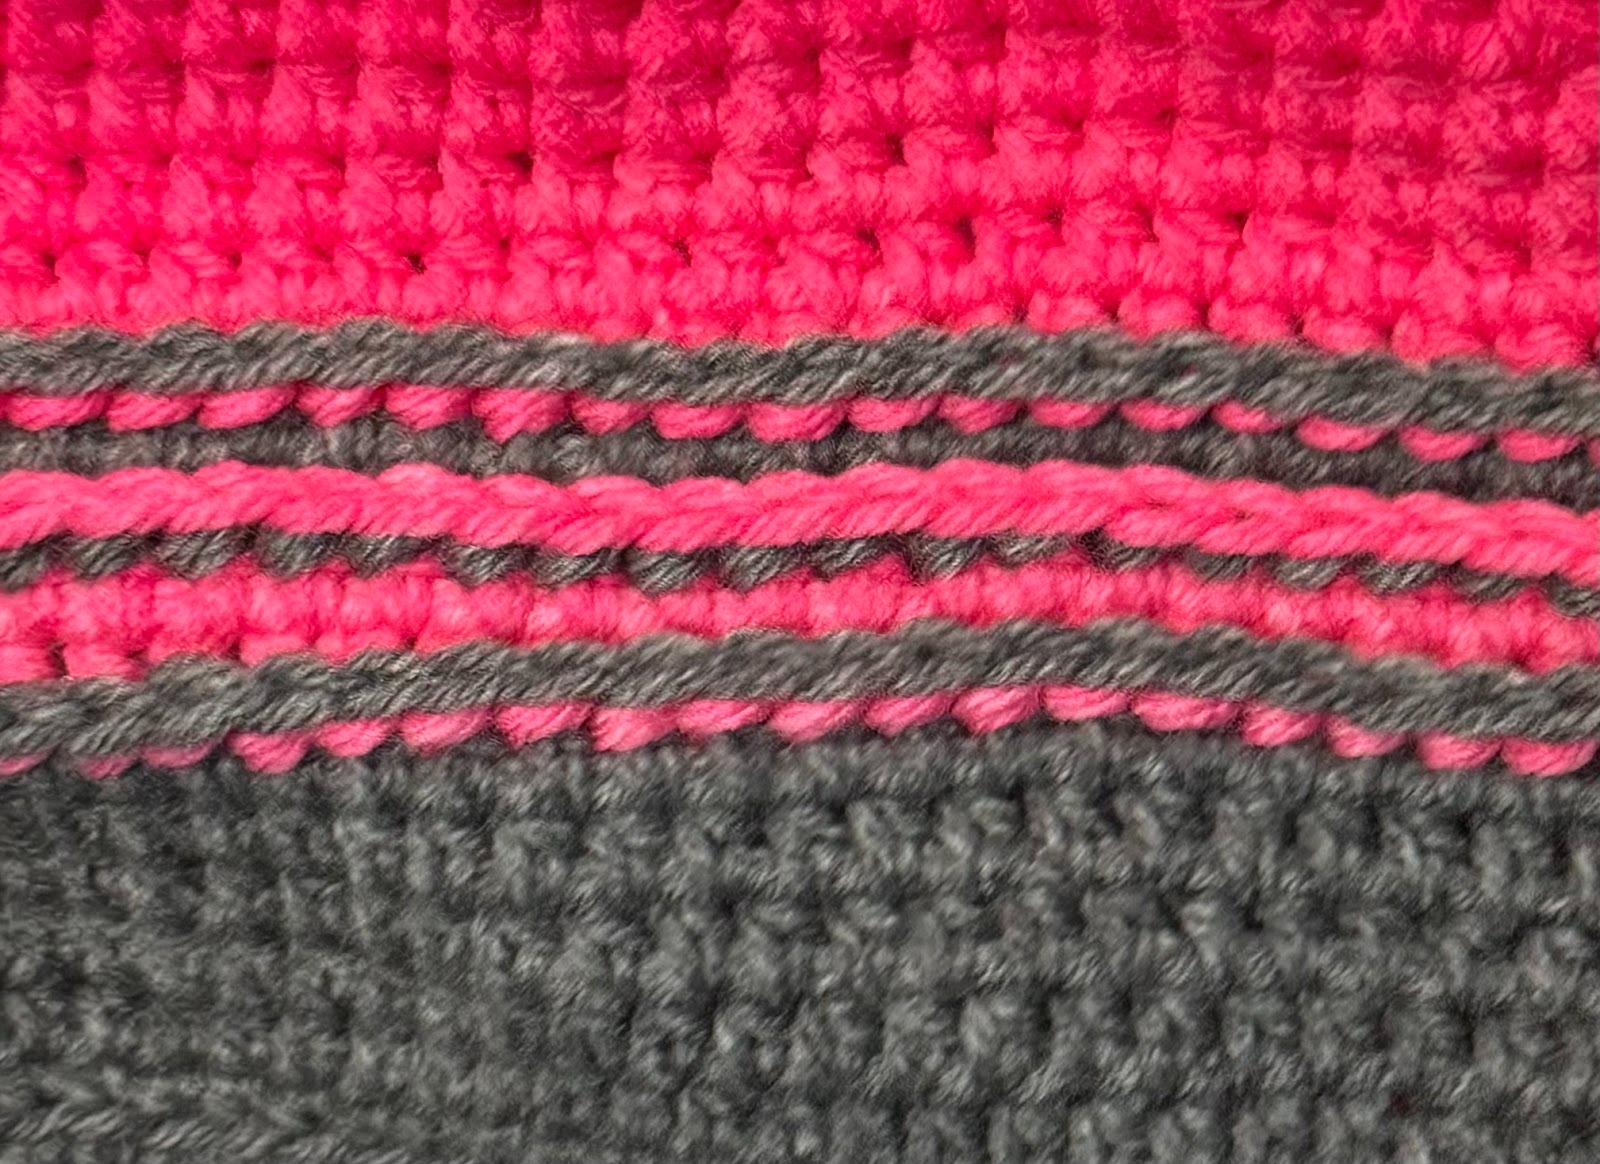
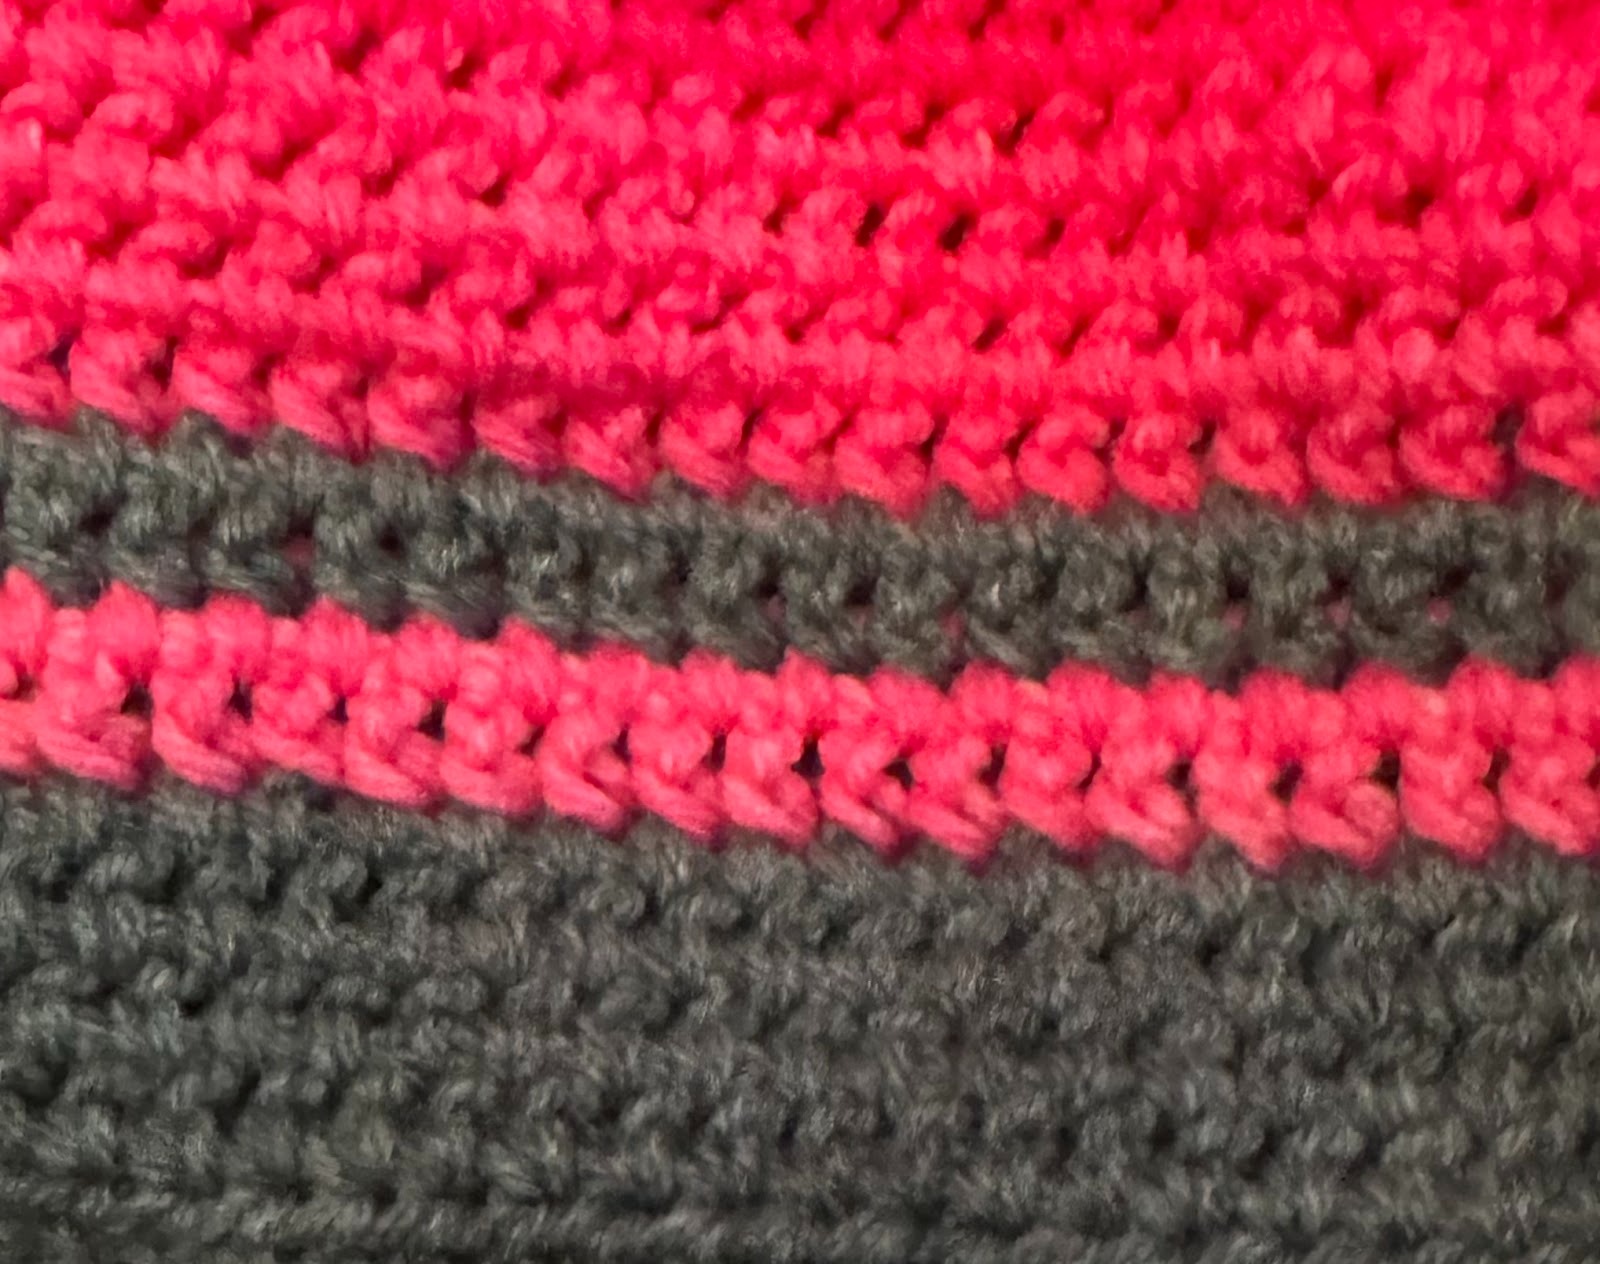
Variation Option: The following stitch combination creates two very different looks. As written, the ridgy look (photo below left) will be on the outside/right side of the piece. If you would prefer the other look with very straight-edged, solid stripes (photo below right) you will want to ch 1, and turn to work from the inside of the basket until the solid pink top section.
15. Finish off the current yarn and change to a contrasting color for the next stripe (Sample: Ombre Pink). Ch 1, BPHDC around each post to end of round, sl st to join.
16. Ch 1, hdc between the posts to end of round, sl st to join.
17. Finish off the current yarn and change back to the original color (Sample: Heather Gray). Ch 1, BPHDC around each post to end of round, sl st to join.
18. Ch 1, hdc between the posts to end of round, sl st to join.
19. Finish off the current yarn and change to the contrasting color (Sample: Ombre Pink). Ch 1, BPHDC around each post to end of round, sl st to join.
20-22. Ch 1, hdc between the posts to end of round, sl st to join.
23. Ch 1, *hdc between the posts until 1 st remains, hdc2tog at corner*, repeat to end of round, sl st to join. (68 sts)
24-25. Ch 1, hdc between the posts to end of round, sl st to join.
26. Ch 1, sc in each st to end of round, sl st to join.
27. Repeat for an additional 5 rounds.
28. Sl st in each st to end of round. Finish off and weave in ends.
Handle
1. With an I hook and worsted weight yarn (Sample: Ombre Pink), ch 55, sc in 2nd ch from hook and in each ch across. (54sts)
2-3. Ch 1, turn, sc in the same st and in each st to end of row.
4. This step is worked around the outer edge of the handle. Sl st in each st around the outer edge, making sure to not work the sts too snug. Finish off, leaving a long tail for sewing.
Lay the bag on a flat surface and flatten with the base centered. Find the middle of the front and back and place a marker. Place the ends of the handle on the inside of the bag, overlapping the bottom 2” of each end. Pin in place.
With a yarn needle, use the yarn tail to sew one end to the bag. Repeat for the opposite end with a yarn needle and matching yarn.


This is so cute and would be really cute with a lid on it. I have a basketweave material one that has a lid.
What a practical gift bag idea!
Thank you for the inspiration.
That’s a wonderful idea (grabbing pencil and paper to sketch!)