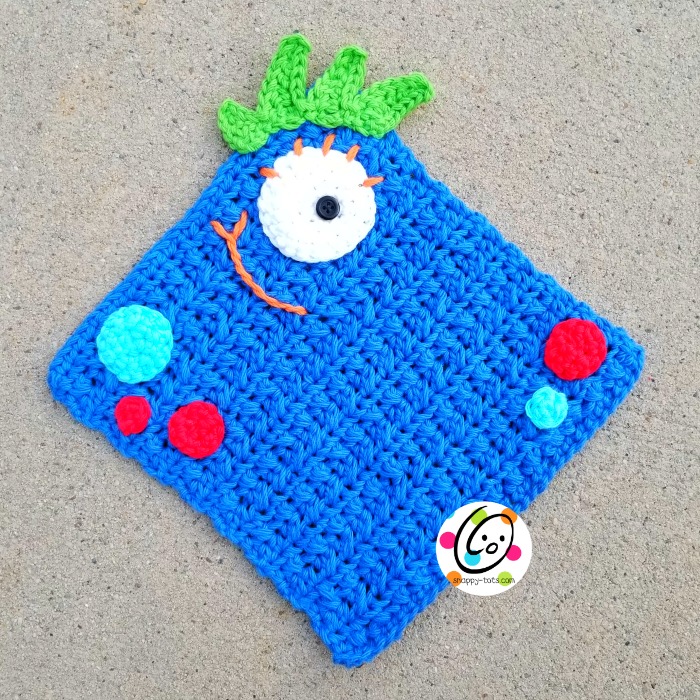
Free Pattern: Froggy Hanging Towel

This is part of my “Weekly Wash” for 2025. Each Wednesday from March – November a new crochet pattern for a dishcloth, scrubbie, towel, or similar will be released. I hope you will enjoy these patterns too. The patterns are free to follow along on my blog, plus several of them have a paid pdf for a small fee.
Froggy Hanging Towel Crochet Pattern
The crochet pattern for this project is available for free below.
A downloadable, ad-free pattern that includes the instructions and all pictures for this and a matching froggy scrubby is also available to purchase from my Ravelry Shop.
Use coupon code: weeklywash25 before the end of 2025 and save 50% off this pattern.
Materials
- Yarn: 320-340 yds worsted weight COTTON yarn. Yarn used in sample: Lime green, green and white variegated; small amounts of black, white, pink
- Crochet Hooks: H (5mm)
- Notions: Yarn needle for weaving in ends, 2 – ⅝” buttons for closure, 2 – ¼” or 9mm black buttons for eyes, 1- ¾” or desired size button for flower center (optional)
- Optional: Measuring tape, scissors
Measurements
- Finished Measurements: 15” long (not including eyes), 11.5” wide at bottom of towel, 5.5-6” across frog head, 1.5” flower
- Gauge: not needed for this project but included for comparison – 4” with H hook = 5 clusters of towel, 11.5 cluster rows
Tips
- The first stitch of each row is worked into the same stitch as the turning chain.
- Numbers at the beginning of each line may refer to steps and not indicate number of rows.
- Stitch count remains the same unless noted at end of row/round.
- If you have any questions about this pattern please contact [email protected].
Directions
This project starts at the bottom straight edge of the cloth.
1. With an H hook and worsted weight cotton yarn (green and white variegated in sample), ch 44, sc in 2nd ch from hook and in each ch across. (43sts)
2. Ch 2, turn, (hdc, hdc, dc) in the same st, *sk 2, (sc, hdc, dc) in the next st*, repeat until 3 sts remain, sk 2, hdc in the last st.
3. Repeat the previous step for an additional 31 rows or until piece measures 12” from starting edge.
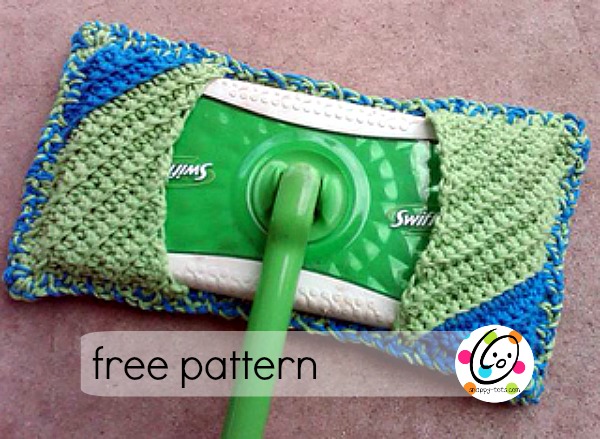
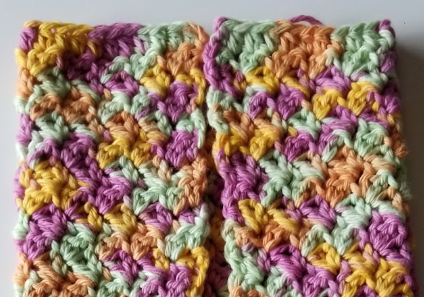
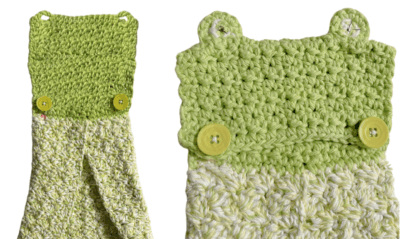
4. Lay towel on a flat surface, right side down. Check your beginning edge for the “right side”. Fold in the sides, overlapping 11sts at the right edge. See photo.
Note: Towel in photos below is made from a different pattern, but layout is the same.
5. With an H hook, attach yarn for top of towel (Lime green in sample) in the first sts at the right. For this step we will work through the stitches on both layers of the towel.
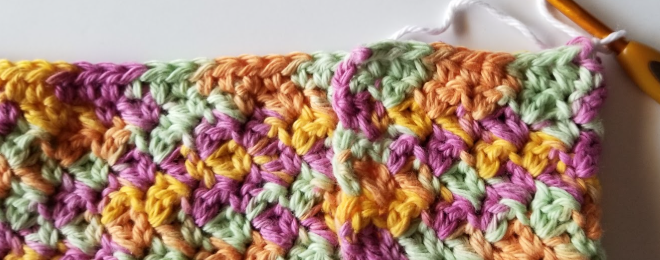
Ch 1, sc in each st until 1 st remains before the center opening.
Insert the hook in the first st of the second half, in the last st of the current half and in the next st on the back layer. See photo below.
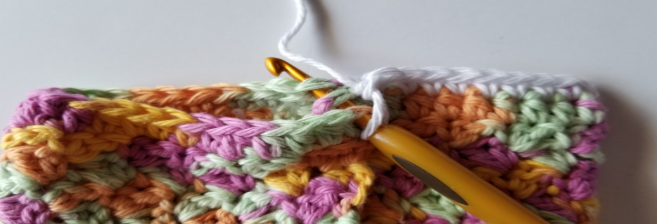
Continue across the edge working an sc in each st to end of row. (21sts) If your stitch count is off by 1-2 sts it can be adjusted on the next step.
6. Ch 1, turn. Choose one of the following steps:
If you ended the previous row with 21 sts: sc2tog, sc in each st to end of row. (20sts)
If you ended the previous row with 20 sts: sc in each st to end of row. (20sts)
If you ended the previous row with 22 sts: sc2tog, sc in each st until 2 sts remain, sc2tog. (20sts)
7. Ch 1, turn, sc in the same st, hdc in the next st, *sc in the next st, hdc in the next st*, repeat to end of row.
8. Repeat the previous step for an additional 16 rows.
9. This step creates the button holes. Ch 1, turn, sc in the same st, sc, ch 3, sk 1, sc 14, ch 3, sk 1, sc 2. Finish off and weave in ends.
Buttons for Closure: Fold the top edge to the back/wrong side of the towel. The buttons are sewn on the back of the cloth (see photos below for placement).
With a sewing needle and thread, sew the buttons to the cloth.
Eyes
Tip: if you don’t want to see the white yarn and black thread on the back of the eye pieces, maek 2 extra green back pieces and sew to the back of the eyes when complete.
Green Back Piece (make 2)
1. With an H hook and worsted weight green yarn, start with a magic circle of 6sts (or preferred method for starting a circle of 6 sc sts), join and pull closed. (6sts)
2. Ch 1, 2sc in each st to end of round, sl st to join. (12sts) Finish off, leaving a long tail for sewing the eyes to the towel.
Repeat for second piece.
White Front Piece (make 2)
With an H hook and worsted weight white yarn, start with a magic circle of 6sts (or preferred method for starting a circle of 6 sc sts), join and pull closed. (6sts) Finish off, leaving a long tail for sewing on top of the green back piece.
Repeat for second piece.
Place a white piece on top of a green piece. With a yarn needle, use the white yarn tail to sew the layers together.
With a sewing needle and thread, sew a black button on top of each white eye piee.
Fold the top of the cloth in half to find the “top” folded edge. With a yarn needle, use the green yarn tails to sew the eyes to the top edge, overlapping the front slightly.
Mouth and nose holes: With a yarn needle and black yarn stitch the smile and nose holes in place. See main photos for placement.
Flower
1. With an H hook and worsted weight yarn (pink in sample), start with a magic circle of 5sts (or preferred method for starting a circle of 5 sc sts), join and pull closed. (5sts)
2. Ch 1, 2sc in each st to end of round, sl st to join. (10sts)
3. Change yarn color for petals (if desired). *Ch 2, (dc, tr,) in same st, (tr, dc, ch 2, sl st) in next st, sl st in next st*, repeat to end of round, sl st to join. Finish off and weave in ends.
No button: If a button will not be put on the center of the flower, use a yarn needle and matching yarnl to sew the center of the flower to the towel.
If a button WILL be used, place it on top of the flower on the towel. Use a sewing needle and matching thread to sew through the button and the layers together.