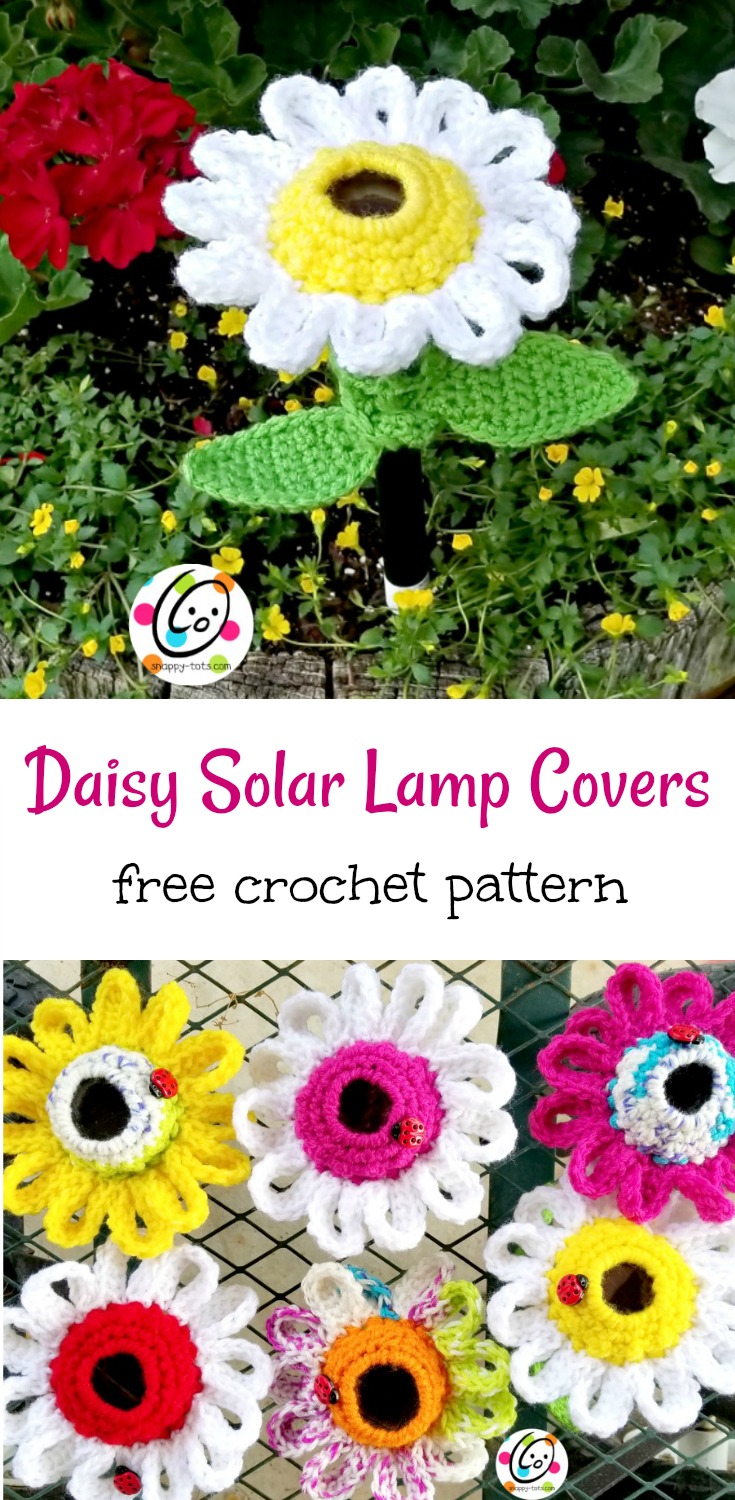
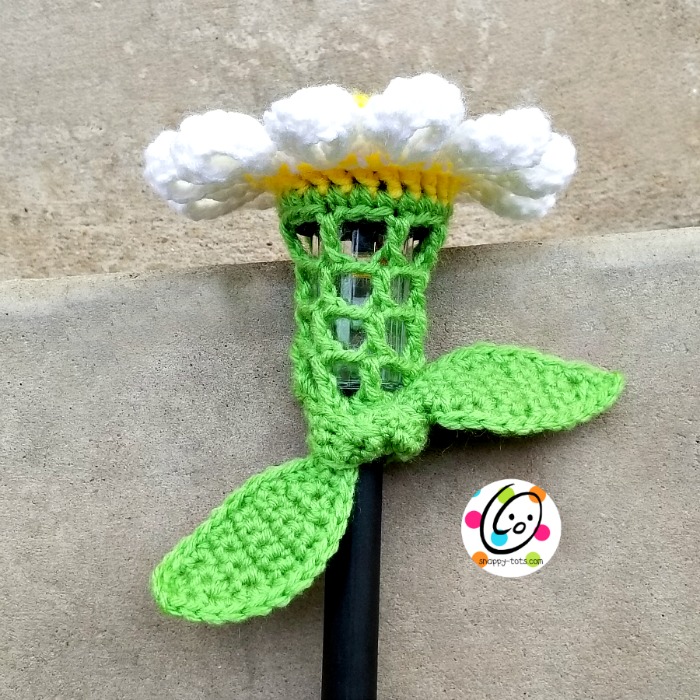
Free Pattern: Daisy Solar Lamp Cover
My solar covers have become one of my most favorite gifts to give. They are quick, inexpensive and a unique gift everyone has loved.
My son had an outstanding fifth-grade year (hallelujah!) and I wanted something extra special for his two teachers. Since it was his last year in elementary school there were a few previous teachers and staff members we wanted to thank as well. Since I needed 11 lamps I went with a smaller, tall and skinny lamp because I saved $1 per lamp.
I needed to tweak my other solar patterns to fit this different shape. Since I LOVE daisies, this was a great chance to make a daisy cover. I hope you love how they turned out too!
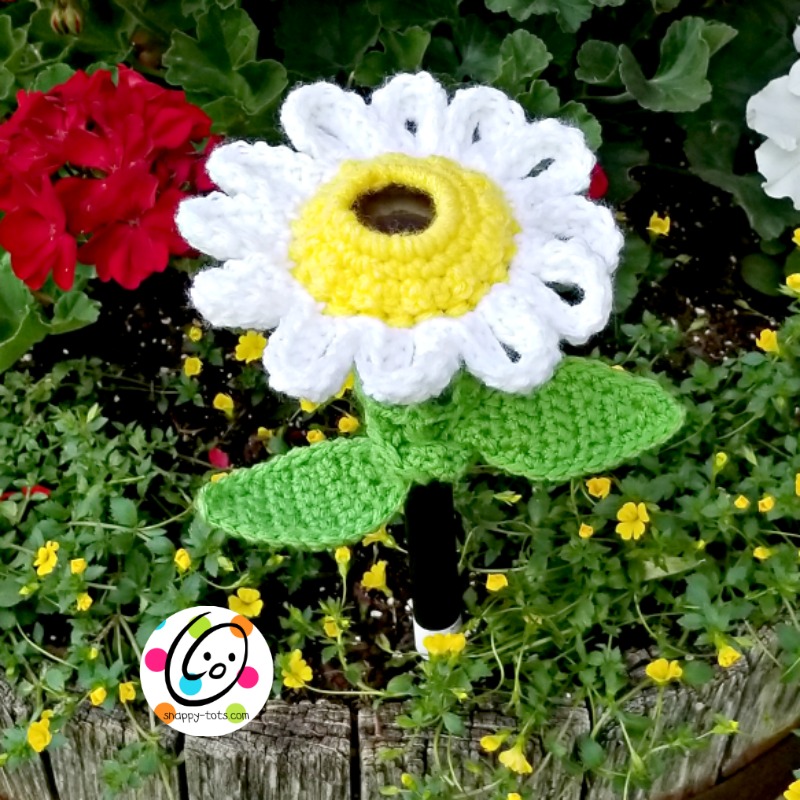
They made a cute bouquet 🙂
Daisy Solar Lamp Covers
Materials
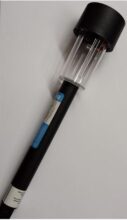
Yarn: small amounts of acrylic worsted weight yarn choice of colors. Crochet Hook: H Miscellaneous: yarn needle; tall, skinny solar lamp as shown below (top part of lamp is 6″ circumference and approximately 3.25″ tall)
Adjust pattern for larger, similar bulbs by using an I or J hook.
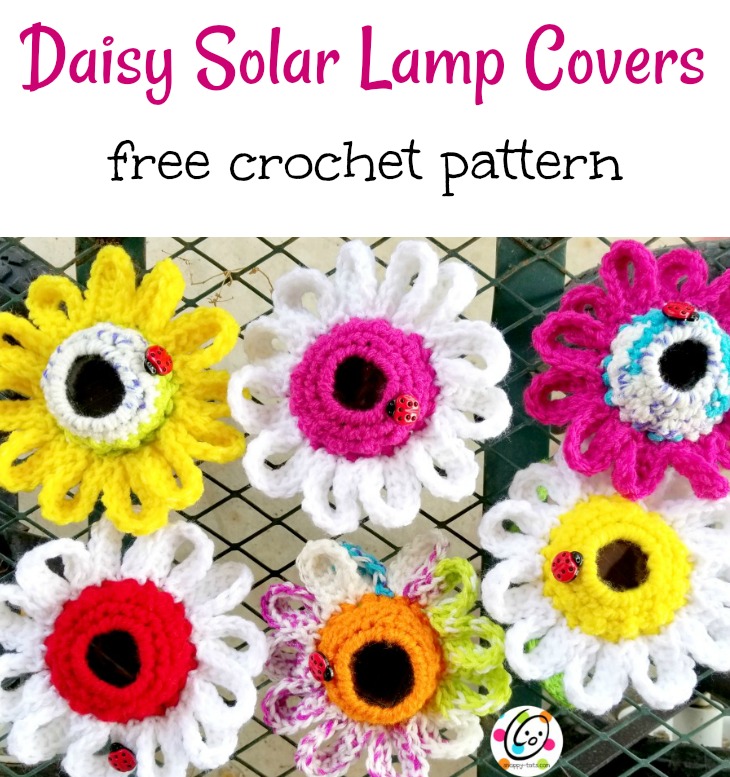
Ladybugs: I wanted to add some little ladybugs to each flower. I was going to crochet them on but while I was at walmart getting more solar lamps I SPOTTED some ladybug buttons 🙂 These were only $1.97 for a pack of 11. ELEVEN? Weird amount, but just happened to be the exact amount I needed.

You could easily stitch on some little ones with yarn too.
Directions
Flower Cover
1. With an H hook and yarn color for the center of the flower, ch 15, join with a sl st in the last ch to form a ring. Make sure ch is not twisted.
2. Ch 1, sc 18 around ch, sl st to join. (18sts)
3. Ch 1, *sc 2, 2sc in next st,* repeat to the end of the round, sl st to join. (24sts)
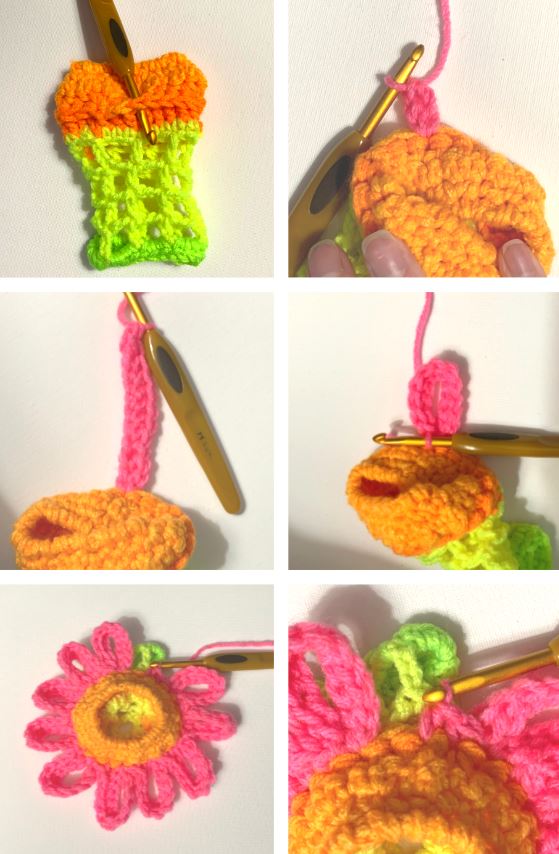
4. This step creates a nubby texture to the flower center. It is worked from the wrong side of the piece so the texture will show on the right side of the piece. Ch 1, TURN, *insert hook in the next st and pull up a loop, YO and pull through one loop, YO and insert hook in the same st and pull up a loop, YO and pull through all of the loops on the hook, sc in next st*, repeat to end of the round, sl st to join.
5. Ch 2, turn to work from the right side of the piece. *hdc 6, hdc2tog*, repeat to end of the round, sl st to join. (21sts)
6. Ch 2, BPDC around each post from the previous round, sl st to join.
7. Change to green yarn. Ch 1, sc in each st to end of the round, sl st to join.
8. Ch 5, *sk 2 ch, dc in the next st, ch 2*, repeat to the end of the round, sl st in the third chain in the beginning to join. (7 windows created)
9. Ch 5, dc in first dc, *ch 2, dc in next st*, repeat to the end of the round, sl st in the third chain in the beginning to join.
10-11. Repeat previous step.
12. Ch 1, 3sc in each “window” (around each ch 2), sl st to join. (21sts) Finish off and weave in ends.
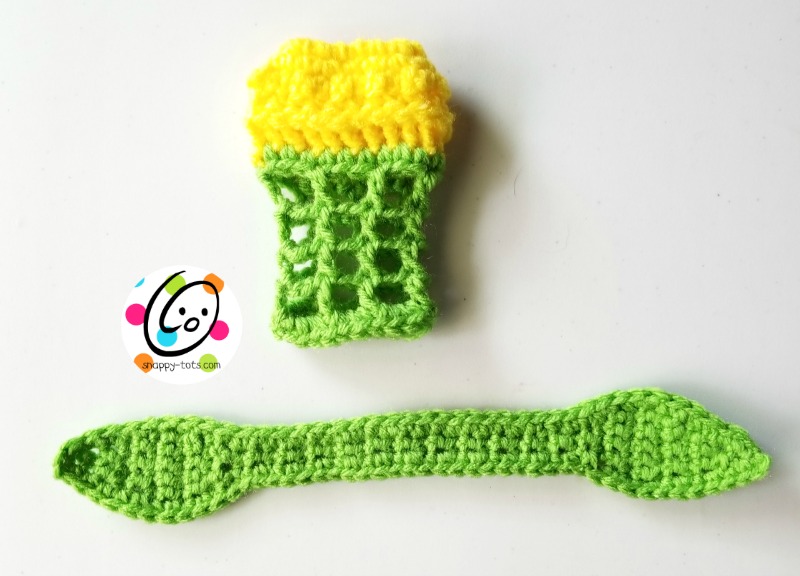
Leaves
1. With an H hook and green yarn, ch 2, 2sc in 2nd ch from hook, (2sts)
2. Ch 1, turn, 2sc in same st, sc. (3sts)
3. Ch 1, turn, 2sc in same st, sc 2. (4sts)
4. Ch 1, turn, sc 4.
5. Ch 1, turn, 2sc in same st, sc 3. (5sts)
6. Ch 1, turn, 2sc in same st, sc 4. (6sts)
7. Ch 1, turn, sc 6.
8. Ch 1, turn, sc2tog, sc 4. (5sts)
9. Ch 1, turn, sc2tog, sc 3. (4sts)
10. Ch 1, turn, sc2tog, sc2tog. (2sts)
11. Ch 1, turn, sc 2. Repeat for a total of 25 rows.
12. Ch 1, turn, 2sc in same st, 2sc in next st. (4sts)
13. Ch 1, turn, 2sc in same st, sc 3. (5sts)
14. Ch 1, turn, 2sc in same st, sc 4. (6sts)
15. Ch 1, turn, sc 6.
16. Ch 1, turn, sc2tog, sc 4. (5sts)
17. Ch 1, turn, sc2tog, sc 3. (4sts)
18. Ch 1, turn, sc 4.
19. Ch 1, turn, sc2tog, sc 2. (3sts)
20. Ch 1, turn, sc2tog, sc. (2sts)
21. Ch 1, turn, sc2tog.
22. This step is worked around the outer edge of the whole leaf piece. Ch 1, pivot to work across side of leaf. Sc evenly across side of leaf, across stem and across side of leaf. (sc, ch 2, sc) in tip of second leaf. Sc evenly across side of leaf, across stem and across side of first leaf. Sc in tip, ch 2, sl st to join. Finish off and weave in ends.
Petals
With the flower center towards you, use an H hook to attach white yarn (or color for petals) to ridge created by post sts in step 6 of flower cover. To create each petal/loop we will be creating something similar to a foundation chain.
Dc in same st, [**YO,*insert hook in side of dc post, pull up a loop, YO and pull through two loops on hook, YO and pull through two loops on hook*, repeat until there are 10 sts. Sl st in the same st on the flower, sc in next st, dc in next st]. Repeat section in [ ] until you have created 10 petals/loops.
Insert the hook in the side of the dc post, pull up a loop, YO and pull through two loops on the hook, YO and pull through two loops on the hook, repeat until there are 10 sts. Sl st in same st on the flower, (sc, dc) in next st.
Insert the hook in the side of the dc post, pull up a loop, YO and pull through two loops on hook, YO and pull through two loops on hook, repeat until there are 10 sts. Sl st in same st on the flower. Finish off and weave in ends.
Slip cover over solar lamp. Thread one leaf through a “window” of the green section of the flower cover. Wrap the leaf piece around the lamp post and tie leaf ends together (see photo below).
With a sewing needle and thread, sew the ladybug button to one of the petals or flower center if desired.
Pin To Save For Later