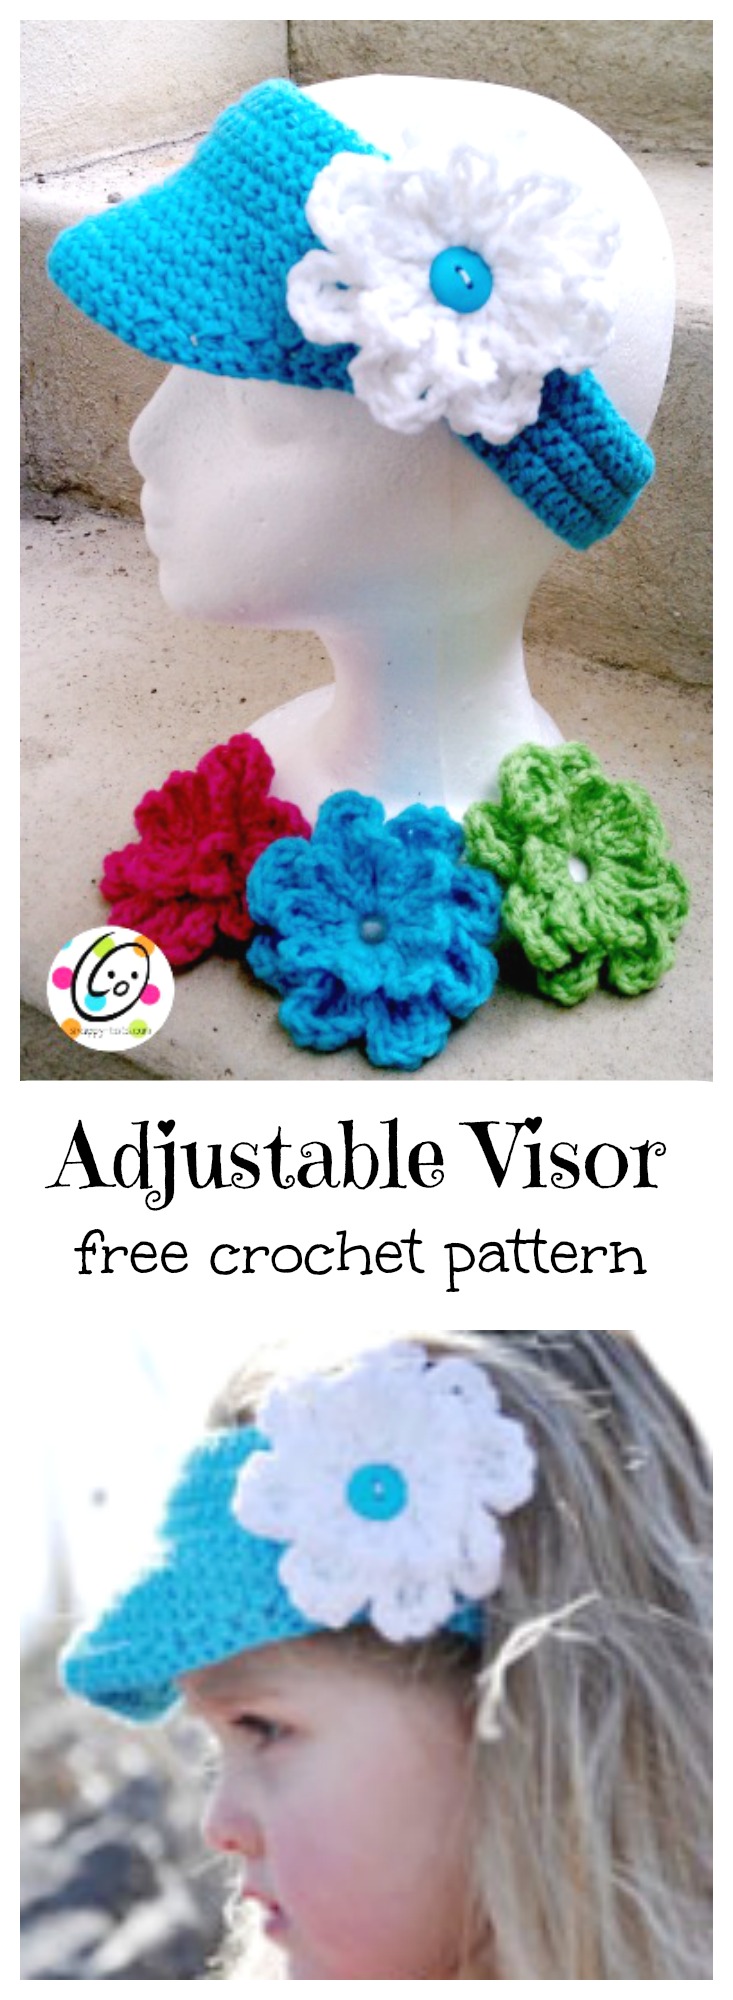
Free Pattern: Adjustable Visor
Visors are great for keeping the sun out and for keeping heads cool. I designed this visor several years ago and still make some each spring and summer for gifts. I love including several flowers to interchange for a pop of color. 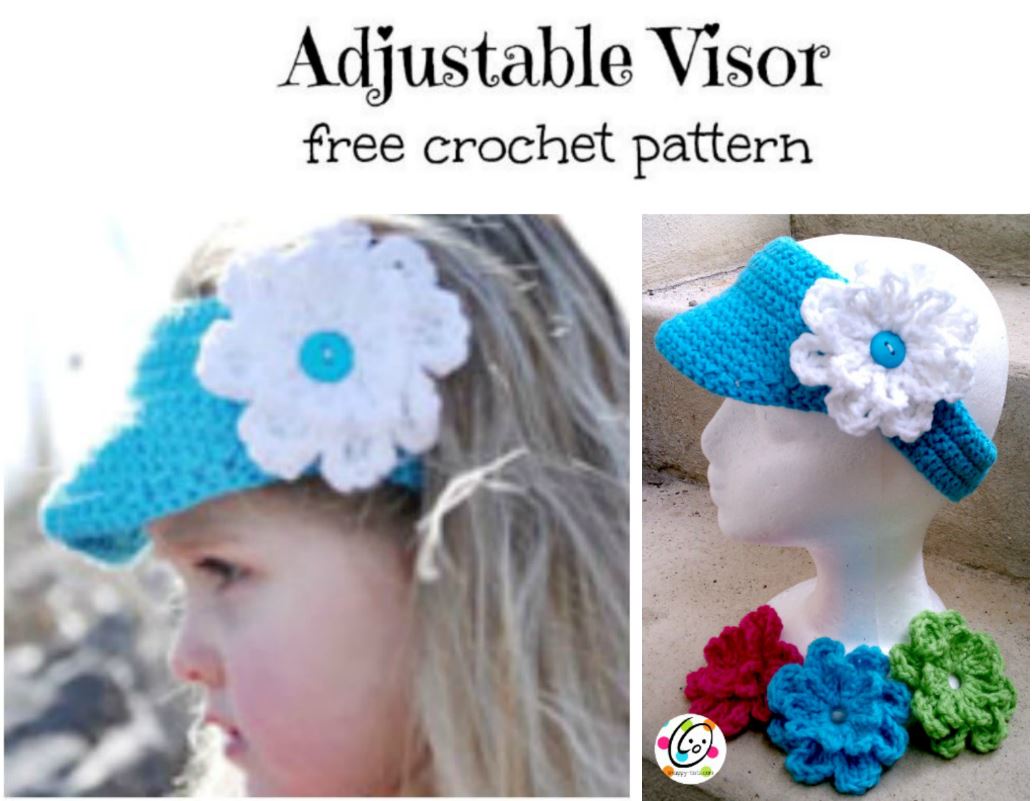
Adjustable Visor Pattern
An ad-free, downloadable PDF of these patterns with all of the photos is available to purchase from my Ravelry Shop: Click HERE
Materials Yarn: worsted weight cotton or acrylic Crochet Hook: H hook Miscellaneous: yarn needle, two buttons ¾” – 1” Gauge: 4″ = 15 sc Sizes: adjustable to fit toddler to small child (approx. 21”), child to adult (approx. 23”) Other sizes: This pattern is very adjustable. I prefer to make my visors 1-2” longer then the head measurement for the band to overlap. For smaller sizes, start with fewer chains. Note: The band part of the visor is crocheted using one strand of yarn. The visor is crocheted holding two strands of yarn. If you are using a cone of cotton you will want to wind off a ball of yarn to use when you reach the visor section. Crochet the visor more snug than normal.
Directions for size toddler to small child
- With H hook and yarn, ch 65. Sc in second ch from hook and across, ch 1, turn. 2-4. Sc in each st across, ch 1, turn. (64sts)
- The beginning of this row will create the button holes. Sc, ch 2, sk 2, sc 2, ch 2, sk 2, sc to end of band, ch 1, turn.
- Sc in each st across, sc 2 in each ch 2 space from previous row, ch 1, turn. (64sts)
- Sc in each st across, ch 1, turn.
- This row starts the visor and is only worked part way across the band. Sc 24, pick up a second strand of yarn. Holding BOTH strands together, sl st in front loops only of the next 10sts, sc, ch 1, turn.
- Working in sc sts from row 7 and around sl st from previous row, skip first st, sc, 2sc in next st, sc 2, repeat a TOTAL of 3 times, ch 1, turn. (13sts)
- Skip first st, sc in each stitch across visor, sc in first unused st on band (pull this st snug), sl st in next 2 sts on band, ch 1, turn. (14sts)
- Skip first st, sc, sc 3, 2sc in next st, repeat a TOTAL of 3 times, sc in next unused st on band (pull this st snug), sl st in next 2 sts on band, ch 1, turn. (19sts)
- Skip first st, sc 3, sc 3, 2sc in next st, repeat a TOTAL of 3 times, sc 3, sc in next unused st on band (pull this st snug), sl st in next 2 sts on band, ch 1, turn. (24sts)
- Skip first st, sc 2, sc 4, 2sc in next st, repeat a TOTAL of 4 times, sc, sc in next unused st on band (pull this st snug), sl st, finish off and weave in ends. (28sts)
Directions for size child-adult
- With H hook and yarn, ch 81. Sc in second ch from hook and across, ch 1, turn. 2-4. Sc in each st across, ch 1, turn. (80sts)
- The beginning of this row will create the button holes. Sc, ch 2, sk 2, sc 2, ch 2, sk 2, sc to end of band, ch 1, turn.
- Sc in each st across, sc 2 in each ch 2 space from previous row, ch 1, turn. (80sts)
- Sc in each st across, ch 1, turn.
- This row starts the visor and is only worked part way across the band. Sc 32, pick up a second strand of yarn. Holding BOTH strands together, sl st in front loops only of the next 10sts, sc, ch 1, turn. (11sts for brim section)
- Working in sc st from row 7 and around each sl st from previous row (these sts make up the brim), skip first st (counts as a decrease each row), sc, 2sc in next st, sc 2, repeat a TOTAL of 3 times, ch 1, turn. (13sts) The photo below shows the brim section. Your band section (red in photo) should have more rows.
- Skip first st, sc 12, sc in first unused st on band (pull this st snug), sl st in next 2 sts on band, ch 1, turn. (15sts)
- Skip first st, sc, sc 3, 2sc in next st, repeat a TOTAL of 3 times, sc, sc in next unused st on band (pull this st snug), sl st in next 2 sts on band, ch 1, turn. (20sts)
- Skip first st, sc 2, sc 3, 2sc in next st, repeat a TOTAL of 4 times, sc, sc in next unused st on band (pull this st snug), sl st in next 2 sts on band, ch 1, turn. (26sts)
- Skip first st, sc 2, sc 4, 2sc in next st, repeat a TOTAL of 4 times, sc 3, sc in next unused st on band (pull this st snug), sl st in next 2 sts on band, ch 1, turn. (32sts)
- Skip first st, sc, sc 5, 2sc in next st, repeat a TOTAL of 5 times, sc in next unused st on band (pull this st snug), sl st in next 2 sts on band, ch 1, turn. (39sts)
- Skip first st, sc, sc 5, 2sc in next st, repeat a TOTAL of 6 times, sc, sc in next unused st on band (pull this st snug), sl st, finish off and weave in ends. (45sts)
Button Closure: Sew one or two buttons to the end of the band without the button holes. I prefer two buttons for more adjustability. If working with cotton yarn, it will stretch and the second button will help until the piece can be wet and back to shape. Finger shaping: As with most crochet, I like to finger shape or slightly tug my piece into shape. I think this brim has a nice shape on its own, but you may need to help shape it with your fingers.
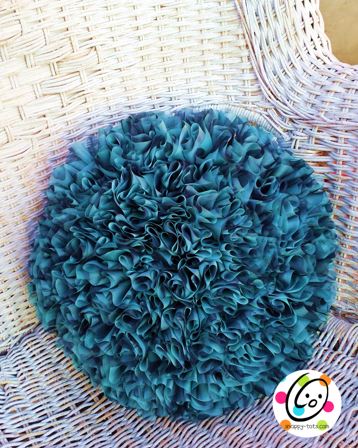
Flower Pattern
This is one of my favorite flowers. I love making them to slip over a button or with a solid center to attach to items. The pattern is free: Fast and Fun Flower
Pin To Save For Later