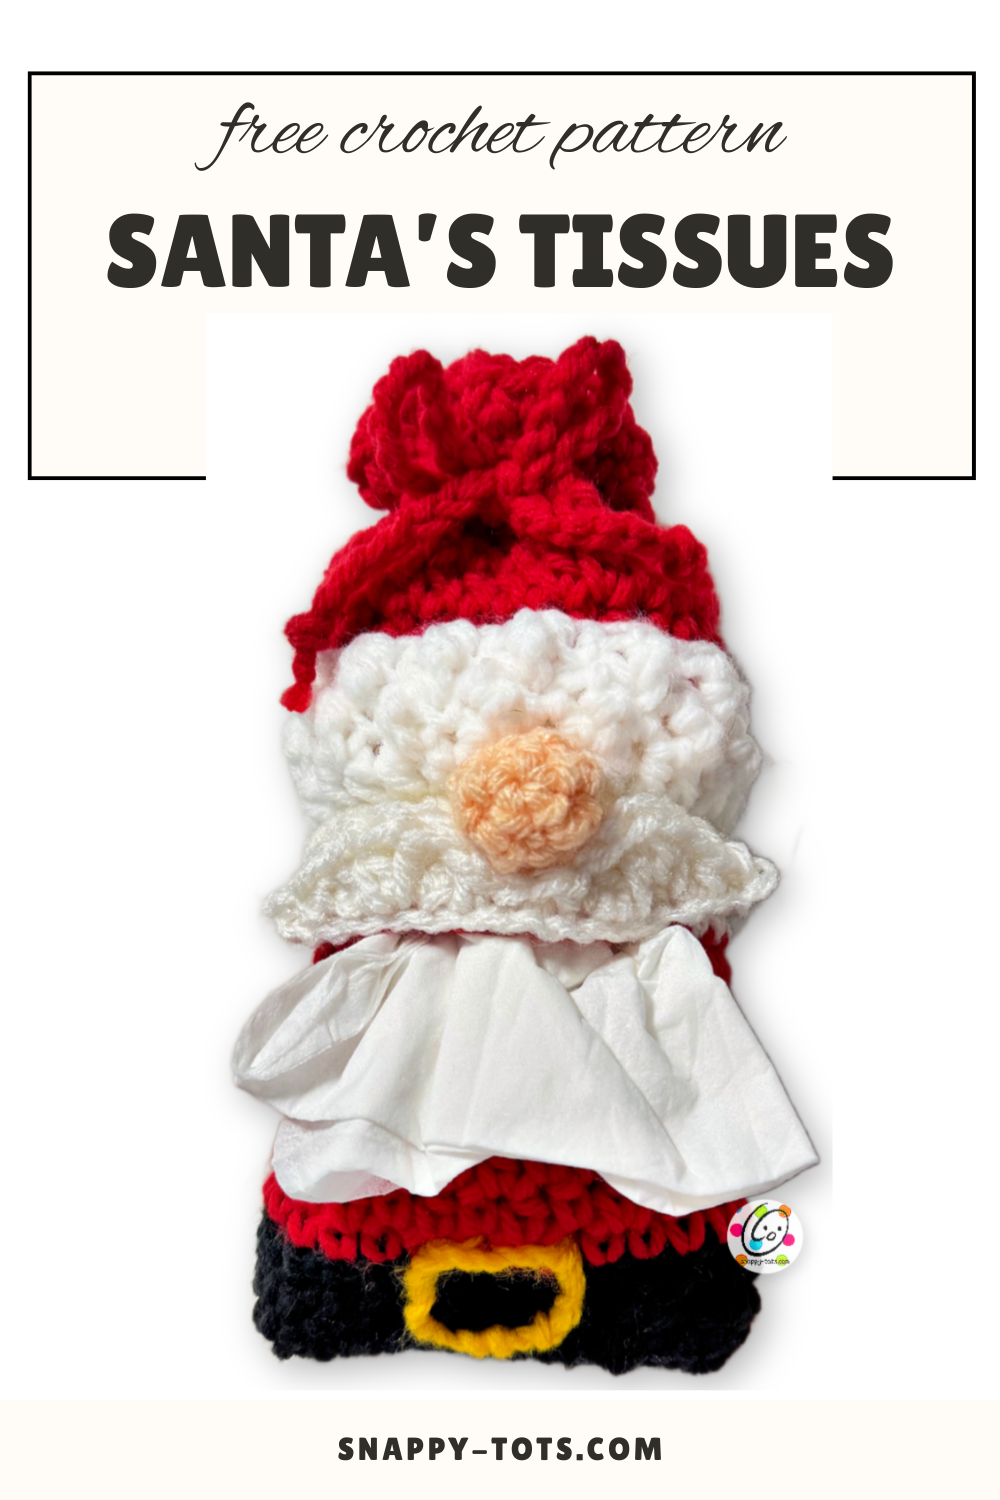
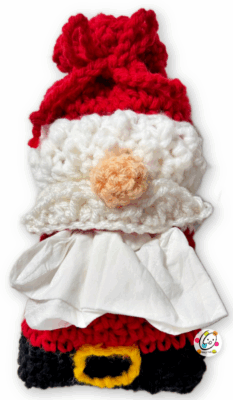
Free Pattern: Santa’s Tissues
It is fun having seasonal tissue holders and in my opinion they make the best gifts for anyone on your list PLUS they are stellar for craft fairs! I didn’t have a Christmasy one and I had the idea that the tissues would make a great beard! This could also hold little treats or a gift card.
This “Santa’s Tissues” is an easy crochet project. You just need to know how to read a crochet pattern and basic crochet skills. I am ALWAYS happy to help you make snappy projects and I want them to be a fun adventure!
Similar Patterns You Might Enjoy
- Everyday Tissue Holder
- Tissues For My Gnomies: holds two packs for extra runny noses or when a friend needs backup
- What a Bummer!: An extra unique tissue holder
Santa’s Tissues Crochet Pattern
This crochet pattern is available to view here on my blog for free below.
A downloadable, ad-free pdf of this pattern will be available to purchase from my shops soon.
Materials
- Yarn: 125-170 yards worsted weight yarn
Yarn used in the main sample: Red Heart Super Saver Cherry, White, Soft White, Black, Saffron; I Love This Yarn Lt Peach - Crochet Hook: H (5mm)
- Notions: Yarn needle for weaving in ends, small pack of tissues
- Optional: Measuring tape, scissors
Measurements
- Finished Measurements: 7.5” x 3.5” at widest point
- Gauge: not needed for this project
Tips
- The first stitch of each row is worked into the same stitch as the turning chain unless noted.
- Numbers at the beginning of each line may refer to steps and not indicate the number of rows.
- Stitch count remains the same unless noted at end of row/round.
- If you have any questions about this pattern please contact [email protected].
Directions
This project starts at the bottom edge.
1. Leave a long tail in the beginning for sewing the bottom edge closed. With an H hook and worsted weight yarn (Sample: Black), ch 26, sl st in the first chain to join in a circle.
2. Ch 1, sc in the same ch and in each ch, sl st to join. (26sts) Stitch count remains the same for the rest of the piece.
3-4. Ch 1, sc in the same st and in each st to end of row, sl st to join.
5. Finish off the current yarn and change to yarn for the bottom section (Sample: Cherry). Ch 1, sc in the same st and in each st to end of round, sl st to join.
6. Ch 1, hdc in the same st, sc in the next st, *hdc, sc,* repeat to end of row, sl st to join.
7. Ch 1, sc in the same st, hdc in the next st, *sc in the next st, hdc*, repeat to end of row, sl st to join.
8. Repeat steps 5-6 one time.
9. This step creates the slit for the tissues. To create a bag without the slit skip to step 10. Ch 1, sc in the same st, sc 7, ch 10, sk 10, sc 8, sl st to join.
10. Finish off the current yarn and change to yarn for the hair section (Sample: Off White). Ch 1, sc in the same st and in each st/ch to end of round, sl st to join.
11-12. Ch 1, sc in the same st and in each st to end of round, sl st to join.
13. Finish off the current yarn and change to yarn for the hat band (Sample: White). Ch 1, FPHDC around each post to end of round, sl st to join.
Note: For the next part we will work from inside the bag so the bumps created by the st pattern will be on the outside/right side of the piece.
14. Ch 1, turn, sc in the same st, tr in the next st, *sc, tr*, repeat to end of round, sl st to join.
15. Ch 1, tr in the same st, sc in the next st, *tr, sc*, repeat to end of round, sl st to join.
16. Finish off the current yarn and change to yarn for the hat section (Sample: Cherry). Work this round in BLO. Ch 1, hdc in the BLO of each st to end of round, sl st to join.
17-18. Ch 1, hdc in the same st and in each st to end of round, sl st to join.
19. This step creates the opening for the drawstring. Ch 1, hdc in the same st, ch 1, sk 1, *hdc, ch 1, sk 1*, repeat to end of round, sl st to join.
20. Ch 1, sc in each st and space to end of round, sl st to join.
21. Ch 1, sc in the same st and in each st to end of round, sl st to join. Finish off and weave in ends.
Nose: With an H hook and yarn to match the face, create a magic circle of 6 sc sts (or preferred method of creating a circle of 6 sc sts), pull closed and sl st to join. (6sts) Finish off, leaving a yarn tail for sewing in place.
With a yarn needle, use the yarn tail to sew the nose to the center front of the face section.
Mustache: With an H hook and worsted weight yarn (Sample: Soft White), ch 15, sl st in the 2nd ch from hook, sc, hdc, 2dc in the next ch, hdc, sc, sl st in each of the next 2 chs, sc, hdc, 2dc in the next ch, hdc, sc, sl st. Finish off, leaving a long tail for sewing in place.
With a yarn needle, use the yarn tail to sew the mustache under the nose and lined up with the top edge of the tissue opening.
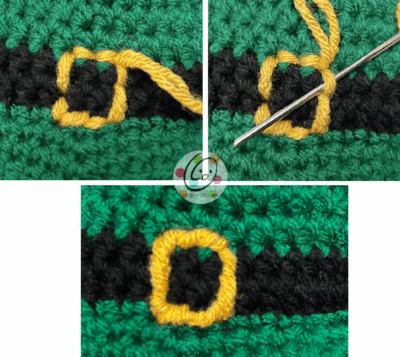
Buckle: Pull a long piece of yarn (Sample: Saffron) through a yarn needle until the ends match up. Tie a knot.
Stitch a square around the belt to create the buckle with this double strand of yarn (photo below, top left).
After the square is complete, work on TOP of the piece (not up and down to the inside of the bag), slide the yarn needle under the next st (photo below, top right).
Pull the needle through until the yarn is snug. Repeat for each st working around the square.
Drawstring: With an H hook and worsted weight yarn (Sample: Cherry), ch 70. Finish off and tie a knot in each end of the drawstring. Trim the yarn ends.
Starting on the front of the hat, pull one end of the drawstring in and out of the holes created on step 19 on the bag. Pull the ends until even. Tie in a bow.
Tissues: Since small tissue packs usually open when the pack is horizontal I like to cut a slit across the middle when the pack is vertical. You don’t have to do this. It just makes it a little easier to remove each tissue. Insert the tissues from the top and pull one out slightly through the slit.
Pin To Save For Later