

Free Pattern: Mariyah’s Shrug
Little shrugs are one of my favorite things and quite an interesting invention. There are so many cute dresses and shirts without sleeves. Shrugs are a great addition so these can be worn on cooler days or when sleeves are more appropriate for an occasion.
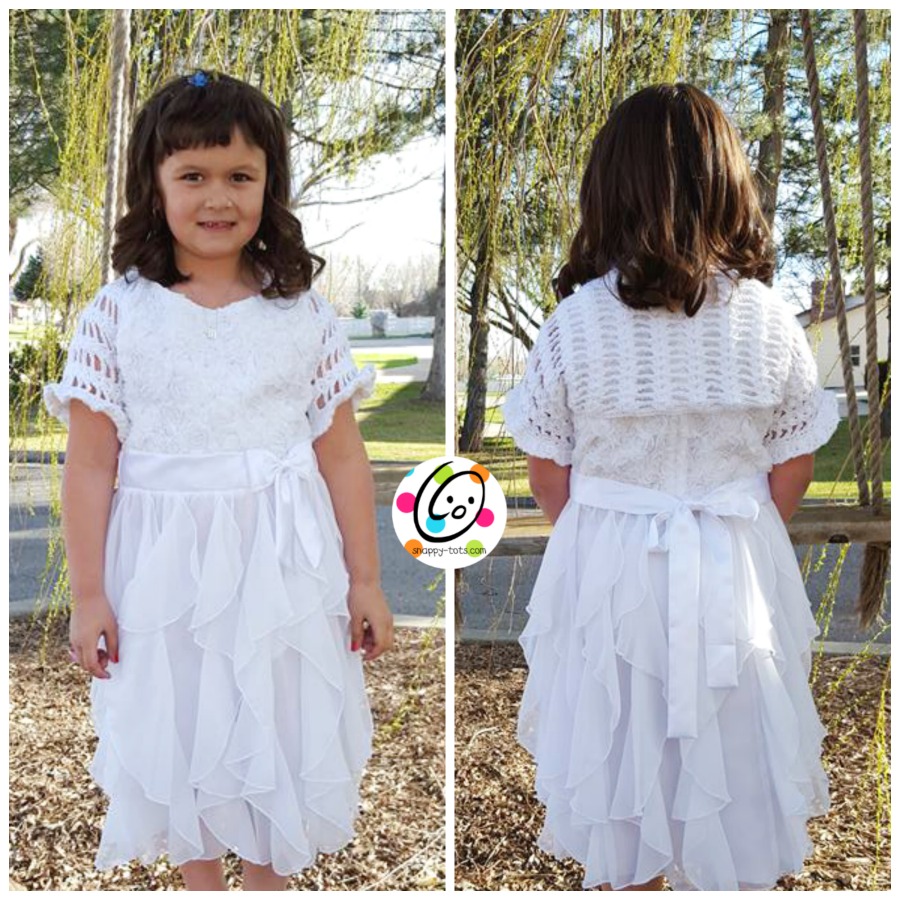
My cute little niece needed a little jacket for her beautiful baptism dress so I offered to make her a shrug. It worked perfectly and was so easy to make.
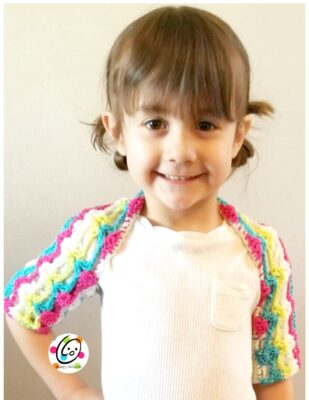
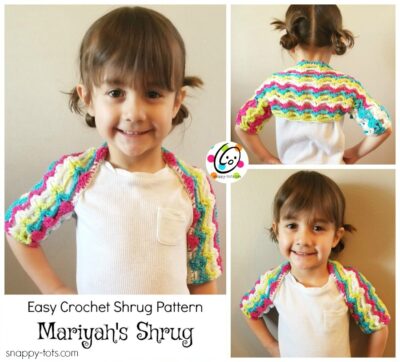
I think this would be a cute and simple way to add a burst of color to outfits too. I made a colorful version out of Red Heart Super Saver Stripes yarn (Candy Stripe) for a friend’s daughter. Isn’t she adorable?
Mariyah’s Shrug
Project Info
- Skill Level: Basic crochet skills are needed and must be able to read a crochet pattern.
- Completion Time (how long it takes the designer to make one): 2 hours
Materials and Details
- 200-260 yards worsted weight yarn for child size. Sample: Red Heart Super Saver Stripes in Candy Stripe
- Crochet Hook: H
- Yarn needle for seaming and weaving in ends.
Sizes
I have written out the instructions for child size 2-5 years.
Since these are so simple to whip up, I’ve also added the recipe for creating any size. It’s super easy to do.
Custom
- Measure from elbow to elbow, with arms out straight to the sides. Add 2″ to this measurement and write down this number.
- Measure around upper arm. Write down this measurement.
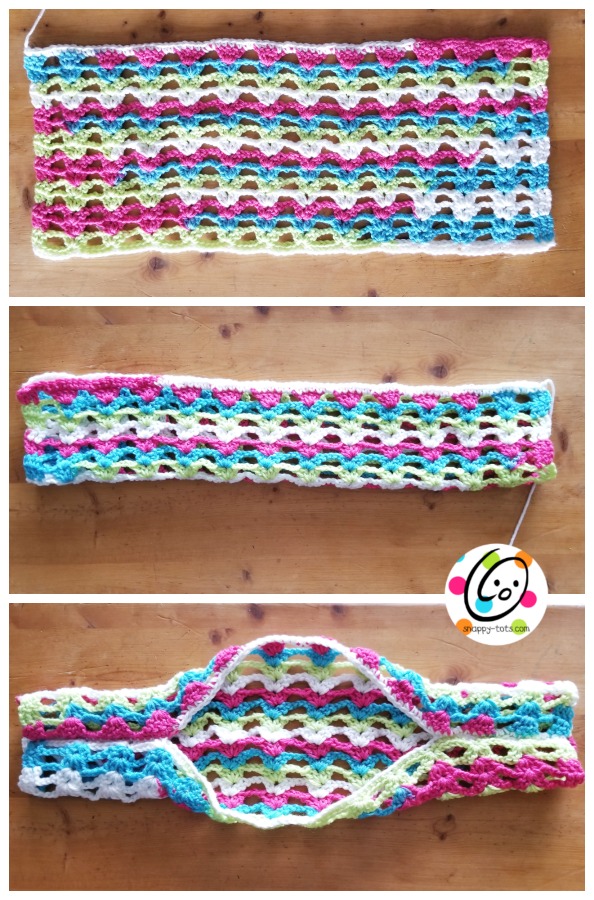
- The beginning chain needs to be divisible by 6 plus 4. With an H hook and worsted weight yarn, create a chain the length of the number from step 1. Adjust number of stitches so it is divisible by 6 and then add 4.
- Sc in the 2nd ch from hook and in each ch across.
- Ch 2, turn, dc in same st, dc, ch 3, *sk 5, *4dc in next st, ch 3, sk 5**, repeat until 2 sts remain, dc in next st, 2dc in last st. The number of clusters will remain the same from this point on.
- Repeat step 5 until piece is desired length. It needs to be at least the number from step 2 (upper arm) plus 2″.
- Ch 1, turn, dc 2, **2dc around ch, dc 4 (in each dc of the cluster)**, repeat until last ch space. 2dc around ch, dc in last 2 sts. Finish off, leaving a long yarn tail for sewing a seam.
- Fold piece in half, matching up the long edges. With a yarn needle and yarn tail, sew the two layers together for at least 4″ from outer edge. Finish off and weave in end. Attach yarn to opposite end and repeat.
- Turn shrug right side out.
Child Small (2-5 years)
This fit a 4 year old girl to her elbows. Her measurements: from elbow to elbow with arms out straight to side is 18″.
Finished Piece Measurement: 20″ long x 8.5″ wide (at middle); 11″ opening (chest); 4.75″ opening (arm)
- With an H hook and worsted weight yarn, ch 82, sc in 2nd ch from hook and in each ch across. (81sts)
- Ch 2, turn, dc in same st, dc, ch 3, sk 5, **4dc in next st, ch 3, sk 5**, repeat until 2 sts remain, dc in next st, 2dc in last st. (12 clusters)
- Ch 2, turn, dc 2, **ch 3, 4dc in middle of cluster (between the 2nd and 3rd dc)**, repeat until 2 sts remain, ch 3, dc, 2dc in last st.
- Repeat until there are 15 cluster rows.
- Ch 1, turn, dc 2, **2dc around ch, dc 4 (in each dc of the cluster)**, repeat until last ch space. 2dc around ch, dc in last 2 sts.
- Fold piece in half, matching up the long edges. With a yarn needle and yarn tail, sew the two layers together for 4-4.5″ from outer edge. Finish off and weave in end. Attach yarn to opposite end and repeat.
- Turn shrug right side out.
Sleeve Ruffle (optional- shown in white sample)
- Attach yarn to edge of sleeve opening. Ch 1, sc evenly around opening, sl st to join.
- Ch 5, **(dc, ch 2, dc) in next st**, repeat to end of round, sl st in ch 5 space to join.
- **Ch 3, sl st in next ch 2 space**, repeat to end of round. Finish off and weave in ends.
Repeat for the other arm opening.
Please Pin To Save For Later

I hope you enjoyed making this quick and easy project. I would love to see your creations. Please include #snappytots when sharing projects made from my patterns.
Thanks for crocheting with me!
~ Heidi


