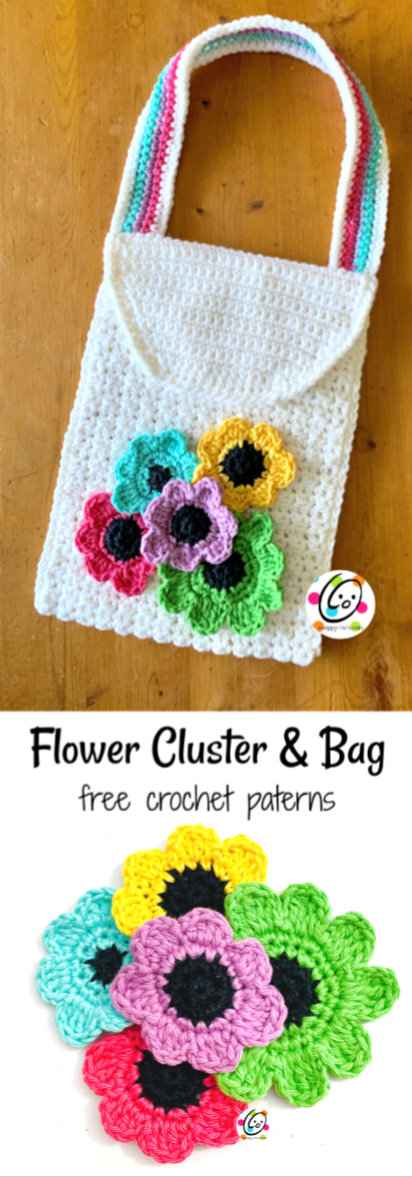
Free Pattern: JP Flower Bag
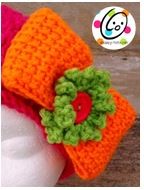
I’ve been crocheting flowers to match some wonderful designs by a friend of mine, Jonathan Pereira. They turned out so cute. You can get the crochet pattern for free on my blog or scroll down for a pattern that includes these flowers and a bag.
I designed them as a washcloth, but I thought they would make a great applique on a bag too. This simple bag really shows off their beauty.

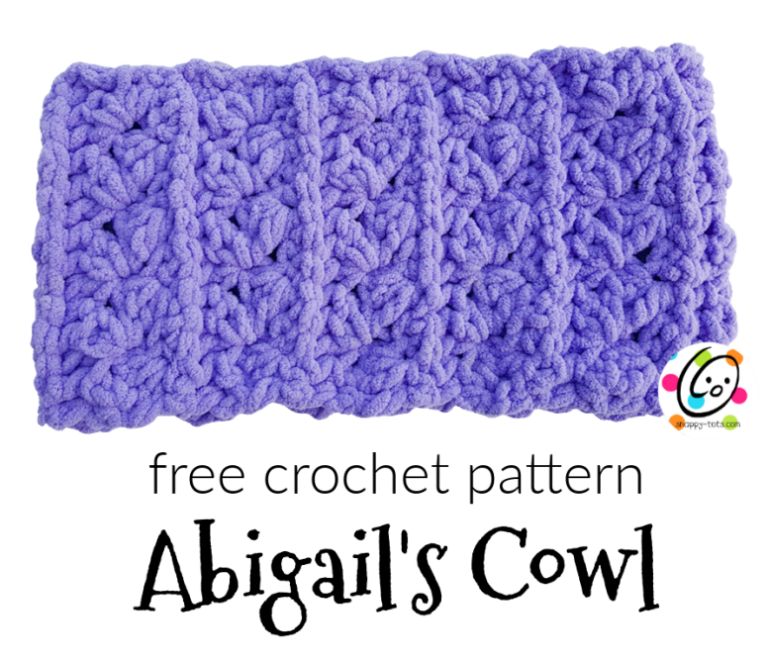
Other patterns in this series you might enjoy
JP Flower Bag Pattern
The pattern for this project is available for free below. An ad-free, downloadable pdf is available to purchase from my Ravelry Shop.
Materials and Details
- Yarn: Lily Sugar N Cream – 100 yards ww cotton per flower. Choose one color for the center and one for the petals. 200 yards white acrylic yarn for bag.
- Crochet Hook: H (5mm), I (5.5mm)
- Notions: Yarn needle for weaving in ends
- Measurements: Flowers 3 x 3” and 4 x4” *green; Bag – 9” wide x 12” tall
Tips
- Numbers at the beginning of each line may refer to steps and not indicate number of rows.
- If you have any questions about this pattern please contact [email protected].
Directions
BAG
1. With an I hook and white yarn (or color of choice), ch 28, sc in the 2nd ch from hook and in each ch across. (27sts)
2. Ch 2, turn, hdc in the same st, *sc in the next st, hdc in the next st*, repeat to end of row.
3. Repeat previous row for an additional 61 rows.
4. Ch 1, turn, sc in the same st and in each st to end of row.
5. Repeat previous row for an additional 11 rows.
6. This step starts the decrease section that forms the flap. Ch 1, turn, sc2tog, sc 23, sc2tog. (25sts)
7. Ch 1, turn, sc in each st to end of row.
8. Ch 1, turn, sc2tog, sc 21, sc2tog. (23sts)
9. Ch 1, turn, sc in each st to end of row.
10. Ch 1, turn, sc2tog, sc 19, sc2tog. (21sts)
11. Ch 1, turn, sc in each st to end of row.
12. Ch 1, turn, sc2tog, sc 17, sc2tog. (19sts)
13. Ch 1, turn, sc in each st to end of row.
14. Ch 1, turn, sc2tog, sc 15, sc2tog. (17sts)
15. Ch 1, turn, sc2tog, sc 13, sc2tog. (15sts)
16. Ch 1, turn, sc2tog, sc, hdc 9, sc, sc2tog. (13sts)
17. This step is worked around the outer edge of the bag. Ch 1, sc in the same st, sc 9 sts evenly to widest part of flap. 2sc in the next st, sc evenly to the end of this side. (Sc, ch 1, sc) in the first st of the bottom row. Sc in each st across until 1 st remains. (sc, ch 1, sc) in the last st. Sc evenly up the side of the bag until the piece starts to decrease for the flap. 2sc in the next st. Sc 9 sts evenly to the end. (Sc, ch 1, sc) in the first st of the row, sc in each st across, sl st in the first st to join. Finish off and weave in ends.

If flowers will be added, make those and sew the flowers to the bag before sewing the side seams. Make sure to fold the bag to check flower placement.

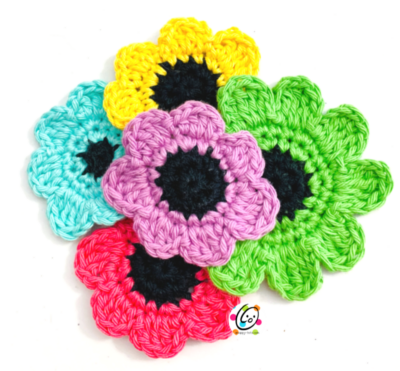
FLOWERS
Follow the instructions from my “Jonathan’s Flowers” pattern to make the flowers.
Cluster Assembly: Overlap flowers as shown in main photo. With a yarn needle and black yarn, sew through the top flower center and through the layers below it. Use other yarn colors to sew through some of the petals to sew the flowers together.
Bag Assembly
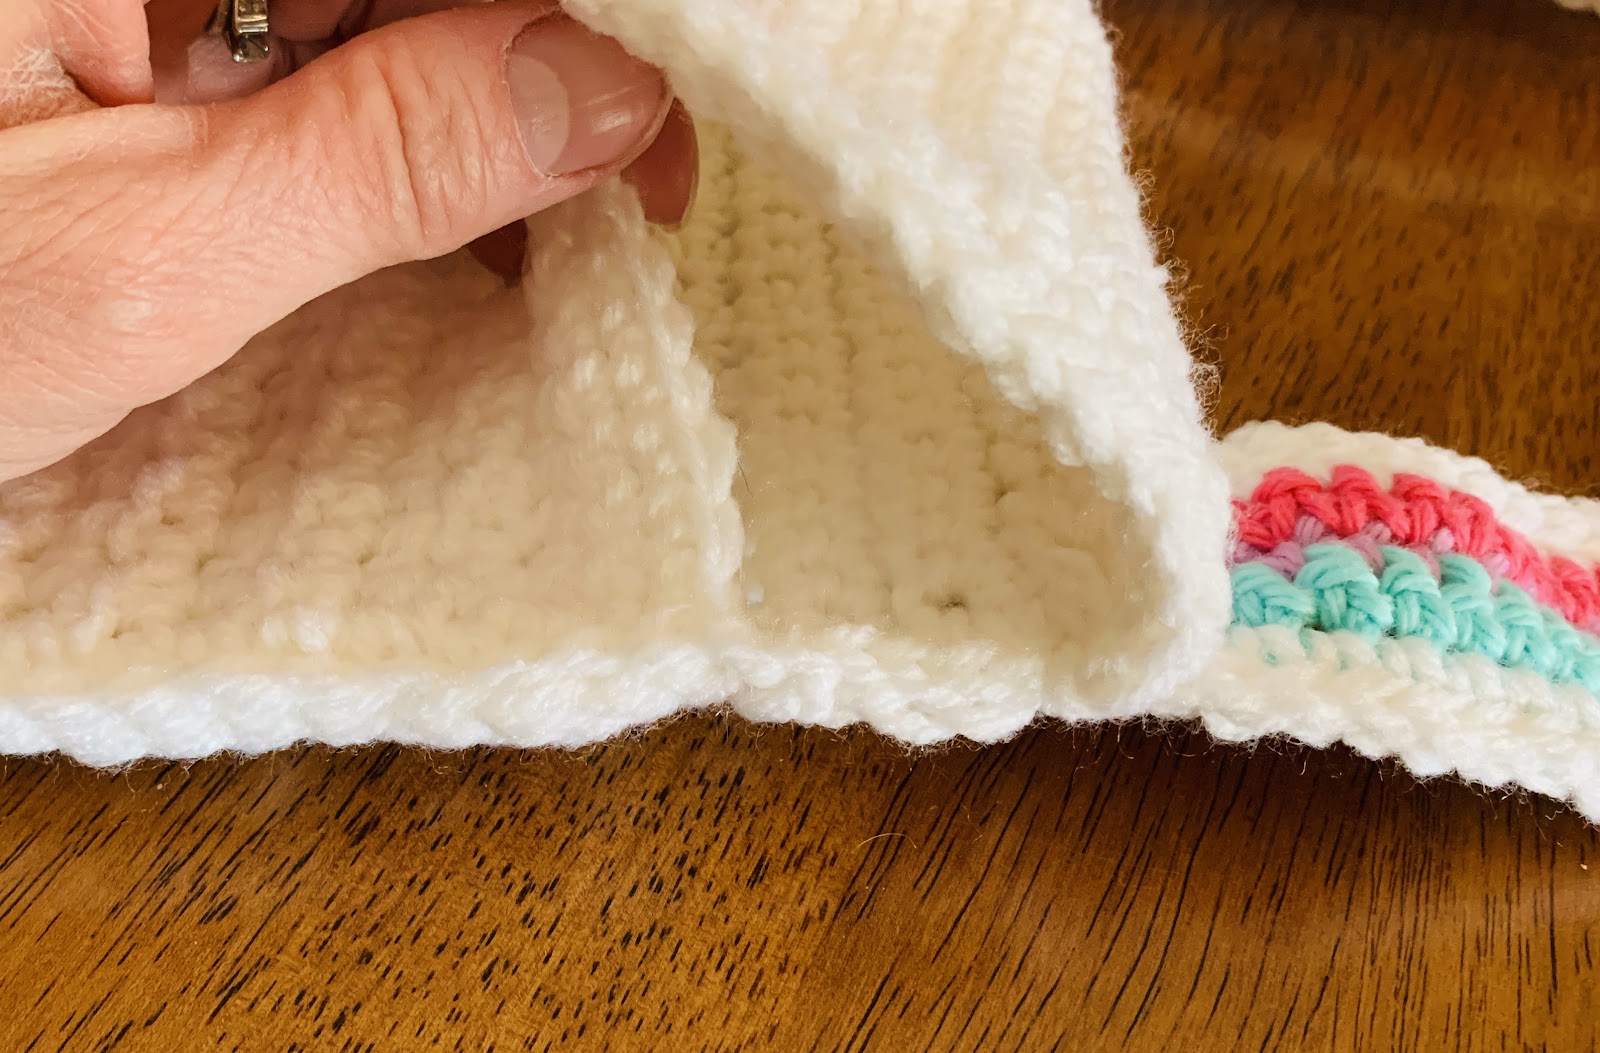
Fold the bag so the beginning edge is even with the last row of the nubby textured section (before the sc rows begin). Make sure the flowers are on the top of the bag at this point.
With an I hook, attach matching yarn to the bottom, right corner. Working through both layers, loosely sl st through each st to the end of the layers.
Attach yarn to the bottom, left corner and repeat.
Handle
The white in the sample bag was added as the last step of the handle. The handle starts with a colored row.
1. With an H hook and turquoise yarn (or choice of color), ch 71, sc in the 2nd ch from hook and in each ch across. (70sts)
2. Change to lavender yarn. Ch 1, turn, sc in the same st and in each st to end of row.
3. Change to pink yarn. Ch 1, turn, sc in the same st and in each st to end of row.
4. Change to white yarn. This step is worked around the outer edge of the handle. Ch 1, pivot the piece to work across the short edge. Sc evenly across the short end. (Sc, ch 1, sc) in the first st of the beginning edge. Sc in each st across until 1 st remains, (sc, ch 1, sc) in the last st. Sc evenly across the short end. (Sc, ch 1, sc) in the first st of the next edge. Sc in each st across, sl st in first st to join. Finish off and weave in ends.
The short ends of the handle are attached to the top of the sixth row of the bag flap (see photo below). With a yarn needle and matching yarn sew each short end to the bag flap.
Pin To Save For Later