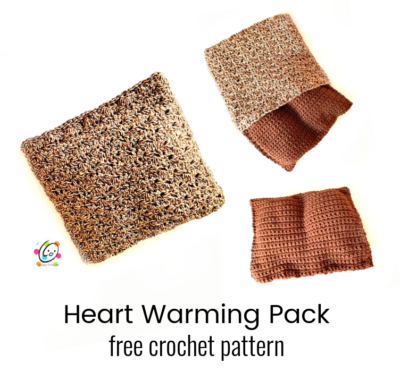
Free Pattern: Heart Warming Pack
Heat packs are one of my favorite gifts to give for almost any occasion. They warm the body and soul. It is like a nice, warm hug.
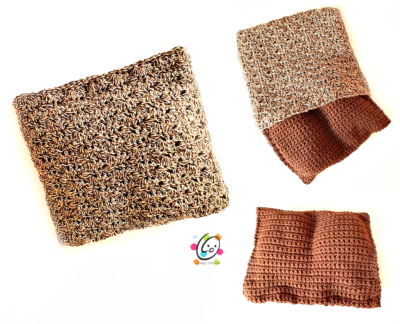
- This warming pack includes an outer layer that an be washed. I have listed lots of materials that can be used in the heat pack.
- This project can be used two different ways. It can be a body warmer/cooler body pack and it can also be a trivet for hot dishes.
- There are 2 “pouches”. The inner pouch holds two pouches of uncooked rice or flax seeds and an outer pouch that can be washed if needed.
Heart Warming Pack Crochet Pattern
This pattern is available to view here on my blog for free below.
Materials
- Yarn: 250 yards ww cotton
Sample Yarn: 150 yards I Love This Cotton Monkey Brown (outer pouch); 100 yards I Love This Cotton Brown (inner pouch)
- Crochet Hook: H (5mm)
- Miscellaneous Supplies: Yarn needle, measuring tape, scissors, 2 cups uncooked rice or flax seeds, 2 nylon knee high socks (or similar)
- Optional: Scented oil of choice, 3 – ½” buttons, scoop for filling pouches, sewing needle and matching thread
Details
- Measurements of completed project: 9” x 9”
- Gauge – not needed for this project
Tips
- First stitch of each row is worked into the same stitch as the turning chain.
- Numbers at the beginning of each line may refer to steps and not indicate number of rows.
- Stitch count remains the same unless noted at the end of the step.
Warnings
- Make sure items are microwave safe before using them in the microwave.
- Items heated in the microwave can get extremely hot so use caution.
- When using trivets under hot items, check first to make sure they will not harm furniture or dishes/pots.
Directions: Inner Pouch
1. With an H hook and dark brown yarn (or yarn color of choice), ch 33, sc in 2nd ch from hook and in each ch across. (32sts)
2. Ch 1, turn, sc in the same st and in each st to end of row.
3. Repeat previous row until rectangle measures 12” from starting edge.
Finish off, leaving a long yarn tail for sewing edges.
Assembly
Fold the rectangle in half, matching the beginning and ending rows.
Use a yarn needle and the yarn tail to sew each side seam.
Fold the piece in half (side to side) to find the middle of the pouch (see photos below). Use a yarn needle and matching yarn to sew a seam down the middle of the pouch. This divides the main pouch into 2 smaller pouches.

Fillers: Choose from one of the following depending on final use of warming pack.
Uncooked Rice
- Warming Pack Type: body wamer and trivets
- Pros: Works great for a body warmer that can be heated in a microwave, inexpensive, small pieces to mold to a body.
- Cons: Has a “smell” of its own when warmed.
Flax Seed
- Warming Pack Type: body wamer and trivets
- Pros: Very similar to rice but does not have a scent.
- Cons: Can be harder to find and more expensive.
Natural Auguarium Rock
- Warming Pack Type: trivets
- Pros: No scent to detract from food dish.
- Cons: Cannot be heated in the microwave.
- Do NOT buy colored rocks that might bleed through cloth.
Scented Oils
Body Warmers: Choose soothing oils, such as lavender, to add to your filler. A few drops goes a long way.
Trivets: Oils that are pleasing with food items, such as cinnamon or vanilla, are preferred. Rose cented trivets might clash with dinner.
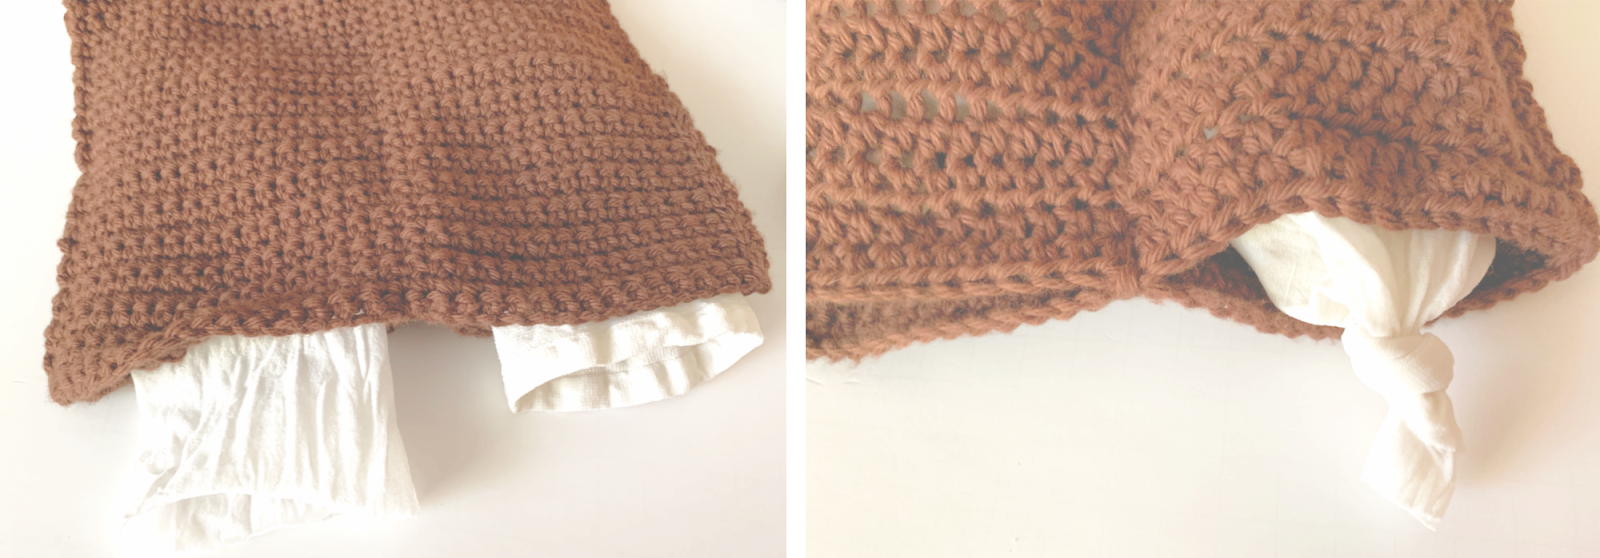
Place a nylon sock in each pouch, opening towards pouch opening. Choose one of the fillers listed on page 2 and fill each pouch until desired thickness. Approximately 1 cup in each pouch works well, but more can be added. Tie a knot in the end of each sock.
Use a yarn needle and matching yarn to sew the top edge of the inner pouch shut. Set aside.
Directions: Outer Pouch
1. With an H hook and variegated yarn (or yarn color of choice), ch 33, sc in 2nd ch from hook and in each ch across. (32sts)
2. Ch 1, turn, (2hdc, dc) in same st, sk 1, sc2tog, *(2hdc, dc) in next st, sk 1, sc2tog*, repeat to end of row.
3. Repeat previous row until rectangle measures 14” from starting edge.
4-7. Ch 1, turn, sc in same st and in each st to end of row.
8. Fold the rectangle in half, matching the beginning and ending rows. Ch 1, pivot piece to work across the side of the rectangle. Working through both layers, sc evenly down the side. Finish off and weave in end.
9. Attach yarn to opposite side. Working through both layers, sc evenly across the side. Finish off and weave in end.
Buttons (optional): for a button closure, the buttons will be sewn to the inner side of the edge which ended in sc rows. Position the buttons so they will slip through spaces at the opposite edge which were created by the clusters. With a sewing needle and thread, sew each button in place.
Place the inner pouch inside.
Pin To Save For Later