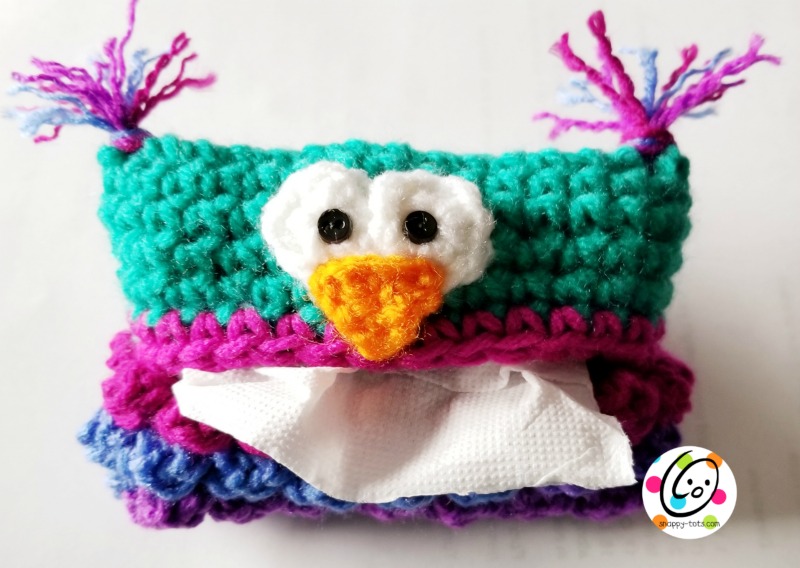
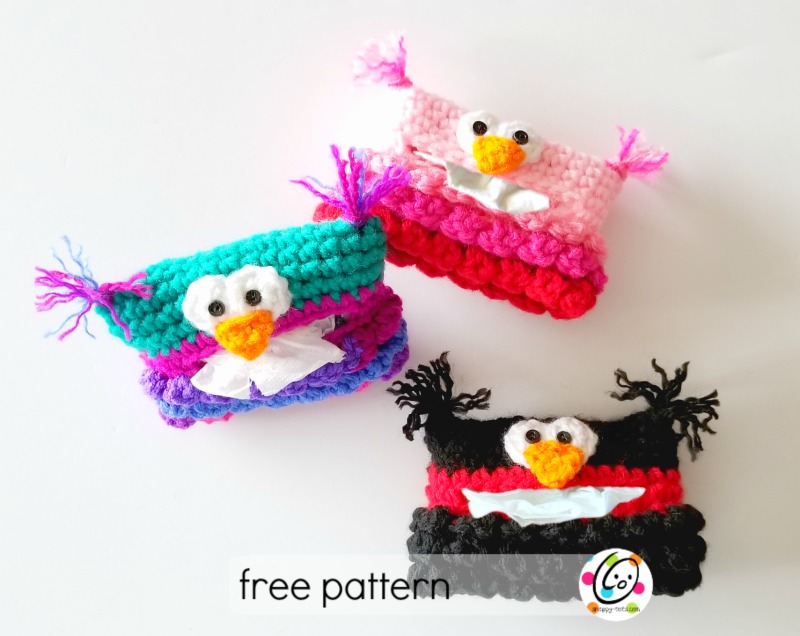
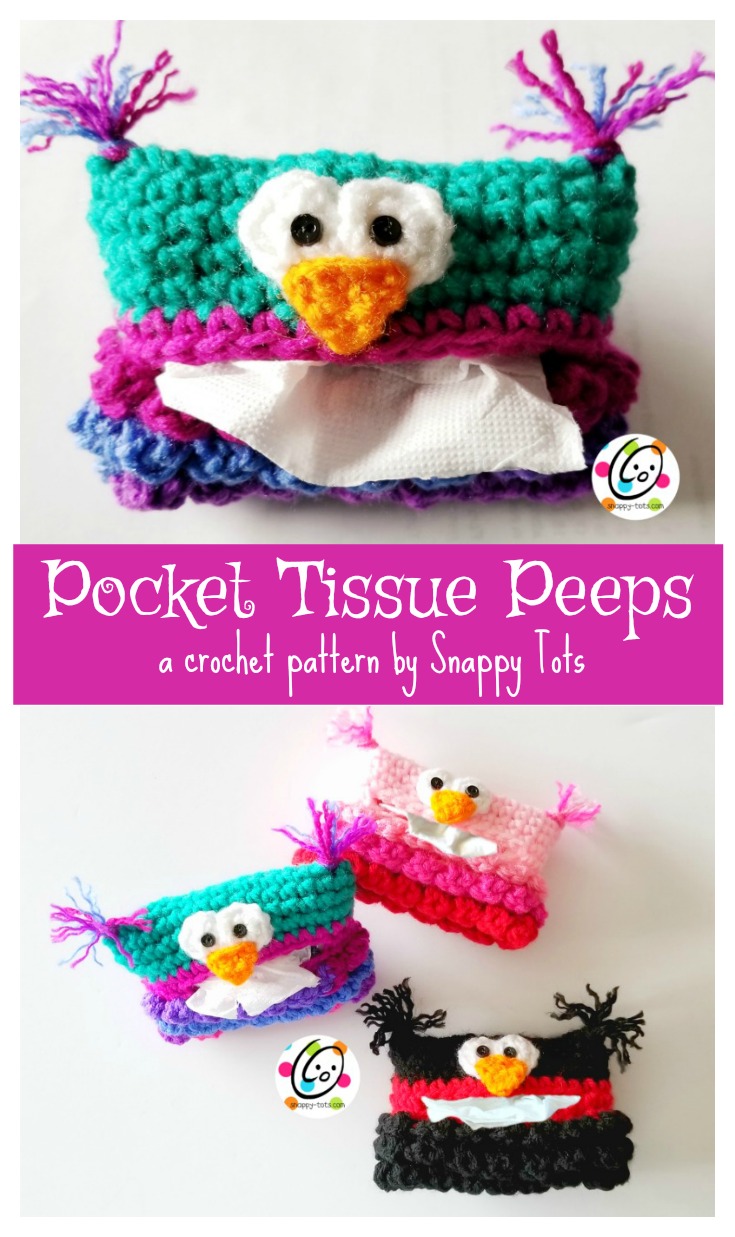
I needed to make some cute little gifts this week. Since we go through a lot of tissues this time of year I thought I would whip up some new tissue covers. I have made a lot from my original tissue holder pattern and decided I’d give these some snappy attitude 🙂
Pocket Tissue Peeps Crochet Pattern
An ad-free, downloadable PDF of this pattern with all of the photos is available for a small fee from my shops: Ravelry
Materials
Yarn: Worsted weight yarn in choice of colors: solid color for top half, variegated or variety of colors for bottom half (feathers), small amounts of white and orange.
Miscellaneous: Yarn needle, Sewing needle, black thread , 2 small black buttons, pocket size tissues
Crochet Hooks: H, I
Gauge: Not important for this project
Size: 5” wide x 3.5” tall
Variations
Penguin: start with black, change to red (or desired color for “scarf”) on step #5. Change back to black on step #8 and finish piece in this color.
Color changes: The main pattern is written for the main owl version. Change color placement as desired. To me it makes the opening look more like a mouth.
Directions
1. With an I hook and color for top of holder, ch 17, sc in 2nd ch from hook, sc 14, 2sc in last ch.
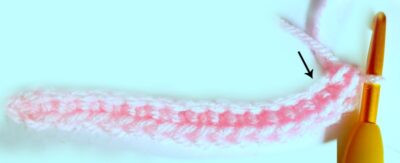
Pivot piece (not turn) to work across back of chain. This step will create a “round”. Sc in next remaining loop from beginning chain (see arrow in photo below for placement). Sc in each st to end of chain, sl st in first st to join. (32sts)
2-4. Ch 1, sc in each st to end of round, sl st to join.
5. Change yarn color. Ch 1, sc in each st to end of round, sl st to join.
This step creates the opening for the tissues. Make sure current position is at edge of piece. If st placement is not at the edge, adjust the amount of sc sts worked before the opening is created. Ch 1, sc 3, ch 10, sk 10, sc 19, sl st to join.
7. Ch 1, sc in each st to end of round, sl st to join.
8. This step creates the first round of “feathers”. From this point on, work from the inside of the piece.
Work this round in BLO. Ch 1, TURN. 2dc in next st, sl st in next st, *2dc in next st, sl st in next st*, repeat to end of round. Sl st in first remaining loop from start of round. There should be 16 “feathers”/bumps.
Note: Make sure to work into the first st (same as the beginning chain). See photos below.
This step is worked in the remaining loops from the previous round. Ch 1, hdc in same st and in each st to end of round, sl st in first st to join. Make sure there are still 32 sts.
10. Change colors if desired. Work this round in BLO. 2dc in next st, sl st in next st, *2dc in next st, sl st in next st*, repeat to end of round. Sl st in first remaining loop from start of round. There should be 16 “feathers”/bumps.
11. This step if worked in remaining loops from the previous round. Ch 1, hdc in same st and in each st to end of round, sl st in first st to join. Make sure there are still 32 sts.
12. Change colors if desired. Work this round in BLO. 2dc in next st, sl st in next st, *2dc in next st, sl st in next st*, repeat to end of round. Sl st in first remaining loop from start of round. There should be 16 “feathers”/bumps.
13. This step if worked in the remaining loops from the previous round. Ch 1, SC in same st and in each st to end of round, sl st in first st to join. Make sure there are still 32 sts. Finish off, leaving 12” for sewing bottom edge.
Fold the bottom edge to create 2 layers, lining up the sts. Make sure the edges are straight. With a yarn needle and yarn tail, sew the layers together. Secure ends.
Eyes (make 2)
With an H hook and white yarn, create a magic circle of 8 sc sts (or preferred method for creating a circle of 8 sc sts), pull closed and sl st to join. (8sts) Finish off, leaving a tail for sewing in place.
With a yarn needle and yarn tail, sew each eye to the top section of the piece, centered above the opening.
With a sewing needle and thread, sew each button on top of the eyepieces.
Nose
Leave a yarn tail in the beginning for sewing the nose in place. With an H hook and orange yarn, ch 5, sc2tog, sc2tog. (2sts). Ch 1, turn, sc2tog. Finish off and weave in end.
With a yarn needle and the beginning yarn tail, sew the nose in place, overlapping the bottom edge of the eyes.
Top Feathers
Cut 6 pieces of matching yarn 6” long. Fold 3 pieces in half and pull the center loops through one top, corner tip using a crochet hook. Pull the yarn tails through the loops until loops are snug against the piece. Repeat for the opposite corner.
Note: I like to insert my hook from the backside of the piece. This way the loops will be against the front of the piece.
For a frizzy look, as shown in the sample, pull the yarn strands apart.
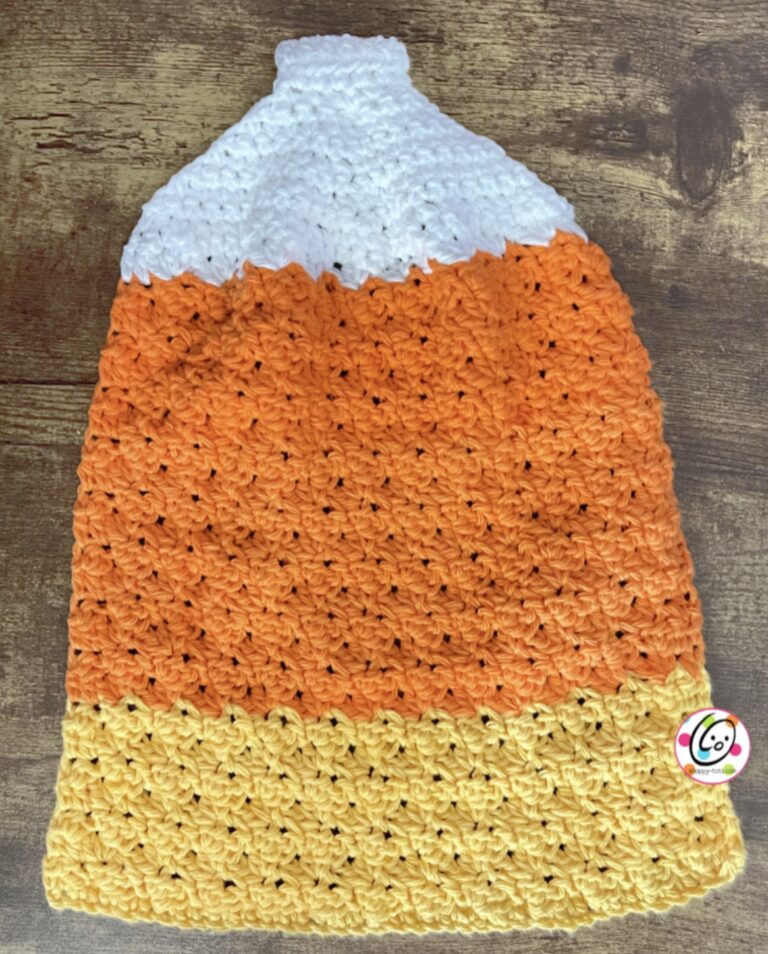
Snappy Tots Free Crochet Pattern Candy Corn Hanging Towel A little Halloween sweetness for your kitchen, whether you love candy corn or not! Candy corn might be one of the most debated Halloween treats ever! Some people love it, some people won’t touch it, and some of us think a few pieces are plenty. But…
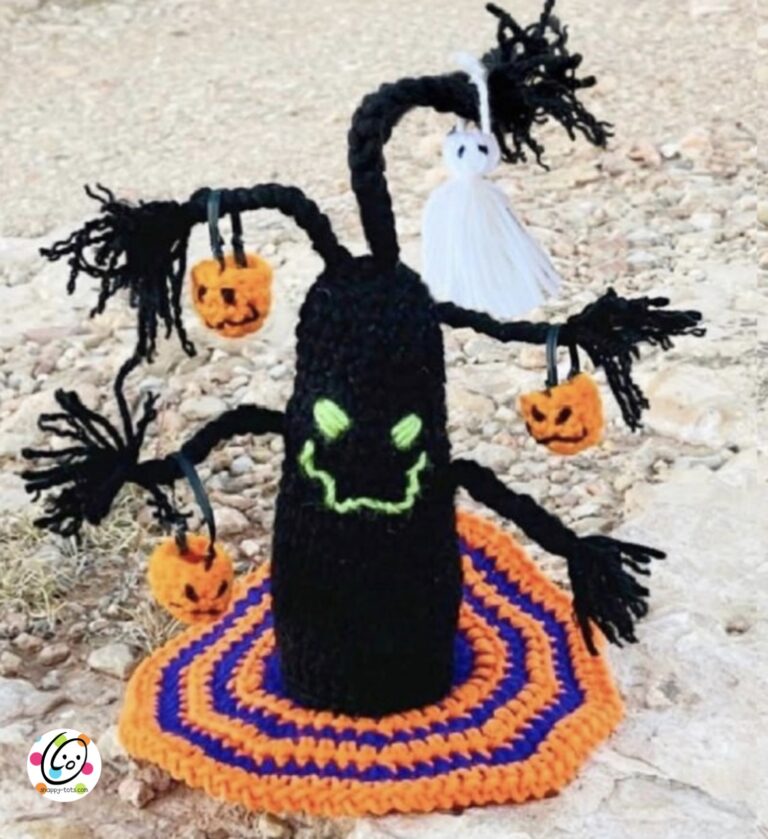
SNAPPY TOTS FREE CROCHET PATTERN Spooky Tree A little Halloween tree with pumpkin baskets and a ghostly friend! A little spooky, a little silly and ready for Halloween! This crocheted tree has braided branches for hanging tiny pumpkin baskets and a ghost tassel. A colorful striped mat finishes the display. Make the whole little scene…
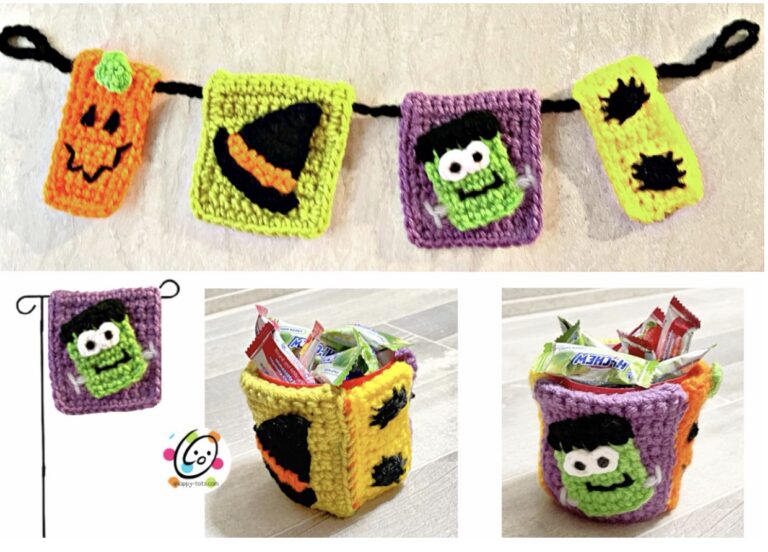
SNAPPY TOTS FREE CROCHET PATTERN Itty Bitty Halloween Flags Little flags, friendly frights and three fun ways to decorate! A little Frank, a witch hat, a pumpkin and some spiders are ready to bring a bit of Halloween fun to your decorations! Make a mini banner, display a single flag or stitch the flags together…
Snappy Tots Crochet Cancer Challenge 2026 Mulberry Spice Beanie A cozy, textured beanie made with love, hope, and a little mulberry spice! One of my favorite crochet events of the year is back! The annual Crochet Cancer Challenge, hosted by Sweet Potato 3, brings crochet designers and makers together for something truly special: creating handmade…
I needed a couple of Halloween gifts at the last minute so I whipped up these super easy Frank and Bride Cloths. They could also be as treat bags or used as pockets on a bag. I hope you will enjoy making them. Frank and Bride Cloths Pattern Please CLICK HERE to add this to…
While designing a 12″ afghan block for the 2020 Moogly Crochet Along, I kept looking at its center and thinking it would make a cute flower all on its own. Of course, I also started wondering if I could turn it into a cloth. I seem to see cloth possibilities in everything! I gave it…