

Free Pattern: Frankenlight
It’s no secret. I LOVE Halloween and crocheting projects for this time of year.
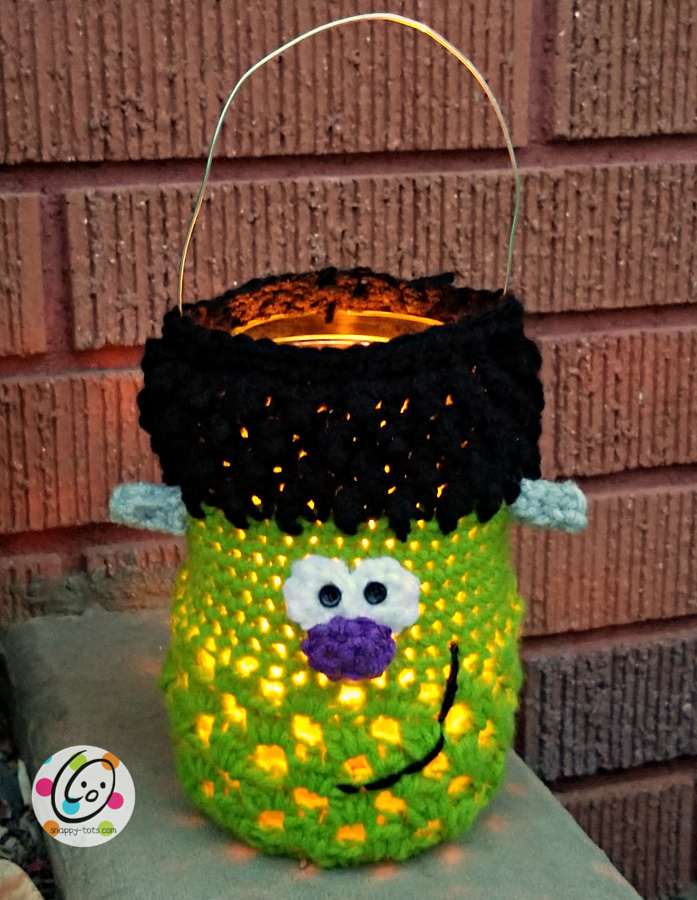
When putting out my Halloween decorations I realized I didn’t have a Frankenstein to put outside. I have a cute luminary to hang on my shepherd’s hook throughout the year. I decided that is what I wanted to make. I hope you will want to make one and will enjoy him too.
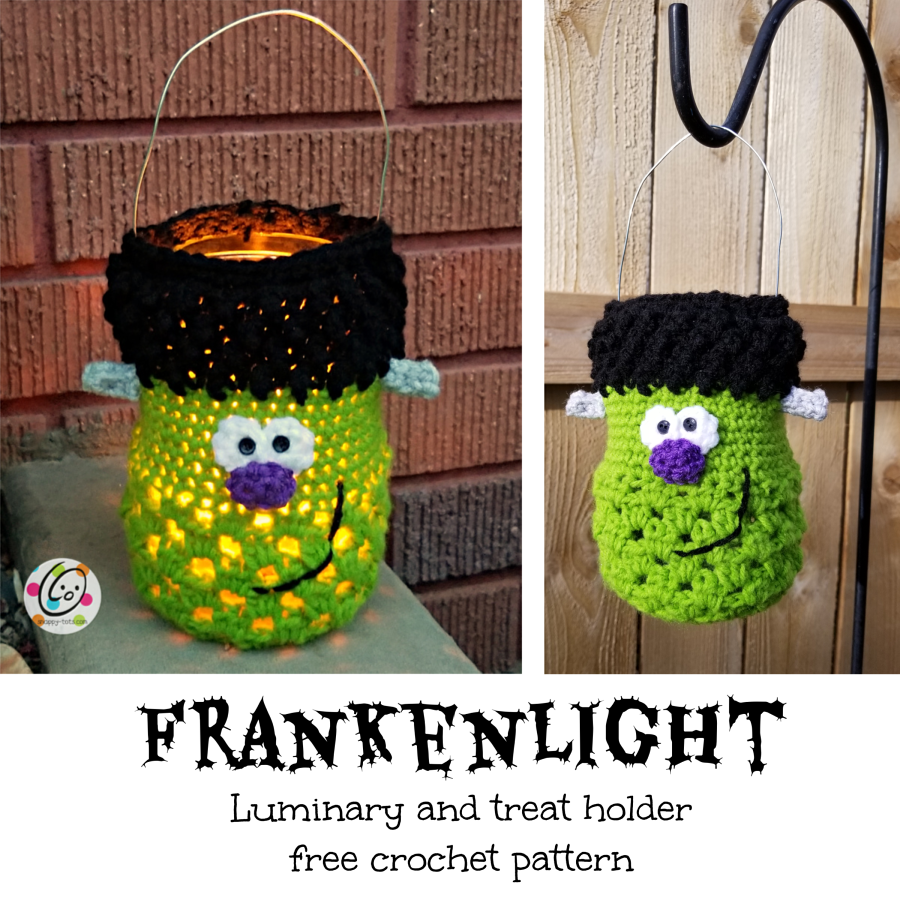
Frankenlight Crochet Pattern
The pattern for this project is available for free below. An ad-free, downloadable PDF that includes all of the photos and instructions is available for in my Ravelry Shop: Click HERE
Materials and Details
- Yarn- worsted weight yarn in Red Heart Super Saver: Spring Green, Black, White, Medium Purple, Light Grey
- Crochet Hook: G, H
- Misc: yarn needle, scissors, 2 small black buttons for eyes, sewing needle, black sewing thread, pint or quart mason jar (or similar)
- Gauge: not necessary for this project
- Measurements: Pint Size – 6″ wide x 7″ tall; Quart Size – 6″ wide x 9″ tall
Abbreviations
ch – chain hdc – half double crochet dc – double crochet tr – treble crochet sc – single crochet sk – skip sl st – slip stitch st/sts – stitch/stitches
Tips First stitch of each row is worked into the same stitch as the turning chain unless noted. Numbers at the beginning of each line may refer to steps and not indicate number of rows. Reminder: “hdc 2” = work one hdc in each of the next 2 sts; “2hdc in next st”= an increase, work 2 hdc in one st.
Directions
1. With an H hook and green yarn, start with a magic circle of 8 sts (or preferred method for creating a circle of 8 sc sts), pull closed and sl st to join. (8sts)
2. Ch 1, 2sc in each st to end of round, sl st to join. (16sts)
3. Ch 2, *hdc, 2hdc in next st*, repeat to end of round, sl st to join. (24sts)
4. Ch 2, *hdc 2, 2hdc in next st*, repeat to end of round, sl st to join. (32sts)
5. Ch 2, hdc 2, *2hdc in next st, hdc 2*, repeat to end of round, sl st to join. (42sts)
6. Ch 1, (sc, hdc, dc) in same st, sk 2, *(sc, hdc, dc) in next st, sk 2*, repeat to end of round, sl st to join. (14 clusters and 42 sts)
7. Note: For rounds 7-12, work the clusters in the spaces between clusters from previous round. Ch 1, TURN, (sc, hdc, dc) in space below, *(sc, hdc, dc) in next space*, repeat to end of round, sl st to join. 8-12. Repeat previous round.
Pint size: skip to #13.
Quart size: repeat previous round two more times. Continue to #13.
13. This round is worked on the right side of the piece. Ch 1, sc in each st to end of round, sl st to join. (42sts) 14-19. Repeat previous round.
Pint size: skip to #20.
Quart size: repeat previous round two more times. Continue to #20.
20. This step starts the hair section and is worked from the wrong side/inside of the piece. This way the “bumps” will be on the right side/outside of the piece. Change to black yarn. Ch 1, TURN. Sc in same st, tr in next st, *sc in next st, tr in next st*, repeat to end of round, sl st to join.
21. Ch 1, tr in same st, sc in next st, *tr in next st, sc in next st*, repeat to end of round, sl st to join.
22. Ch 1, sc in same st, tr in next st, *sc in next st, tr in next st*, repeat to end of round, sl st to join.
23. Ch 1, tr in same st, sc in next st, *tr in next st, sc in next st*, repeat to end of round, sl st to join,
24. Ch 1, TURN. sc in same st, sc 18, sc2tog, sc 19, sc2tog, sl st to join. (40sts)
25. Ch 1, sc in each st to end of round, sl st to join. Finish off and weave in ends.
Eyes (make 2)
With a G hook and white yarn, create a magic circle of 8sts (or preferred method for starting a circle of 8 sc sts), pull closed and sl st to join. (8sts) Finish off, leaving a tail for sewing in place.
With a yarn needle and yarn tail, sew eyes to the top part of the green section. With a sewing needle and black thread, sew one button on top of each eye for the pupils.
Nose (make 1)
1. With an H hook and purple yarn, start with a magic circle of 5sts (or preferred method for starting a circle of 5 sc sts), pull closed and place a marker for working in the round. (5sts)
2. 2sc in each st to end of round. (10sts) Finish off, leaving a tail for sewing in place.
With a yarn needle and yarn tail, sew nose in place, overlapping the bottom edge of the eyes.
Mouth: With a yarn needle and black yarn, stitch mouth in place.
Screws (make 2)
1.With a G hook and grey yarn, ch 5, sc in 2nd ch from hook and in each ch across. (4sts)
2-4. Ch 1, turn, sc in each st to end of row.
5. Ch 1, turn. Fold piece in half, lining up current row with beginning row. Working into sts from both layers, sl st in each st across. Finish off, leaving a yarn tail for sewing in place.
With a yarn needle and yarn tail from screw, sew one short end to the side of the head, next to the hair line.
Repeat for second screw.
Drawstring: Cut a piece of yarn approximately 18″ long. With a yarn needle, weave this yarn strand in and out of the top two black rounds. This will be used to keep Frank attached to the mason jar.
Finishing
Handle Options
Wire option: Here is a great video tutorial on adding a wire hanger to the top of your jar: DIY Wire hanger
Crochet option: With a G hook and yarn color of choice, ch 81. 3hdc in 2nd ch from hook, hdc in each ch until 1 ch remains, 6hdc in last ch. Working across back side of beginning chain, hdc in each ch to end of row, sl st to join. Ch 1, sl st in each st around handle piece, sl st to join. Finish off and weave in ends. With yarn needle and matching yarn, sew one end of handle inside the top edge, overlapping 2″. Repeat for other handle end, attaching it directly across from first handle end.
Slip frank cover over the mason jar. Pull the drawstring to cinch in the top of Frank’s head. Tie the ends in a bow and pull the bow to the inside of Frank with a crochet hook.
Luminary: Please do not use real candles and fire to “light” your luminary. A battery operated “candle” or light string works great. These can be found at dollar stores, grocery stores, and more.
Disclaimer: this project is for decoration. If used with small children, please stitch the eyes in place or use safety eyes instead of small buttons.
Pin To Save For Later
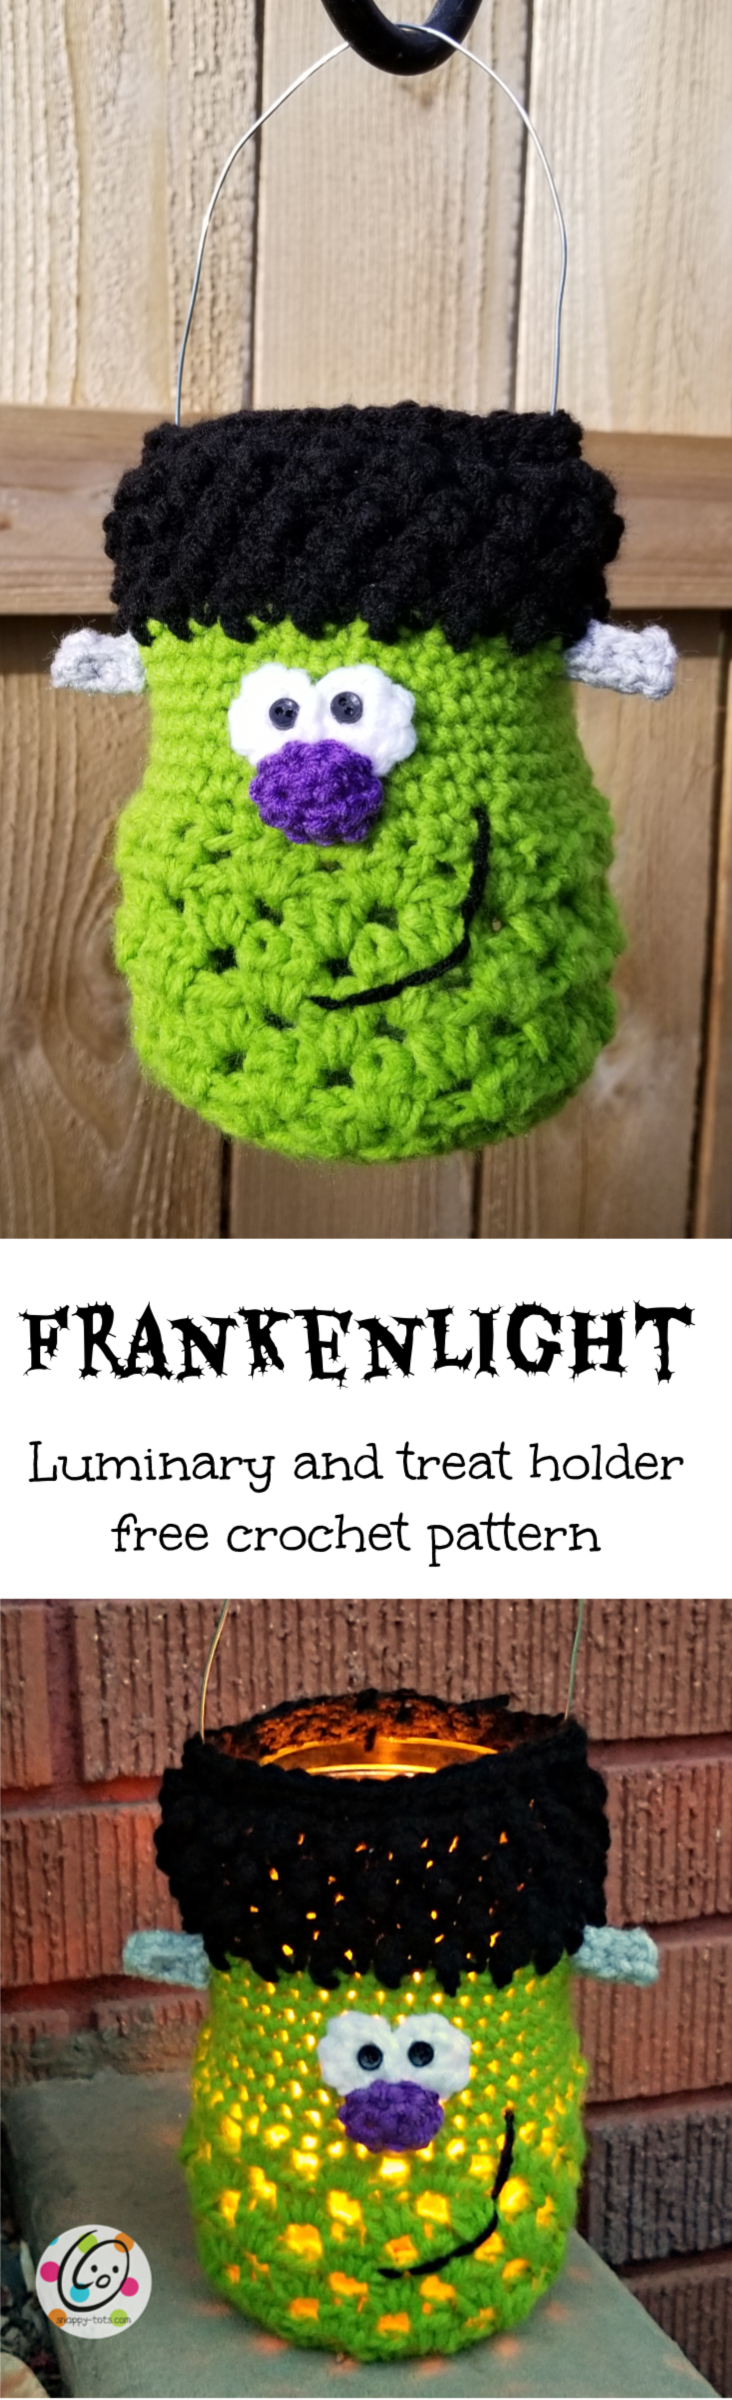
I hope you enjoyed making this quick and easy project. I would love to see your creations. Please add your project to Ravelry and/or share online and include #snappytots.
Thanks for crocheting with me!
~ Heidi


