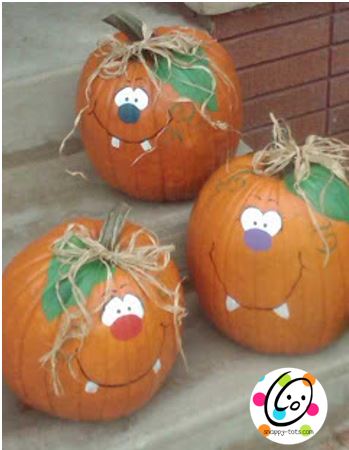
Over the past 20 years (wow, that long?) i have painted over a thousand pumpkins to sell and give away. It has been a fun tradition.
Two years ago, instead of painting pumpkins, I made pumpkin hats for my youngest son’s Kindergarten class. There are 22 students. Originally I thought I would try a variety of pumpkin patterns available from random shops. Snappy friends suggested turning my patterns in to pumpkins….oh, they were so fun.
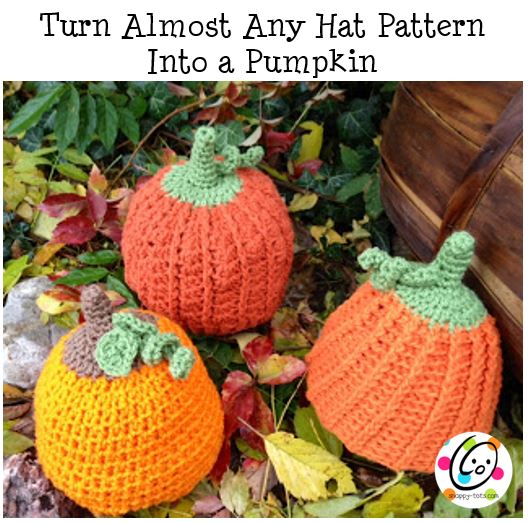
Victoria’s Pumpkin
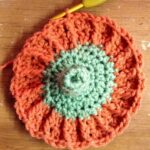
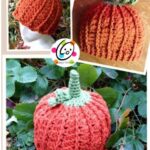
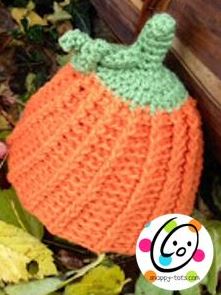
(top center and below): Start with green yarn (Red Heart Tea Leaf) and follow “stem top” pattern below, ending with 32 sts. Switch to orange yarn (sample is Loops and Threads Impeccable Pumpkin). Start on round #3 of “Victoria’s Sun Hat“. This can be finished as written OR if desired, the stitch pattern can be continued to the bottom. To do this, work as written but do not add band. After repeated rounds, work 2-3 rounds with one less dc in between every other rib (*3 dc, fpdc, 4dc, fpdc*). Continue to decrease if necessary (*3dc, fpdc*). The bottom can be left as is, for a fun ripply edge or add rounds of fpdc/bpdc ribbing (see 2nd photo of this post).

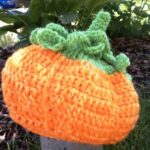
Georgia’s Pumpkin
Stem and Vine
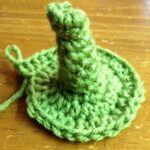
Stem Top:
1. With g hook and yarn, make a magic loop of 6sts (or preferred method for starting a circle of 6sts).
2. Working in the round, sc 6. (6sts)
3. In BLO (for just this round), sc 6.
4. 2sc in next st, sc 5. (7sts)
5-6. Sc in each st to end of round.
7. 2sc in next st, sc 6. (8sts)
8. *2sc in next st, sc 3*, repeat once. (10sts)
9. In FLO (for just this round), *2sc in next st, sc*, repeat to end of round. (15sts)
10. 2hdc in next st, *hdc, 2hdc in next st*, repeat to end of round. (24sts)
11. *hdc 2, 2hdc in next st*, repeat to end of round. (32sts)
12. Sc in next st, sl st in next. Change to orange yarn.
Curly Vine: With G or H hook, ch 12-20 (depending on desired length), work 2hdc in 2nd ch from hook, *hdc, 3hdc in next st*, repeat to end of chain. Finish off. Use tails to attach vine to base of stem.
Use Other Patterns
More Pumpkin Patterns
- Georgia’s Sun Hat
- Victoria’s Sun Hat
- Pumpkin Tam
- Witchipoo Poncho


