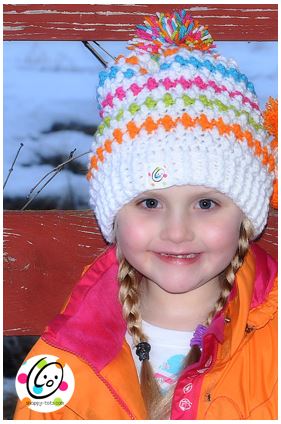
Free Pattern: Jellybean Slouch Hat
Ever make something that is not only cute, but fun to make too? I LOVED making these hats. The nubby texture is created with basic stitches and looks wonderful inside and out. I hope you will enjoy this quick and easy hat. Perfect for your Valentines and year round too.

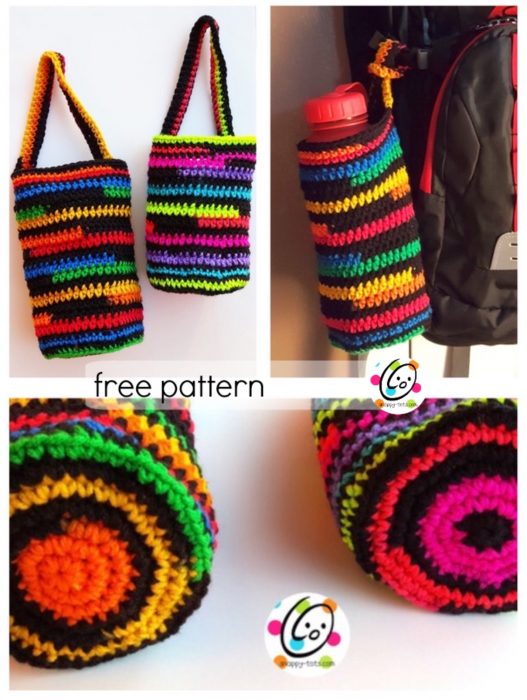
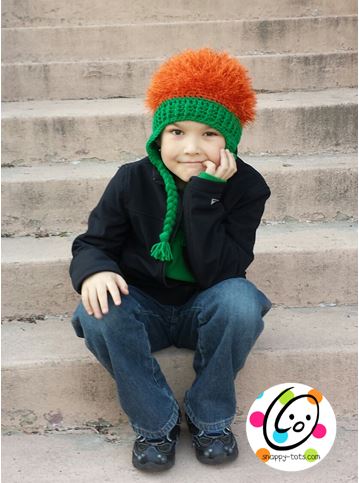
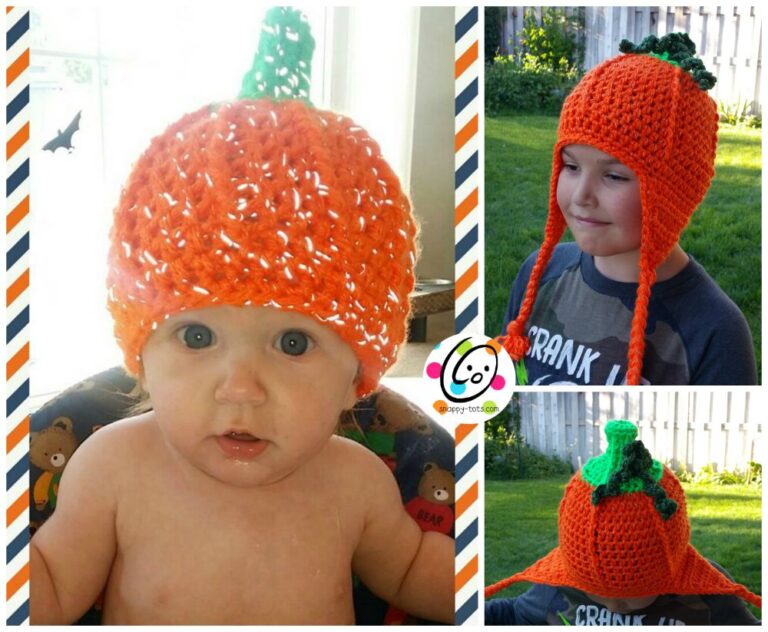
Similar free patterns you might enjoy:
Jellybean Slouch
An ad-free, downloadable PDF that includes all of the photos and instructions is available to purchase. Ravelry Shop: Click HERE
Materials and Details
- Yarn: 125 yards worsted weight yarn. Sample yarns: Red Heart Super Saver yarn White, Pumpkin, Turqua, Shocking Pink, Spring Green
- Crochet Hook: I (5.5mm)
- Miscellaneous: yarn needle
- Gauge: 4″ = 13 hdc and 9 rounds
- Sizes: child, teen/adult
- Length: Please be aware this hat will be made longer than regular, fitted beanies, to compensate for top closure plus this is a slouchy style hat.
Note: Please look over ENTIRE pattern before beginning. Extra photos are at end of pattern.
Tips for both sizes:
- Depending on how you crochet, it may appear the texture will be on the inside of the hat. Before ribbed band is added the hat will be turned right side out if needed.
- The texture of this hat is created by alternating trc and sc stitches. Because there are an odd number of sts when texture is started, the repeating pattern will be staggered.
- Hat is worked from top to bottom.
Note: pattern is written for a solid colored hat. For striped hats change color at the end of rounds as desired. See “tips on striping” below.
Directions: Child Size
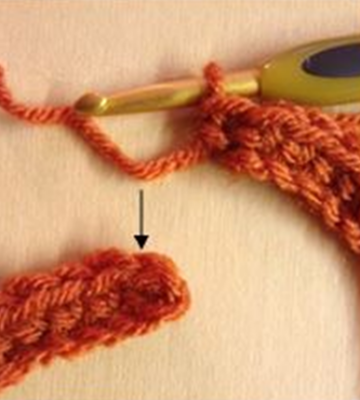
1. With I hook and worsted weight yarn (Sample: white), ch 43. Sc in 2nd ch from hook and in each ch across. Sc in first st at opposite end to form a circle to form a loop. See arrow in photo. Place marker. (42sts) This creates the new start of the round.
Note: Usually, when working a pattern similar to this, it would have you join in the round after original chain. It can be a little tricky to do and since this starting edge won’t be seen, I made it easier.
2. Hdc in next st and in each st to end of round. (42sts)
3. *2hdc in next st, hdc 6*, repeat to end of round. (48sts)
4. Hdc 6, *2hdc in next st, hdc 5*, repeat to end of round. (55sts)
5. *Trc in next st, sc in next st*, repeat until hat measures 8” from starting edge of hat.
Note: change colors as desired.
6. This step starts the ribbed edge. Sc in next st, sl st in next st. If nubby texture is on inside of hat, turn right side out at this point. Ch 2, hdc in each st to end of round, sl st to join.
7. Ch 2, *FPDC, BPDC*, repeat to end of round, sl st to join. Finish off and weave in end.
Top of hat: Cut a long piece of matching yarn. With yarn needle and yarn, weave in and out of sts along top/beginning edge of hat. From inside of hat, pull yarn ends snug until hole is closed. Tie a knot and weave in ends. Add pompom if desired.
Pompom: Hold one strand of main color, and wrap 50-60 times around the palm of your hand (or a combination of colors for equivalent number of wraps). Carefully slide the yarn off your hand and wrap an 8” length of yarn around the center, pulling tight and knotting to hold in place. Do NOT cut this piece of yarn. Cut loops of pompom, then trim as desired. Pull through top of hat. Firmly tie a knot on inside of hat. A piece of cardboard or pompom maker may also be used.
Directions for teen/adult size hat
Note: pattern is written for a solid colored hat. For striped hats change color at the end of rounds as desired. See “tips on striping” below.
1. With I hook and worsted weight yarn, ch 49. Sc in 2nd ch from hook and in each ch across. Sc in first st at opposite end to form a circle. See arrow in photo. Place marker. (48sts)
Note: Usually, when working a pattern similar to this, it would have you join in the round after original chain. It can be a little tricky to do and since this starting edge won’t be seen, I made it easier.
2. Hdc in next st and in each st to end of round.
3. *2hdc in next st, hdc 7*, repeat to end of round. (54sts)
4. Hdc 5, *2hdc in next st, hdc 6*, repeat to end of round. (61sts)
5. *Trc in next st, sc in next st*, repeat until hat measures 9” from starting edge of hat.
Note: change colors as desired.
6. This step starts the ribbed edge. Sc in next st, sl st in next st. If nubby texture is on inside of hat, turn right side out at this point. Ch 2, hdc in each st to end of round, sl st to join.
7. Ch 2, *FPDC, BPDC*, repeat to end of round, sl st to join. Finish off and weave in end.
Top of hat: Cut a long piece of matching yarn. With yarn needle and yarn, weave in and out of sts along top/beginning edge of hat. From inside of hat, pull yarn ends snug until hole is closed. Tie a knot and weave in ends. Add pompom if desired.
Pompom: Hold one strand of main color, and wrap 50-60 times around the palm of your hand (or a combination of colors for equivalent number of wraps). Carefully slide the yarn off your hand and wrap an 8” length of yarn around the center, pulling tight and knotting to hold in place. Do NOT cut this piece of yarn. Cut loops of pompom, then trim as desired. Pull through top of hat. Firmly tie a knot on inside of hat. A piece of cardboard or pompom maker may also be used.
Tips On Striping
Weave in ends as you go: When changing colors, leave approximately 4” of current color.
Work OVER the two short yarn ends (one from old yarn and one from new yarn). This will help weave in those ends so you won’t have to later, plus it helps keep everything snug. At this point, lightly tug on both short ends of yarn to make sure they aren’t loose at the color change.
The staggered stitch pattern makes “jog” in color less noticeable. When changing colors finish last st of round with new color.
For example, if last st of round is sc, start the st as usual (insert hook in next st, pull up a loop). Grab new color with hook and finish the sc. If last st of round is trc, work the st until last pull through. Grab new color with hook and finish the trc.
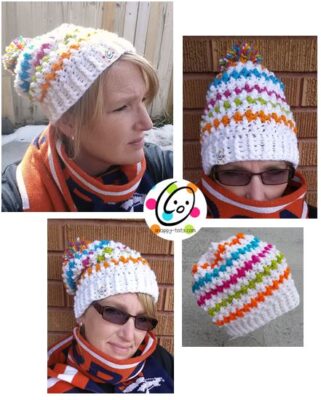
Yarn colors used for this sample: White, orange, turquoise, pink, lime green
Stripe sequence: Start with white yarn. Work beginning rounds plus first 2 texture rounds. Alternate 1 round color, 2 rounds white. Finish off with white or choice of colors.
Additional rounds of ribbing were added to the bottom. I like those wide bands.
Heart Version
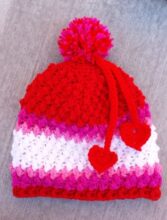
Yarn colors used for this sample: Red, bright pink, light pink, white
Stripe sequence: Start with red yarn and work 4.5”. 2 rounds bright pink, 1 round light pink, 5 rounds white, 1 round light pink, 2 rounds bright pink. Change to red and finish hat.
Sew heart strings to top of hat before adding pompom.

Heart Strings
I made some dangling hearts from THIS FREE PATTERN and tied them to the top of the hat.
Pin To Save For Later