Tip: Creating Bundles on Ravelry
Did you hear that? It was me screaming for joy because Ravelry now has categories. Or as they call them “bundles”. I spent a few hours and all 310 patterns are now easier to find! Thank you Ravelry for this new option and to Thomasina of Thomasina Cummings Designs for telling me about this new feature. Click HERE to check out my new categories.
Want to add “bundles” to your shop? Here’s how.
Click on THIS LINK and enter code BUNDLES. Then visit any of your pattern listings.
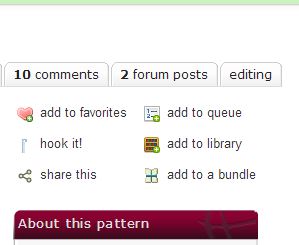
On the top, right hand side, you will see “add to a bundle”, just like in the photo below. Click on that.
Click on “create a bundle”. Choose a name for your bundle. Remember, these are like categories. You can create several bundles and each pattern can be in multiple bundles. Click next to “feature this bundle?”, which means those will show up on the bundles page.
TIP: direct people to your “bundles” page and they will see ALL of your bundles (IF you clicked “feature this bundle”). Only a couple of bundles appear on the designer’s page. Click these two and see the difference: Bundles vs Designer Page
Now, after that part is done we need to do one more thing or everyone won’t be able to see your bundles.
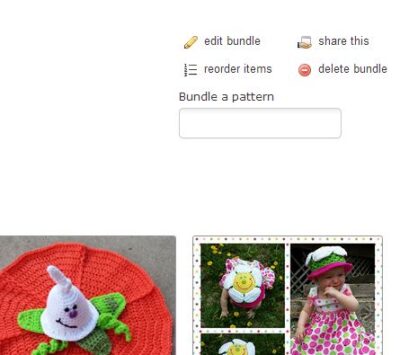
From you shop page, you should see a tab at the top for bundles. Then click on one of the bundles. In the top, right hand corner you will see the options shown in the photo below. Click on “share this”.
The default setting is so only Ravelry members can view the bundles. I wanted everyone to be able to see my bundles so I could link them on my blog. Some people might not have heard of Ravelry and wouldn’t be able to see your wonderful patterns.
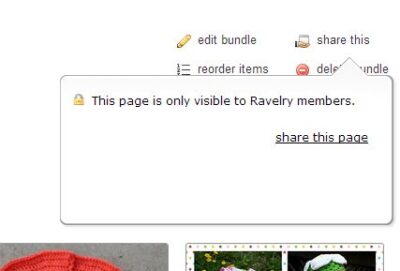
Click on “share this page”. A drop down menu will appear. Look at the choices.
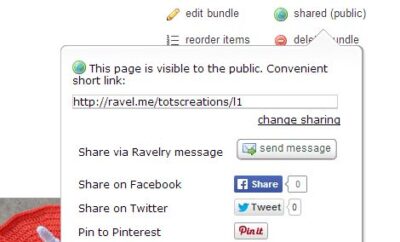
I chose public. It gives a link for sharing, plus you can share directly from that window.