

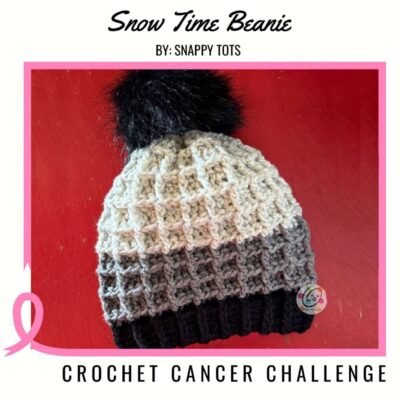
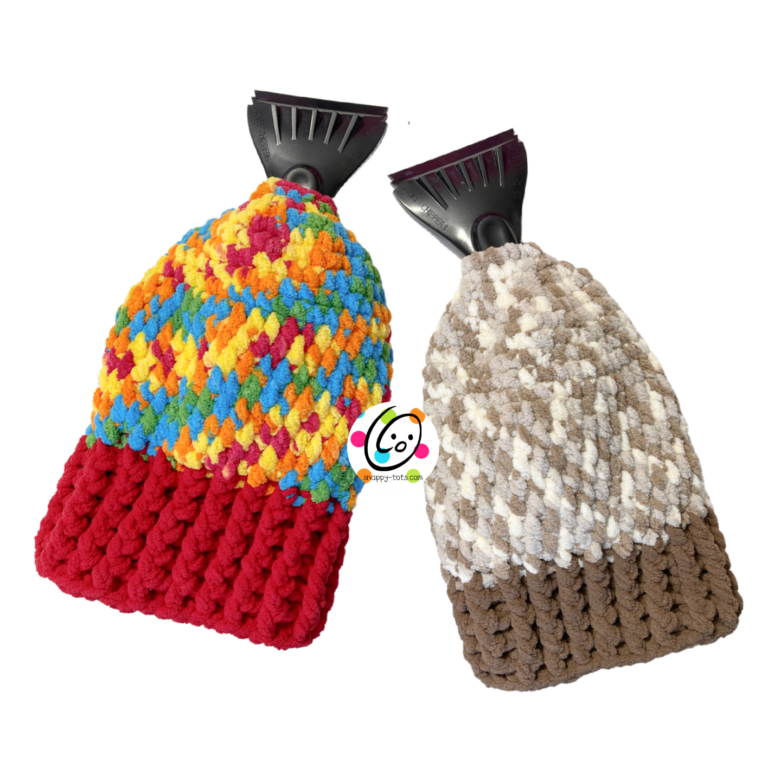
Free Pattern: Snow Time Beanie
This time of year is my most favorite. I love the change in temperature, cool, crisp air, and cozy clothes and beanies. My favorite beanies to make for gifts are easy to make and wear, comfy, and squishy soft.
Every October for several years I have had the honor of designing a beanie for the Cancer Crochet Challenge, hosted by Christine of Sweet Potato 3. This pattern was included in the 2024 event.
CLICK HERE to skip down to the pattern
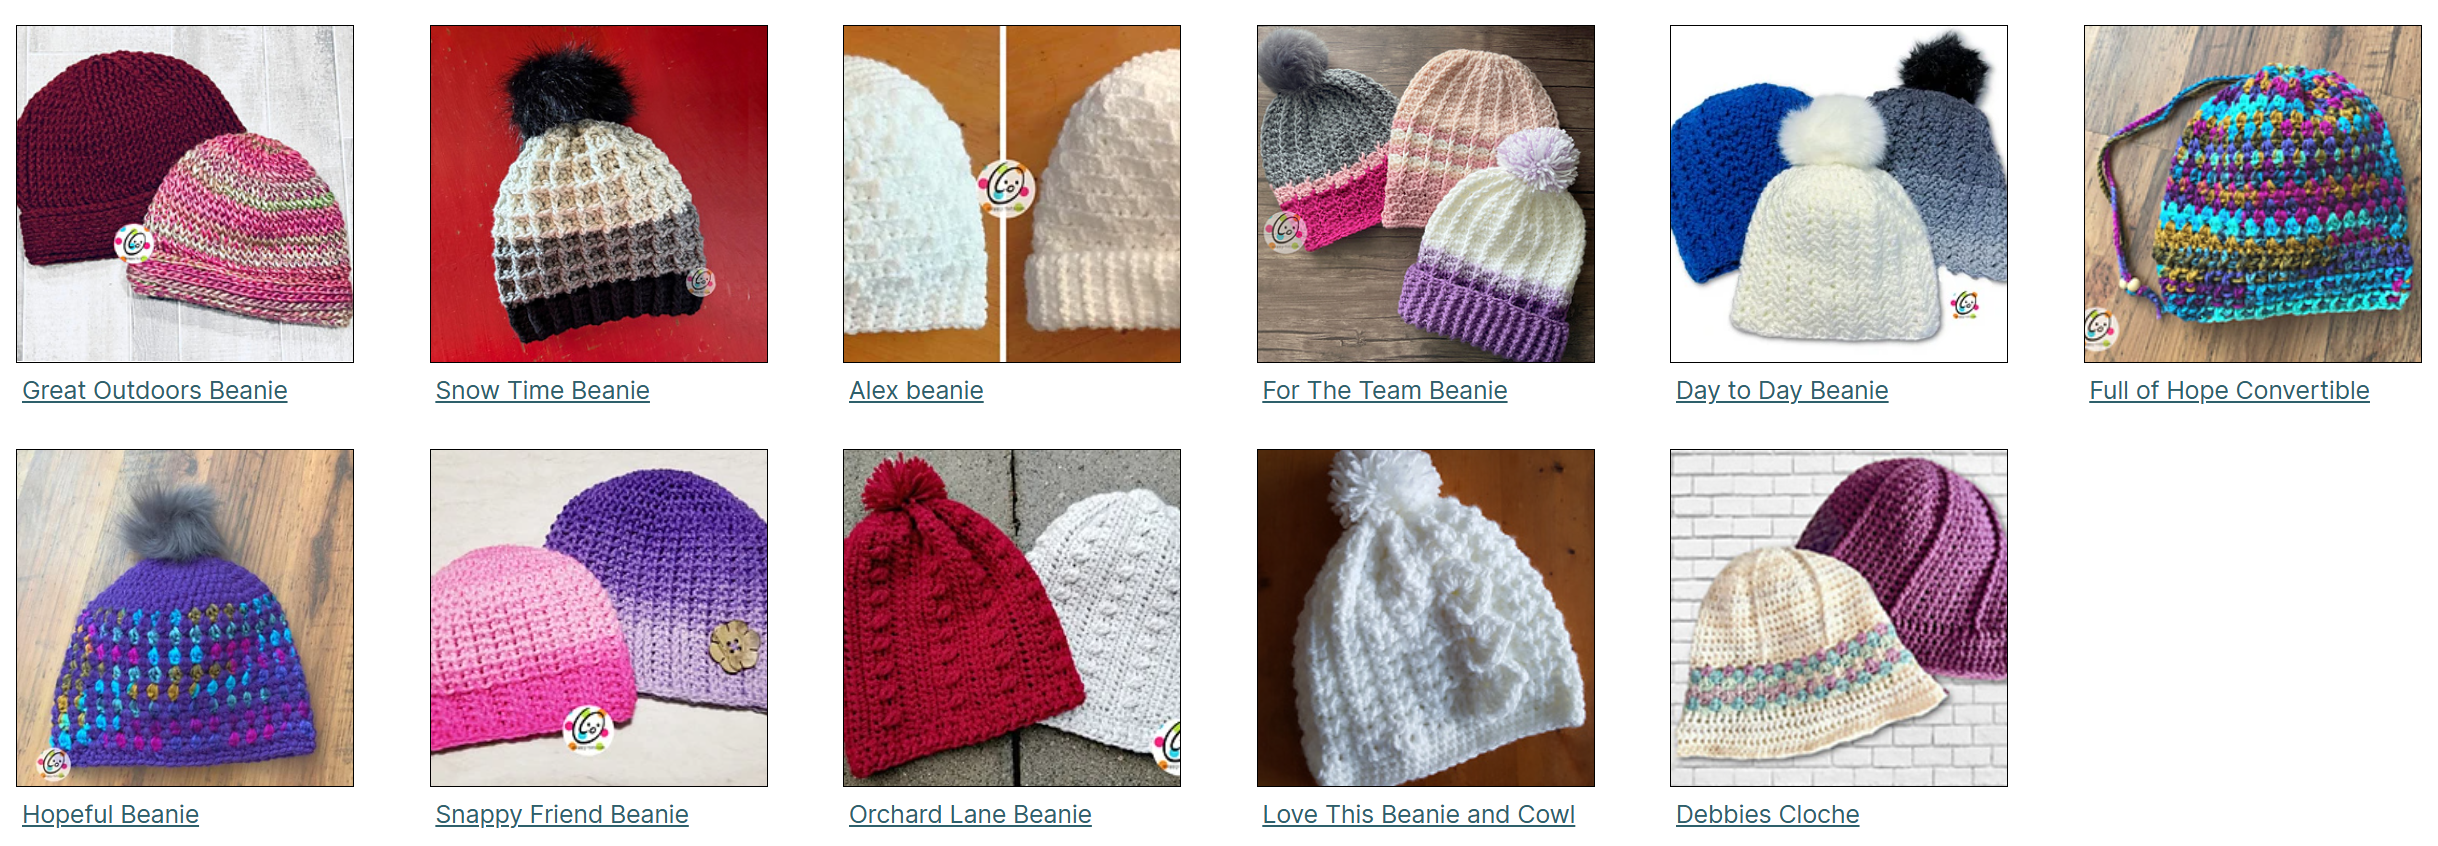
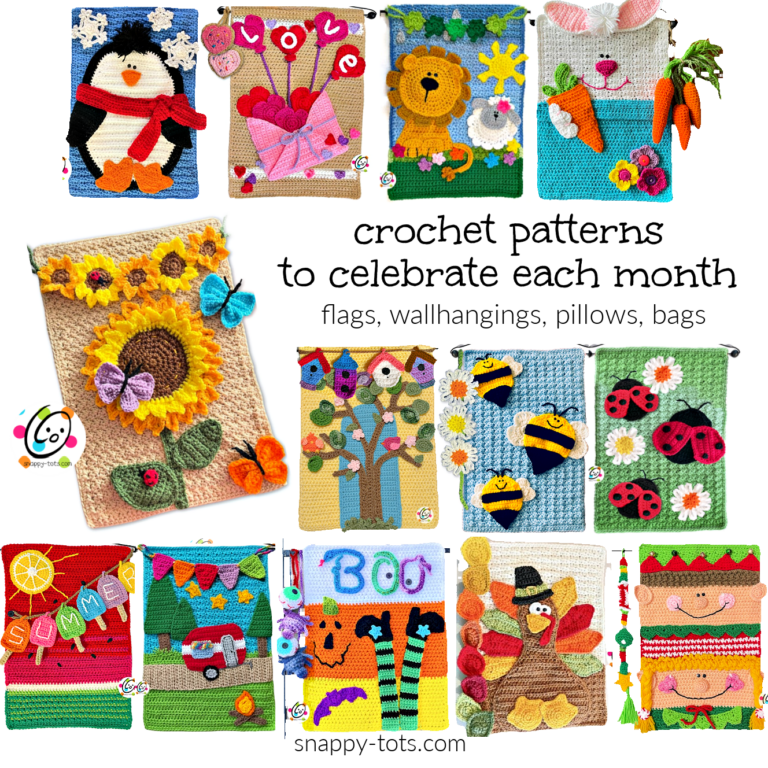
Other Beanie Patterns You Might Enjoy
The following patterns were designed for previous years of the “Cancer Crochet Challenge” event and are some of my most favorite hat/beanie patterns. I hope you will enjoy them too. All of the patterns can be found in my pattern shop: https://www.ravelry.com/bundles/challenge-57
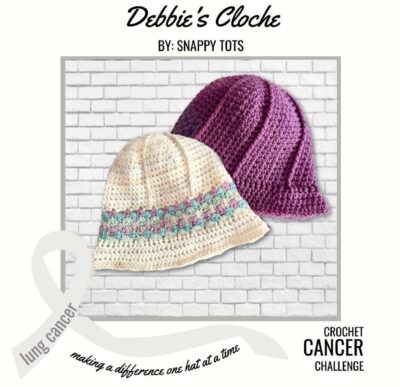
In 2023 I designed “Debbie’s Cloche” (shown at right) in honor of my mother in law who is battling stage 4 lung cancer. She is such a trooper!
About The Pattern
Materials
- Yarn: 200 yards Bernat Super Value Grey Ragg, RHSS Heather Grey, BlackN
- Crochet Hook: I (5.5mm), J (6mm)
- Notions: Yarn needle for weaving in ends
- Optional: Measuring tape, scissors, large faux fur pompom
Details
- Gauge: 4 inches with J hook = 14 sts in pattern and 9 rounds
- Sizes: Child Large/Preteen, Teen/Adult
Tips
- First stitch of each row is worked into the same stitch as the turning chain.
- Numbers at the beginning of each line may refer to steps and not indicate number of rows.
- Stitch count remains the same unless noted at end of row/round.
- If you have any questions about this pattern please contact [email protected].
Sample shown is size teen/adult.
Note about all sizes: This hat begins at the top with a chain and joined to work in the round. You can follow the directions as written or start with a fsc (foundation single crochet) chain if preferred.
Directions for Child Large/Preteen size
Dimensions (measured flat): 8.5-9” wide x 9” tall
Pattern is worked from top of hat to bottom.
Color changes written for sample. Substitute colors as desired.
Post sts should line up.
1. With an I hook and worsted weight yarn (Sample: Grey Ragg), ch 60, sl st in first ch to join for working in the round, making sure chain is not twisted. (60sts)
2. Ch 1, hdc in same st and in each st to end of round, sl st to join.
Change to a J hook.
3. Ch 1, dc in same st, *BPDC around each of the next 2 posts, DC in the next st*, repeat until 2 sts, BPDC around each of the next 2 posts, sl st to join.
4. Ch 1, *FPDC around the next post, DC 2*, repeat to end of round, sl st to join.
5. Repeat steps 3-4 untl hat is 5-5” from starting edge.
6. Ch 1, dc in same st, *BPDC around each of the next 2 posts, DC in the next st*, repeat until 2 sts, BPDC around each of the next 2 posts, sl st to join.
7. Change yarn color (Sample: Heather Grey). Ch 1, *FPDC around the next post, DC 2*, repeat to end of round, sl st to join.
Note about changing colors: It is best to change colors when starting a FPDC round (#4).
8. Repeat steps 3-4 two more times (4 rounds).
9. Change yarn color (Sample: Black). Ch 1, *FPDC around the next post, DC 2*, repeat to end of round, sl st to join.
Change back to an I hook.
10. Ch 1, *FPHDC around the next post, BPHDC around the next 2 posts*, repeat to end of round, sl st to join.
11. Repeat the previous round one more time (or more rounds for extra length). Finish off and weave in ends.
Finishing the Top
With a yarn needle and yarn tail, weave in and out of remaining sts. Pull to cinch closed. Pull yarn tail to inside of hat and secure yarn with a knot. Weave in yarn tail.
Add a large pompom to the top of the hat if desired.
Directions for Teen/Adult size
Dimensions (measured flat): 9” wide x 9.5” tall
Pattern is worked from top of hat to bottom.
Color changes written for sample. Substitute colors as desired.
Post sts should line up.
1. With an I hook and worsted weight yarn (Sample: Grey Ragg), ch 66, sl st in first ch to join for working in the round, making sure chain is not twisted. (66sts)
2. Ch 1, hdc in same st and in each st to end of round, sl st to join.
Change to a J hook.
3. Ch 1, dc in same st, *BPDC around each of the next 2 posts, DC in the next st*, repeat until 2 sts, BPDC around each of the next 2 posts, sl st to join.
4. Ch 1, *FPDC around the next post, DC 2*, repeat to end of round, sl st to join.
5. Repeat steps 3-4 untl hat is 5-5” from starting edge.
6. Ch 1, dc in same st, *BPDC around each of the next 2 posts, DC in the next st*, repeat until 2 sts, BPDC around each of the next 2 posts, sl st to join.
7. Change yarn color (Sample: Heather Grey). Ch 1, *FPDC around the next post, DC 2*, repeat to end of round, sl st to join.
Note about changing colors: It is best to change colors when starting a FPDC round (#4).
8. Repeat steps 3-4 three more times (6 rounds).
9. Change yarn color (Sample: Black). Ch 1, *FPDC around the next post, DC 2*, repeat to end of round, sl st to join.
Change back to an I hook.
10. Ch 1, *FPHDC around the next post, BPHDC around the next 2 posts*, repeat to end of round, sl st to join.
11. Repeat the previous round for an additional two rounds (or more rounds for extra length). Finish off and weave in ends.
Finishing the Top
With a yarn needle and yarn tail, weave in and out of remaining sts. Pull to cinch closed. Pull yarn tail to inside of hat and secure yarn with a knot. Weave in yarn tail.
Add a large pompom to the top of the hat if desired.

Pin To Save For Later

No
No? Can I help you with something?