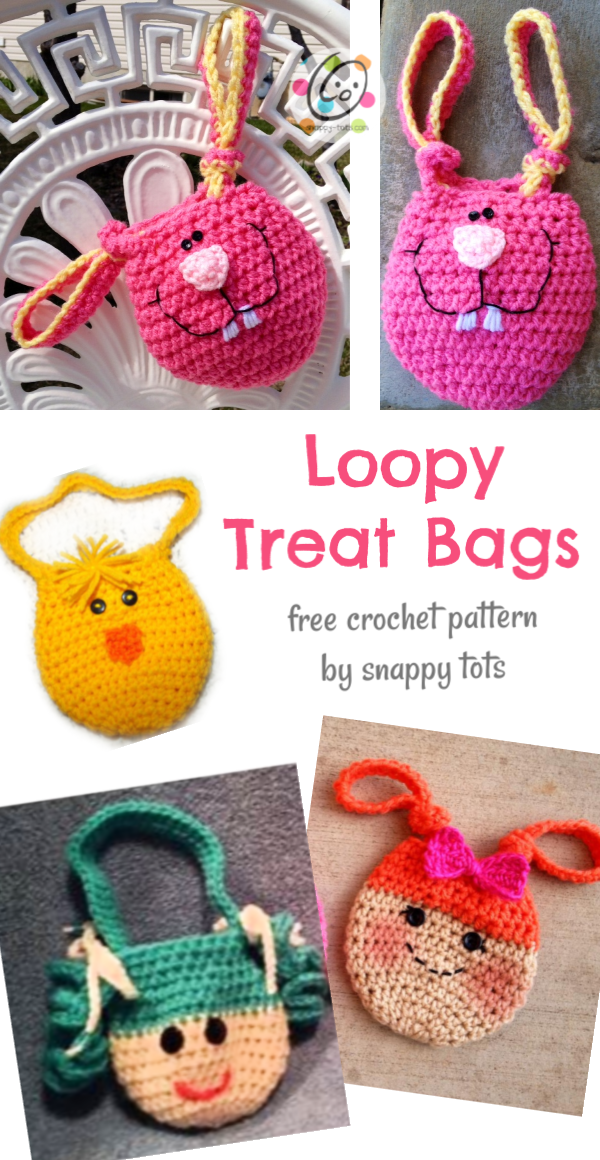
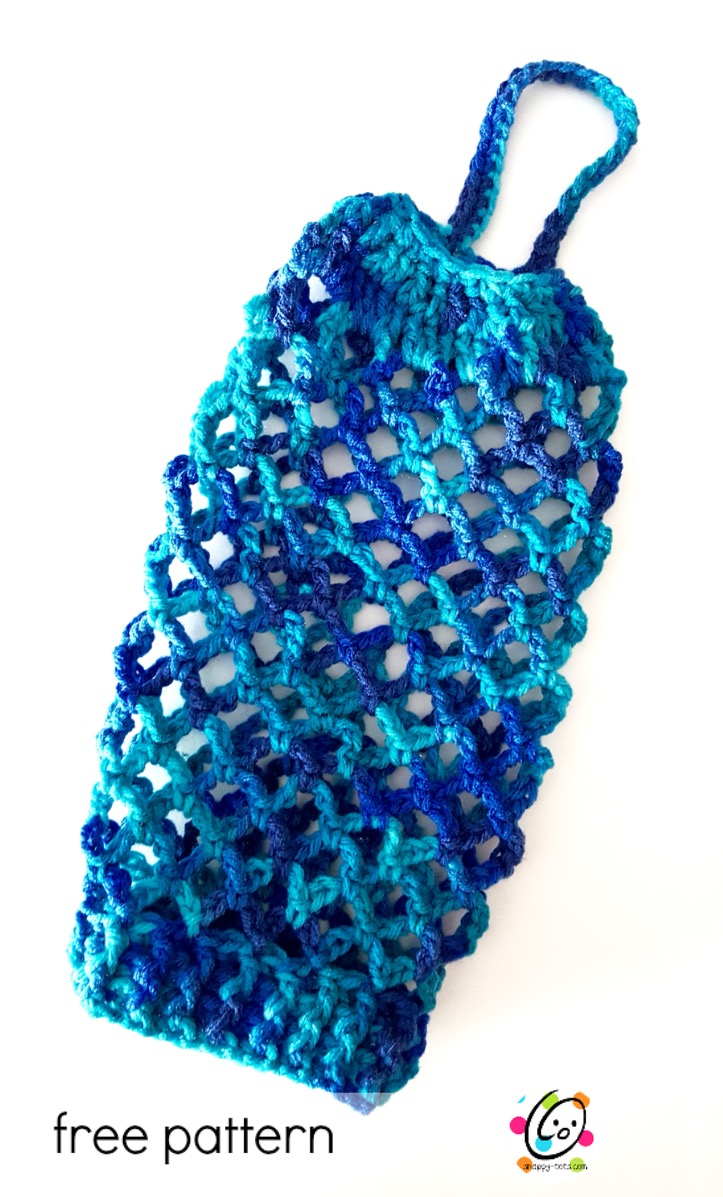
Free Pattern: Loopy Bags
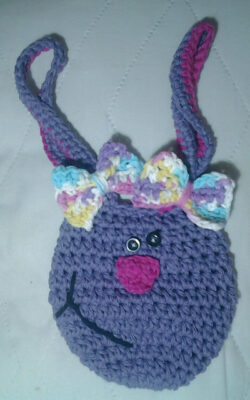
One of my first spring designs, clear back in 2012, were these little bunny treat bags. They are quick and easy to make up and work great to hide for egg hunts as a special surprise. The pattern continues to be a popular one.
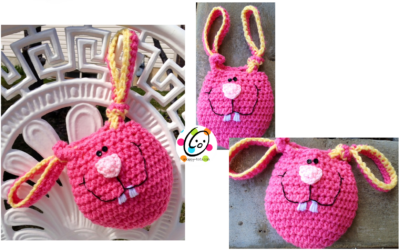
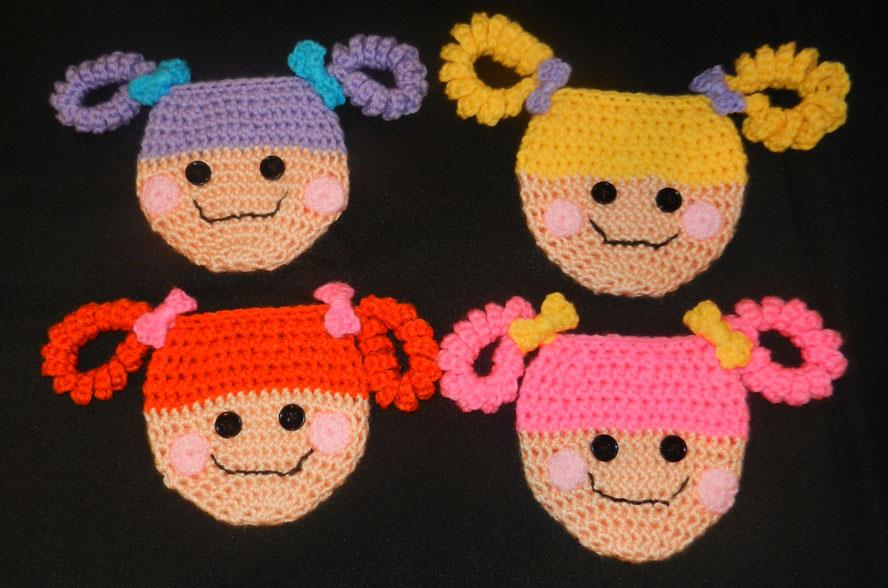
They have been a lot of fun and people have made them into a lot of cute variations. Scroll down to see more pix. If you need items for craft fairs these are a perfect choice!
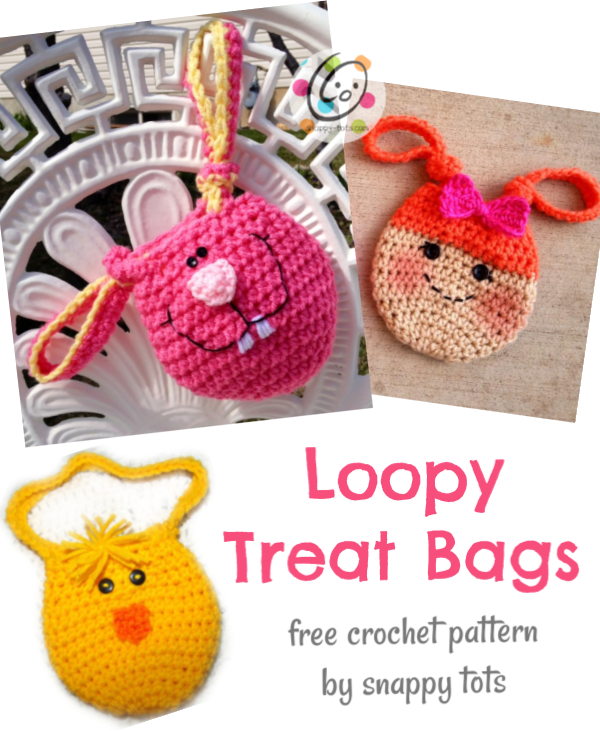
Loopy Treat Bags Crochet Pattern
The pattern is available for free below. An ad-free, downloadable PDF that includes all of the photos and instructions is available to purchase: Ravelry
Materials and Details
- Small amounts of worsted weight cotton or acrylic yarn
- Crochet Hook: H (5mm)
- Miscellaneous: yarn needle, 2 small black buttons, black embroidery floss, black sewing thread, sewing needle
- Size: 5.5” x 5.5” (measured flat)
Directions – Bunny Version
1. With an H hook and pink yarn, start with a magic loop of 12 hdc (or preferred method for starting a circle of 12 hdc sts), do not join. Place marker and work in continuous rounds. (12sts)
2. 2 hdc in each st to end of round. (24 sts)
3. Hdc in each st to end of round. (24 sts)
4. *hdc 3, 2 hdc in next st* repeat to end of round. (30 sts)
5. *hdc 4, 2 hdc in next st* repeat to end of round. (36 sts)
6-9. Hdc in each st to end of round.
10. *hdc 4, hdc 2tog* repeat to end of round. (30 sts)
11. Hdc in each st to end of round.
12. *hdc 3, hdc 2tog* repeat to end of round. (24 sts)
13. Hdc in each st to end of round. Sc in next st.
14. This step starts the handles/ears. Ch 40, sk 4 sts of rim (from round 12). Make sure ch is not twisted, sl st in next 2 sts.
15. Ch 1, turn. Working in “ch 40” (handle), sc in each ch across, sl st in next 2 sts of rim.
16. Change to lt yellow, ch 1, turn, sc in each st on handle. Change to pink.
17. Sl st in next st on rim, sc 5. Change to yellow. Ch 40, sk 4 sts (from round 12). Make sure ch is not twisted, sl st in next 2 sts. Ch 1, turn. Working in “ch 40” (second handle), sc in each ch across. Change to pink. Sl st in next 2 sts of rim.
18. Ch 1, turn, sc in each st on handle. Sl st in next st on rim, sc 5. Finish off and weave in ends.
Tie each handle in a knot, approximately 1” from rim. Do NOT cinch in top of bag or it will be hard to fit anything inside. Ears are perfect size to slip over a wrist.
Nose: Leave approximately 10” in the beginning. This will be used to attach nose to bag.
With an H hook and lt pink yarn, ch 5, sc in 2nd ch from hook and across. Ch 1, turn. Sc2tog, sc2tog, ch 1, turn. Sl st in last st, finish off and weave in ends.
Sew nose to bag. See main photo for placement.
Eyes: With black thread and sewing needle, sew buttons in place.
Mouth: With black embroidery floss and needle, stitch mouth in place.
Teeth: With white yarn and yarn needle, stitch teeth in place.
Check Out These Cute Variations Too
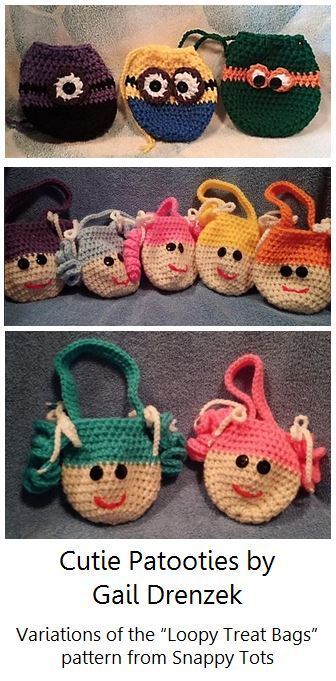
Read more about wonderful variations by Gail: CLICK HERE
Pin To Save For Later