
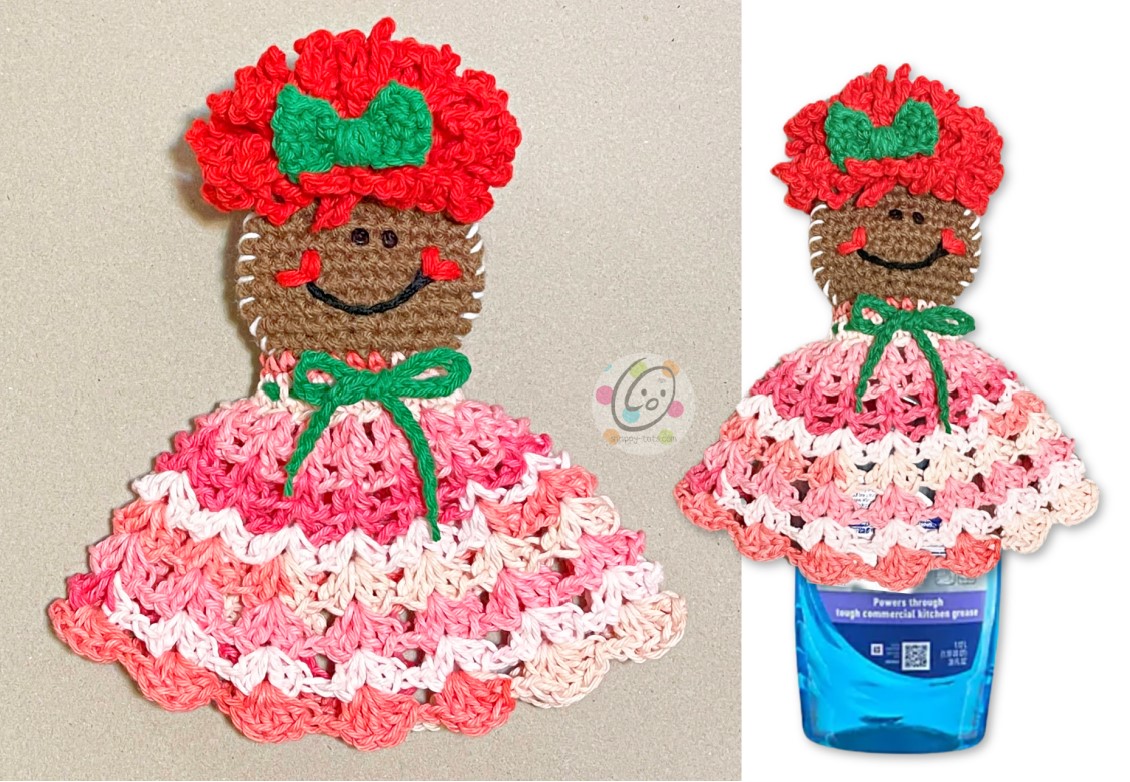
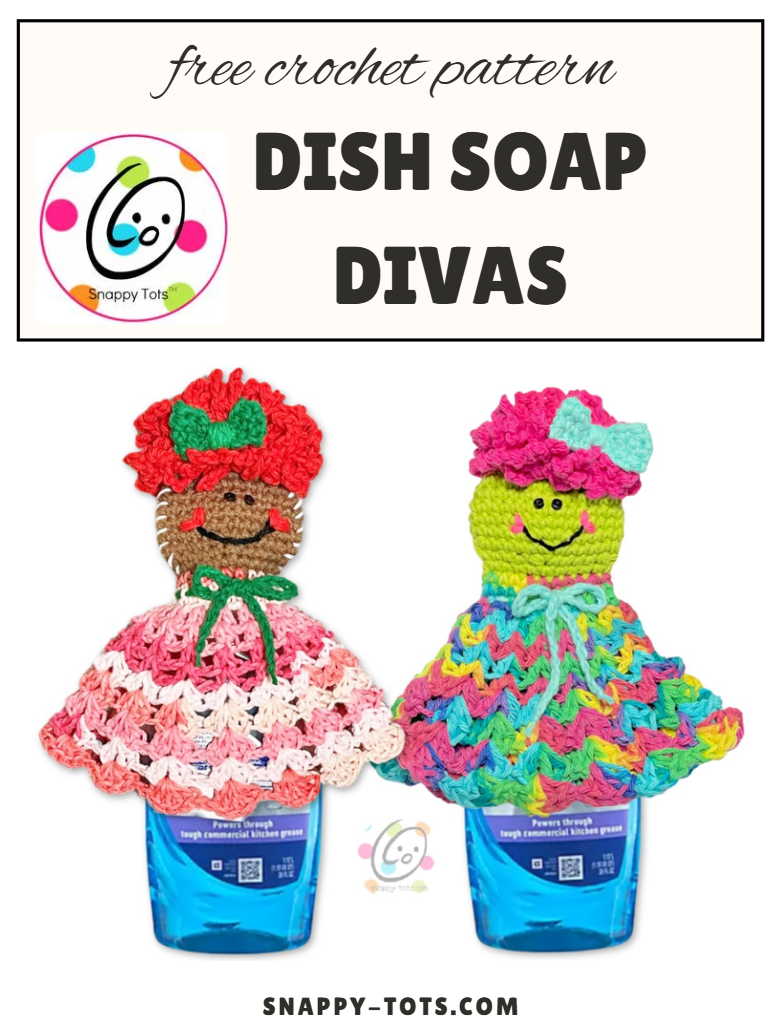
Free Pattern: Dish Soap Divas
Years ago a friend gave me one of the popular dish soap dresses that sits over your dish soap and can be used to wash dishes. Over the years I have seen many versions of the dress and they make a cute gift.
I wanted to create my own snappy version so I created the green diva (right below). With the holidays so close I wanted to include a gingerbread version as well (left below).
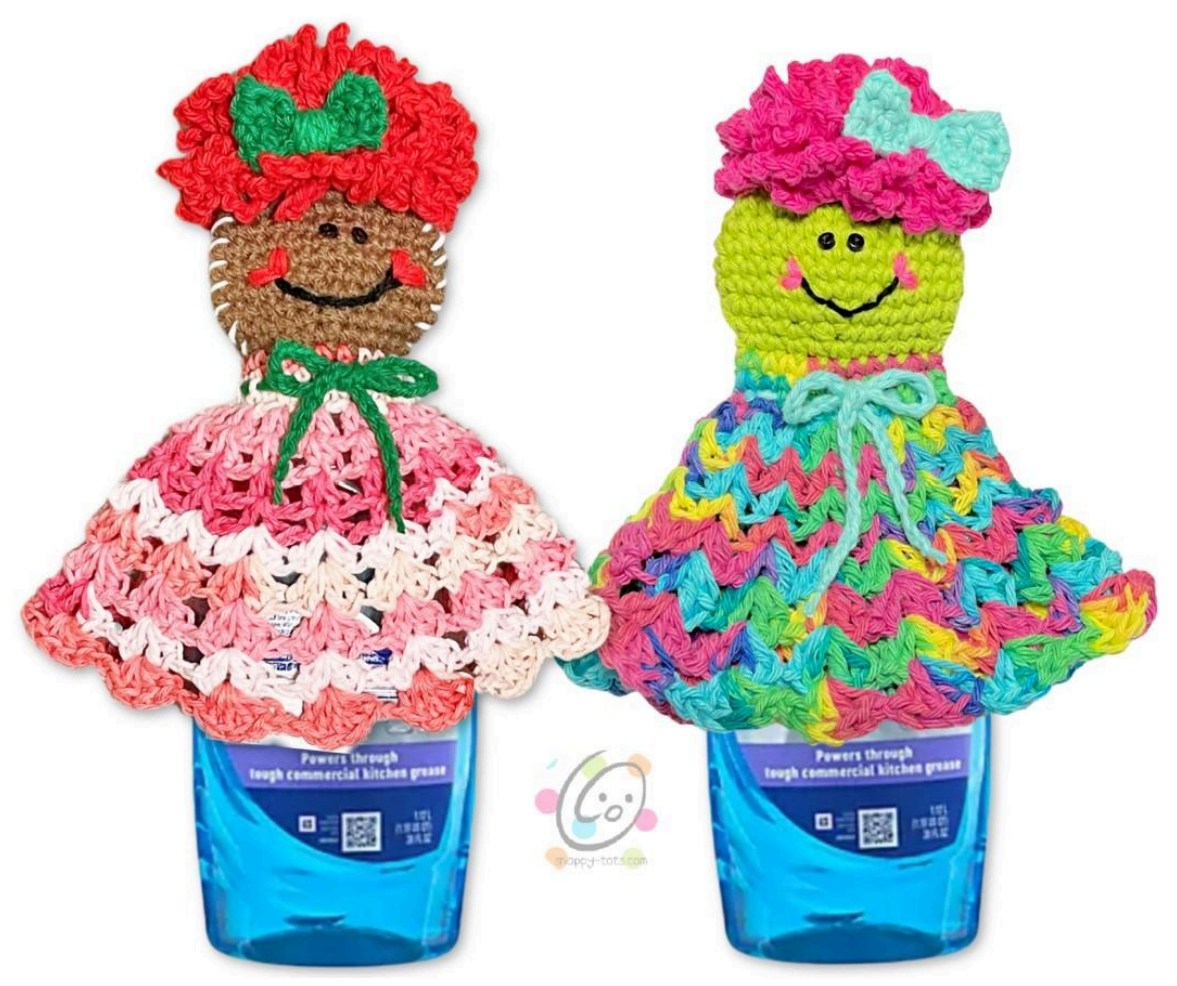
These are great for gifts and craft fairs because they are fairly quick, use a small amount of yarn, plus people will love the touch of wimzy.
Similar Patterns You Might Enjoy
Dish Soap Divas Crochet Pattern
This crochet pattern is available for free below. An ad-free, downloadable PDF which includes all of the photos and instructions is available to purchase from my shops: Ravelry | Etsy
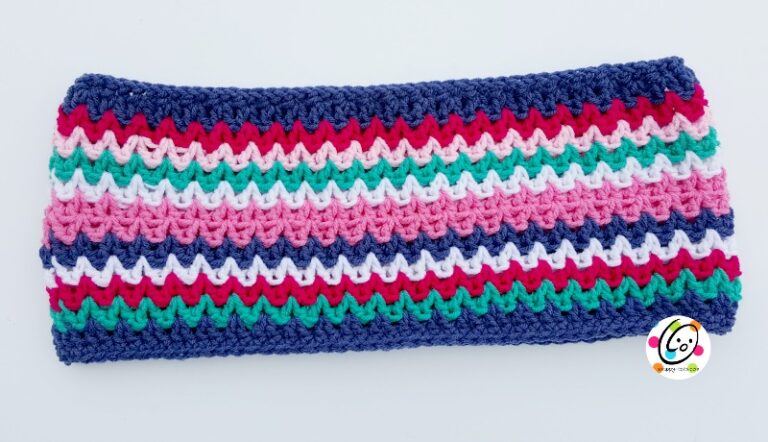
Materials & Details
- Yarn: 150 yards worsted weight COTTON yarn per cloth. Choose colors for the hair, face, dress, and bows.
Note about the sample yarns: I couldn’t find a brown cotton I liked for the face so I used Red Heart Super Saver Cafe Late. It isn’t cotton yarn, but I figured I wouldn’t be using her face for cleaning. - Crochet Hook: H (5mm)
- Notions: Yarn needle for weaving in ends, 2 small black buttons for the eyes, sewing needle, black thread
- Measurements: 9” long x 8” across bottom of dress, 3.25” across face
- Gauge: not necessary for this project.
Tips
- If this will be used as a wash cloth 100% cotton yarn works best.
- Numbers at the beginning of each line may refer to steps and not indicate number of rows.
- Stitch count remains the same unless noted at end of row/round.
- If you have any questions about this pattern please contact [email protected].
DIRECTIONS
This project starts with the hair and is worked back and forth in rows until noted in the pattern.
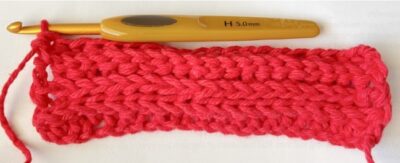
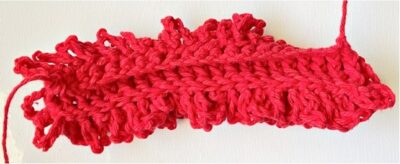
1. Leave a long tail in the beginning for finishing off the top of the head when complete. With an H hook and worsted weight cotton yarn for the hair, ch 22, hdc in the 3rd ch from hook and in each ch across. (20sts)
Make sure st count stays the same until noted at the end of the line.
2. Ch 2, turn, BPHDC around each post from the previous row.
3. Ch 2, turn, FPHDC around each post from the previous row. Reminder: the “front” of the piece is the side closest to you at the time.
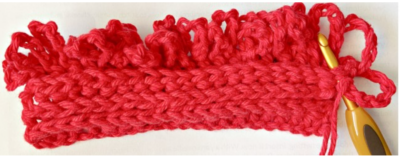
4. Ch 2, turn, BPHDC around each post from the previous row. See photo below.
5. Ch 8, rotate the piece to work around the post of the last completed st. Sl st around the first post. See photo below. *ch 8, sl st around the next post*, repeat to end of row. There should be 20 loops.
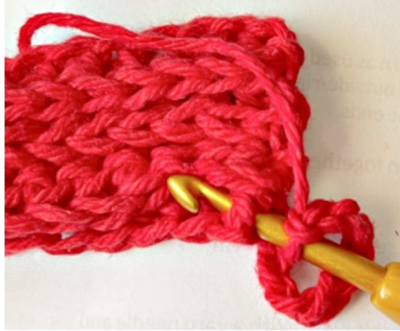
6. Ch 8, turn, sl st in the first st on the ridge. *ch 8, sl st in the next st on the ridge*, repeat to end of row. See photo below.
7. Repeat the previous step 2 more times.
8. Finish off, leaving a long tail for sewing a side seam. With right sides together, fold the piece in half, matching the ends. Yes, this is a little tricky with all of those loops. The good news is this seam won’t be seen. Just do your best and try not to catch any loops.
- Use a yarn needle and the last yarn tail to sew the side seams together.
- Turn the piece right side out.
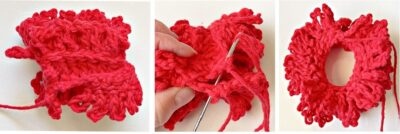
9. With a yarn needle, use the beginning yarn tail to weave in and out of the beginning stitches. Carefully pull the yarn to close the beginning circle, Tip: Cotton yarn can break when pulling… I know this from experience.

Secure the yarn tail. Fluff the loops on top.
10. Turn the piece over. With an H hook and yarn for the face section sl st into one of the sts on the bottom edge. Ch 1, sc in each st to end of round, sl st to join. (20sts)
11. Ch 1, *sc 4, 2sc in the next st*, repeat to end of round, sl st to join. (24sts)
12. Ch 1, *sc 5, 2sc in the next st*, repeat to end of round, sl st to join. (28sts)
13-15. Ch 1, sc in the same st and in each st to end of round, sl st to join.
16. Ch 1, *sc 5, sc2tog*, repeat to end of round, sl st to join. (24sts)
17. Ch 1, *sc 4, sc2tog*, repeat to end of round, sl st to join. (20sts)
18. Ch 1, sc in the same st and in each st to end of round, sl st to join.
19. Finish off the current yarn and change to yarn for the dress. Ch 1, *sc 4, 2sc in the next st*, repeat to end of round, sl st to join. (24sts)
20. Ch 1, sc in the same st and in each st to end of round, sl st to join.
21. Ch 1, *sc 5, 2sc in the next st*, repeat to end of round, sl st to join. (28sts)
NOTE: It is easier to stop and add the face now before the dress is complete. Follow the
instructions for the face on page 5 and then continue with step 22.
22. The beginning ch counts as a st from this point on. Ch 2, hdc in the same st, ch 1, sk 1, *2hdc in the next st, ch 1, sk 1*, repeat to end of round, st st between the first two posts (the beginning ch 2 and dc).
23. Ch 2, hdc in the same space as the sl st, 2hdc between each 2hdc pair from previous round, sl st in the frist st to join, sl st in the next space.
24. Repeat the previous step an additional 2 times.
25. Ch 2, 3hdc in the same space as the sl st, 4hdc between each 2hdc pair from previous round, sl st in the first st to join, sl st in the next space.
26. Ch 2, (2dc, hdc) in the same space, (hdc, 2dc, hdc) between each 4hdc cluster from previous round (between the 2nd and 3rd posts). Sl st in the first st of the round, sl st in the next space.
27-28. Ch 2, (2dc, hdc) in the same space, ch 1, *(hdc, 2dc, hdc) between the next 4st cluster from previous round (between the 2nd and 3rd posts), ch 1*, repeat to end of round, sl st in the first st of the round, sl st in the next space.
29. Ch 2, (3dc, hdc) in the same space, ch 1, *(hdc, 3dc, hdc) between the next 4st cluster from previous round (between the 2nd and 3rd posts), ch 1*, repeat to end of round, sl st in the first st of the round, sl st in the next space.
Finish off and weave in ends.
Face
See main photo for face placement.
Eyes: With a sewing needle and black thread, sew two small buttons to the face section.
Mouth: With a yarn needle and black yarn, stitch a black smile in place. With red yarn stitch a heart (v shape) at each end of the mouth.
Frosting (white stitching at the sides of the face): Flatten the head section with the face in the middle. With a yarn needle and white yarn, stitch around the folds at each edge.
Hair Bow
1. With an H hook and worsted weight yarn, ch 11, sc in the 2nd ch from hook and in each ch across. (10sts)
2-3. Ch 1, turn, sc in the same st and in each st to end of row. Finish off, leaving a long tail.
Fold the short end closest to the end yarn tail back against itself slightly. Use a yarn needle and the yarn tail to sew the edge in place. Repeat for the opposite edge. This helps create more dimension to the bow.
Cut a long piece of matching yarn. Wrap it around the middle several times. Use the remaining yarn tail to sew the bow in the hair. Choose the placement wisely. It is added to help pouf up the hair a bit and keep it out of her eyes.
Neck Bow: With an H hook and worsted weight yarn, ch 60. Finish off and trim the ends. Starting at the front, weave the chain in and out of the sts near the top of the dress. Tie a bow in front.
Pin To Save For Later

No code unfortunately. I really wanted to make this one. 🙁
Sorry about that. No code is needed. Please refresh your browser if it requests a password.
Yikes! I am an avid fan! But I cannot find the code, either. PLease assist.
“Happy Thanksgiving!”
Please add the “Dish Diva” link to the current offer, if possible, making the “free Pattern” (aforementioned) available. I just didn’t find any required code! 🙂
I too cannot find the code.
I’m another no password for download I am a subscribers to news letter not in there either xxx
Hi, I think your Dish Divas are Mahvelous but I cannot find the code that allows me to get my free download. Please Help. Thanks
Me either.