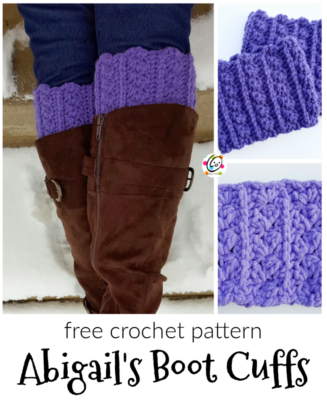
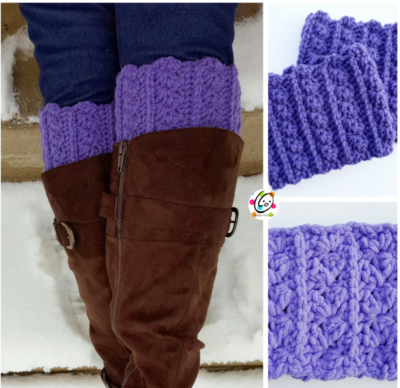
Free Pattern: Abigail’s Boot Cuffs
Boot cuffs are such a cute accessory and I love wearing them for a touch of coziness and pop of color. These cuffs can be made from blanket yarn or worsted weight yarn.
Did you know that boot cuffs work great as coffee cozies too?

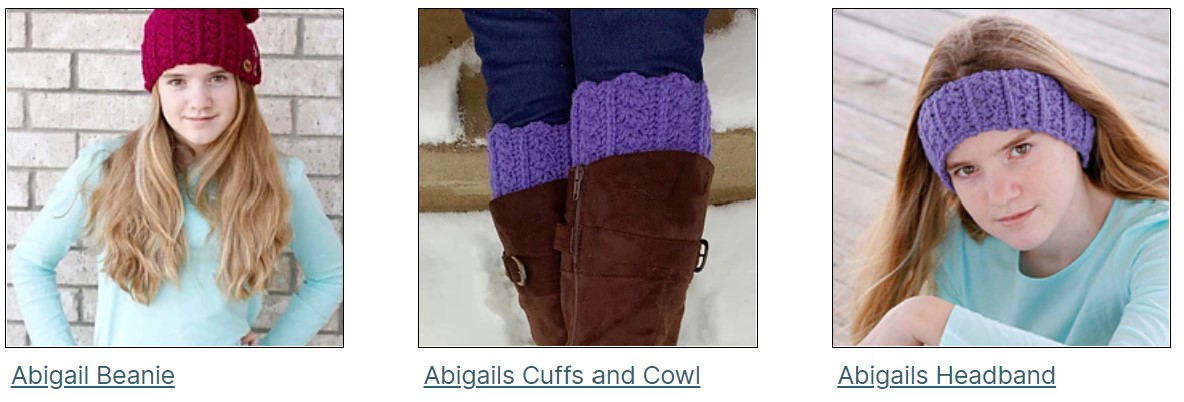
Matching patterns you might enjoy
Abigail’s Boot Cuffs Crochet Pattern
The pattern is available for free below. An ad-free, downloadable pdf is available for a small fee from my Ravelry Shop.
Materials and Details
- Yarn: worsted weight or blanket yarn in choice of color
- Crochet Hook: I (5.5mm) for worsted weight, M/N (9mm) for Bernat Blanket
- Miscellaneous: Yarn needle
- Measurements for worsted weight versions: Teen/ Adult Regular (5.25” tall x 12.5” wide) and Wide (5.25” tall x 13.75” wide)
- For Blanket yarn version, work repeated section until piece is the desired length for the size needed. This version will be taller than the ww version.
Special Stitch: FPSC – front post single crochet
Tips
- The beginning ch of each row is not counted as a st, but will be worked into on a couple of steps as noted.
- Since not all calves are created equal, it is nice to be able to easily adjust a pattern to fit. By adding or subtracting sections, these cuffs can be made to custom fit if desired. Both sizes start the same.
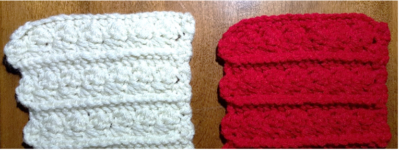
- Make sure the beginning chain (step #1) is not worked loosely. The stitch combination after step one keeps the stitches pulled together and it is important the first row does not flair out as in the lighter sampler below. We want both long edges to be as even as possible.
Directions
Each row has 21sts. Check stitch count occasionally to make sure you keep the correct amount.
1. With an I hook and yarn color of choice, ch 22, sc in 2nd ch from hook and in each ch across. (21sts)
2. Ch 2, turn, *sk 2, (sc, hdc, dc) in next st*, repeat to end of row.
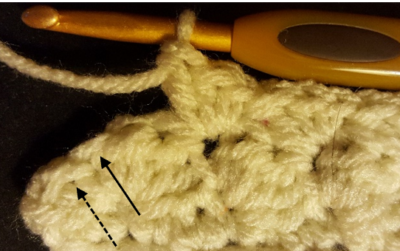
3. Ch 2, turn, *sk 2, (sc, hdc, dc) in next st*, repeat until 3 sts remain, sk 2, (sc, hdc) in last st (solid arrow in photo below), hdc in top of ch (dotted arrow in photo below).
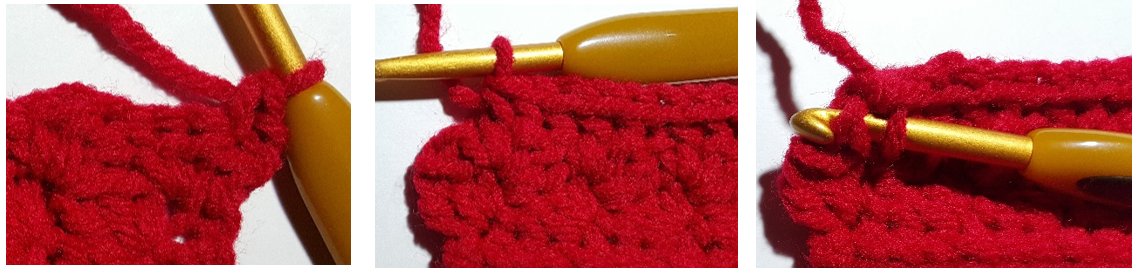
4. Ch 1, turn, sc in same st (photo below, left), FPSC around each post until one post remains.
Instead of working around all remaining strands, insert the hook under 2 strands (as shown in photo below, right) and work a FPSC.
5. Ch 1, turn, FPSC around each post until one st remains, sc in last st.
Repeat steps 2-5 until 10 sections have been created (11 for wider calves). Make sure to finish a full repeat, ending after step 5, so the sections will be complete. Finish off, leaving a long tail for sewing edges together.
Fold strip with right sides together. The right side has more pronounced vertical ridges and clusters.
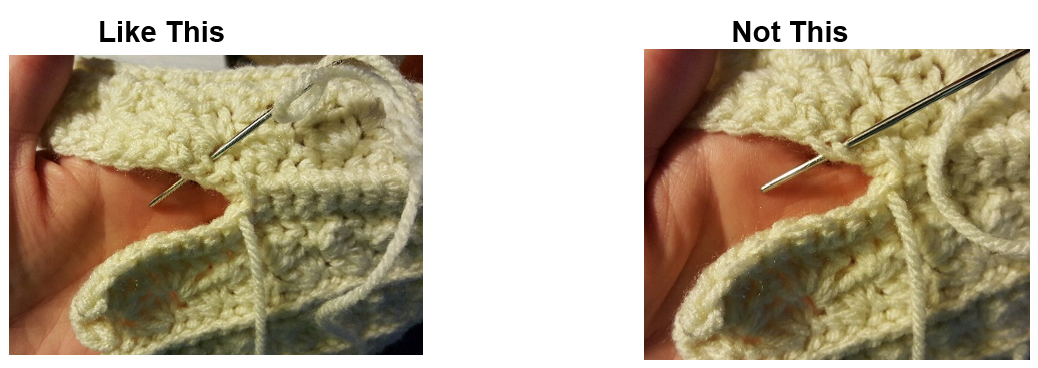
Line up short edges. With yarn needle and yarn tail, sew edges together. To make the seamed section like the others I worked around the beginning chain when seaming the edges (see photos below).
Pin To Save For Later