Free Pattern: Monster Planter Wrap
I really enjoy working in my yard up until the middle of June and once it starts to cool down in the fall. I am BY FAR a “gardener”, but there are a few plants that have done really well in my yard. I LOVE succulents! I have had hens and chickens in my yard for years. The first ones were from starts of my mom’s. They are fun to see and I like how they are called “hens and chicks”… the baby plants are their babies! I think that is the cutest!
A couple of years ago I got a few different types and since then I am addicted.
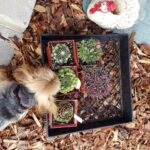
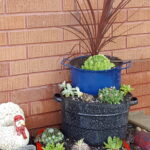
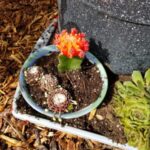
This year, as I was looking through all of the plants at Home Depot, I found these “Fingers Cactus” and knew right away they needed to be monster horns! Of course my monster needed some funky hair, so when I thinned out my sedum and saved some. I think the two worked perfectly for my monster!
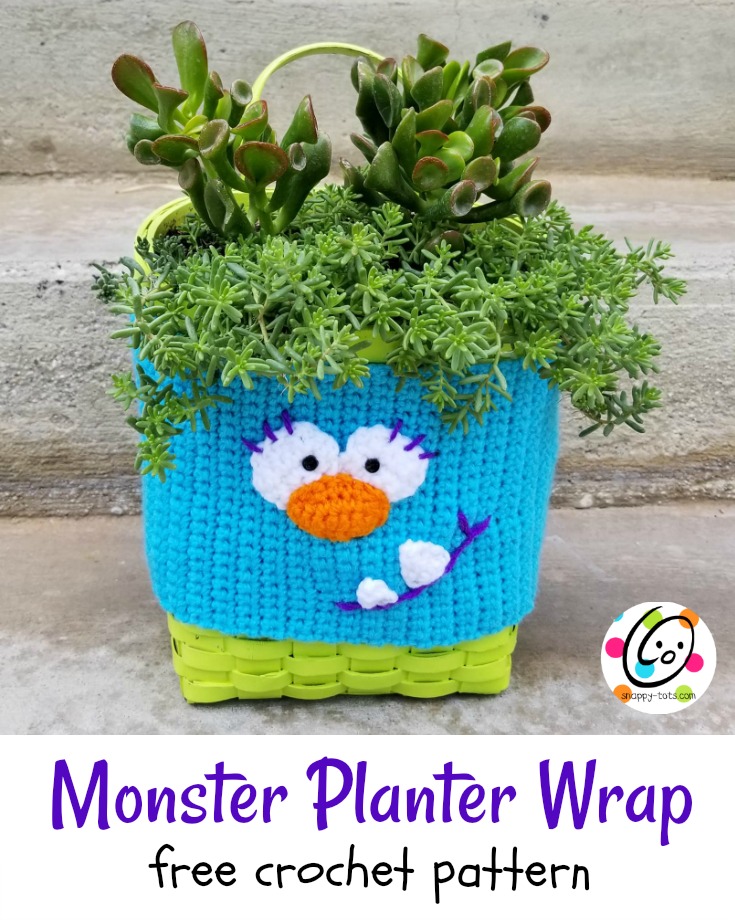
The crocheted wrap can be used for almost any container. The pattern is super simple and fairly quick.
To see how I put together the basket planter, scroll down.
Monster Planter Wrap
Materials
Yarn: Worsted weight yarn in choice of colors. Sample yarns: Red Heart Super Saver Turqua, White, Pumpkin, Amethyst
Crochet Hook: G ,I
Miscellaneous: Yarn needle, 2 small black buttons, Sewing needle, Black thread
Optional: basket or container at least 6″ tall x 12″ around. Sample basket measures 20″ around and 10″ tall.
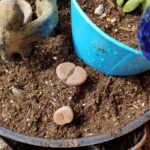
Choice of succulents, dirt and water 🙂
Directions
Wrap Base
- With an I hook and turquoise yarn (or color of choice), ch 23, sc in 2nd ch from hook and in each ch across. (22sts)
- Ch 1, turn, sc in same st and in each st to end of row.
-
Repeat previous row until piece is desired length. To determine this measurement, wrap a tape measure around the container. Finish off, leaving a long tail for sewing together. Set piece aside.
Monster Face
Eyes (one piece)
- With a G hook and white yarn, ch 11, sc in 2nd ch from hook, sc 4. Leave remaining sts unworked. (5sts)
-
Ch 1, turn, 2sc in same st, sc 3, 2sc in last st. (7sts)
-
Ch 1, turn, sc2tog, sc 3, sc2tog. (5sts)
-
Ch 1, turn, sc2tog, sc, sc2tog. (3sts) Finish off and weave in end.
-
Attach yarn to next empty chain (from step 1). Ch 1, sc in same st, sc 4. (5sts)
-
Ch 1, turn, 2sc in same st, sc 3, 2sc in last st. (7sts)
-
Ch 1, turn, sc2tog, sc 3, sc2tog. (5sts)
-
Ch 1, turn, sc2tog, sc, sc2tog. (3sts) Finish off, leaving a long tail for sewing eyes in place.
With a yarn needle and yarn tail, sew the outer edge of the eyes to the center of the strip. The top edge of the eyes should be approximately 1.5″ from one of the long edges.
With a sewing needle and black thread, sew a small black button on top of each eye section, towards the center.
With a yarn needle and purple yarn, take 3 stitches at the upper corner of each eye to create eyelashes.
Nose
- With a G hook and orange yarn, ch 6, 2sc in 2nd ch from hook, sc 3, 2sc in last ch. (7sts)
-
Ch 1, turn, 2sc in same st, sc 5, 2sc in last st. (9sts)
-
Ch 1, turn, sc2tog, sc 5, sc2tog. (7sts)
-
Ch 1, turn, sc2tog, sc 3, sc2tog. (5sts)
-
Ch 1, turn, sc in each st to end of row. Finish off, leaving a yarn tail for sewing nose in place.
With a yarn needle and yarn tail, sew the outer edge of the nose to the strip, overlapping the bottom edge of the eyes.
Teeth
Larger Tooth (make 1)
- With a G hook and white yarn, ch 5, sc in 2nd ch from hook and in each ch across. (4sts)
-
Ch 1, turn, sc2tog, sc2tog. (2sts)
-
Ch 1, turn, sc2tog. (1st)
-
Ch 1, turn, sl st in st. Finish off, leaving a tail for sewing beginning edge of tooth to the face area.
Smaller Tooth (make 1)
- With a G hook and white yarn, ch 3, sc in 2nd ch from hook, sc. (2sts)
-
Ch 1, turn, sc2tog. (1st)
-
Ch 1, turn, sl st in st. Finish off, leaving a tail for sewing beginning edge of tooth to the face area. Leave approximately 1/2″ between teeth.
Smile: With a yarn needle and purple yarn, stitch the smile along the bottom edge of the teeth.
Fold monster wrap with right sides together and matching up the short ends. With a yarn needle and yarn tail, sew the short ends together. Slip the wrap over the container.
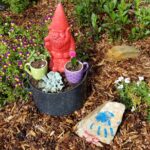
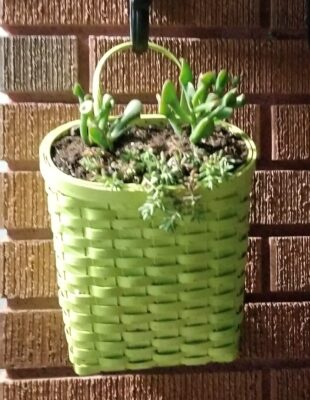
Turning a Basket Into a Planter
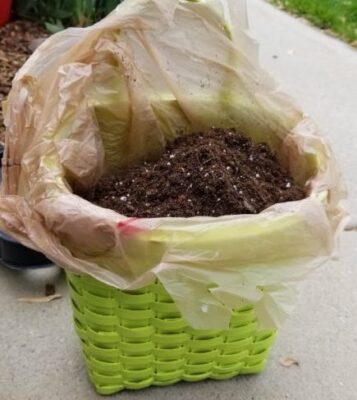
There are a lot of great options for basket planters already. I had a basket hanging from my mailbox that I wanted to use so I here is what I did to get it ready for the plants:
NOTE: the succulents I chose are not winter hearty in northern Utah so I will be bringing the plants inside and replanting them. This set up is great for one summer season, but I do not know how well it will hold up year round. I would suggest using a basket with a plastic liner or a plant container for year round use.
- First, I spray painted my basket to give it a fresh and fun look.
- The only “liner” I had laying around was a plastic shopping bag (I was impatient and didn’t want to go back to the store). I know there are lots of other options for this. Hey, don’t judge. I am not a professional gardener person. My plants have done well in this set up for 2 months tho. They seem to be liking it 🙂
- I then filled the basket/bag combo with plant dirt. They even make special succulent dirt… I’ve never used it. My regular miracle grow plant dirt has made my plants happy so I’ve stuck with that.
- Next, I inserted the plants. Trim the plastic bag so you can’t see it.
- I water the plants once a week…sometimes twice. Just when the dirt seems to be getting dry. Yep, I get that technical 🙂

Pin To Save For Later
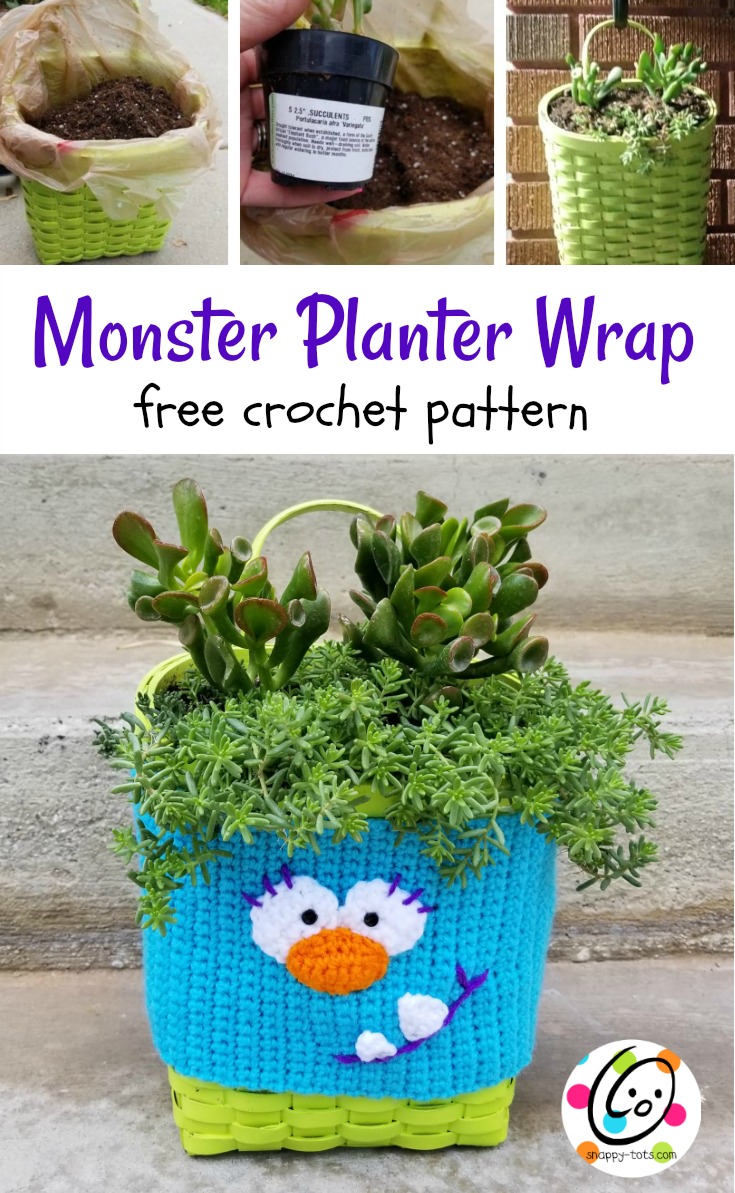
Plants used in sample:
“hair” – Sedum similar to Blue Spruce
“horns” – Fingers Cactus
Info About Succulents
Here are some sites for more information on different types and care of succulents:
Smitty Smitt: types of succulents
Simplicity Relished: how to keep succulents from dying.
Balcony Garden Web: Check out their round up of more ways to use succulents.